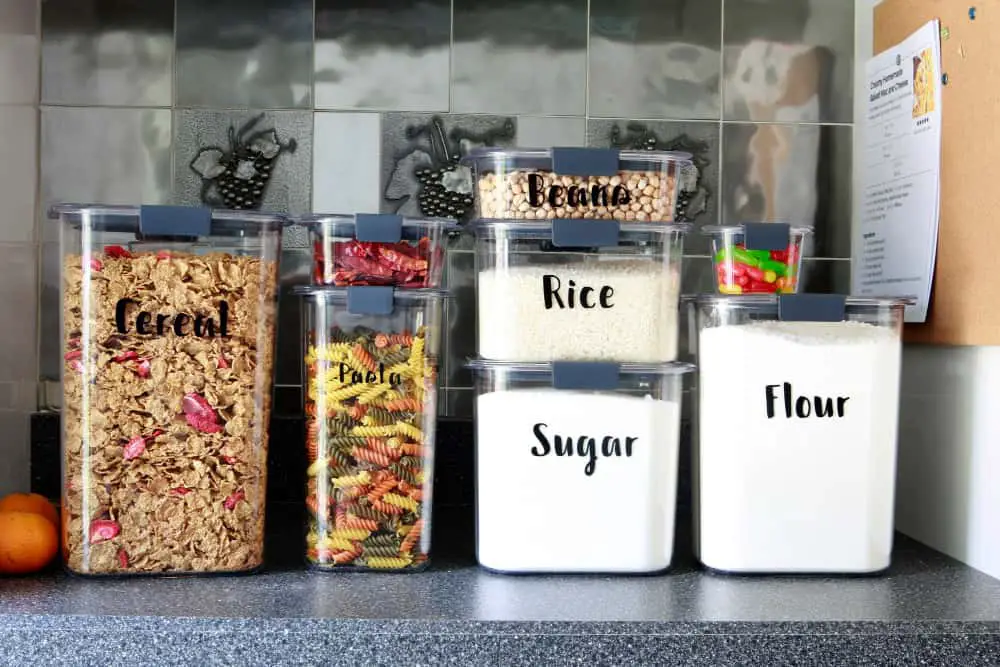
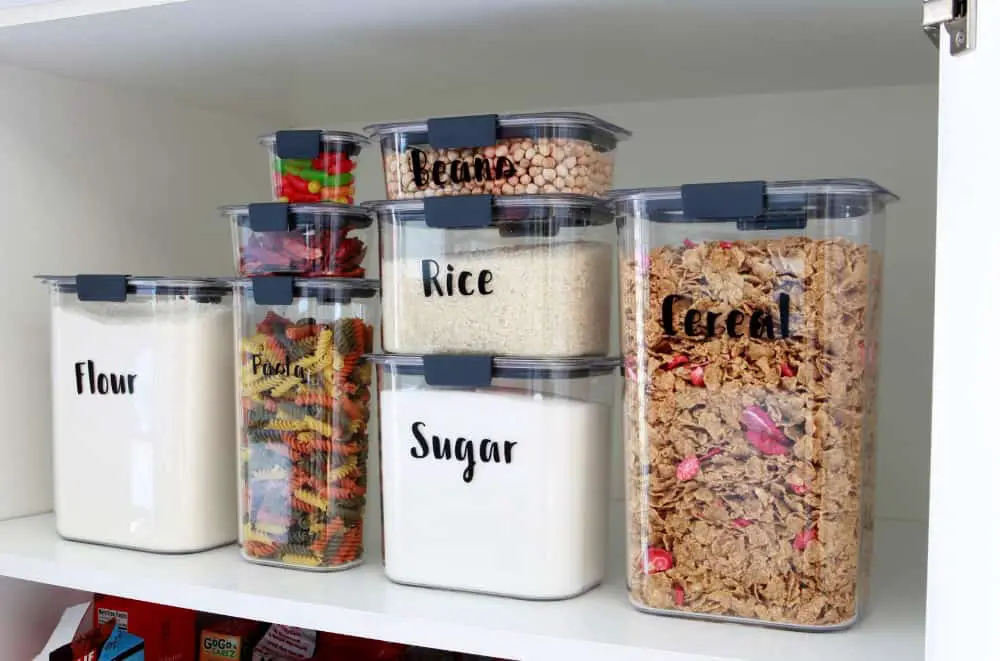
I think this is one of those Cricut projects that everyone needs to make to get familiar with using vinyl. Pantry labels are so easy but make such cute (and useful) additions to your kitchen pantry containers.
I love that you can choose your own font, vinyl colors, any additional little vinyl images you want to add on, etc. And you can totally customize your food containers for whatever you tend to store in your pantry.
If you are an avid baker, these would be perfect for storing and labeling baking supplies. I love them for storing our most-used pantry items, and you’d never be able to find a set of pre-made labels for such random things.
Plus, with the Cricut vinyl labels, if you want to switch them up you can do so any time you want.
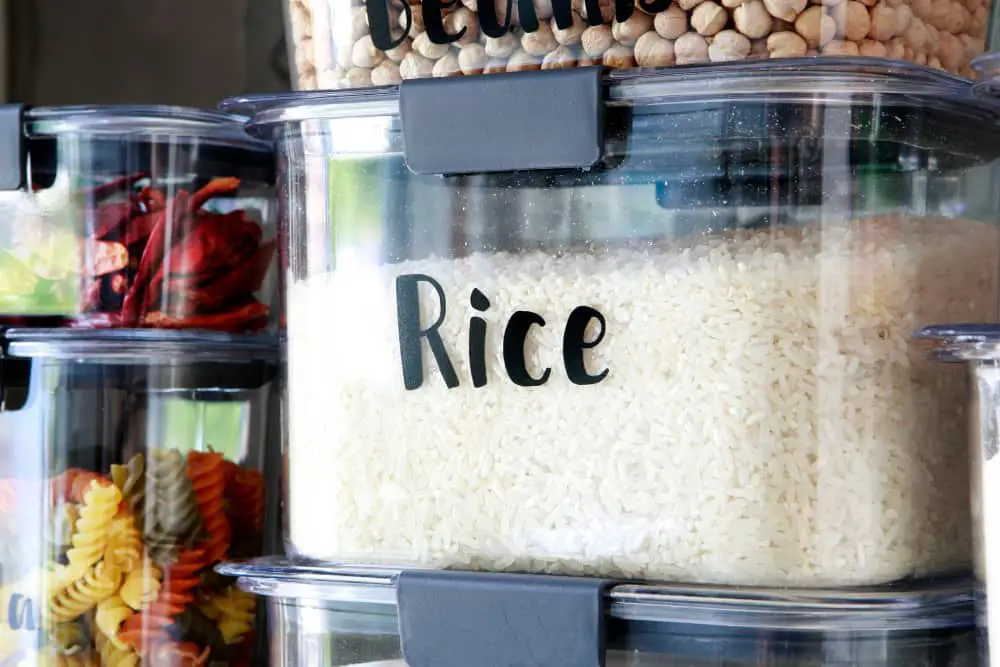
I went really basic with these labels, using the Karley font in black vinyl. I think next time I’ll go more colorful and make each label a different color.
More easy Cricut vinyl projects: Monogram mugs and Cute Polka Dot Water Bottles
Supplies For Cricut Pantry Labels
VinylScraper toolWeeder toolSticky matTransfer tapePantry containers
(These are so good. Easy to open and airtight)
How to Make Vinyl Pantry Labels
Easy! You just open Design Space, start a new project, click ‘Text’, and type in your words. Change the font to whatever you like, resize the font to fit the containers, and you’re ready to cut!
I wanted to make my words around 3″ wide to fit on the wide side of the containers, so I sized the longest word at 3″ and checked to see what size font that was. I made all the words for the bigger containers that same font size, and sized down the smaller ones. (I thought it would look weird if I had all different-sized fonts to fit the same width of the containers.)
- Once you hit ‘Make It’, the Cricut will set up all the words for you so it uses the least amount of vinyl. Place your vinyl on the mat and let the Cricut do its job.
- When it is finished cutting, cut away the piece of vinyl with all your text, and peel the vinyl carefully away from around the words.
- Cut each word out separate from the others and cut pieces of transfer tape slightly larger. (You can reuse any pieces of transfer tape that fit similar sized words.)
- Burnish a piece of tape onto each word, peel the paper backing off the word, then burnish it onto your container.
Comments
0 comments