Who doesn’t love bees?!
These cute little buzzy friends are starting to pop up everywhere around here, and they’re fun to watch flit from flower to flower (but not so fun to try to keep away from my dog…)
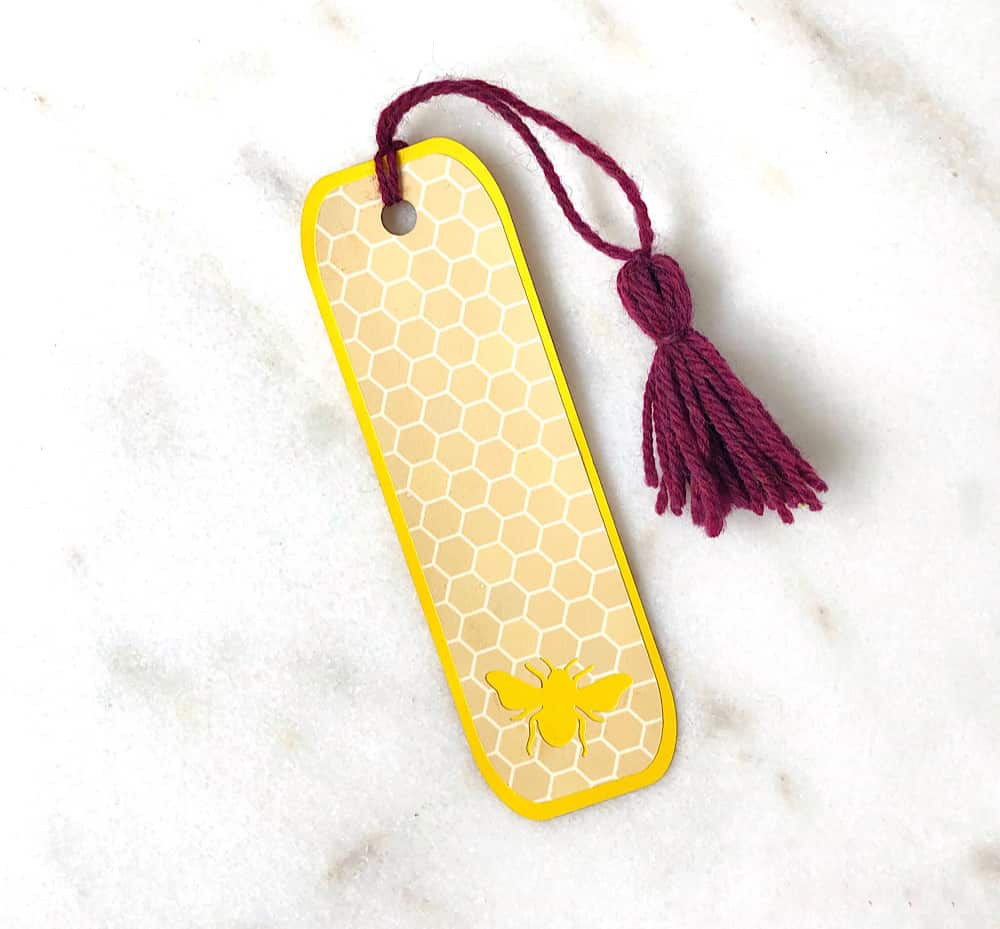
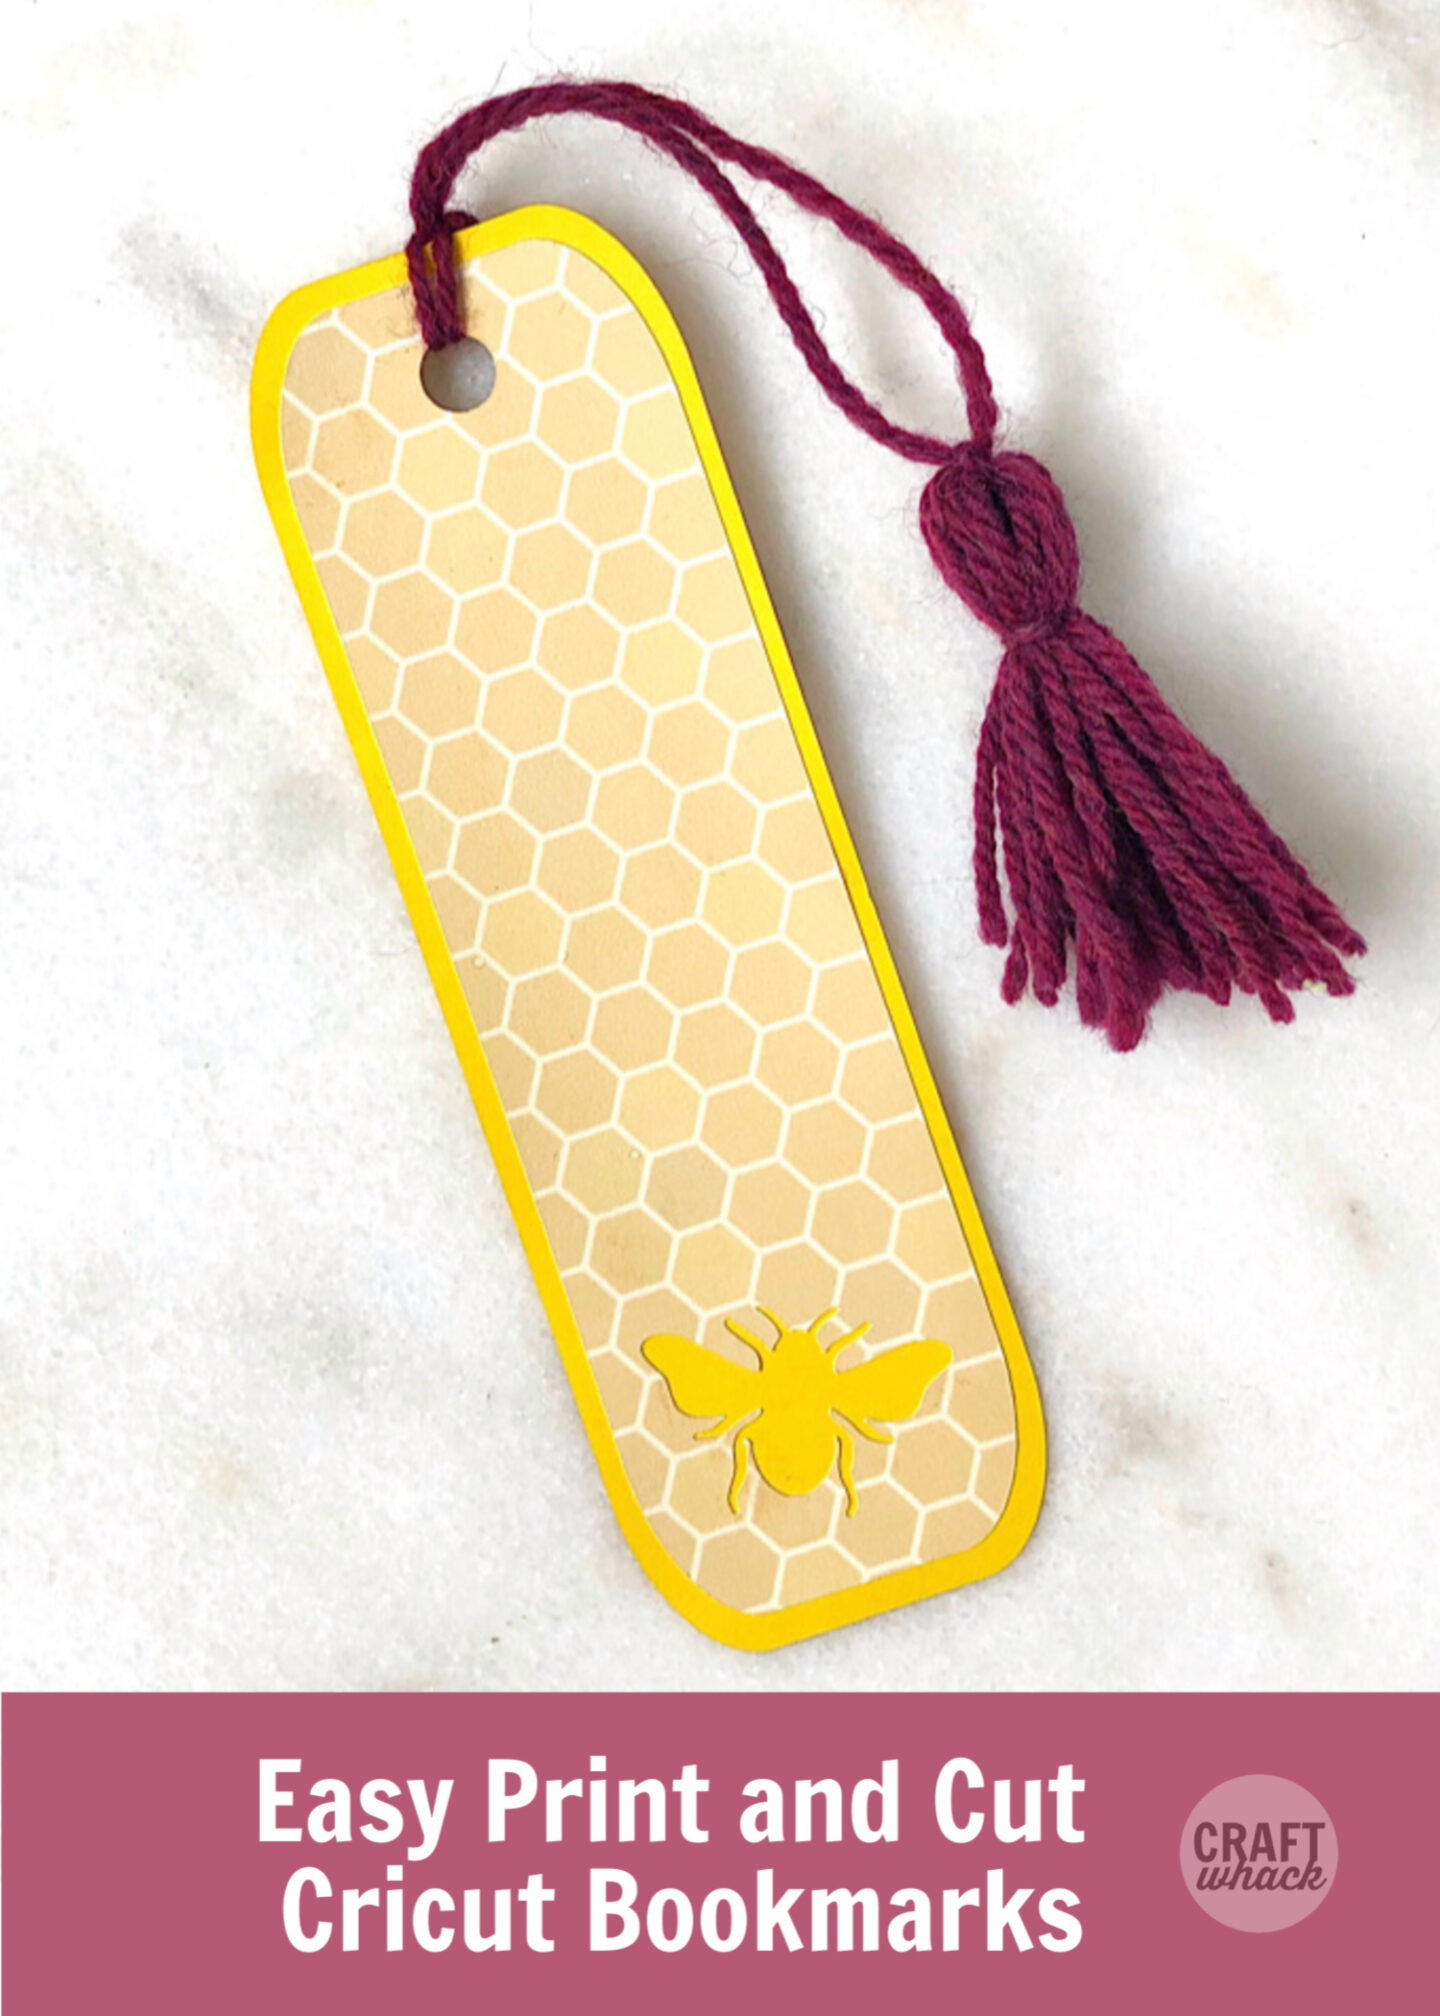
Bees lend themselves perfectly to paper crafts, so we’re going to be making paper bee bookmarks on the Cricut!
Making Paper Bee Bookmarks on the Cricut
To make these bee bookmarks, all you need are 2 sheets of cardstock, some glue, and whatever you want to use for the top tie. I made a wine-colored yarn tassel, but you could tie some ribbon or string on the top if you aren’t into the yarn.
This is such a great beginner Cricut project, and is my second attempt after the Summer Cricut Stickers I made.
Supplies for Bee Bookmark
White cardstock (1 piece)
Deep yellow cardstock (1 piece)
Yarn or other material for tassel/tie (these yarn colors are so pretty!)
Adhesive (I used this acid free glue stick)
How to Make the Paper Bee Bookmark
This is the design I made in Cricut Design Space, and I’ll show you how I made it. You can take these steps and design your own bookmark, or use my design and make bee bookmarks.
I think they look adorable with the yellow cardstock, but play around with using different colors if you feel inspired!
Step#1 Open my bee bookmark design in Design Space and click “Make it”.
Step #2 Follow the directions in Design Space to print and cut the white card stock piece.
Step #3 Follow the prompts to cut the printed and yellow card stock pieces (I used the cardstock intricate cut setting).
Step #4 Glue the 2 bee pieces onto the yellow center piece and you have your bookmark ready for a tassel!
Make a Bookmark Tassel
It’s easy to make a bookmark tassel using yarn or string. You could alternatively just tie a little ribbon through the hole.
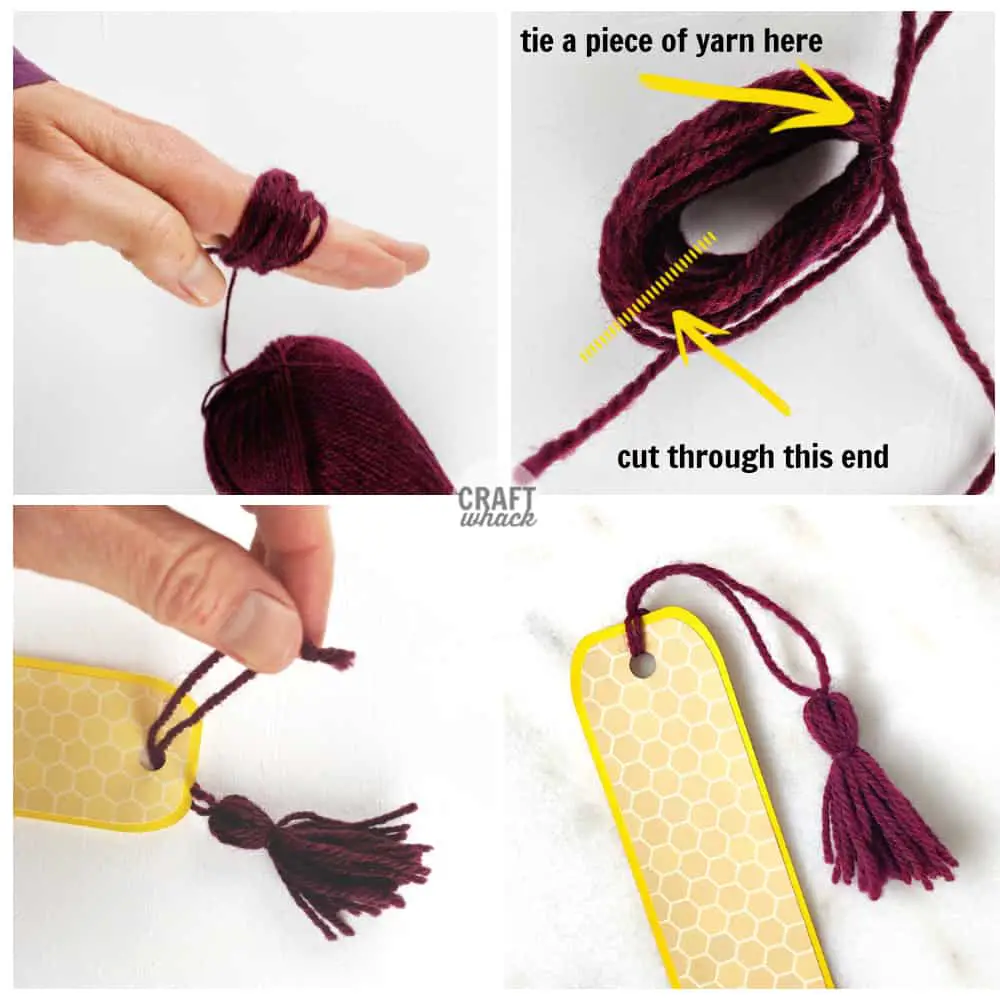
Step #1 Wind yarn around your 4 fingers about 10-12 times
Step #2 Remove the yarn from your hand and use a separate piece to tie one end of the yarn lasso together.
Step #3 Cut the bottom of the lasso where the dotted line is in the photo below.
Step #4 Tie another piece of yarn a little ways down from the head of the tassel and trim all the ends to be even.
Step #5 Tie the top loop (the piece you used to initially tie the yarn lasso together) closed.
Step #6 Insert the end of the yarn through the bookmark hole, and pass the tassel through to secure the tassel.
Design Your Own Print and Cut and Bookmark for the Cricut Maker
Like the bee bookmark but want a different pattern or cutout? It’s easy to make your own print then cut bookmark on the Cricut. Just follow these steps.
Open Cricut Design Space and click on “New”.
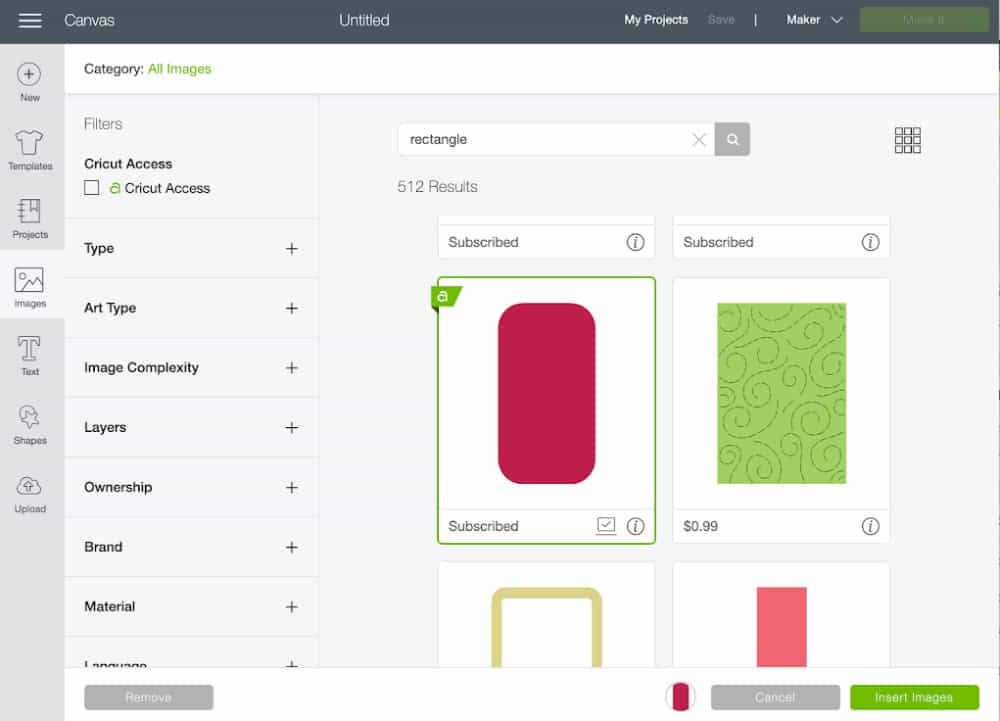
Click on “images” and search for “rectangle”.
Scroll down to find the rounded-corner-rectangle, and click on it. Then click on “insert image”.
Click on the little padlock at the bottom left of the rectangle to be able to change the image proportions, and drag the double-arrow button at the bottom right corner of the rectangle to resize the rectangle.
I wasn’t too precise, but I made it around 7″ tall by a little over 2″ wide. You can also set the precise measurements by clicking the little “more” arrow at the top right of the screen.
Bookmark Pattern and Cutout Shapes
Change the print pattern for the rectangle by clicking the “fill” button at the top, and then clicking “print” and selecting “pattern”. You can scroll down to use whatever pattern you like, and then when you click on it it will automatically fill the rectangle.
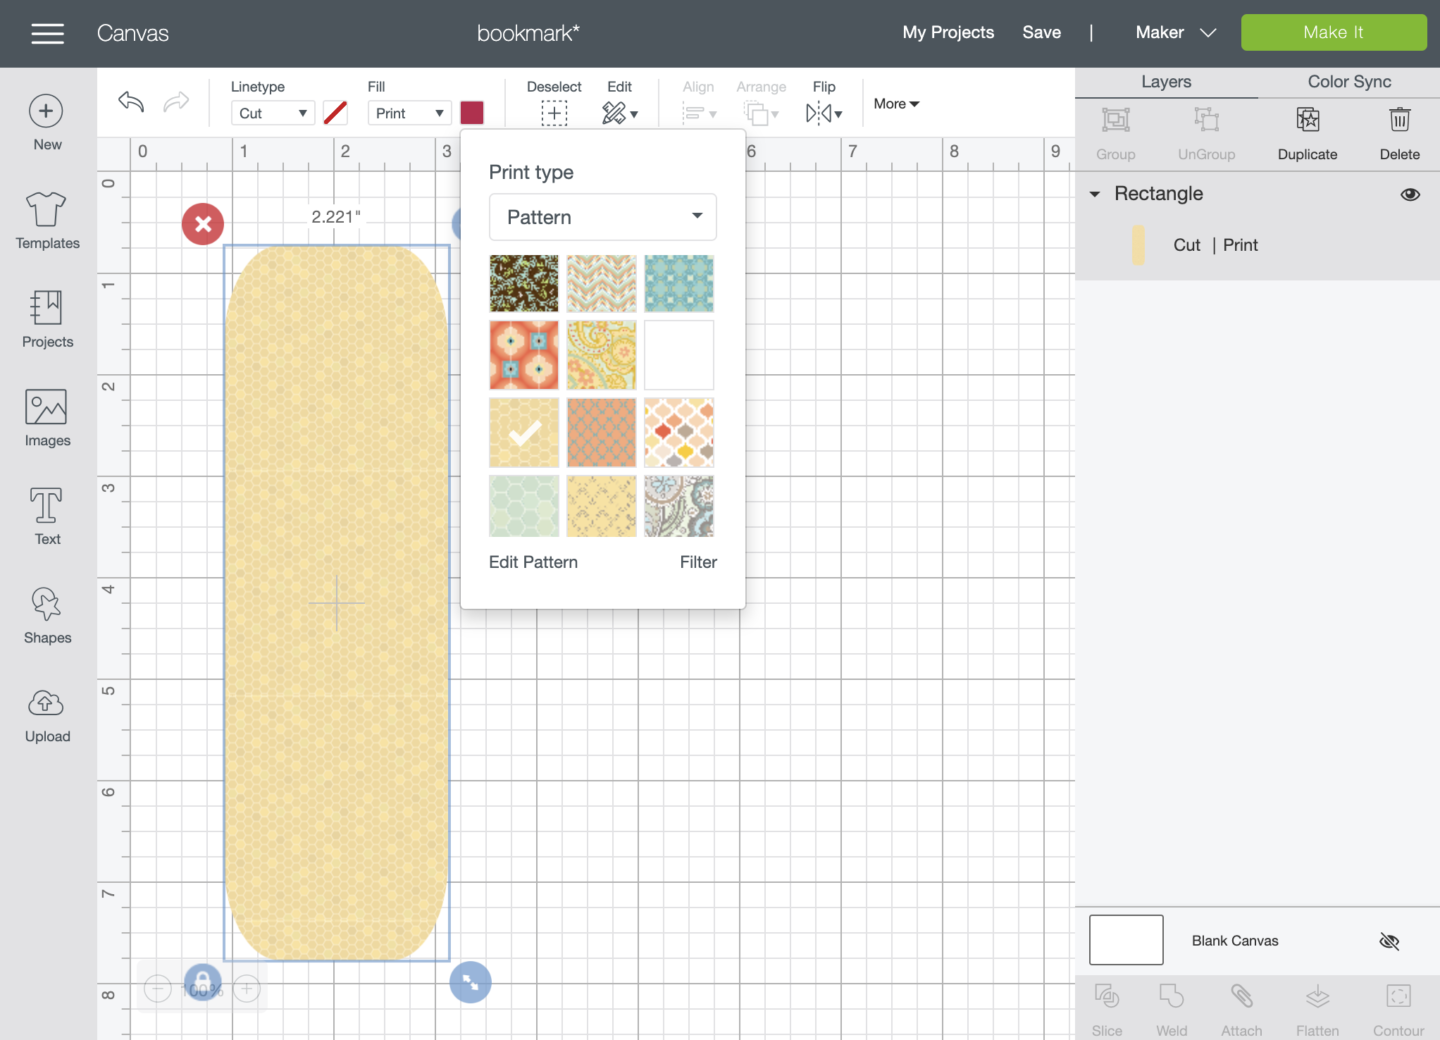
Click “Edit pattern” in this window to scale the pattern bigger or smaller.
Next click on the “shapes” button on the left and select a circle. Scale it down by dragging the double arrows – I made mine about .375″ and then dragged it up to the center top of the bookmark.
Duplicate this circle by clicking on it and pressing ‘duplicate’ on the top of the control panel to the right. (Move it out of the way to use for your middle rectangle.)
Click on “images” and do a search for bee or whatever shape you want to use for the cutout. I originally went with a different bee, but my Cricut mangled it during cutting, even using the “intricate” setting.
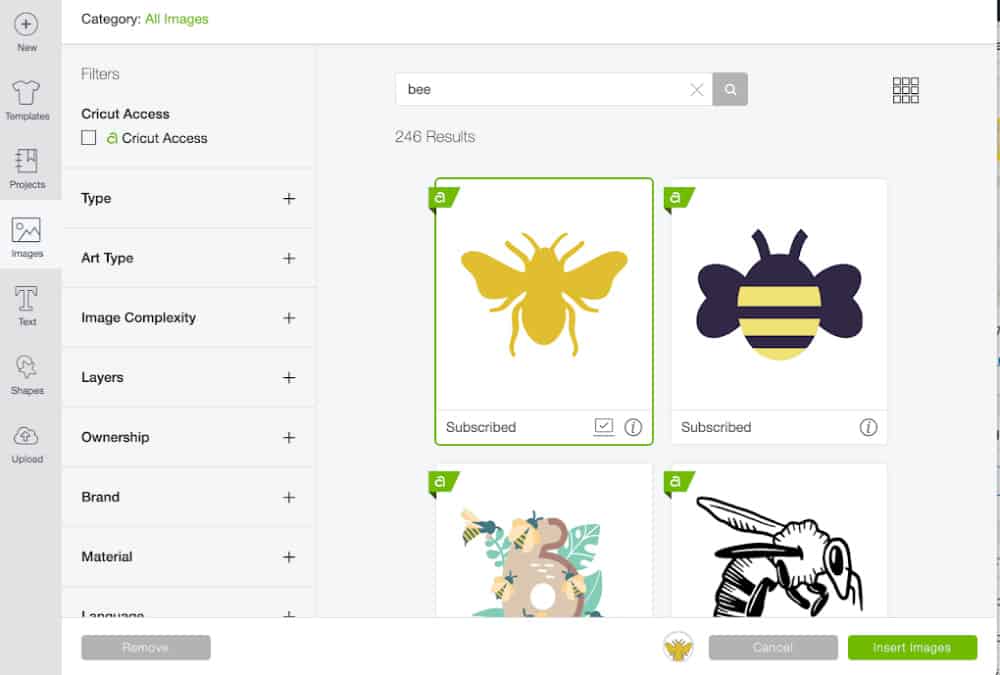
Drag and resize the bee to wherever you want it on the bookmark.
Select the rectangle, circle, and bee by clicking and dragging your cursor around all 3, then click “Attach” at the bottom right. This will keep the elements from accidentally being moved around while you work.
Duplicate this by clicking on it to select it, then clicking “duplicate” on the right side of your screen. Drag it to place it next to your first rectangle.
Now click on “images” again to find your round-cornered rectangle again, and insert another one onto your work space. Scale it up to be a little bigger than your first rectangle – about 1/2″ bigger on each side.
Again, I didn’t measure precisely, but I used the “Arrange” tool at the top toolbar to eyeball how this rectangle looked behind the smaller rectangle:
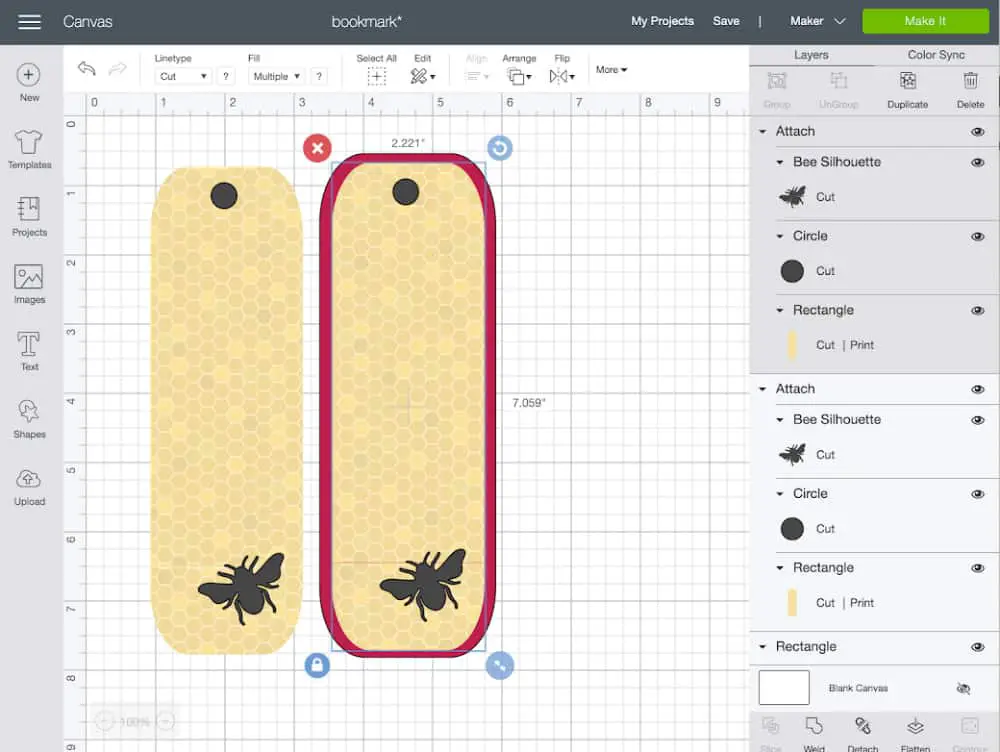
Next, drag it to the right of your other 2 rectangles. Remember the extra circle you made earlier? Drag this to the top center of this rectangle, select it and the rectangle together, and click ‘Align’, then ‘Center horizontally’.
Lining Them Up
We have to remember to line up where the holes are cut from each shape. Doing this is simple and takes just a few steps.
Select all 3 rectangles by clicking and dragging your cursor over all 3 of them.
Then click center vertically to line them all up by their centers.
Lining up the circles: you may know of a better way to do this, but this is how I did it.
Click each of the 2 bee rectangles and then click ‘detach’.
Press shift and click on each circle so all 3 of them are selected.
In the toolbar, click ‘Align’ and then ‘Align top’. All the circles should be lined up in the same place now.
I like to drag around each rectangle and ‘reattach’ them now, just so I don’t accidentally move elements around.
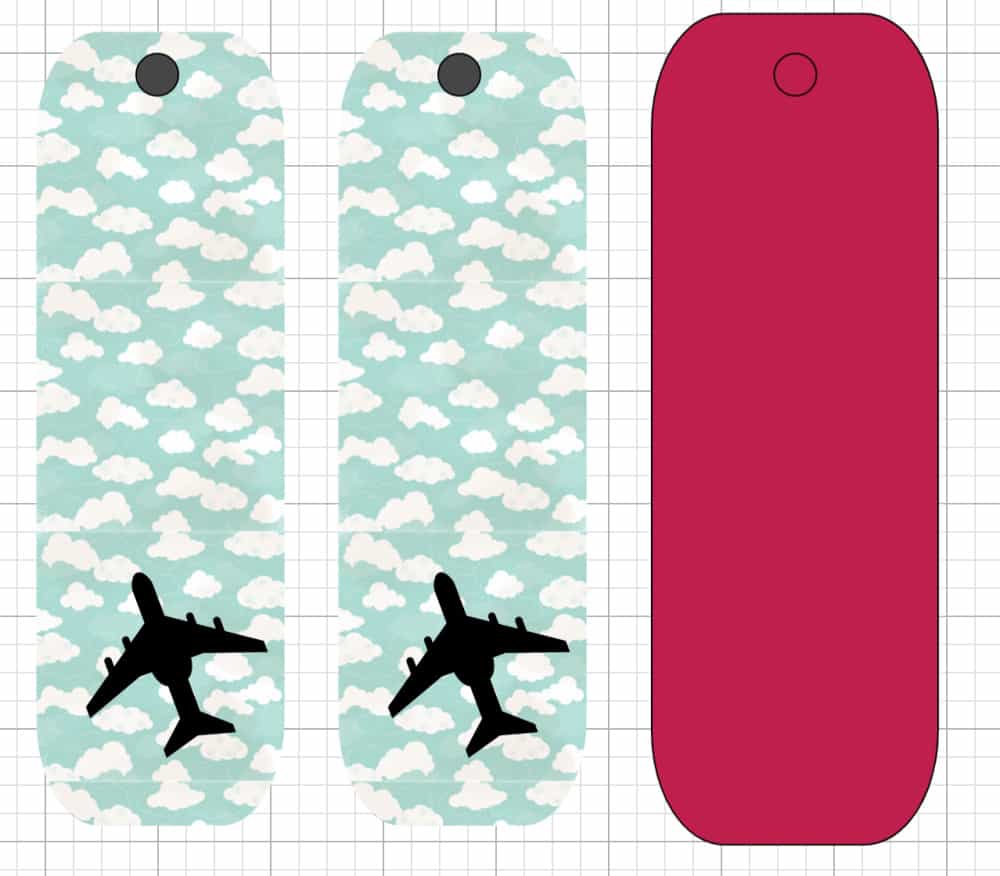
Have fun making these bookmarks! it may look like a lot of steps at first, but it really is fun to design your own with different backgrounds and elements. Here’s another one I designed quickly, with clouds and airplanes:
Pin it for later:
Comments
0 comments