Ribbons and flowers… They just make everything a little more special. Take birthday gifts or Valentine bouquets for example. They are great for special occasions, but why not bring them into other occasions to make more days special?
There’s away! Make ribbon flowers–ribbons wrapped and twisted such that they end up looking like beautiful flowers. Here are the steps for making basic flowers and roses.
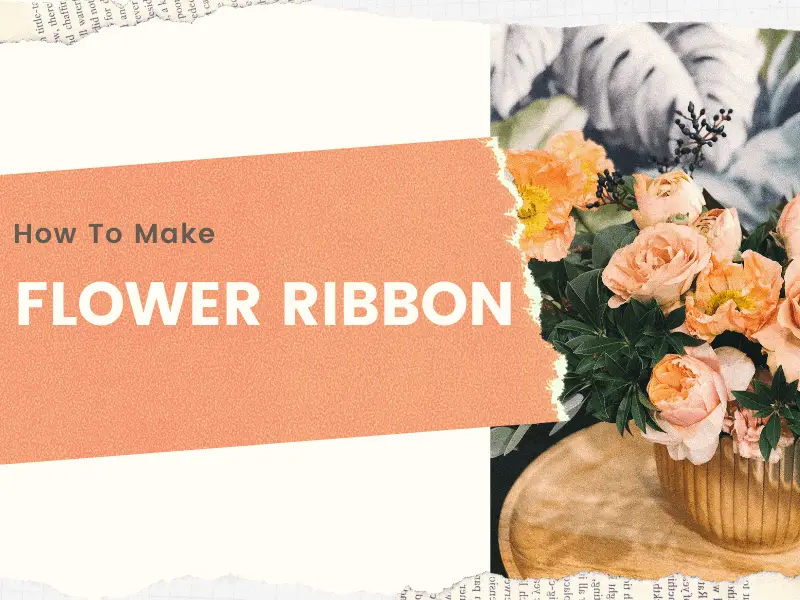
Make Your Own Basic Ribbon Flowers

Not only are they delightful to look at but also they’re tons of fun to make! The following steps will take you through each step for an easy time making the basic ribbon flower (the bottom right bloom in the link above):
Step One – Gather the materials needed
- Ribbon made of satin, 1″ – 1 1/4″ wide
- A bead cap of your choice (just ask any sewing store associate where to find these; you’ll have many to choose from); a diameter of 3/4″ to 1/2″ is best.
- A bead to place in the bead cap. Make sure your bead will fill most of the bead cap so that the hole in the bottom of the bad cap cannot be seen.
- Basic sewing thread which matches your ribbon
- Sewing needle
- Scissors (sewing scissors are ideal, but not required)
- Hot glue and glue gun (if you don’t have those, you can use another strong glue for fabric)
Step Two – Cut the ribbon
Cut the ribbon into 10 pieces (cutting into the side of the ribbon, not along the length of it) of equal size. For now, go with 2 1.2″ in length.
Separate them into groups of five pieces, so you have two groups. One will be used to make the bottom layer and the other for the top layer.
Step Three – Folding the pieces
- Take one of the ribbon pieces and lie it horizontally and flat on your table or another flat surface.
- Place your right index finger on the right side to hold it down as you lift the upper left corner with your other hand. NOTE: These instructions are for right-handed people, so if that’s not you, just reverse each step relative to handedness.
- Fold the left side over to crease at from the top edge of 2/3 in from the left side of the piece, but fold on a downward angle so that you’re left with a 45-degree angle for the folded edge on the left of the piece.
- Next, hold the ribbon at the middle of the 45- degree fold between your left index finger and thumb. Slide your thumb so its fingernail is in the dead center of the length of the fold. That’s where you need to crease for the next fold.
- Pull the upper right side toward the left and down over the bottom of the left side. Once folded, it should look like a little single-roofed house (or a square/rectangle with a triangle on top, pointed up).
- Keeping the smooth side up (not the side where you see the triangle pocket edge), set aside.
- Make four more of these. Set them all aside but for one. These will make up five petals of the bottom layer of the ribbon flower.
Step Four – Begin stitching the first layer
- Cut yourself a string of thread 24 inches long and thread your needle (if this is new to you, it means stick one end of the cut thread through the hole a/k/a eye of the needle and pull it until halfway through and you can hold both ends of the thread in one hand with the needle hanging from the halfway point.
- Take one of your prepared pedals and sew horizontally along the bottom of the little house shape, a touch less than a quarter-inch from the bottom. All you need is four needle holes, and you must start by poking the first one from the front layer through the back layer, then back-to-front, front-to-back, and one more back-to-front. Space your stitches evenly.
- Then, take another one of your prepared pedals and continue your stitching from the sewn one to the not-yet sewn one in the exact same way so that they become stitched to one another at the bottom. NOTE: Be sure to leave about 2 1/2 inches of thread free from being sewn because you’ll need that to tie a knot when finished.
- Do the exact same thing with the next pedal and the other two so that once they’re all stitched together at the bottom, they form a circle, the pointed edges facing out from the circle in the center of them. Push the petals together so that they are all touching each other at their bottom halves, then cut the thread to leave another 2 1/2 inches for tying.
- Tie the loose threads at the beginning and the end of your circle to each other to keep that flower shape. A double knot works best. Then, just cut any excess thread, but for about 1/4″.
YAY! You made the first part, and you’re almost finished.
Step Five – Make the second layer
To make the second layer of this ribbon flower, do follow the exact same steps in Steps Three and Four above with the remaining five pieces of ribbon. Once you have both circles of pedals completed, it’s time to put them together to look like a lovely full bloom.
NOTE: You can always use two different colors of ribbon for this flower. Designate one color for the bottom and one for the top, or you can even mix across the petals of each layer. Heck, it’s your flower, make it colored however you want!
Step Six – Attach the layers
For the look we’re going for, you simply have to place one of your completed layers on top of the other, so the petals are all fanning outward from the center. You will only see the outer edges of the petals on the bottom one.
Do not align the top piece’s outer points with the bottom’s. They should be staggered, so they all show when looking at the bloom from its front.
Once you have them placed together correctly, simply thread your needle again–with about 20″ of thread.
Turn over your flower and stitch the layers together at the middle in the shape of a circle.
Then, tie the loose ends of the thread into a double knot to secure your work.
Step Seven – Add the bead cap
- Thread your needle again to sew the bead cap into the front middle of the flower. You will have to stitch it from the back to the front and vice versa several times. START from the back.
- Use the slats surrounding the center of the cap for entry and exit of each stitch. Also, enter and exit at least twice through the main hole in the cap.
- Your last stitch must go from front to back. This way, you can tie the loose thread ends together on the back where your knot will not be visible from the front.
Step Eight (and FINAL step) – Add the bead for that finishing touch!
Using your hot glue or other glue, dap the bottom of your bead with several drops of glue.
Lightly press it down into the center of the bead cap and hold for 30 seconds. Again, only LIGHTLY put pressure on the bead so as to not push all the glue out from in between the bead and the cap.
Ta-da! It’s all finished. Let’s move on…
Make Your Own Rose Ribbon Flowers

These rose-styled ribbon flowers are much faster to make than the basic flowers.
Read Related Article: How to Make Deco Mesh and Flowers Spring Wreath
Step One – Gather the materials needed
Here’s what you need:
- Satin ribbon, 1″ – 1 1/4″ wide
- Scissors
- Hot glue and glue gun (if you don’t have those, you can use another strong glue for fabric)
Step Two – Cut the ribbon
Pull out about a yard’s length of ribbon and cut. Any less than a yard and your rose won’t look like a rose.
Lay the ribbon flat and horizontally on your table, one end right in front of you with the rest flowing off to the left. Again, if you’re left-handed, do the opposite.
Step Three – Initial folds
On the left end at the bottom of the ribbon, squeeze a skinny line of glue from about an inch in from end to end.
Take the upper right corner of that end and fold it toward you and down, so the crease forms a triangle at a little less than a 45-degree angle. The edge of the folded-down part should slightly hang below the bottom edge of the ribbon.
Press the ribbon together where the glue is.
See Related Topic: Ultra Relaxing Tangle Flower Drawing (With Free Printable)
Step Four – Continue folding
Rotate the ribbon end, so it’s facing you and the remaining ribbon is off on an angle, still to the left, but away from you. This is just positioning to make it easier to do the next folds.
Lift the corner that is pointed right at you and fold it so the point is just past the edge of the first fold. Then, fold in the same direction one more time, like you’re trying to fold a burrito.
Before the next fold, add a spot of glue to the layered area of the ribbon to start securing the ribbon will hold your folds going forward. This is the first of a few more spots of glue as you go.
Next, lift at the glued area and hold in a loose pinch, so you can use your right hand to repeatedly wrap the ribbon around and around. Repeat the steps below until you’ve used up your yard of ribbon:
- Fold/wrap the ribbon slightly above the bottom edge as you go;
- After the first two wraps, loosely twist the ribbon 360-degrees before gluing the bottom to the center;
- Repeat the twist and glue-to-center until finished.
- Look at the rose from the front to see if the out points are lined up, if they are, reach in between the circles of pedals and twist here and there so it looks like a rose. Roses’ points are never even.
- Glue the bottom edge of the ribbon to the center in the back, and you’re done!
Have fun!
Comments
0 comments