I remembered a technique from college, where you brushed 10+ layers of gel medium over glossy magazine pages, letting them dry in between. Then you wet the magazine page and gently rolled the paper away with your fingers to reveal the image had been transferred over to the gel medium. The result was a plasticky, translucent image to do with what you pleased. This is one version of a print transfer.
When I perused Golden Paint’s site for info, they had a really cool project idea using this technique, and an easier one. This is a good intro to printmaking and mixed media techniques.
1. Make a painting. We used small canvases, but we’re going to try some on art boards, too.

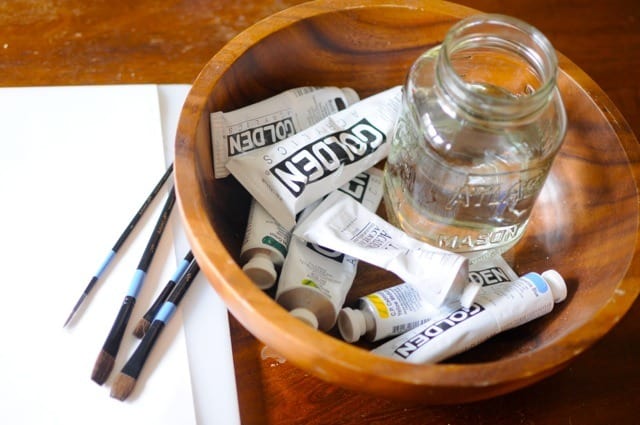
Materials:
- Small canvases
- Pencil
- Paint – acrylic, tempera or watercolor. We used acrylics.
- Paint brushes
- Acrylic gel medium. We used Golden brand soft gel in a gloss finish, but they have matte and semi gloss, too. I wouldn’t pick a heavy gel, because it’s too thick and goopy.
- Ink Jet or laser print or photocopy of image to be transferred onto the canvas. (Note: inkjet prints are inconsistent- for best results use laser prints!)
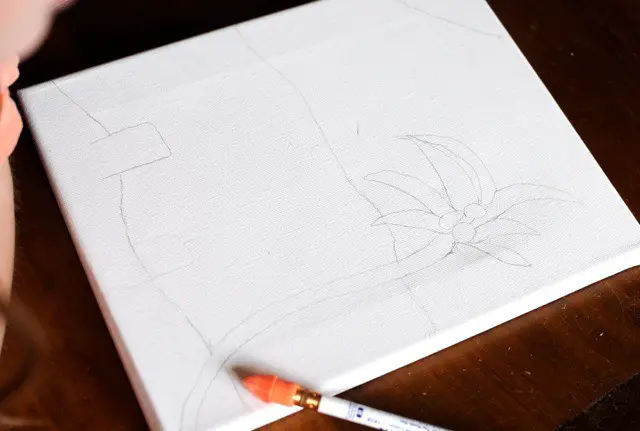
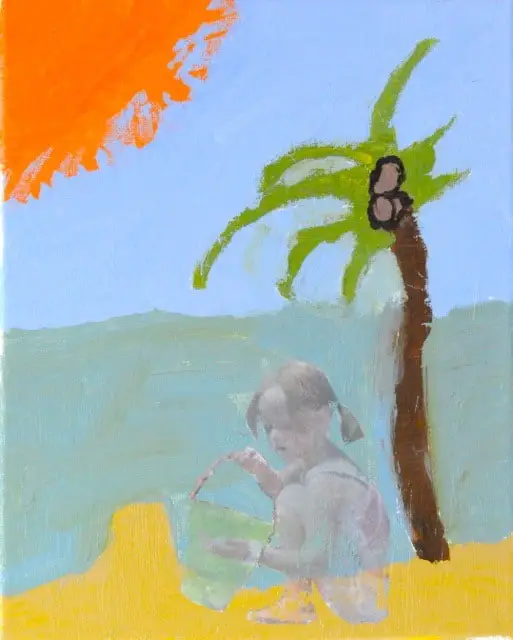
1. Sketch. I asked Fen to sketch out a scene, leaving an open area where she wanted the print of herself to be.
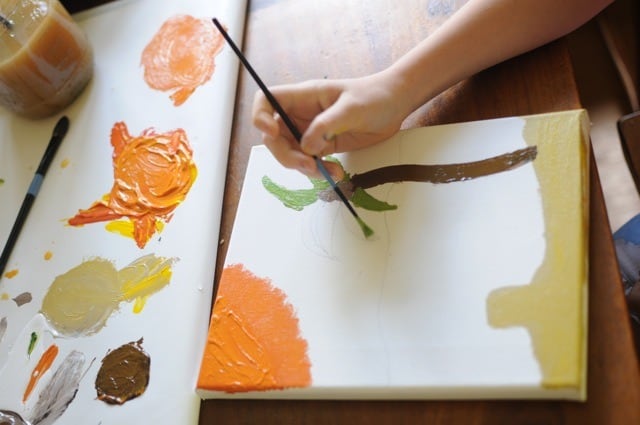
2. Paint it. I squirted out the following acrylic paint colors:
- white
- red
- brown
- yellow
- green
- green gold
- blue
When your child is learning to mix colors, it is better to have fewer color options to choose from, otherwise they will want to use EVERY color and the painting will look like rainbow vomit. Reign them in at first by giving them just a few colors to use in the painting. They can experiment with mixing the colors they DO have together to get new colors.
If you don’t feel like tackling the color-mixing right now, pick a couple of colors you like from the tubes. (I linked to a good set of acrylics above.)
3. Let the painting dry thoroughly. Prepare your print-outs by cutting neatly around the image you want to transfer. Keep in mind that when you transfer the image, it will be a mirror image of what you see, so print it out backwards if you want it to show up the way you see the print. (Make sense?)
4. Use a wide brush to apply the gel medium to your painting. Use a good amount. We brushed it on the whole canvas going horizontally, and then again vertically.
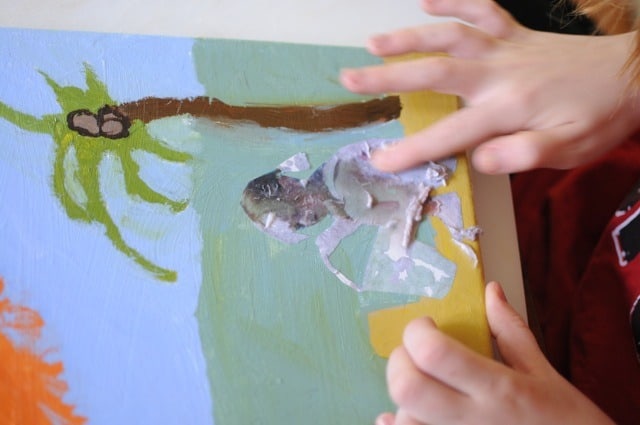
5. Place your printout down upon the gel wherever you want it and press it thoroughly, but don’t wiggle it around. Let it dry overnight.
6. After thoroughly dry, grab a little dish of water and wet the back of your printout. Gently rub away the wet paper in a circular motion until it’s gone. Your image will remain! Leave as is (we did this) or brush another layer of medium over the whole painting.
For more inspiration, check out these acrylic techniques, and this experiment with more acrylic transfer.
Comments
0 comments
Oh I love this idea! Can’t wait to try it with my son.
Tihs is gorgeous and I am going to get the only thing we don’t have on hand – the acrylic gel. Not that a trip to the art supply store is ever a chore – thanks for such nice clear instructions, too!
Sorry typed on my iPad I meant This!
Definitely do it! It’s one of those projects where they think it’s magic and are very proud of it. (also if you do
Also if you do it, I wanna see!
Oh, thank you for saying that! You don’t realize how hard it is to explain a project until you try to write it out. I’m glad it makes sense.
OMG I loved this! this is wonderful. In 1998 I worked at a photolab and had a little retail digital department. we use to pay tons of money for transfer material (and sadly charge clients a lot) to print their picture on the transfer material and then iron it on to t-shirts. do you by any chance know how we can do the homemade version of putting pictures on mugs? that would be so cool. thanks
Ya know- I think you have to buy an expensive heat transfer machine if you want to do mugs at home. But have you been to Zazzle? You could upload your images there and order mugs.
Wow. That is so cool! You are amazing! How long did the project take and how easy is the image transfer to actually pull off? We are not crafty over here!
So awesome that you posted this today. I was just thinking today about all the xerox lithography that I did in college, and how I would love to do it again. I always used gum arabic, but the gel medium might be more easy to use. I love the way you did this with your daughter! Can’t wait till Simon is old enough!
The great thing is that Fen did this entirely herself, so I imagine it would be doable for ages 7-8 and up. I must say, I was happily surprised at how easy this was! You could always practice with a few prints on plain paper before applying a final print to a painting.
I wish I had done more printmaking in college- I couldn’t really get the hang of etching so I abandoned it… this is a fun project and just a good way of introducing printmaking to kids. Simon should be old enough soon….in the meantime, you should probably practice doing this for yourself!
Such a fun idea! I can’t wait to try it – my fingers are tapping with excitement! Love the art boards too! The finished product is AMAZING! I love it – you have to hang that!
Wow, that came out beautifully!! I love it!
I’m going to try this with Gigi process art style! So cool!
Oh, cool- this will be a fun one to just play with.
I haven’t 3 our of 5 in the house home over the past week and a half with bad, bad colds, just as I’m supposed to be free and they’re supposed to be in school. When I see this post, it makes me just want to keep the kids home one last day for more creating!!! Fantastic. I love print making. It’s been a long time since I’ve done one and haven’t done this with the kids — thanks for the beautiful tutorial!
Oh! We got our colds from your family. The kids and I have been sick and it’s been hot and sunny around here, so it makes it feel like we’re missing the last few fleeting days of summer. It’s fun to do this sort of project with the kids, since I think it’s not really a common one, but so cool.