There’s a certain time of year when turkeys become particularly popular, and if your family are coming over, you might want to show off just how awesome your kid’s craft supplies are.If you want to help your child create a turkey from a paper plate, there are lots of options, but here we’ve gone through a couple of the best paper plate turkey crafts for you to try.
Blob Paint Turkey
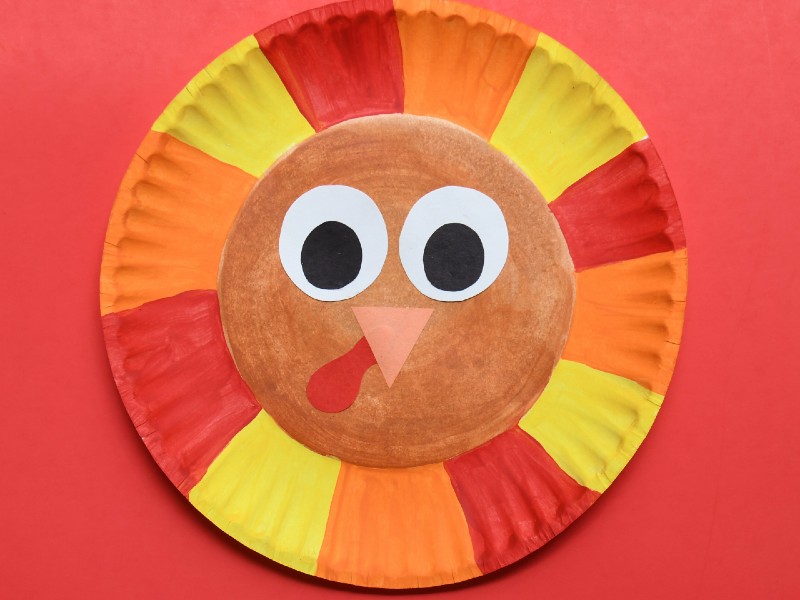
 Source: https://www.redtedart.com/paper-plate-turkey-craft-for-preschoolers/This is a great one for a very little child, and it’s nice and quick, even if you’ve got lots of stuff to do for Thanksgiving. Quick, easy, and bright colors, this is perfect for a quick bit of table decorations!
Materials
For your blob paint turkey plate you’ll need:
- Paint, in red, yellow, and orange
- A plain white paper plate (several if you want to make more than one turkey)
- Brown card
- Googly eyes
- Scissors
- Glue
- Red card
Step 1: Blob Some Paint On
Help your child to blob some little splodges of red, yellow, and orange paint onto one half of the paper plate.
Step 2: Fold The Plate Over
Fold the paper plate over on itself and then let your child squeeze it around to smear the paint into different places. It may be wise to put something under the plate to catch any potential drips at this point, as some may spill out of your child has got a little too enthusiastic with the paint-dotting process!
Step 3: Unfold The Plate
Unfold the plate and set it aside to dry. If there are any bits that haven’t got paint on, you can just dab some color across, but you should have a wonderful rainbow of reds, oranges, and yellows creating a bright sunset on both sides of the plate.
Step 4: Cut Out Your Turkey Head
While you’re waiting for the plate to dry off, help your child to cut a card into a rough triangle. This doesn’t need to be very neat; just make sure it has one short side (the bottom of the turkey’s neck) and two long sides that will reach up to form the head.Once you’ve done this, fold the top of the triangle over so you have a little pointed head at the top.Grab your red card and cut a little wattle, and then help your child glue this underneath the turkey’s head, against its neck. You can also color the tip of the turkey’s beak yellow if you like.
Step 6: Add The Eyes
Your kid should stick the googly eyes at the top of the turkey’s head, quite close together. This will make the turkey look lovely and silly!
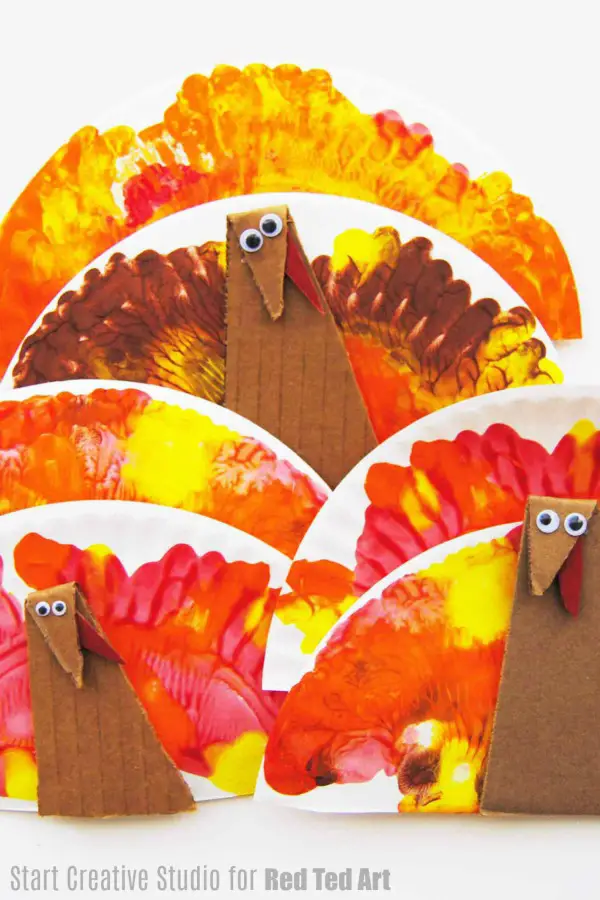
Step 7: Cut The Plate
Now that the plate is dry, cut it in half and put the two halves together so that they slightly overlap, with both painted sides facing you. You are making the frills of the turkey’s tail feathers here, so you should be able to see all of one half of the plate, and some of the other half. Glue them together firmly.
Step 8: Glue The Head On
Your child can now arrange the turkey’s head in the right position at the front of its paper plate tail and glue it in place. You’ve got a perfect, bright little turkey craft just waiting to decorate your Thanksgiving!Tip: if you want to make lots of these, consider varying the colors a bit, as red, yellow, and orange could get dull after a while!
Paper Turkey Finger Puppet
Source: https://www.redtedart.com/paper-turkey-finger-puppet/
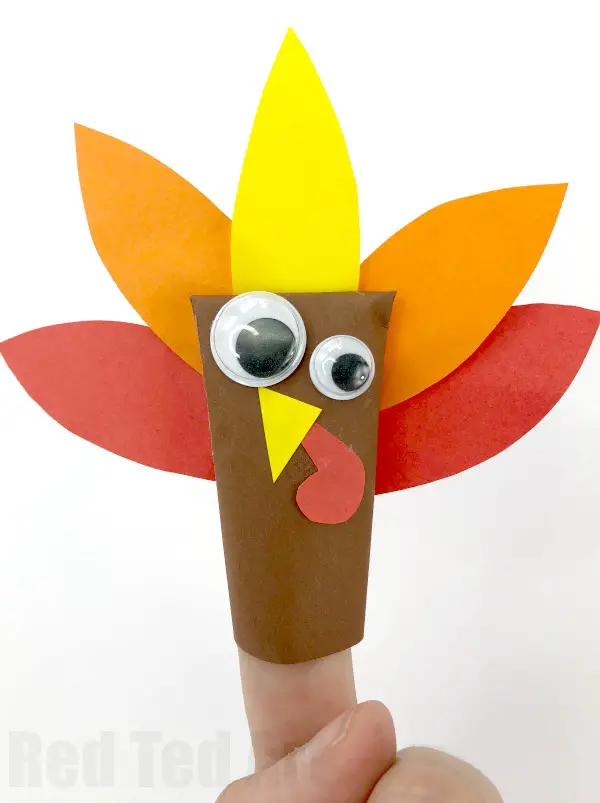
Kids love finger puppets, and these are so cute that you might even be tempted to make some for the adults. You could use them as placeholders if you write a name across the feathers, so everyone knows where to sit at the Thanksgiving meal.
Materials
For this craft, you will need:
- Brown paper
- A paper plate
- Googly eyes
- Scissors
- Glue
- Red, yellow, and orange paint or coloring pencils
- Tape
Step 1: Create A Turkey Body
Cut a small strip of brown paper, around the size of your finger, that can be rolled up to create the main body of the finger puppet. You might want to make some slightly smaller ones if you’re creating for little fingers.You can use tape to stick the paper more quickly than glue would, and this makes it easier for your child to give you a hand.Fold the top of the rollover and stick it neatly down the back. Leave the bottom open so you can put your finger in.
Step 2: Cut Out Feathers
Grab your paper plate, and outline some quick feathers on it. Get your child (or do it yourself) to color them in yellow, orange, and red, or use paint to get a particularly smooth finish. Once the feathers are ready, cut them out.The paper plate will help make sure the feathers are stiff enough to stand up once they’re attached to the bird.You can make as many feathers as you want, either doing a simple tail or building it up to create a spectacular fan. However, if you’re making lots of turkey puppets, don’t get carried away!Glue the feathers to the back of the puppet. If you have a glue gun, this might make the process quicker.
Step 3: Cut Out The Features
Your turkey will also need a beak and a wattle. Cut the beak from yellow paper and the wattle from red. If you don’t have googly eyes, you can cut some from black paper and add a dot of white paint or a little scrap of white card to make the eyes look shiny.When you’ve finished, get your child to help you glue the little face on, and you’ve got a beautifully finished finger puppet. Just another twenty or so to go…
Conclusion
Turkeys bring a splash of color to your Thanksgiving dinner and can be a great way to get your kid involved in the preparation process. If your child is a bit older, you could always set them to the crafting task with minimal supervision while you get everything else ready.You can of course use different colors for these crafts, or a selection of real feathers for the tail of the puppet, but red, orange, and yellow are the traditional choices!

Comments
0 comments