Pumpkins offer a fantastic crafting opportunity to anyone and there are so many inventive ways you and your child can craft pumpkin-themed bits and pieces. Let’s explore some of the best pumpkin crafts for kids. Even very little children should be able to enjoy these, with a bit of help from mom or dad!
Pumpkin Sun Catchers
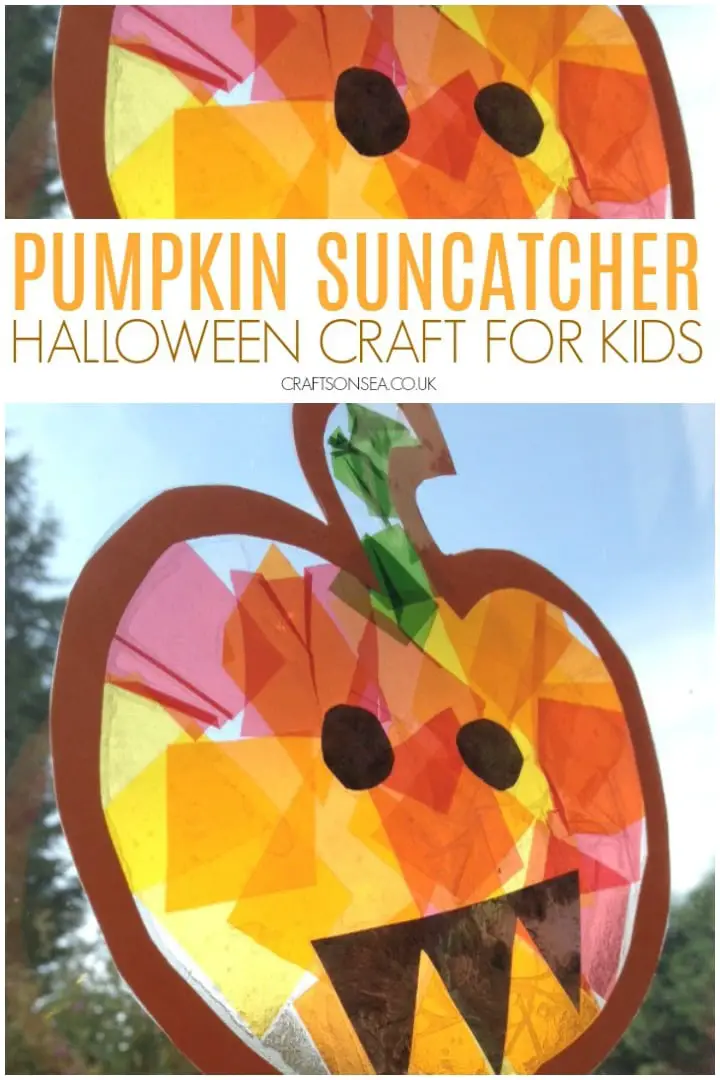 Source: https://www.craftsonsea.co.uk/stained-glass-pumpkin-suncatcher/Any art you can stick up and carry on enjoying over a period of time is a win, and these sun catchers will look fantastic in your child’s window. They will add beauty to a fall vibe or Halloween decor, and they are quick and easy to make.
Materials
To create a pumpkin suncatcher, you’re going to need:
- Sticky backed plastic
- Googly eyes
- Orange and yellow tissue
- Orange card
- Glue
- Scissors
- A black marker pen
Step 1: Tear Up The Tissue
One of the great things about this craft is even quite young children can have a go at it, or help older ones. You can help your child tear up the tissue into pieces, or you can cut it up if you prefer. You want a good selection of different sizes and shapes.
Step 2: Stick The Tissue To The Plastic
Unroll some of the plastic and carefully pin one end down using a drinking glass or something similar. This will help to keep it open while you and your little one work.Help your child stick a thin layer of your tissue pieces to the plastic. You don’t need to try and make a pumpkin shape now; you can do that in a few minutes, but do try to make sure there aren’t any big gaps in the tissue.You need a fairly uniform layer, so if there are any bits missing, help your child fill them in or quietly do it yourself so that you don’t end up with sticky bits of plastic still exposed.
Step 3: Cut Out Your Pumpkins
When you have a good layer of tissue paper, cut the section of sticky-backed plastic off and turn it over so the tissue is underneath. Use your marker pen to draw pumpkin shapes in the orange area you’ve made, and then cut these out. Your pumpkin sun catchers are nearly ready!
Step 4: Add The Faces
Give your child some googly eyes to stick onto the pumpkins, or print out or draw some funny eyes on paper and cut those out instead. You can also draw on mouths using the marker pen, add eyebrows, give them funny expressions, and just generally make them look great!
Step 5: Add Borders (optional)
Your pumpkin sun catchers will look much better if you add a border to them. Grab your orange card and draw around the pumpkins, and then use this as a guideline to create a border by drawing a line on the inside and on the outside of the one you’ve just drawn, and cutting around those.Once you’re happy with the border, stick it into place. This will give your pumpkins a nice, finished look, especially once they are sticking to the window. A thick card is better as it will block more light and give them definition, but your kids will love whatever you use.Now, all that’s left to do is stick them up and enjoy the way the sun lights up their silly faces!
Handprint Pumpkin Craft
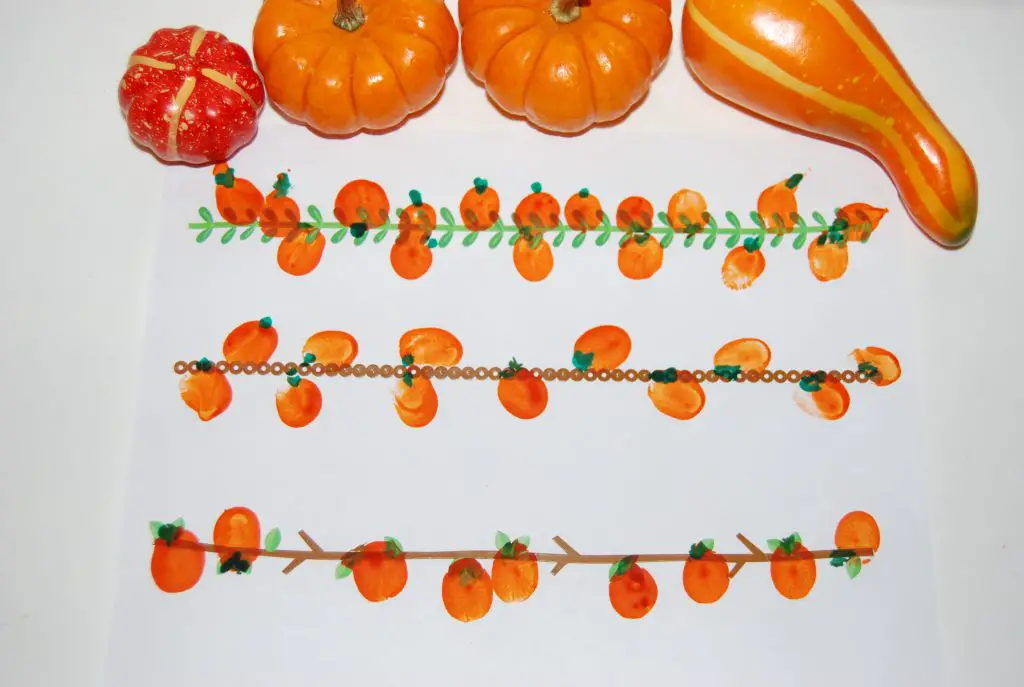 Source: https://thepreschooltoolboxblog.com/thumbprint-pumpkin-patch-hand-print-pumpkins-and-witches-hats/If your child loves finger painting, this is a great one for you. It’s very easy even for little kids, so provided you don’t mind a bit of mess, it’s the perfect pumpkin craft. If you’ve got kids of different ages, it’s even better; the little ones can join in and the older ones can still have plenty of fun.
Materials
Pumpkin handprints require:
- Orange paint
- Green paint
- White paper
- Black marker
- Pencil
Step 1: Draw A Template
Take the sheet of paper and draw a large circle on it with a pencil. This will give your child some guidance and help them to create a rounded shape. Putting a small circle in the middle will also help them to work out where to put their hand.
Step 2: Help Them Make Prints
Pour out some orange paint and help your child make handprints on the paper, working in a circle around the center. The child’s palm should be in the middle, with their fingers going outwards to form a print at the edge of the pumpkin.You may find it helps to keep turning the paper so your child can reach it easily and doesn’t cause accidents by leaning too far.You want some dense prints around the center to form a good “pumpkin body.” Once you and your little one are happy, get them to wash their hands and help you clean up a bit while the paint dries.
Step 3: Draw On The Face
The pumpkin still needs a face, so grab the marker pen. You may need to help, depending on how old your child is. Ask them if they want a scary or a happy face, and guide them on where to put the eyes and mouth.You can also add some black lines to denote the pumpkin ridges, but you don’t have to do this.
Step 4: Add The Stem
Pour a little green paint out and get your child to add a stem using their thumbprints. They can layer up several prints to make a thick enough stem, and you could add your own prints too. Once you’re both happy with the stem, set the picture aside to dry and clean up again.These are great Halloween crafts for any kids who love fingerpainting, and you can do a whole range with silly faces; they’ll make wonderful memories of just how small those hands once were.
Conclusion
Pumpkin crafts bring gorgeous colors and fun shapes to your home, and they are a lovely, easy thing to do with your little one. There is so much opportunity to create and make, and getting your kid to join in with the decorating will give you both some uninterrupted time together.

Comments
0 comments