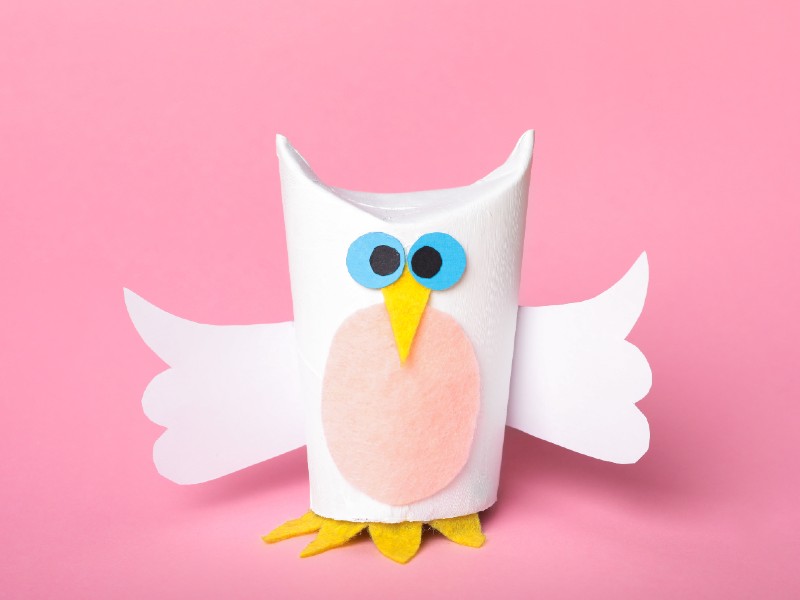
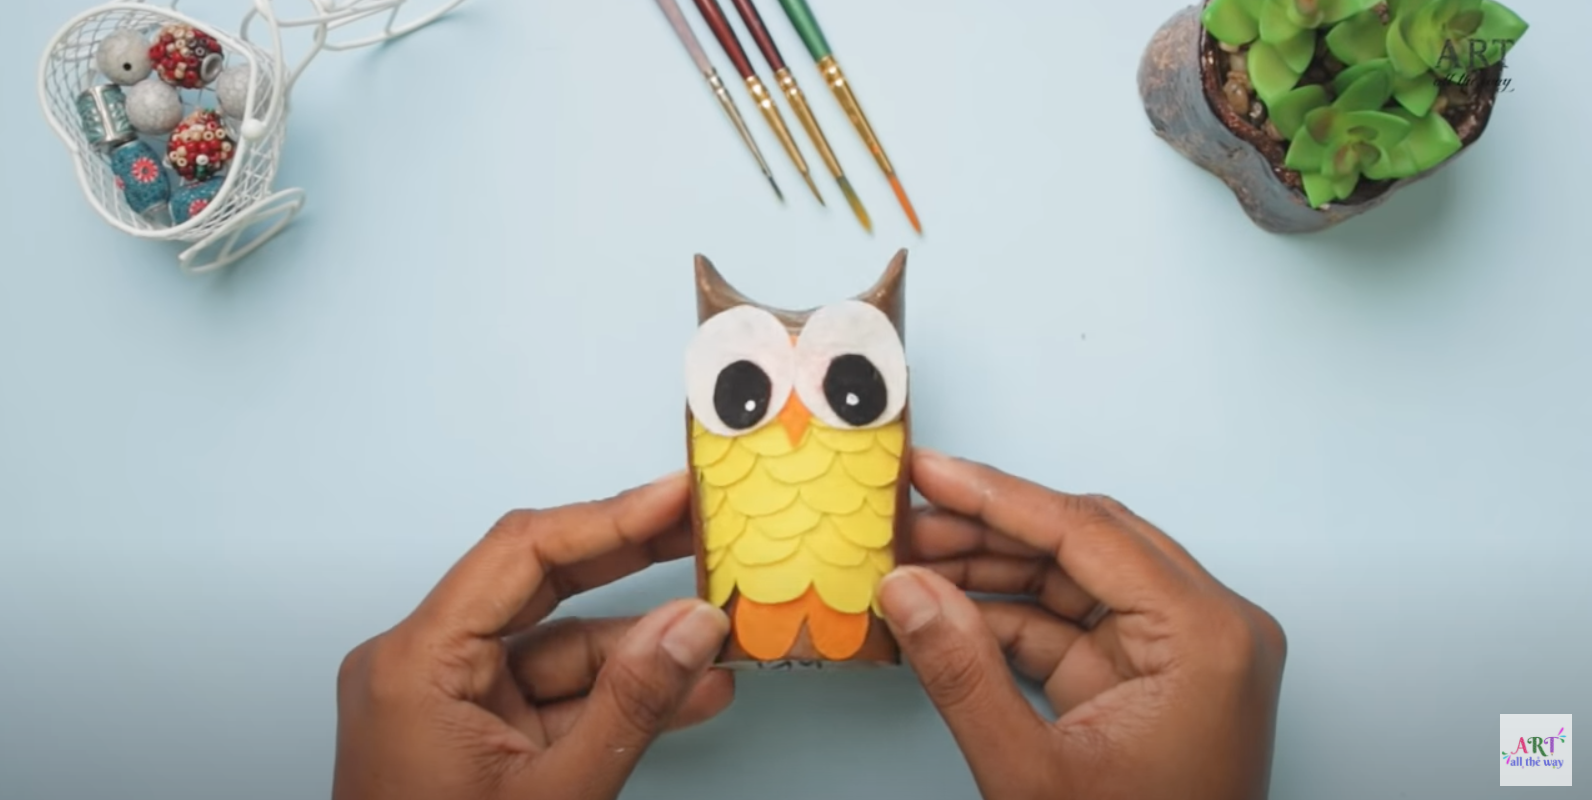
Owls are often a favorite animal to make crafts into because of their relatively basic shape. If you are looking for craft ideas for your children, owls may be the first place to start. In this article, we are going to look at three awesome owl crafts that you can make with your kids. Let’s dive right in.
Owl Crafts for Kids
Best For Young Children: Lunch Bag Owl
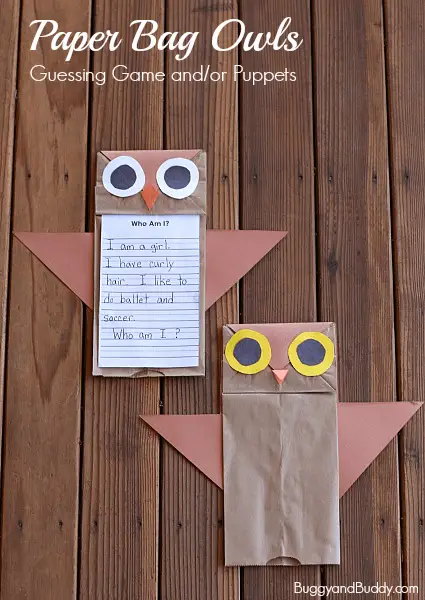 Source: Inspired by Chelsey @ Buggy and Buddy, “Who’s Who? Owl Craft for Kids” (https://buggyandbuddy.com/whos-owl-craft-kids/)This lunch bag owl is a great option for young children specifically. It uses a lunch bag and paper materials to create cute-looking owls. This lunch bag owl is also a great idea to use before picnics or for Valentine’s Day.
What You’ll Need
- Brown paper bags
- Scissors
- Dark brown paper
- White paper
- Black paper
- Orange paper
- Patterned or colored construction paper
- Glue
Method:
1. Cut The Eyes And Beak
To begin, you’ll need to cut the eyes and beak for the owl. You can do this using cardstock, scrapbooking paper, or construction paper. What matters most is that you have dark brown paper, white paper, black paper, orange paper, and some other colored and pattern options for all the parts.Beginning with the eyes, cut two 2-1/2 inch circles from the dark brown paper. These will serve as the owl eyes. Then, cut two 1-3/4 inch circles from the white paper, which will serve as the whites of the eyes. For the last part of the eyes, cut two 3/4 inch circles from the black paper to serve as the pupils.For the eyes, you don’t necessarily have to make the proportions exact. For example, your child may want to do it all by themselves, resulting in lop-sided eyes. That is perfectly fine too. If you want more exact results, we recommend drafting the circles with the proportions mentioned above before cutting them. As for the beak, simply cut one diamond shape in the orange paper. This diamond shape can be as large or small as you want it. Set all of the eye circles and beak aside for the moment.
2. Cut The Stomach
The next thing you will need to cut is the stomach. You will make the stomach using two separate colored or patterned papers. We recommend selecting dark brown paper or another solid color, as well as a patterned scrapbooking paper for the best results.For the stomach, draft out a heart shape on both papers. The dark brown or solid-colored heart should be slightly bigger than the patterned heart. Set these items aside with the eyes and beak.
3. Crease The Bag
Now, it’s time to work on the bag. Simply fold the top of the paper bag down about 2 inches in order to make a crease. Then, gently fold the bag vertically, but do not make a crease along the vertical line. You want to fold it vertically so that you can easily create a pointed top.Cut a diagonal line going upwards to the center. Unfold the bag and re-crease the line across the top. At this point, the top of the bag should be pointed up like a triangle. There should be a thick crease that runs across the base of the triangle.
4. Glue It Together
Let’s glue it all together now. Start by placing the larger heart-shaped stomach upside down about 2 inches below the triangle crease. Glue the patterned heart on top, right in the center of the first heart-shaped stomach. Then, glue the two dark brown circles next to one another. Layer the white circles and black circles on top to complete the eyes. Finally, glue the orange beak right in the middle of the two eyes, and you’re done!
Best For Learning Opportunities: Bark Owl
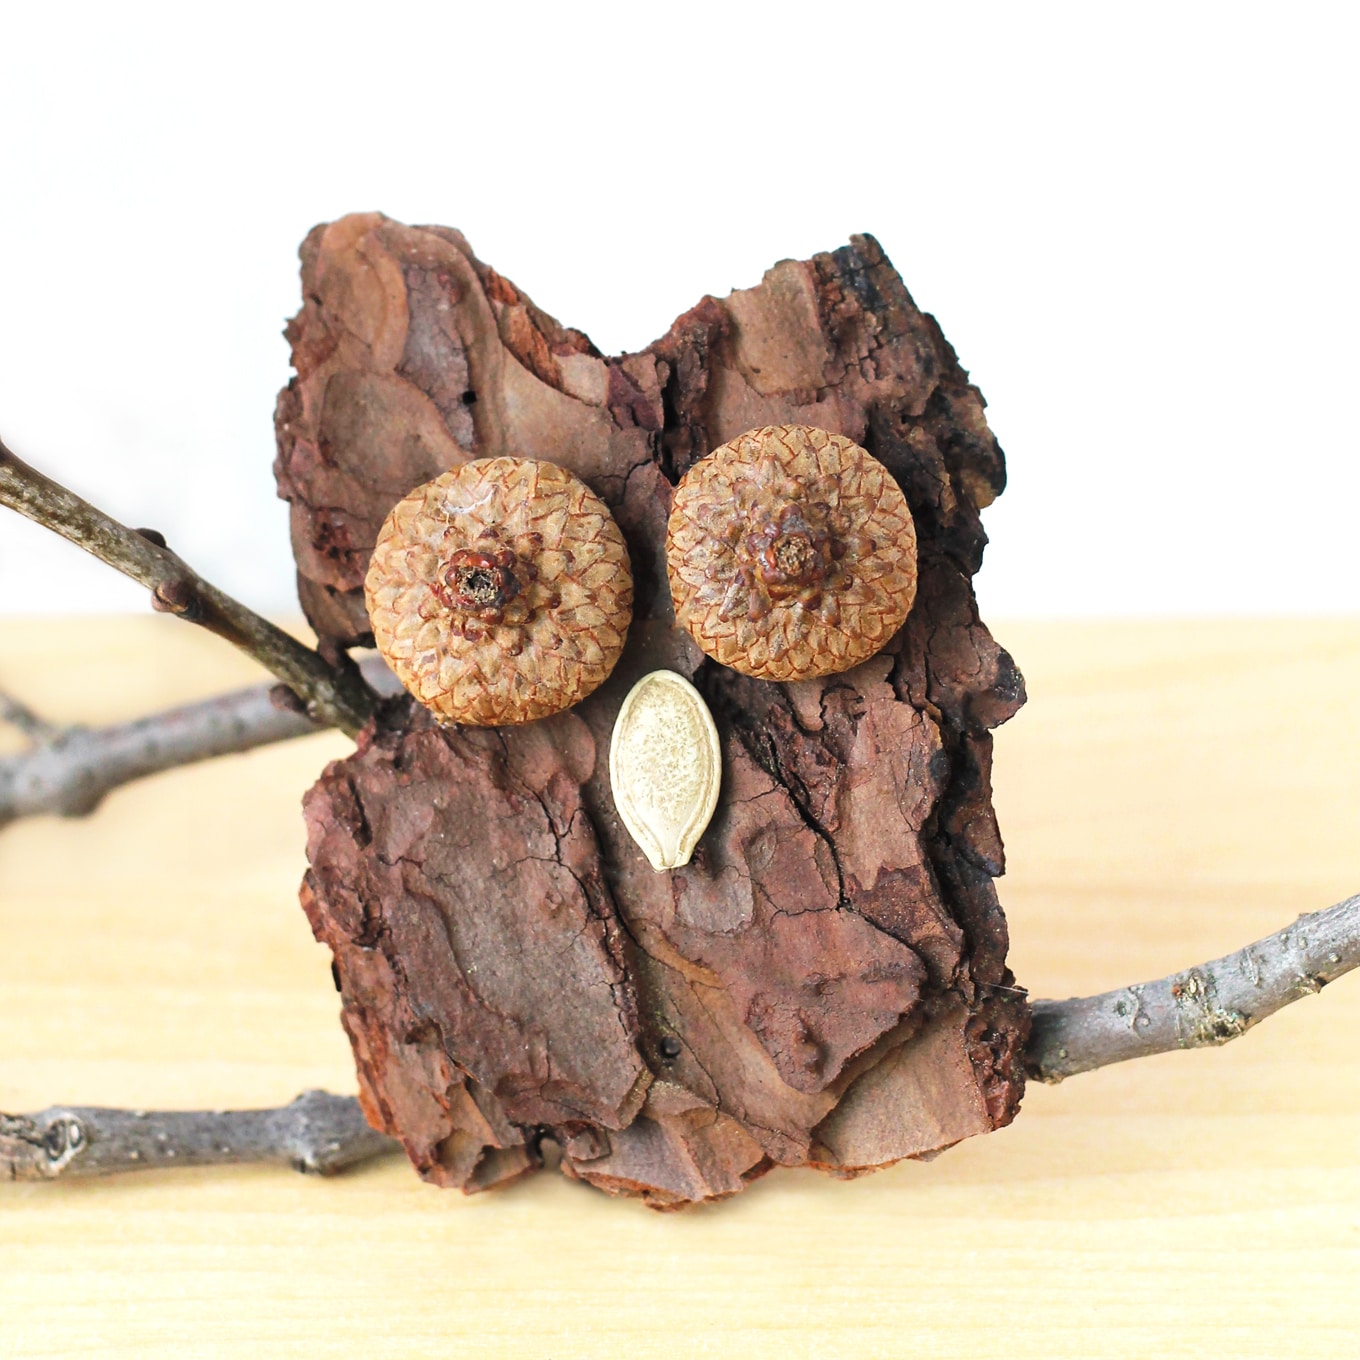 Source: By Melissa @ Fireflies and Mud Pies, “How to Make Bark Owls” (https://www.firefliesandmudpies.com/bark-owl-craft/)
If your child loves owls, this is the perfect craft for them to try out. It’s a great option because it uses all natural materials (except the glue), so if you’re tired of crafts making lots of unrecyclable mess that isn’t great for the planet, why not give this idea a try?
The other good thing is that you don’t have to buy a bunch of expensive materials, and every owl will be completely unique. This craft is also a good incentive for your child to get outside and spend a bit of time in nature, because they’ll need to gather the resources themselves.
It is one of the most unusual and inventive crafts out there, and these adorable little owls would make fantastic desk ornaments or Christmas tree ornaments. You could get your child to make one for every family member and personalize them by using different kinds of sticks or seeds.
Hang the owl up with some natural thread, and you’ve got a totally unique ornament that is both cute and a reminder about being kind to the planet. Bark owls look wonderfully rustic, too, and they can be made any size, as long as you can find a large enough piece of bark and a reasonably big seed.
If you want to get colorful, you can let your child paint the owl, but make sure you’re using eco-friendly paints if you want the owl to decompose when your child has finished with it.
Button Owls
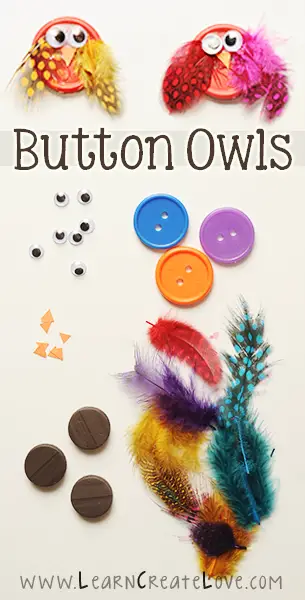 Source: By Kimberly @ Learn Create Love, “Button Owl Craft” (http://learncreatelove.com/button-owl-craft/)If you need to kill some time with your kids, you can do so by making button owls out of scrap materials. All you will need are buttons, feathers, googly eyes, and paper. If you want to turn it into a magnet, you also will need a little magnetic piece.
What You’ll Need
- Jumbo buttons
- Feathers
- Googly eyes
- Orange paper
- Glue
- Magnets (optional)
Method
1. Glue Feathers To The Button
The first step to making this button owl is to glue feathers on the buttons. These little feathers will serve as the owl wings. For best results, glue them a little bit below the top rim in the center. In other words, place the stem of the feathers where the eyes will go. The eyes and beak will cover the stem.
2. Cut And Glue The Beak
Cut out a little triangle from orange paper to be the beak. Place this beak right below where you intend to put the eyes. The beak will likely cover some of the feathers.
3. Glue On The Googly Eyes
For the eyes, simply glue the googly eyes over the feather stems. These eyes should be touching, and they will likely cover the top portion of the beak.
4. Glue On The Magnet (Optional)
If you want to turn your button owl into a magnet, the last step is simply gluing the magnet to the back of the owl. It’s a great idea to do this step after the front has dried. This will ensure you don’t mess up the owl’s face whenever you glue on the magnet.
Owl Crafts for Preschoolers
Make Your Own Owl
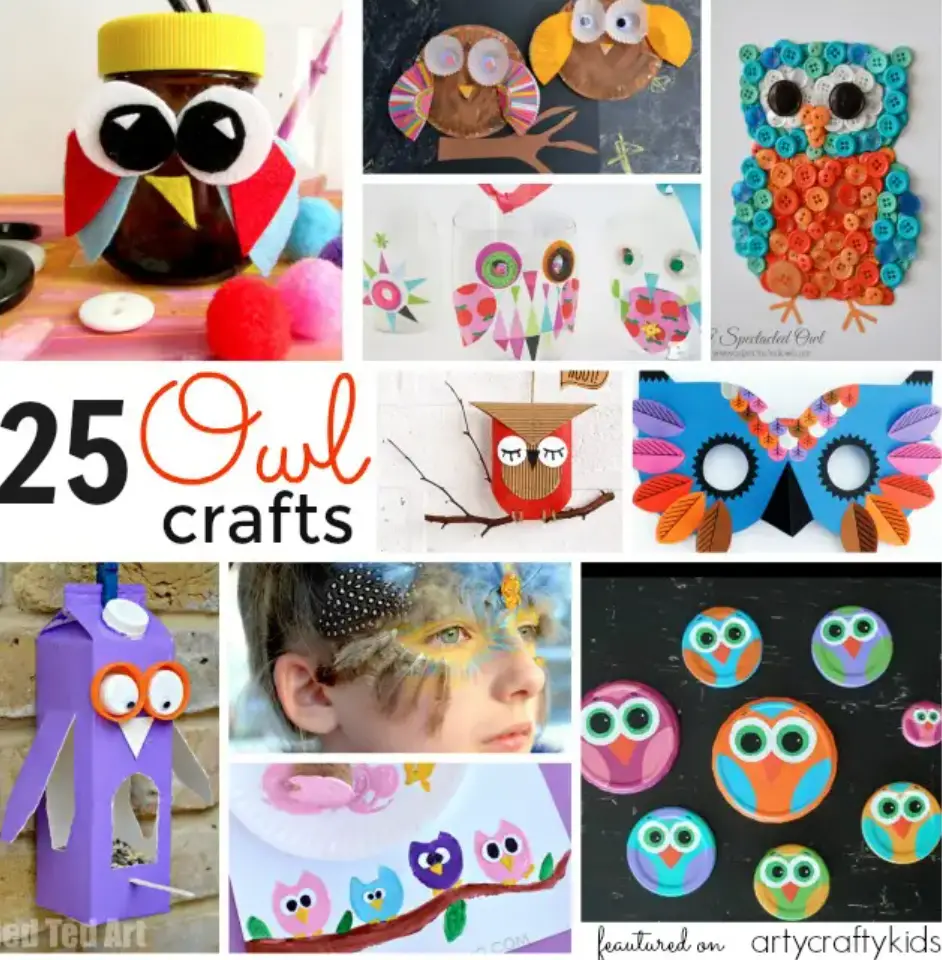 Source: By Arty Crafty Kids, “25 Owl Crafts for Kids” (https://www.artycraftykids.com/craft/25-owl-crafts-kids/)Almost anything you can think of can be a material to compose your owl. You don’t have to make a big investment to obtain and create the necessary supplies. Use the list below for material suggestions and then consider the following several ideas to make your own.
Materials
- Paper Plates or Paper Bags
- Paint and Paintbrush
- Scissors
- Glue
- Colored Construction Paper or Cardstock
- Crayons and/or markers
- Chalk
- Cotton Balls
- Information, Pictures, and Photos about Owls
Preplanning
Before beginning to create your own owl, study all the things you can find about them. This includes photos, pictures, drawings, or even videos. It will help you create the perfect rendition. Then, discuss how you’re going to construct the owl with your preschooler. This will help them build decision-making and critical thinking skills. In general and as a guide, most homemade owls will include a yellow or orange beak with large eyes and often incorporate the color brown. Of course, color choice is completely optional. Please also that only an adult should handle things like scissors, glue, and other hazardous materials ““ do not let preschoolers use these things without supervision.
Paper Plate or Bag Method
Paper plates and bags are inexpensive and easy to acquire. All you do is take a plate or bag and color the surface brown (or whatever color) with paint, crayons, markers, etc. Use some colored construction paper or cardstock to create eyes, ears (if desired), wings, and beaks. You can also use crayons, paint, or markers to make these too. Use tufts of cotton balls around the owl’s body with a dab of glue to indicate feathers. Depending on your artistic bent, you can choose to put the wings on the front or back of the owl’s body. You could also fashion some tail feathers or use two plates (one for the head and one for the body).To make a family of owls have a large paper grocery bag to serve as the mom and little brown lunch bags to indicate the owlets. You can make the mom’s ears or feet from the bag’s handles if there are any.
Ways to Draw an Owl
Using chalk, markers, crayons, or paint, you can draw an owl onto the colored construction paper or cardstock. For a simple configuration, draw a “˜tight’ figure eight or a large circle on the paper with chalk. Because these figures will serve as the body, ensure it’s big and plump so you have ample room.At this point, you can color over these shapes with another medium like paint or crayons. Or, you can continue drawing the rest of the owl and color it in later. Make sure it has wings and big eyes. You could give it a dimensional feel by gluing on the eyes or creating the look of feathers with tufts of cotton balls.You can also take the approach of drawing the eyes with a black marker or crayons and then draw the rest of the owl around the eyes. For some stark contrast and to make your owl pop, use only chalk on darker colored paper, like black or blue. You can also draw feathers by making v-shapes or a jagged line.
Owl S’mores
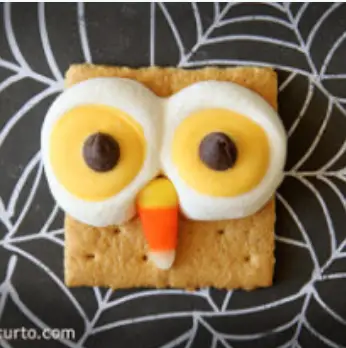 Source: By Holiday Cottage, “Owl S’mores” (http://www.holidaycottagepage.com/owl-smores/)Take the fabulousness of traditional S’mores one step further and create an owl with the ingredients. This fun, sweet treat is great for campfires or indoors with a microwave. They’re simple, easy, fairly quick, and delicious.
Materials & Ingredients
- Graham Crackers
- Whole Chocolate Bars
- Marshmallows (large and small)
- Candy Corn, Jelly Beans (or other candy that has colors like red, orange or yellow)
- Chocolate Chips or M&Ms
- Silverware (fork, spoon, and butter knife)
- Plate
Instructions
Place a graham cracker on the plate and then a piece of the chocolate bar on top. Over that, put two large marshmallows to serve as eye whites. If using a microwave, put the plate in on high for about 10 to 15 seconds. For outdoor fires, heat up the marshmallows before putting them over the chocolate. You only want to soften the marshmallows and chocolate, not cook them until melted and gooey. Then have your child place one chocolate chip or M;M in the center of the marshmallows; these are the owl’s pupils. Next, take your colored candy for the beak. Place it just below where the marshmallows meet between the eyes. Be sure to take a photo of your artwork before you gobble it down.
Additional Inspiration
As a creative suggestion, use small marshmallows for feather tufts on the owl’s body and wings. You could also place chocolate chips or sprinkles amid the small marshmallows to create feather dimensions, shading, and texture.If you’re into sculpture and carving, use silverware on some chocolate for the body. You can do this with melted and/or toasted marshmallows to create various textures like the appearance of wings or feathers. You could swirl the chocolate pupils into the heated marshmallow for added effect.In situations outdoors, toast the marshmallows enough for a nice golden brown color. This can provide some shading, hues, and texture to the appearance of the eyes, body, and feathers.
Creative Activities with Owls
Owl crafts for preschoolers are a great way to spend quality time. Not only will they learn about this amazing and beautiful creature but they will also develop necessary skills and motor functions. This kind of thing doesn’t have to cost a fortune to make and offers an engaging way to explore owls.
Final Thoughts
No matter which owl craft you select, your child will definitely be entertained. Plus, these crafts provide you little mementos to keep as your child grows older. Win-win!
Comments
0 comments