
 Source: https://www.kitchentableclassroom.com/easy-elmers-glue-slime-an-easy-four-ingredient-recipe/If you’ve got kids, you will have come across slime. Even if you haven’t got kids, you will probably have come across slime. The slime craze has been sweeping the globe for quite a long time, and it doesn’t look like it’s going away any time soon ““ and that’s no surprise.Slime’s fun to make, fun to squish, and fun to stretch. Kids love it, so can you make it at home instead of buying it all the time?The answer is that many parents make it at home, but you do hear about the odd “slime fail” that shows it isn’t always the easiest thing in the world to get right.With that in mind, let’s look at how you can make slime using Elmer’s glue so that you don’t end up joining the “slime fail” list and getting disappointed kiddos who were hoping for a slime day.So, here’s how to make slime with Elmer’s glue.
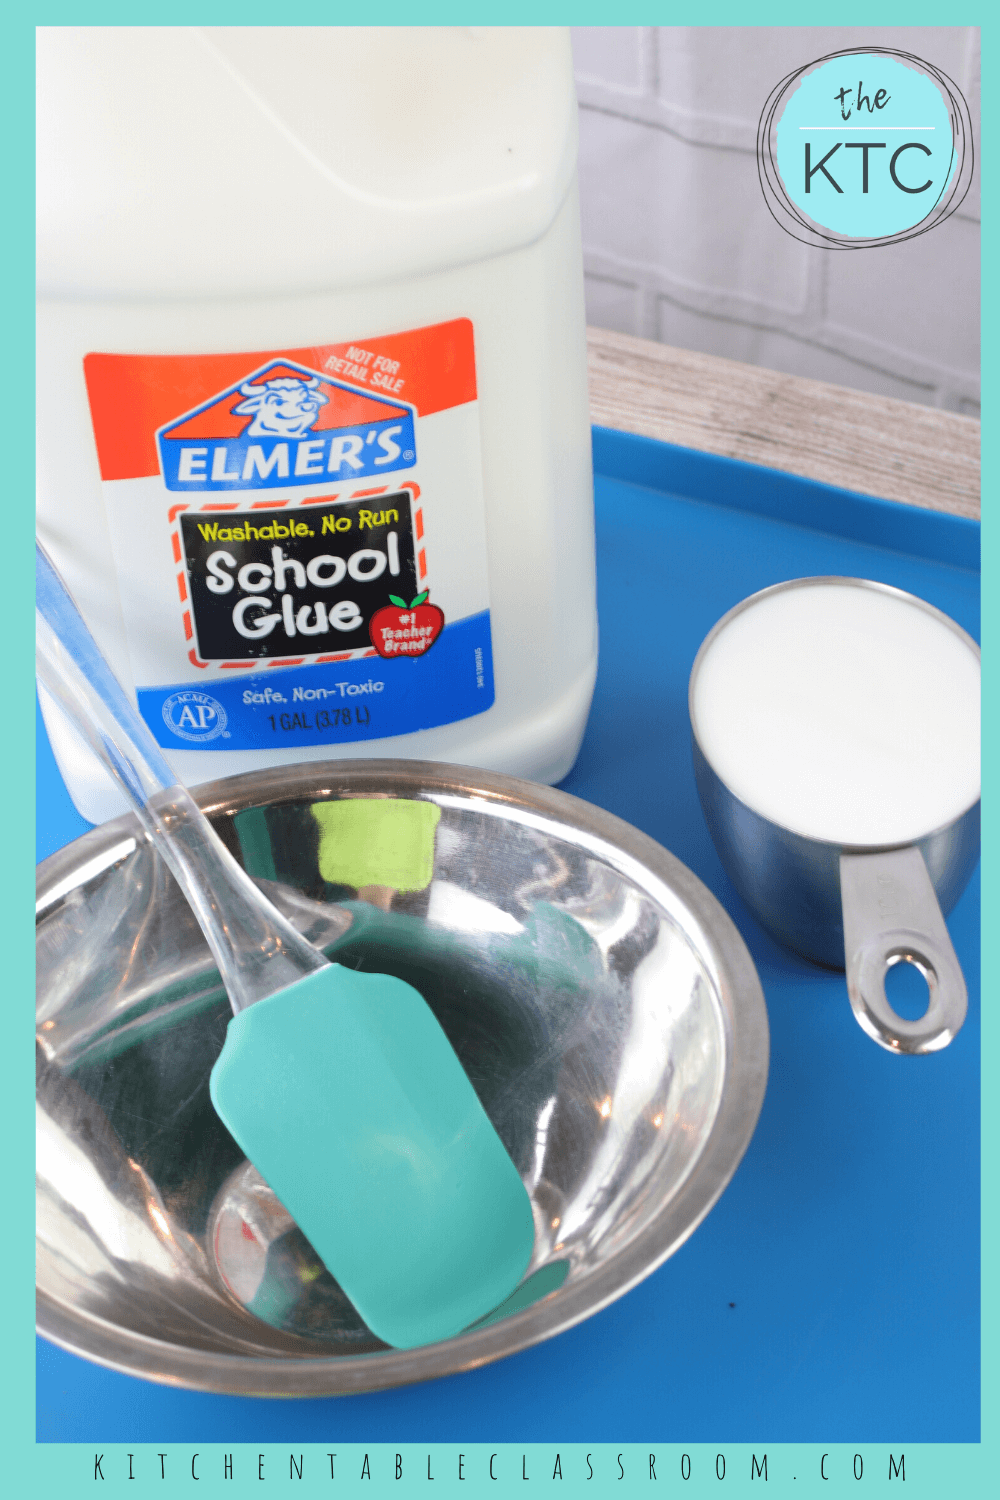
Materials
To make Elmer’s glue slime, you’re going to need:
- A bottle of Elmer’s glue (½ of a cup will be needed for this recipe)
- 1 tablespoon of lotion
- Food dye in whatever color you like
- 6 tablespoons of “activator” (recipe following)
Activator recipe:
- 1 cup of warm water
- ½ teaspoon of Borax
Note 1: you will need the activator mixture or your slime mix will not work, so don’t skip this step, and don’t start making slime if you haven’t got the activator ingredients. You’ll have to get them ““ there isn’t a way around this if you want your slime to succeed, though there are several types of activator.Note 2: don’t let your kids make slime; this is an adult job. They may be able to help you while supervised, but you should really be doing this yourself, and don’t leave them unattended if they are part of the slime-making process.Note 3: you can buy “slime activator” as a product in some places, and this does take away the need for making an activator. If you do, follow the directions that come with the activator to make your slime, as they may affect the recipe steps.
Step 1: Begin By Making The Activator
Let’s start this section with a caveat: don’t use bowls, cups, spoons, knives, or other utensils that you care about for slime production. While it may not stain or mark these things, it’s better to be safe than sorry; this is a messy and not-food-safe activity and you will not be able to keep it tidy, no matter how hard you try or what you do.Okay, so let’s make some activator. You want a cup of warm water and half a teaspoon of Borax, mixed thoroughly together. You don’t want to be breathing (or letting your child breathe) the Borax in, so take a little care when pouring it out, and put the box back in a child-proof location when you’re finished.You will end up with more activators than you need, but the great news is that you can put it away for future use in a clearly labeled bottle or jar, out of your children’s reach.
Step 2: Mix The Other Ingredients
In a clean bowl, mix together ½ a cup of Elmer’s glue, a tablespoon of lotion, a food coloring of your choice, and get stirring. Here, you can let your child join in if they want to, and they will probably really enjoy stirring their slime-to-be.Mix until the color is uniform and all the ingredients have been combined, and then you can move on to the next step.
Step 3: Start Adding The Activator
Add a tablespoon of the activator. Keep stirring, or getting your little helper to stir, adding it a little at a time. You should add about six tablespoons in total, but you may find that you need a little more or less ““ this isn’t a strict science.The activator is your binder, so if your mix is still loose and sticky and looks like it would make a horrible mess of your couch, you may need a bit more. If necessary, give it a good poke to check the texture when you’re determining if you need more activator or not.
Step 4: Add Water (Optional)
Some kids really love stretchy slime, and a bit of extra water is a good way to make your recipe stretchier. About ¼ of a cup of water should be enough, and make sure it’s mixed in very well. You can do this alongside one of the earlier steps to speed things up if you like, but it’s not an essential part of slime-making.By the time you finish your slime, it should be pulling away from the edges of the bowl, with no trace of liquid left in it; if yours isn’t, keep mixing or check the recipe to make sure you haven’t gone wrong somewhere.
Step 5: Enjoy!
Your slime ““ or rather, your kid’s slime ““ is done. It should now be a great texture and they can go off and have loads of fun with it, and you can give yourself a pat on the back. Here are a few more useful things you may need to know about slime, how to store it, and what else you can do with it.
Storage Suggestions
After all that hard work, the last thing you need is your slime going off, so how do you make sure it lasts as well as possible?Firstly, don’t make massive batches at once, or at least don’t give your kid massive batches at once. You can make a big batch and put some away for later, giving them just a bit to play with (though some kids won’t be keen on this idea!).Store your slime in clean Tupperware or other lidded containers, preferably away from direct sunlight or extreme temperature changes. This should keep it fresh and usable for months on end.
Other Slime Options
Of course, once you’ve gone through your range of food coloring options for at-home slime creation, you might be looking for a few other things you can do to make the slime more interesting and exciting. Fortunately for you, there are an absolute plethora of different ideas that you can try out, adapting the basic slime recipe we supplied above to provide your child with endless gooey and stretchy entertainment.Some of these are absolutely perfect for holidays, kiddy parties, table decorations, and everyday fun with friends. No matter what your kid is into, there’ll be a slime idea that covers it!
Idea 1: Snowball Slime
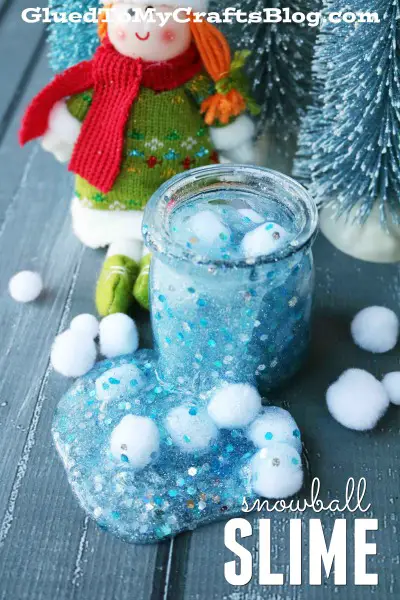 Source: https://www.gluedtomycraftsblog.com/2017/11/snowball-fight-slime.htmlAdd some blue glitter glue or a handful of blue confetti, along with some little white pom poms, and you’ve got the perfect Frozen-themed slime for your child. This is great fun for the winter, and your child will love playing with the different textures in it.
Idea 2: Pumpkin Slime
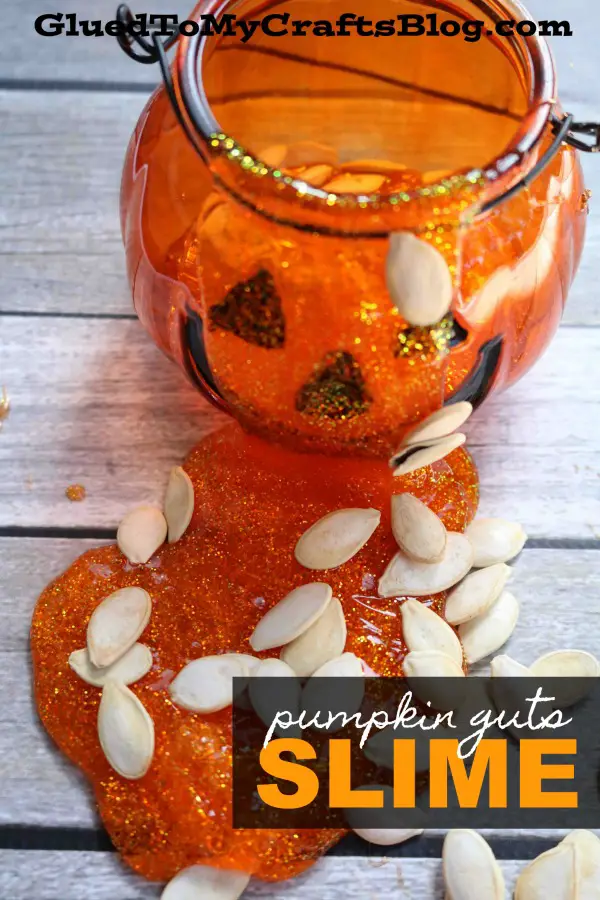 Source: https://www.gluedtomycraftsblog.com/2018/04/slime-magical-liquid.htmlA bit of orange glitter glue and a handful of pumpkin seeds will lend a very Jack O’ Lantern feel to the slime. You can also add orange food dye or orange glitter for a bit of additional sparkle. If you have mini rubber spiders or bat-shaped erasers around, these complete the theme wonderfully.If Halloween is on the horizon, your kid will absolutely love this craft option. You may even be able to find or create a miniature pumpkin-themed pot for them to keep it in. Perfect! It’s also an ideal option if you don’t want to give out candy.
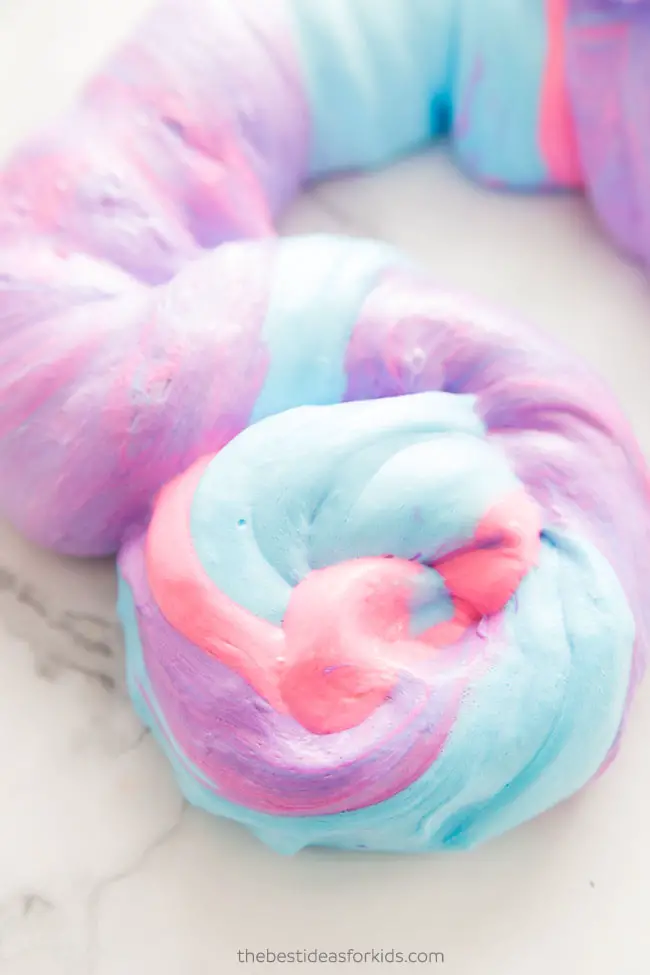
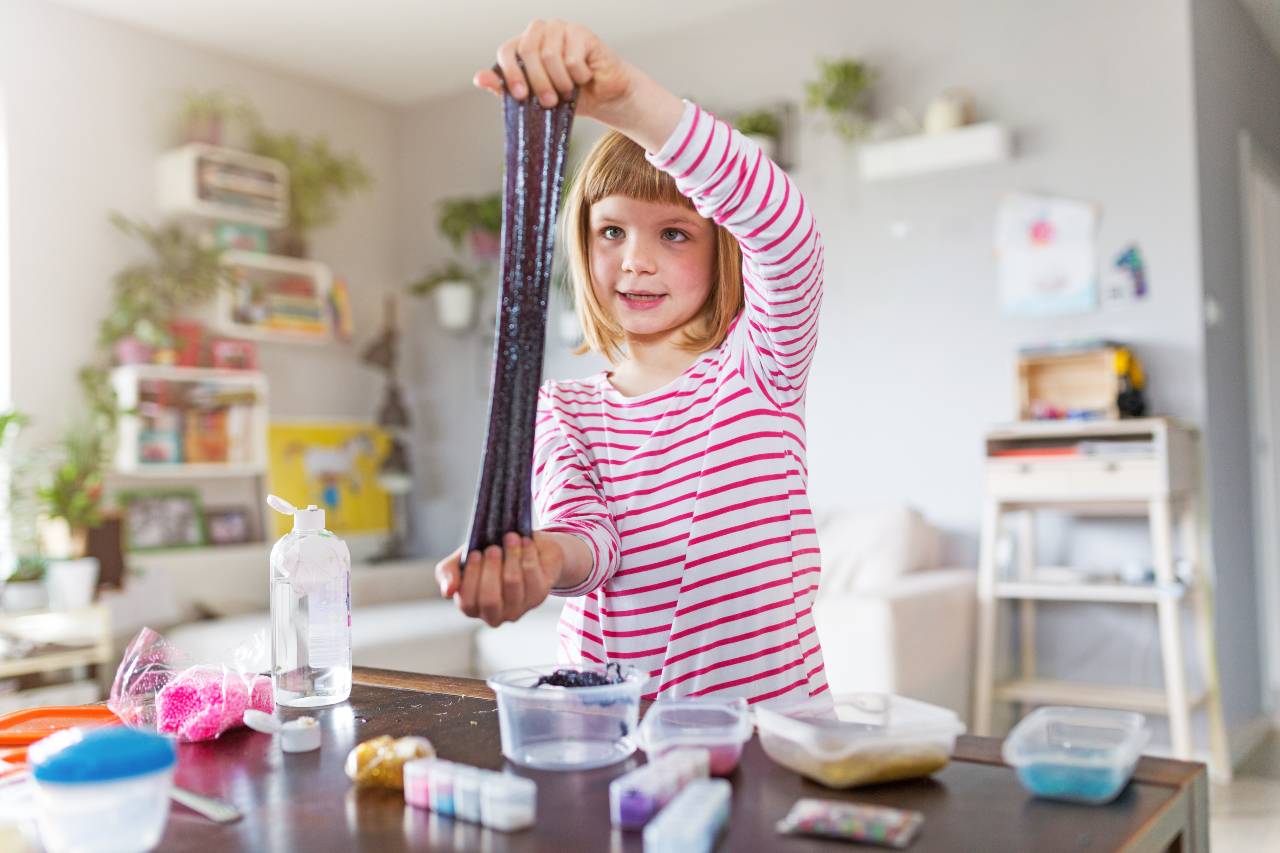
Idea 3: Unicorn Slime
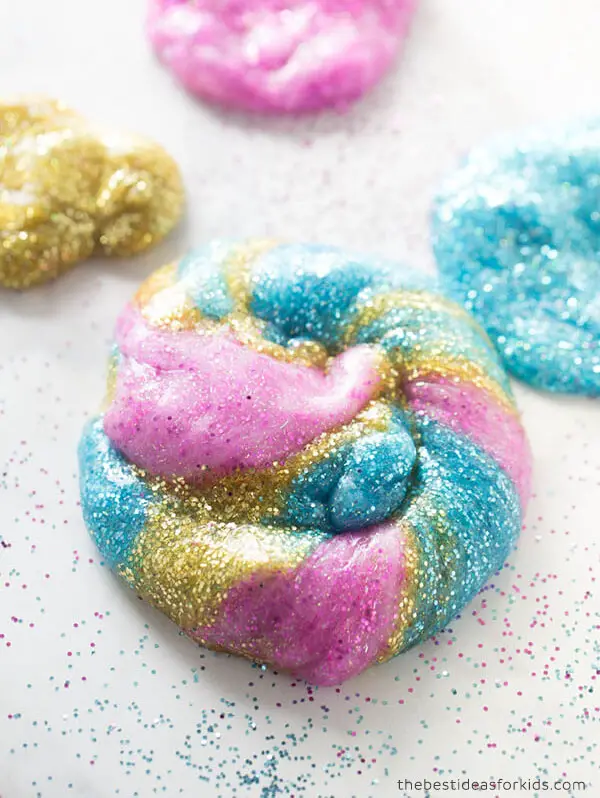 Source: https://www.thebestideasforkids.com/unicorn-slime/If you’ve got a fan of magical horses in your household, this slime will delight them, and it makes a great change from the single-color slime options we’ve already suggested. So, how do you make it?Well, don’t just add lots of food colorings while you’re making your slime and hope for a rainbow miracle; they will splurge into one and not look very pretty or magical at all.Instead, make yourself multiple colors of slime, such as blue, purple, yellow, pink, etc., and then press and squish the slimes together once they are done.However, do feel free to add plenty of glitter or sequins to your slime during the creation process, making this a truly magical unicorn slime.
Idea 4: Treasure Slime
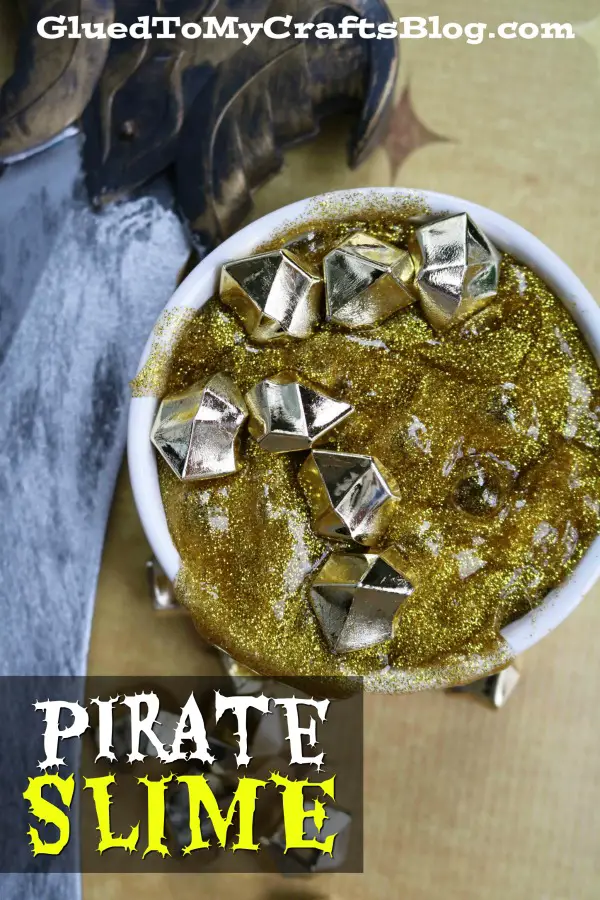 Source: https://www.gluedtomycraftsblog.com/2018/04/slime-magical-liquid.htmlMix some gold glitter glue into your recipe, and make a wonderful flow of molten gold slime. This is particularly effective for table displays (away from food!) if you want to bury non-edibles in a lake of gold. Alternatively, just let your kid go nuts playing with it!
Idea 5: Fluffy Slime
 Source: https://www.thebestideasforkids.com/fluffy-slime-recipe/Does that sound like quite an oxymoron already; fluffy slime? How can something that’s slimy also be fluffy? Your kid is bound to be as wowed as you are, so let’s get into more detail here.Fluffy slime includes shaving foam in its creation process. You should add 2-3 cups to get the best effect and mix it thoroughly into your slime.The shaving foam will dilute your colors a bit, so expect more pastel shades with this option. It’s also worth noting that it will deflate after a while as the air goes out of the shaving foam, so this isn’t a particularly well-lasting slime recipe, and you may find yourself making more on a regular basis if it’s popular.
Idea 6: Chalkboard Slime
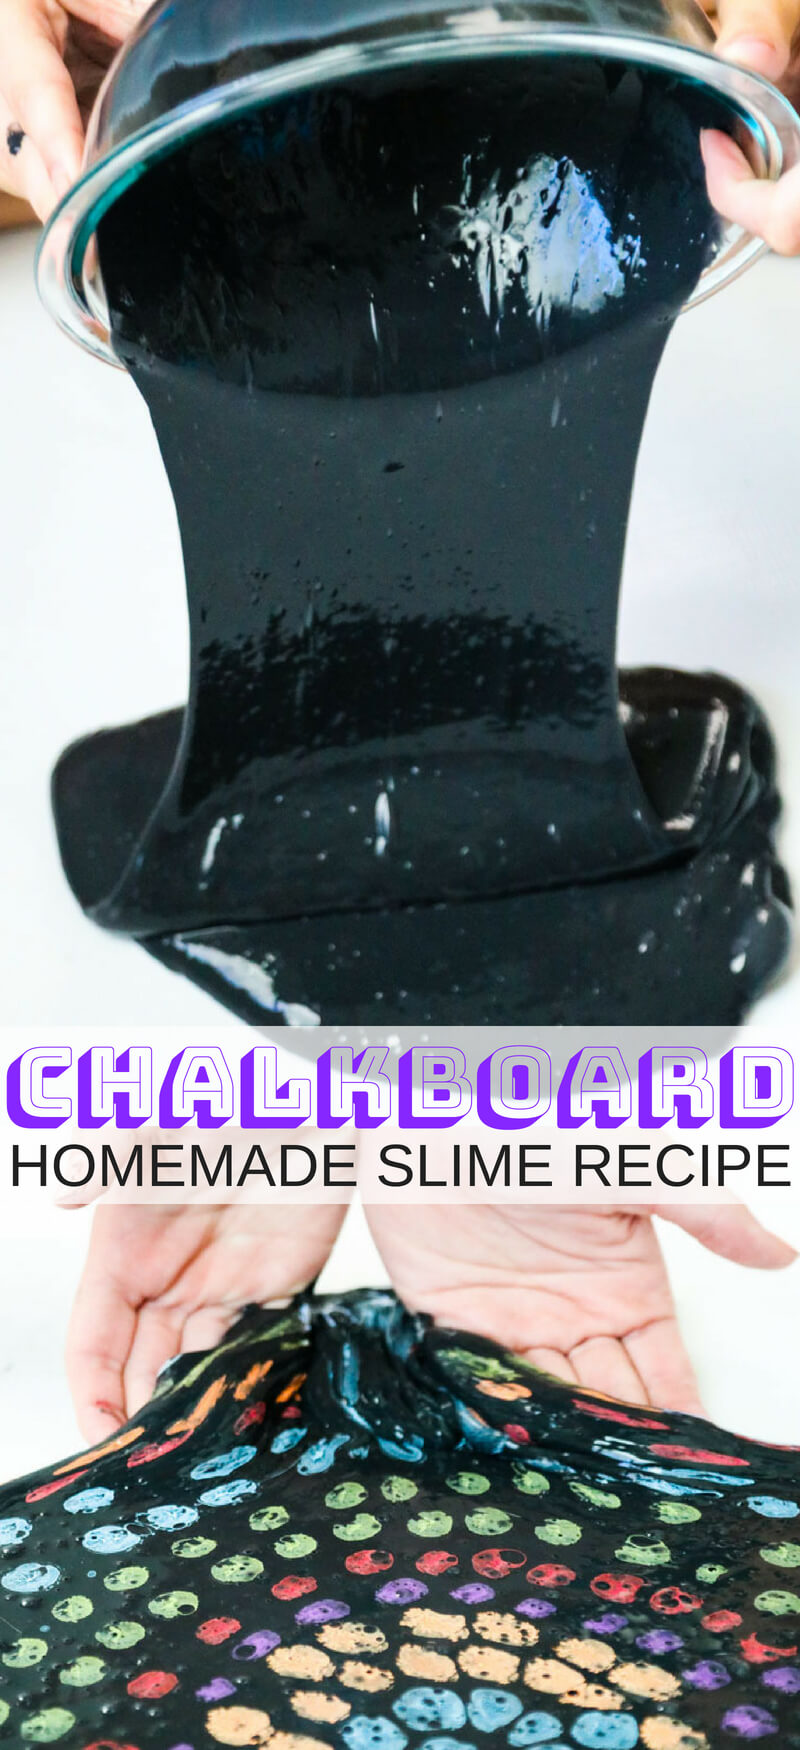 Source: https://littlebinsforlittlehands.com/how-to-make-chalkboard-slime-recipe/Chalkboard slime may sound like something from a sci-fi novel, and it seems like a crazy idea ““ how much more different could the slime and chalkboards be? However, if you want to give this recipe a shot, you just need some chalkboard paint to mix into your slime recipe.The result will be a very black slime that your kid can actually chalk on! They may find that chalkboard markers are better than actual chalks, however; the chalks will need to press too hard for the slime to keep still, which could be very frustrating to a kid who wants to draw.Your kids will learn a lot about how their pictures shape and stretch by moving the slime around after they have drawn on it, so this is a great teaching tool that should keep them occupied for hours.
Idea 7: Color-Changing Heat-Sensitive Slime
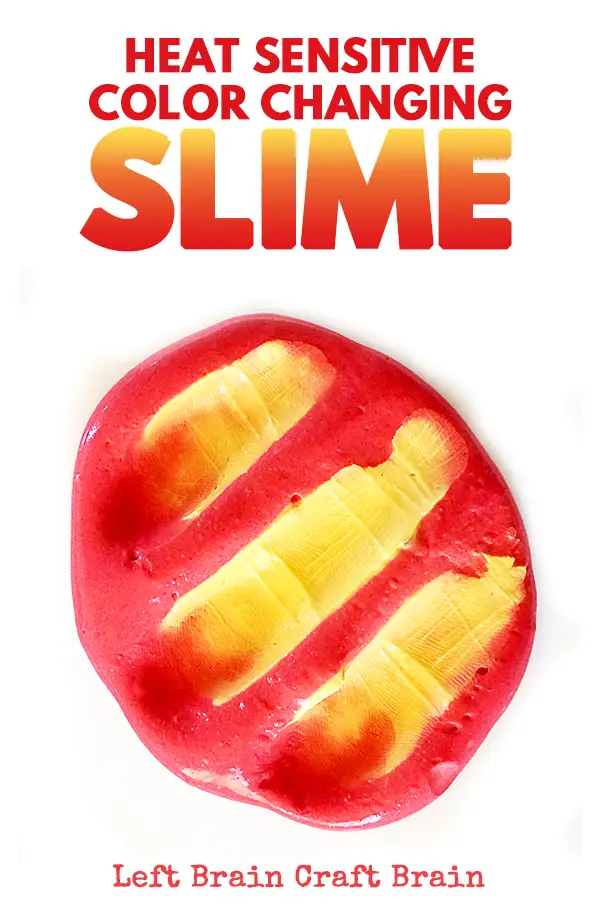 Source: https://leftbraincraftbrain.com/heat-sensitive-color-changing-slime/If your kid is a seriously die-hard slime fan, this is one of the more complicated and unusual ideas that you could try for a birthday or a special treat. You will have to source some thermochromic pigment for it, which you should be able to do online.Pick a color scheme. The color of the thermochromic pigment will determine what color your slime is when it’s cold, and then you can decide what color it is when warmed up. Picking contrasting colors will yield the best and most dramatic results.You can use ordinary food coloring for your warm color, so if your pigment is red, yellow would be a great option. Your slime will be orange and turn yellow when you warm it up. If your pigment is blue and you add red, you’ll get purple slime that turns pink when you get it hot.This is a great slime recipe for teaching kids about science and getting them fascinated in how things work, and while it’s a bit more involved, it’s a good way to keep yourself interested as well as your little ones. Who can resist those amazing colors?Interestingly, you can also use this trick with Play-Doh!
Idea 8: Magnetic Slime
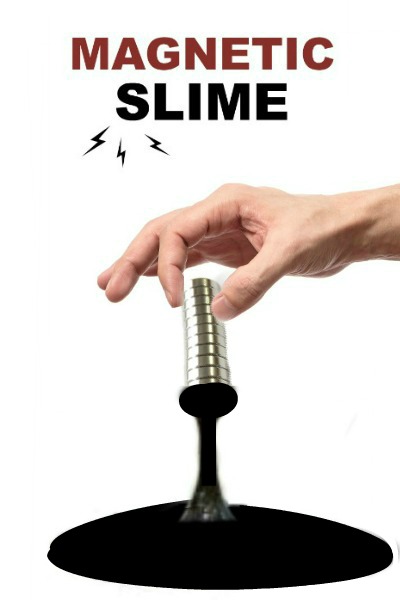 Source: https://www.growingajeweledrose.com/2013/04/magnetic-silly-putty.htmlThis is starting to sound crazy, but yes, you can make your slime magnetic as well. Here, the key ingredient will be magnetic powder, which you should also be able to source online. You should also get some magnets so that your child can really see the effects clearly.This slime will respond to the magnet by following it, and your child can have endless fun creating spikes and puddles, and pushing and prodding their slime without laying a finger on it. This has to be the most interactive kind of slime that there is, and it’s just about as easy as the basic slime recipe!Remember, however, don’t give magnets to a young child or leave them lying around if you have young children; they are a major hazard in terms of choking and internal injuries. This recipe is only intended for older children.
Idea 9: Glow In The Dark Slime
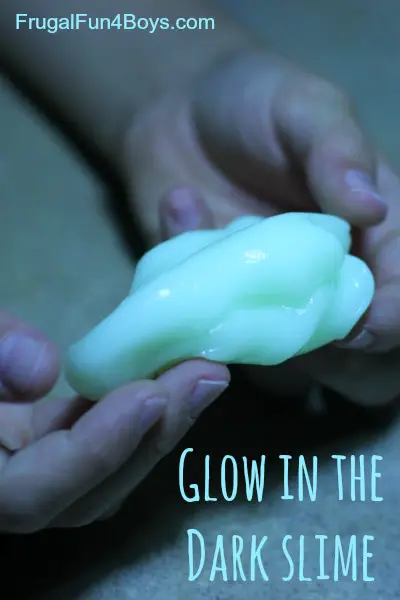 Source: https://frugalfun4boys.com/make-glow-dark-slime/Another out-of-this-world suggestion, glow-in-the-dark slime will be immensely popular with kids and makes a great party favor. You’ll definitely want to use clear glue with this one, and then you can just add glow-in-the-dark craft paint to it!Mix it all in, and you’ve got an amazing glow-in-the-dark slime to play with. Sometimes when you make this slime, you’ll find it’s a bit more liquid than the others, and you need to put it on a paper towel to let excess moisture dry off before you give it to your kids to play with. Pat, it with another paper towel, and then keep squishing and squeezing it around until you’ve got an opaque white slime.Put it in a patch of bright sunlight for a few hours, and then offer it to your children after dark and turn off the lights. They will love it!You can try coloring this sort of slime with food coloring to make it nice in daylight too, but this may affect how well it glows, so if you’re interested in the glow factor, it may be best to leave it plain.
Idea 10: Nebula Slime
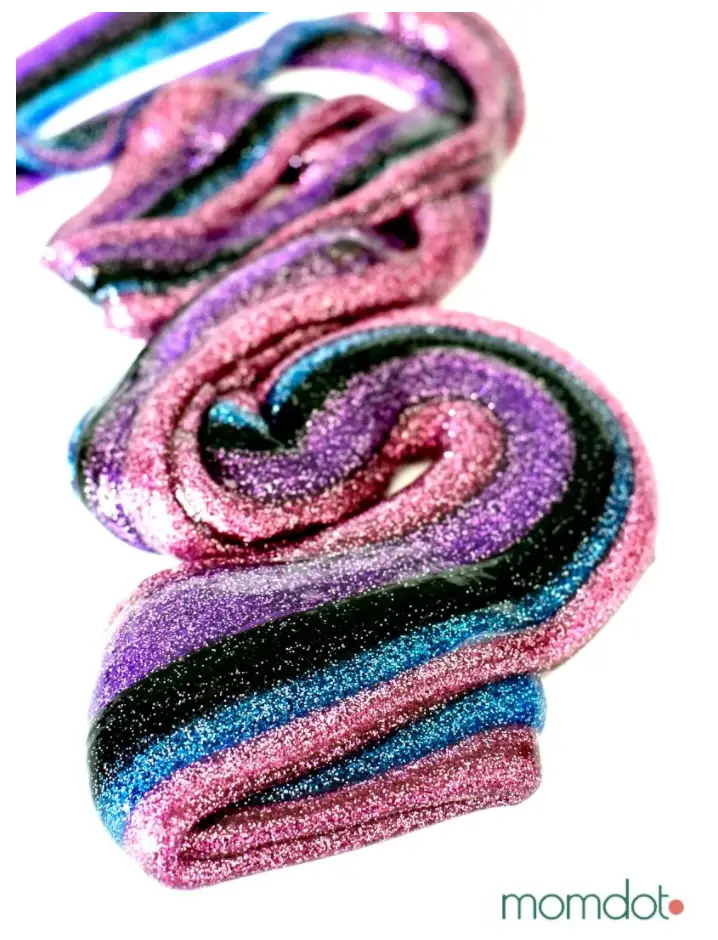 Source: https://www.momdot.com/nebula-slime/If you loved the unicorn slime (or your kids did), you’ll go nuts at nebula slime. This is so pretty, it’s unbelievable, and it uses much the same technique as the unicorn slime. Whip up four batches of slime, and mix in black, pink, blue, and purple (one color per batch only). Remember to also add some fine glitter and swirl in a few silver sequin stars. Once the slimes are complete, stretch them out side by side, plait them, and let your kids squish them around to blend the colors into an amazing array that perfectly resembles the beauty of a night sky.With that done, you’ll have created an incredible galaxy slime for your kids to play with. This is so mesmerizing, you might find yourself squashing it around as well!
Conclusion
Slime is a great toy for kids, even if it seems a bit messy and frustrating to you as a parent. It encourages them to think about the science of the world, use their hands, create and shape and explore, and it’s perfect for all ages (past little kids who may be in danger of swallowing it).Children can have endless fun with slime, and because it’s so easy to make, you can keep up a constant supply for them to play with. Get a big pot of glue to reduce costs, and stock up on your supplies of Borax for maximum slime making ease.Try out a few of these different ideas and have fun with them! They are all just adaptations of the basic recipe offered at the start, so you can really be flexible and do lots of different things with it.
Comments
0 comments