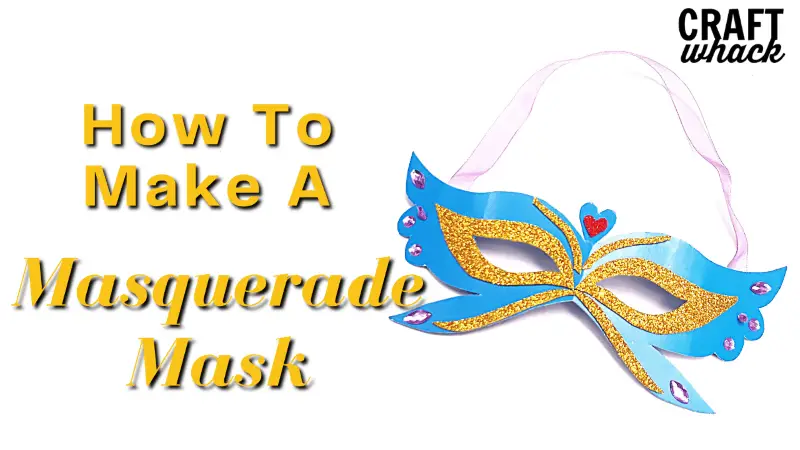
Masquerade masks are a huge part of history. They were used in the 16th century to help people act however they wanted to without worrying about what others will say about them afterward.These masks were mainly worn during masquerade balls, and they were paired with wigs and a fancy outfit, so you can imagine how spectacular everyone at the party looked! Masks were made from many different types of materials such as clay and velvet. There are so many things you can do with a masquerade mask these days. You certainly don’t need to have an invitation to a fancy 16th-century Italian Renaissance-themed ball to make one. In fact, these masks look wonderful hung up on walls as a display piece, or you can make them part of your Halloween or fancy dress outfit. Regardless of what you want to do with your mask, this post will teach you how to make a cool masquerade mask for every occasion. Enjoy!
What You Will Need:

- Craft paper or card
- Glitter paper, velvet, or any other textured paper or material for decoration
- Scissors
- A5 paper
- Accessories such as gemstones and glitter. (make sure that the gemstones have a flat side that is designed to be stuck down onto paper or card)
- Ribbon
- Glue
Step-By-Step Guide
- Grab an A5 piece of colored thick craft paper.
- Fold an A5 piece of paper in half and draw half of your mask shape onto the paper. This is going to act as your stencil.
- Cut out the design, make sure that you cut out eye holes and any other parts of the design meant to be hollow.
- Once you have finished cutting out the design, open the folded paper to reveal a symmetrical design.
- Place the stencil onto the colored craft paper and draw around your stencil.
- Cut out your design carefully.
- Your stencil may have intricate designs; these designs will look brilliant in another color or texture, so using your stencil, cut out details and intricate designs on a different piece of craft paper to create contrast.
Top Tip: Use a card with a sticky side on the back to make sticking the details onto the mask easier for you. This is particularly helpful for children.
[adthrive-in-post-video-player video-id=”rMDYWPXG” upload-date=”2021-05-10T02:42:09.000Z” name=”How to Make a Masquerade Mask” description=”” player-type=”default” override-embed=”default”]
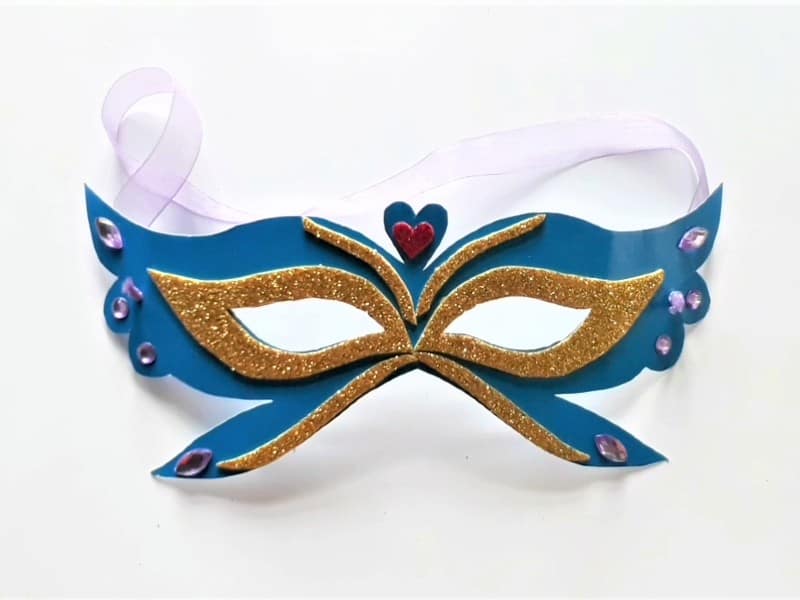
- Snaz up your mask with gems and stickers to make it stand out. Make sure that the design stays symmetrical.
- Now, measure around your head and cut a piece of ribbon of your choice to the measurements.
- Poke holes on either side of the mask and tie to secure.
You can make your mask as excentric or as simple as you like, so have fun with it! Here are some fun facts about masquerade masks to finish off. Let me know how you got on making your masquerade mask! Related Reading: African Mask Project
Masquerade Mask Fun Facts:
- Men and women would wear these masks to balls and social gatherings to stay anonymous.
- Mot masquerade masks were made out of paper-mache. This was so that the wearer wasn’t weighed down by a heavy mask but could also enjoy playing around with texture and intricate designs.
- Every masquerade mask has its own meaning. Every color represents a different personality trait, and the choice of mask color wasn’t ever a coincidence.
- Masquerade balls are a huge part of Italian history.
- People wearing their masquerade masks felt like they had freedom of speech without having to suffer the consequences of what they were saying afterward.
Related Reading:How to Make a Paper Mache Mask
Comments
0 comments