Making cotton crafts at home is fun and easy. You also get to choose how complex the project you make is. That means you can do these crafts with young kids or try a more advanced project on your own. There are plenty of ways to add your personal touch to these ideas too.If you love making crafts, you should know that cotton balls make some of the best supplies. The cotton pieces are inexpensive and easy to replace when they start to wear out. Here are some ideas for cotton ball crafts at home!
Winter Cotton Ball Wreath
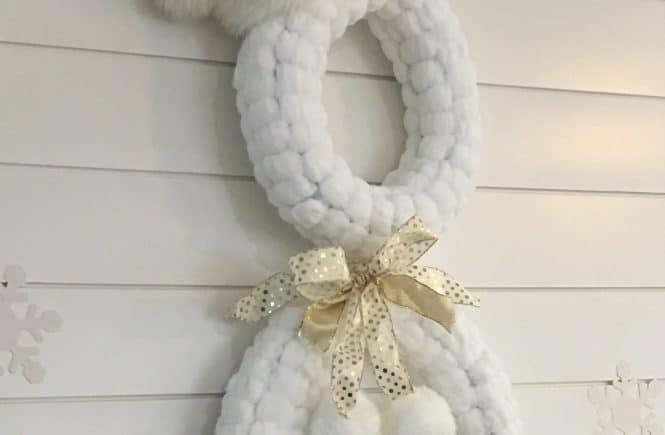 Source: Inspired by Jael @ The Tarnished Jewel Blog, “Christmas Snowman: DIY Cotton Ball Wreath” (https://thetarnishedjewelblog.com/2018/11/12/christmas-snowman-diy-cotton-ball-wreath/)If you need some decorations for winter, why not make a cotton wreath? They look festive and match plenty of winter themes. You do need a lot of cotton balls, but they are inexpensive.We recommend you make three different sizes and hang them around your home. However, you can always make one first to see if you like this craft.
Supplies
- 3 pool noodles
- 3-4 bags of cotton balls
- Glue sticks and glue gun
- White spray paint
- Tape
- Utility knife
Steps
Cut two of your pool noodles into different sizes. Leave the third as is.
- Bend the pool noodles into circles and tape them to hold them in place. You will want to use several pieces of tape. You will cover the tape later, so don’t worry about it standing out too much.
- Spray paint the noodles outside. You will want to put them on top of canvas or newspaper, so you don’t accidentally paint your ground. Allow the pool noodles to dry for at least 20 minutes, then flip them and spray the bottom. Make sure you cover all edges in white.
- Spraying more paint will cover the color of the pool noodle completely. You can add more layers or leave some color peeking through- it is up to you!
- Next, you can start hot gluing the cotton balls to your pool noodles. You may want to spend some time pulling them into rectangle shapes. However, you can choose between leaving them round or pulling them out.
- Cover your entire pool noodle in cotton balls; this process can take a very long time.
- Use hot-glue to attach your ornaments, ribbons, and other festive decorations to the wreath.
- You finished the wreath! You can hang them on any hooks around the home.
Rainbow With Cotton Clouds
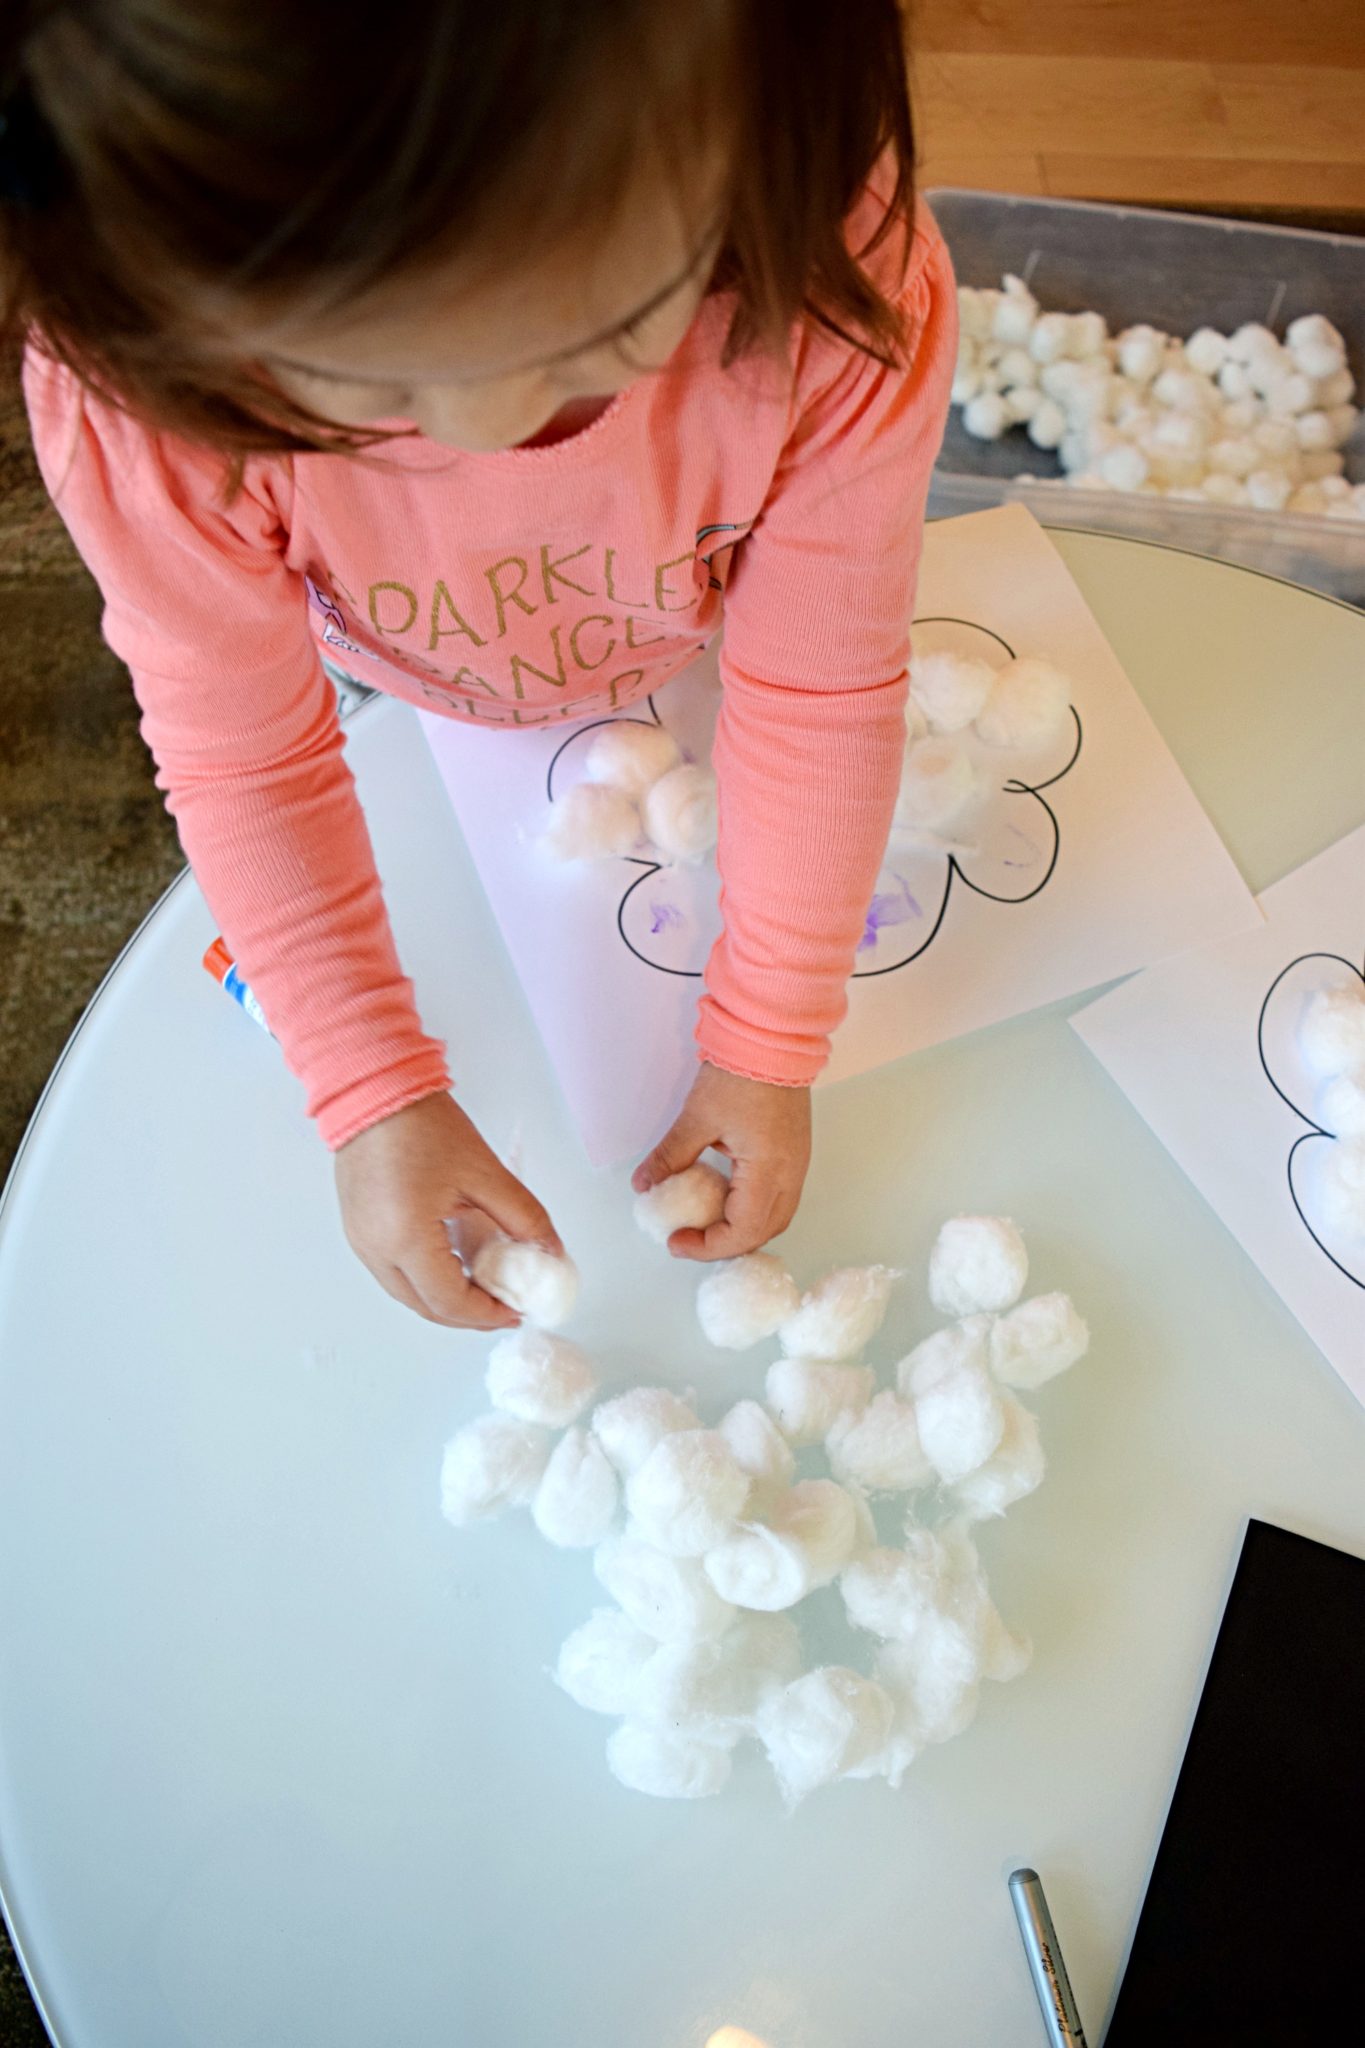
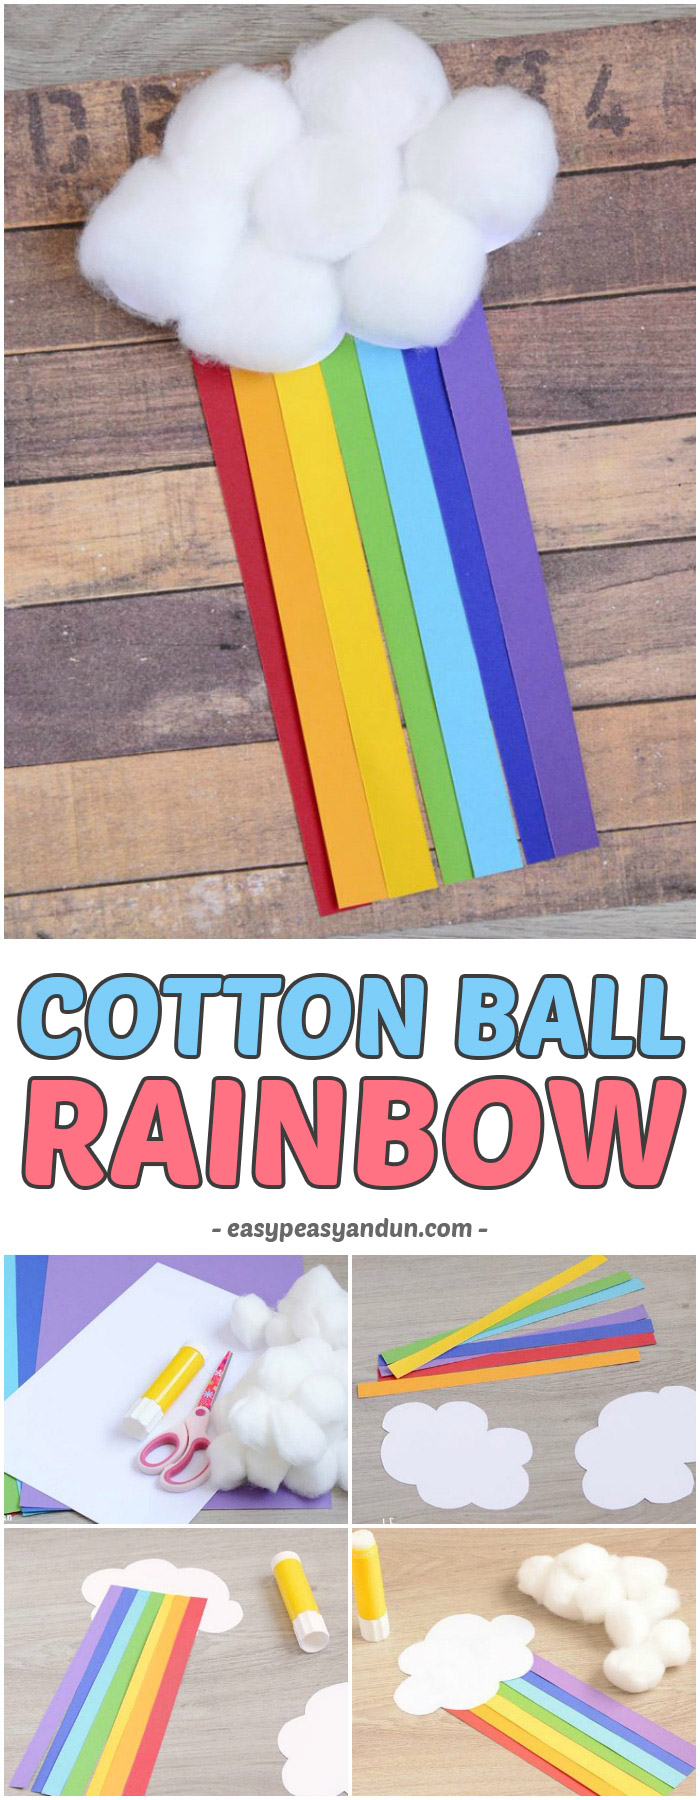 Source: Inspired By Easy Peasy and Fun, “Cotton Ball Rainbow Craft” (https://www.easypeasyandfun.com/cotton-ball-rainbow-craft/)This craft is perfect for making with kids. The final result is bright and cheery and looks lovely in any kid’s bedroom. Plus, it is pretty easy to make. Your kids will also get to work on their cutting skills and learn about colors. You can use construction paper, felt, ribbons or other fabrics to make this. Overall, your kids will enjoy adding their designs to this craft.
Supplies
- Cotton balls
- Construction paper or other colorful materials
- Normal printer paper
- Glue
- Scissors
Steps
- Start by cutting out your clouds from your standard white paper. Then, cut your construction paper into long strips. You can encourage your child to sort them and place them in the proper order.
- Next, glue the strips onto the back of your cloud. If you don’t have a glue stick, you can also tape them there. The material should hang down from the cloud.
- Give your rainbow a few minutes to dry. Then, flip over your cloud and rub glue on its surface. Organize your cotton balls and press them into the glue. Let it dry completely before moving.
- You can add a string on the back if you want to hang up your cotton rainbow cloud!
Cotton Ball Garland
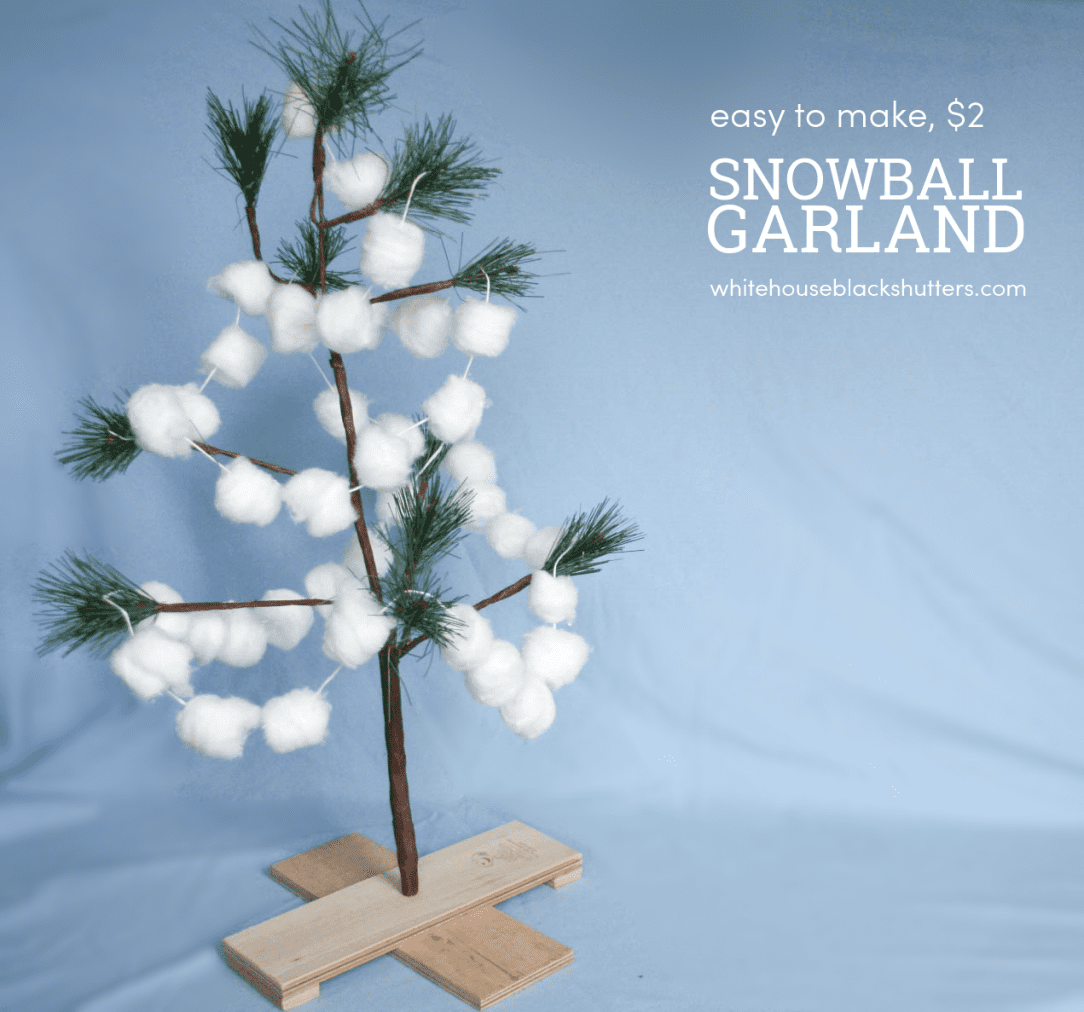 Source: Inspired by Ann Marie Heasley @ White House Black Shutters, “DiY Snowball Garland” (https://www.whitehouseblackshutters.com/diy-snowball-garland/)Want to add some more decorations to your Christmas tree? This cotton ball garland makes the perfect, festive decoration. It also can be hung up around the home to resemble falling snow. No matter how you use this garland, it’s fun to make!If you want to add more dimension to this craft, use extra large and regular size cotton balls.
Supplies
- Cotton balls
- Twine
- Needle
Steps
- Open your bag and pour out the balls.
- Thread your twine on the needle.
- Push the needle through the center of the cotton balls. Space them out and add different sizes for more dimensions in the project.
- Hang your garland wherever you want!
Campfire and Marshmallows
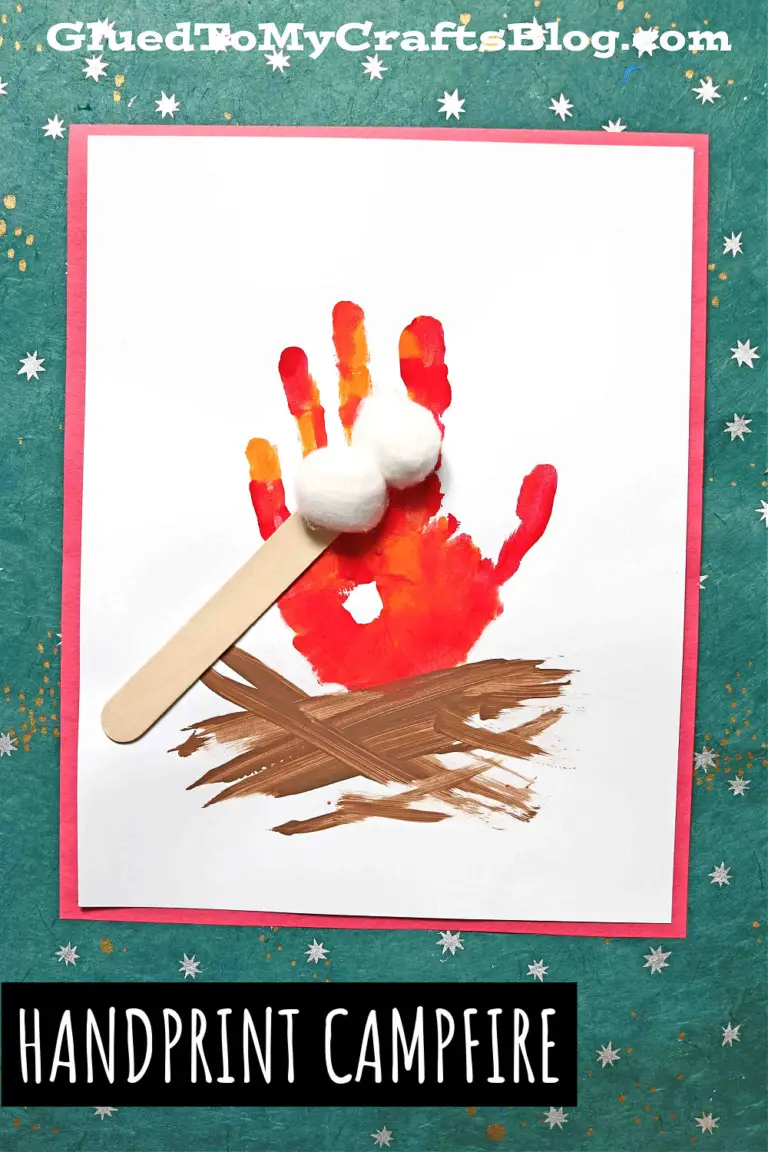 Source: By Stacey Gibbon @ Glued to My Crafts, “Handprint Campfire Keepsake on Paper ““ Summer Kid Craft” (https://www.gluedtomycraftsblog.com/2015/05/handprint-campfire-kid-craft.html)This craft is another one designed for kids. Young kids will enjoy painting and creating their campfire with a marshmallow stick. Here is what you will need:
Supplies
- White paper
- Paint
- Brushes
- Paper plate
- Brown cardstock or construction paper
- Glue stick
- Cotton balls
- Scissors
Steps
- Start by painting your child’s hand red or orange. Then, press it onto the paper. Do this again with another “fire” color.
- Help your child quickly wash their hands.
- Next, use brown paint to make logs under the handprints.
- Cut sticks from the brown paper, then glue two or three cotton balls to the stick.
- Let your child hold their marshmallow stick over the fire. When they finish playing, you can also glue this part to the paper.
- You now have a complete campfire with some tasty marshmallows! You can display your child’s work at home.
Cotton Sheep
 Source: Inspired by Karen @ Entertain Your Todder, “Cotton Ball Sheep Crafts for Kids” (https://entertainyourtoddler.com/cotton-ball-sheep-crafts-for-kids/) When we think of cotton balls, we usually think of a sheep craft! Here is one you can easily make with your kids.
Supplies
- Small, white paper plate
- Cotton balls
- Black paper
- Glue
- Googly eyes
- Scissors
Steps
- Glue cotton balls to the plate until it is completely covered.
- Cut four strips from the black paper for the legs. Then, cut out a head and ears.
- Give the leg pieces an accordion fold, then glue them to the back of the plate.
- Glue the small ears to the back of the head. Press everything down, then wait for it to dry.
- Put the eyes on the headpiece.
- Flip the sheep back over and attach their head to the cotton balls.
This project is simple and perfect for kids to develop their arts and crafts skills. Make sure you help younger kids with cutting and use child-safe scissors during the process.
Cotton Ball Sushi
Cotton balls sushi is fun for anyone to make. You can use it as a decoration or a play food for your kids.
Supplies
- Cotton balls
- Glue
- Felt
- Black, electrical tape
Steps
- Stretch the round balls into an oval shape. These pieces will be your rice.
- Cut felt into various shapes. You can use long yellow and green pieces and cut fish shapes. Be sure to check out real pictures of sushi for inspiration.
- Glue down the felt to cotton.
- Wrap with the tape to create your seaweed.
- Set on a plate with a set of chopsticks.
While cotton ball sushi makes a fun decoration, you can also use it to teach your kids how to hold and use chopsticks. Once they are completely dry, your sushi cotton balls should be very sturdy.
Conclusion
There are plenty of crafts that you can make with a bag of cotton balls. They are inexpensive and easy to replace if you make a mistake. Plus, you can easily add new cotton balls to your crafts over time.If you are interested in any of these projects, be sure to gather all your supplies and let us know if you try out one of our crafts!
Comments
0 comments