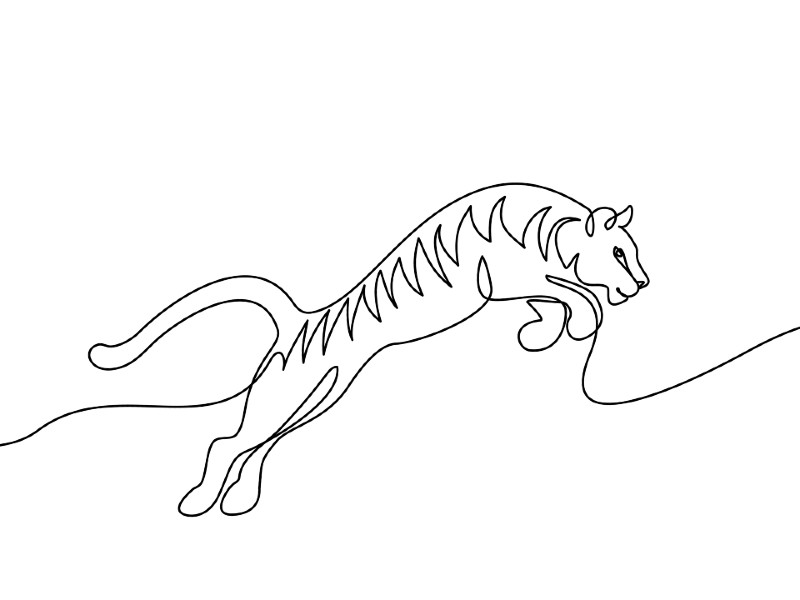
 Source: https://www.yedraw.com/how-to-draw-tiger.htmlIf you’ve ever wanted to draw a tiger, you aren’t alone ““ but these majestic creatures aren’t particularly easy to capture with a pen and pencil! We’ve put together some instructions for a simple tiger drawing to help you.MaterialsTo draw a tiger, you’re going to need:
- A pencil
- Plain paper
- A black fineliner
- An eraser
Step 1: Start With The Head
Begin by drawing an oval, just slightly wider than it is tall, to one side of your paper. Below this, you are going to add a smaller semi-circle, which will be the tiger’s muzzle.Across the front of your oval, draw two short, curved lines to give yourself a guide on where the eyes should go. These should line up approximately with the semi-circle you drew below the tiger’s head.
Step 2: Draw The Torso And Body
Sloping down from your head, you are going to draw a larger oval (don’t draw over your head circle, however; leave this part of the line out) to represent the tiger’s torso. Joining onto that (again, don’t draw the overlapping line), you are going to draw the main part of the tiger’s body. This should be another oval, a little bigger than the one you have just drawn. It wants to dip down a little on the lower line to form the tiger’s belly and curve up a bit towards the back to form the high point where the tiger’s hips and hind legs are.You now have an overall curve for the back. The head, top of the torso oval, and back end of the body oval should all be approximately level.
Step 3: Add The Ears
On either side of the top of the head, add a small, rounded triangle for the tiger’s ears. You can also add a little more detail to the face, mapping out the line of its cheeks to join down with the muzzle. Very approximately, this should be an “8” shape, but with the top circle larger than the bottom, and not filled in at the top.
Step 4: Draw The Forelegs
Start with the foreleg closest to the front of the picture. This should join your torso oval, forming a line down from the tiger’s head. Tigers’ front legs are relatively straight until they reach the paw; if you draw a smooth line down to the floor of your picture, and then curve around steeply to form a paw, you will form a good shape.For the back part of the first leg, you want slightly more definition. It should curve up from the paw and then bulge slightly around the tiger’s knee. It then dips in again slightly and reaches out to overlap with your torso oval, curving out to where the tiger’s ribs would be.The back leg can be raised as though the tiger is stepping. Draw downwards from the bottom of the tiger’s muzzle. The first part of the leg will form a rough triangle, meeting the line of the front leg you have just drawn.Once you have the triangle shape, thin down to form a paw that is raised and pointing down toward the ground.
Step 5: Draw The Hind Legs
Again, start with the front hind leg. This should follow down from the end of your body oval, sticking out behind the tiger.Continue this line to about the midway point of the leg. At this point, you want to draw a sharp curve and bring the lower part of the hind leg straight down to the bottom of the paper.Add the paw, and then draw the inner part of the hind leg, following the shape you have just created. Stretch the line up over the tiger’s stomach to finish the leg.The back hind leg is going to need a similarly steep curve in it. However, instead of drawing this curve sloping out behind the tiger, make the upper lines go straight down from the tiger’s body toward the bottom of the paper.Add the tight curve, and then angle the lower part of the tiger’s leg to the side, so it curves along and finishes in the paw.
Step 6: Finish The Body Shape
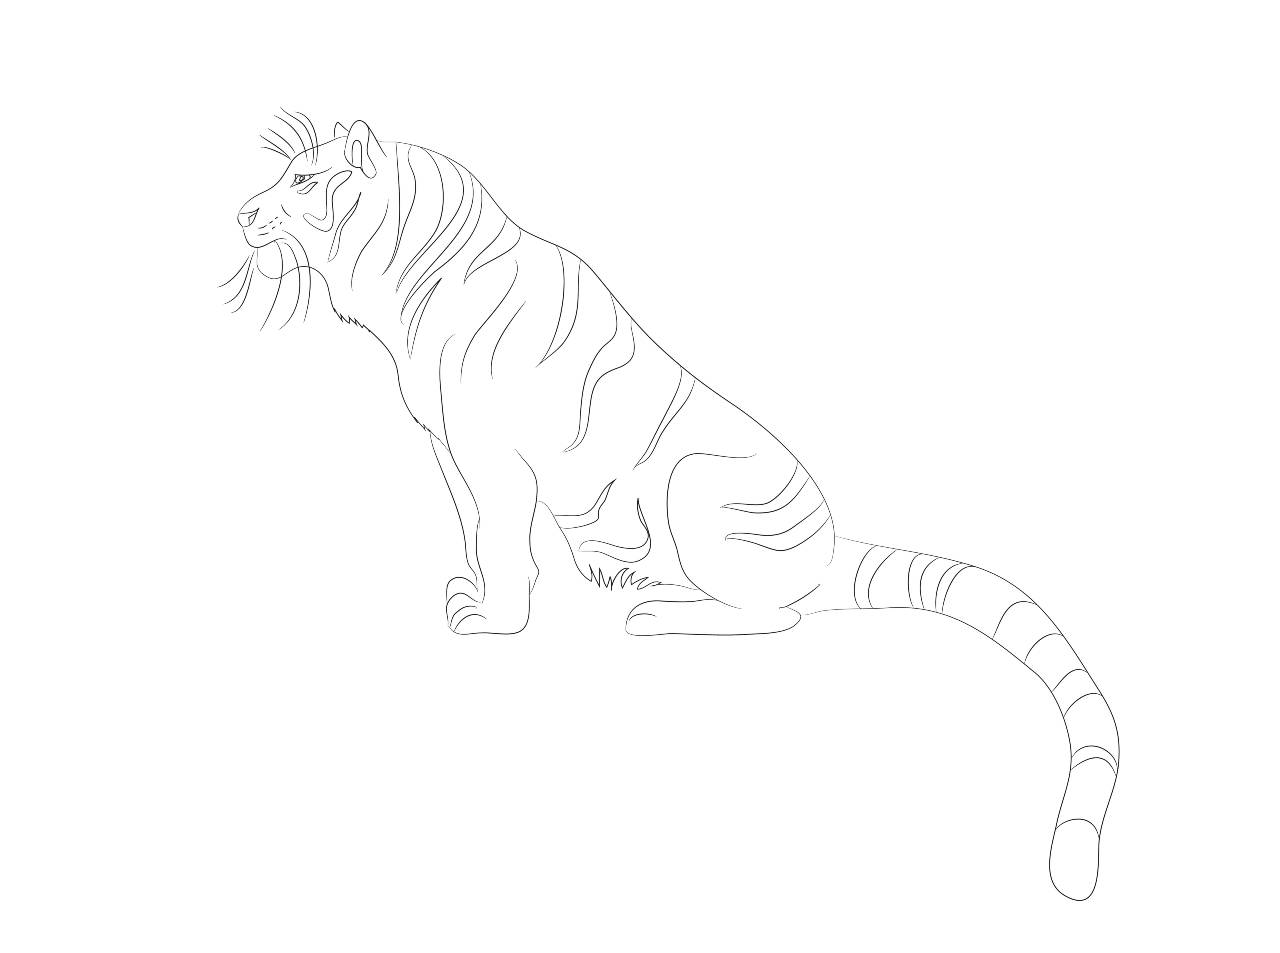
Use your eraser to get rid of any guidelines you no longer need and start smoothing out the tiger’s overall shape. Now that you have added the limbs, you should be able to include a rough shape for the tiger’s shoulders and hips.Adjust the line of the stomach, making sure it tucks in towards the tiger’s hips and swells out for the ribcage.
Step 7: Finish The Face
Square up the face a bit and add a harder line for the muzzle’s upper line. Sketch in the tiger’s nose and eyes, and draw the traditional cat mouth along the end of their muzzle to shape their lips and chin. Add some definition to the ears, giving inner lines.
Step 8: Add A Tail
Tigers usually hold their tails down, with just the tip curved. You can just draw the tip, curving up from the back leg in a “U” shape if you like. You can also draw it between the hind legs.
Step 9: Detail
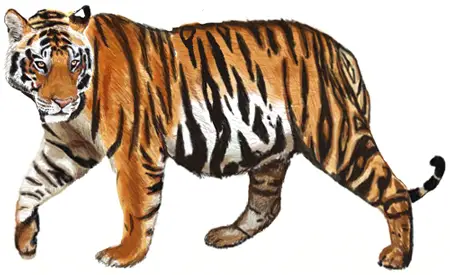
Give your lines some fuzzy edges to indicate the tiger’s fur, and start adding stripes. Take a look at some tiger pictures to get a good idea of how the stripes should go; they are dense on the head, tail, and body, and more spaced out on the legs.Add whiskers and hints of claws, and then Fineline and color your drawing once you are satisfied with it!
Conclusion
Capturing a tiger’s shape is challenging, but with practice, you should be able to do it, and this will unlock a whole range of other big cats to draw. Remember that tigers are among the heavier members of the cat family, so reflect this by making the limbs powerful and weighty.Don’t worry too much about the stripes and other details before you have got the silhouette right, but do spend a bit of time studying how they map a real tiger’s body and don’t spoil your picture by rushing to add a few lines in random places.
Comments
0 comments