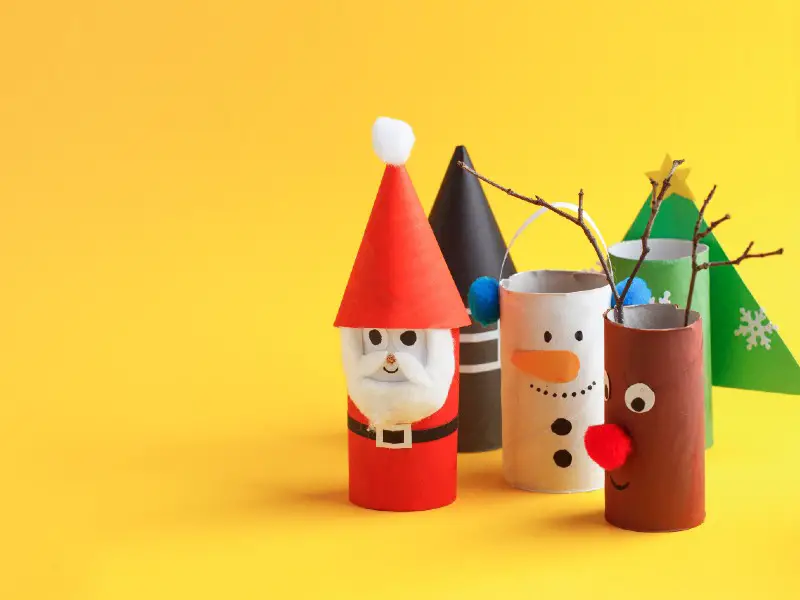
Christmas is a wonderfully magical time for doing crafts with your kids, even though it’s often busy and chaotic. Many parents are moving away from putting things in advent calendars, and instead are offering an activity every day ““ and Santa crafts are just perfect for that activity.We’re going to cover two different Santa craft options today; a wearable beard and a paper plate Santa. You can use one to bring festive cheer wherever your preschooler goes, and the other to decorate your house or your preschooler’s bedroom. Here are our Santa crafts for preschoolers.
Santa Beard
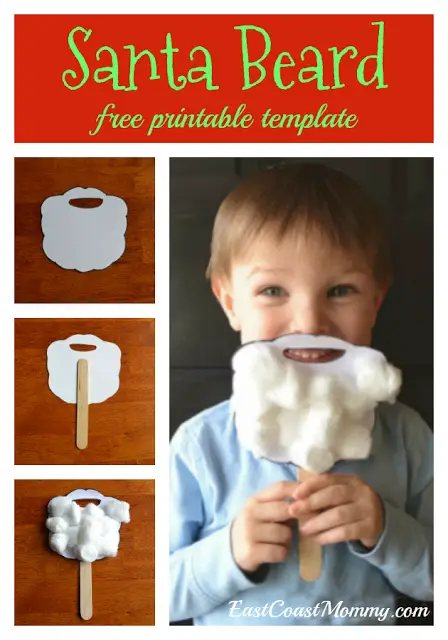 Source: https://eastcoastmommyblog.blogspot.com/2012/11/preschooler-craft-santa-beard.htmlLet’s start by learning to make a cute little Santa beard. Everyone knows kids love “disguises” and masks, and this is a fantastic one to do with your kid. It’s very easy and doesn’t require huge amounts of materials.
Materials
To let your little one morph into Santa Claus at will, you will need the following:
- Plain white card
- A thin black marker pen
- A wooden Popsicle stick or some elastic
- White cotton wool
- Tape
- Glue
Step 1: Draw Santa’s Beard
Put your white card on a flat surface and sketch out Santa’s beard. You can make it as big or as small as you want (within reason) and have fun with lots of bumps and bobbles, or just go for a smooth curve.When you’re happy with the outline, draw a mouth in the middle near the top. Again, if you feel like being fancy, draw some lines to indicate there’s a mustache. Most of your pen lines won’t show up anyway by the end, but a few may, and this can also help guide your little one on where to glue the cotton wool later.
Step 2: Cut The Beard Out
Grab a pair of sharp scissors and cut around the beard’s outline. Remember to exaggerate shapes that you want to actually stand out in the finished piece.Cut around the mouth when you’ve finished. You may find this a little tricky, so use sharp, pointy scissors and punch through the middle of the mouth hole first, and then cut to the edge and cut the rest out. This should leave you with a nice, clean line. Don’t worry too much if it’s not perfect; your toddler won’t care and the cotton wool will hide most of it anyway.
Step 3: Tape Or Glue The Popsicle On
Tape or glue the Popsicle stick to the back of the cardboard beard, making sure it’s secure. Alternatively, you can punch a small hole in either side of the beard, and then later tie elastic on to fit around your child’s head.This will mean they don’t have to hold the beard in place, but it can be a little bit fiddly, and the card may eventually tear through, especially if your child pulls the beard on and off with great enthusiasm ““ as many small children will. To reduce this problem, don’t make the holes too close to the edge.
Step 4: Decorate The Beard
Grab the cotton wool and glue and let your child start adding “Santa’s beard” to the base you have created. You may need to help a bit to ensure that the glue doesn’t go absolutely everywhere, but this is the bit of the craft your child should be able to have the most fun with.To minimize the mess, spread a layer of glue onto the beard yourself and encourage your child to stick bits to it, rather than letting them dip the cotton wool into the glue and then stick it to the beard.You can show your child how to play around and experiment with the cotton wool, teasing it out into long, fluffy tufts, or leaving it in more solid shapes like curls. Make a wispy mustache, and have fun styling the beard.If you’re adding elastic instead of a stick, measure around your toddler’s head and tie some in place. Once the glue is dry, they can be Santa to their heart’s content!
Paper Plate Santa Claus
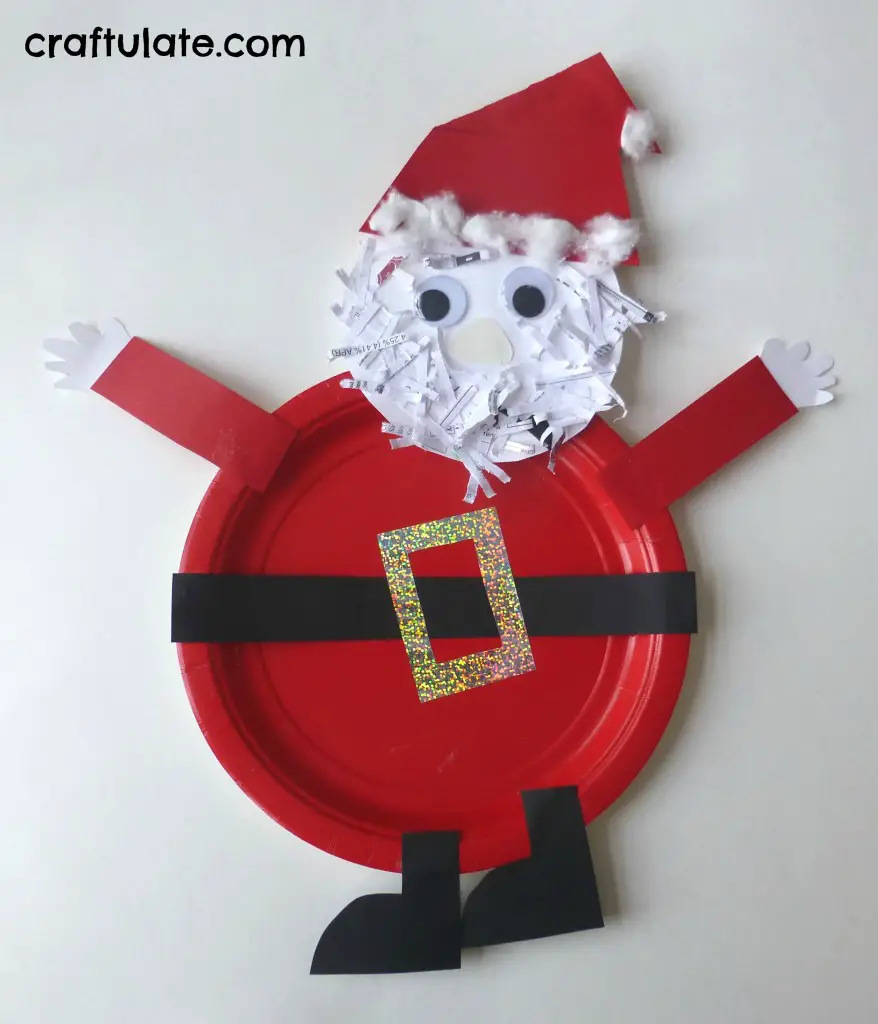 Source: https://craftulate.com/paper-plate-santa-craft/If you’d rather create a decoration to add to the general Christmas feel of the house, here’s another great option that your kid will love.
Materials:
For this craft, you’re going to need:
- A paper plate (red or painted red)
- Thin white card
- Thin black card
- Thin red card
- Googly eyes
- Cotton wool
- Some shiny paper
Step 1: Cut Out Santa’s Face Components
It’s always tempting to do too much as an adult, but you may find it easier to get a bit of the preparation done before you call your kid over for this particular craft.You’re going to take your white card and cut a circle a bit smaller than the paper plate; this will be Santa’s head, so use that as a guide for how big it should be.Put the googly eyes on and see if you’re happy with it. If not, cut another circle.Cut out a nose (you can draw around it to give it some more definition) and then grab your black card and cut out some little eyebrows. You can add more details like ears if you’re feeling extra creative.
Step 2: Cut Out The Other Decorations
You’ll need a hat and two sleeves from the red card, a long strip from the black card to make a belt, and two boots.For each thing that you need two of, cut one first and then draw around it to make it easy to get the second piece a similar size.To get the right size for the belt, put your paper plate on the black card and draw a line at both edges of it. This will give you the length of the belt (as it needs to cover the full span of the plate) and you can then cut the width so that the belt is as thick as you would like it to be.Cut a belt buckle out of the shiny card you have. A rectangle with the center cut out should work for this; you don’t need to spend too long making it detailed.Now you’ve got all the parts, it’s time to get the glue and the child!
Step 3: Glue The Face And Arms In Place
Help your preschooler carefully glue the face components in place, add the hat, and then stick the hands to the ends of the sleeves.
Step 4: Decorate The Hat
Fluff up some cotton wool and help your child use it to create a fur trim on Santa’s hat, and a bobble at the top. You can also add little furry trims to the sleeves and the tops of the boots.
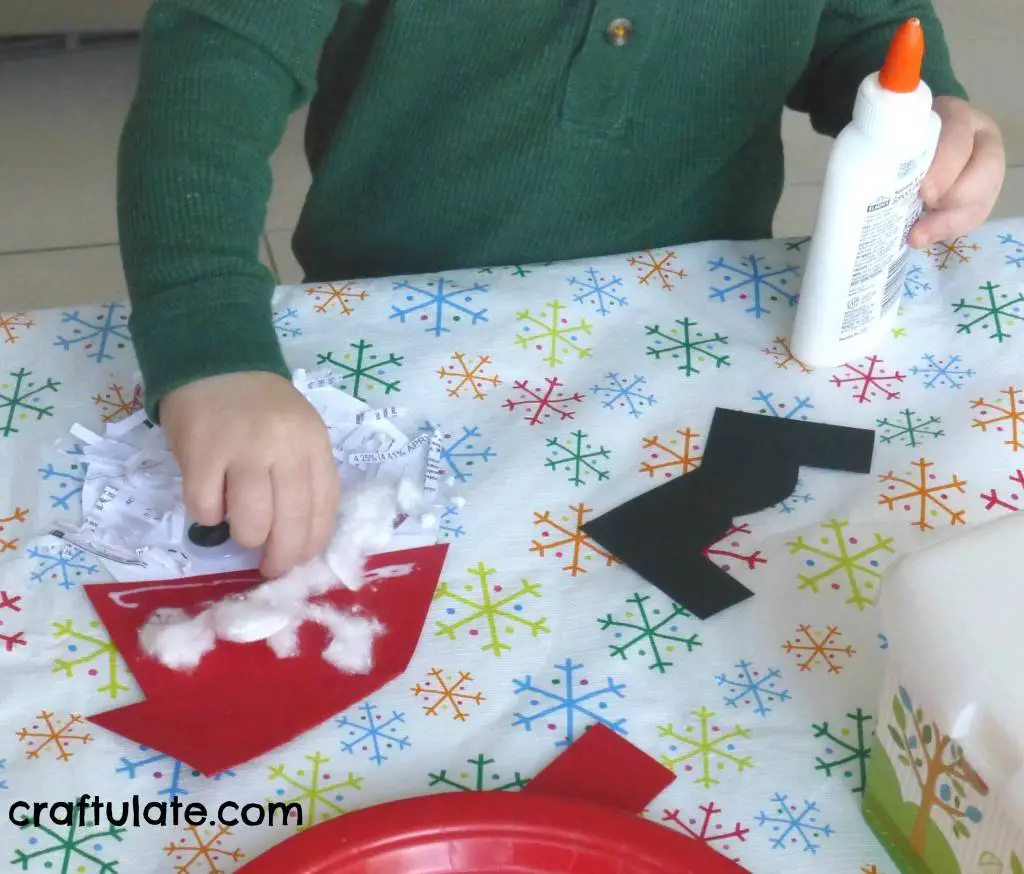
Step 5: Make The Beard
You can either use some shredded paper or some more cotton wool to create a lovely big, puffy beard for Santa’s face. Let your preschooler add plenty of cotton wool so it’s big and fluffy, and don’t worry too much if the face gets a bit obscured.
Step 6: Add The Belt To The Plate
Help your child glue the belt carefully to the plate, and then glue the buckle on top of it. You can add further detail like little black circles for coat buttons at this stage if you like, or keep it simple.
Step 7: Glue The Body Parts To The Plate
You’ll want to help here to ensure you get a solid bond between the plate and the body parts. Give your child a bit of guidance so that the head ends up near the top, the arms on each side, and the cute little boots at the bottom.You may find that Santa ends up a bit wonky, but that doesn’t matter; as long as you’re having fun, that’s what counts!Gluing the different parts to the underside of the paper plate’s rim can help to make the craft look neat, but if your child would rather stick them on top, that should be fine too!
Step 8: Optional Extras
If you want to make Santa a little more exciting, you could give him a sack cut from a brown card, or create a couple of wrapped presents for him to hold in his hands. Alternatively, add a carrot for the reindeer, or a cookie for Santa himself to munch.All of these things can easily be cut from colored cards or paper and decorated just using a pen. You can keep this craft very simple and let your kid have as much fun as they like with it!
Conclusion
Santa crafts make a great addition to any Christmas holiday and will give both you and your child an opportunity to spend time together. You may find that doing a little preparation in advance before you involve your child makes it an easier process, but it can be fun to get sticky and make mistakes together.Christmas crafts will likely be one of the things your child remembers most fondly as they grow up, and the memories will last long beyond the crafts, so have fun and don’t worry about creating things that look perfect ““ just focus on having a perfect time.
Comments
0 comments