There’s nothing like a few crafts sessions to teach kids new things. Want to teach your child about foxes, but not sure how to go about it? In this article, we will look at three simple and beautiful fox crafts, from fox origami to crochet fox ears headbands, for you–and your children–to try at home. Read ahead to find out everything you’ll need to get started.
1. Crochet Fox Ear Headband
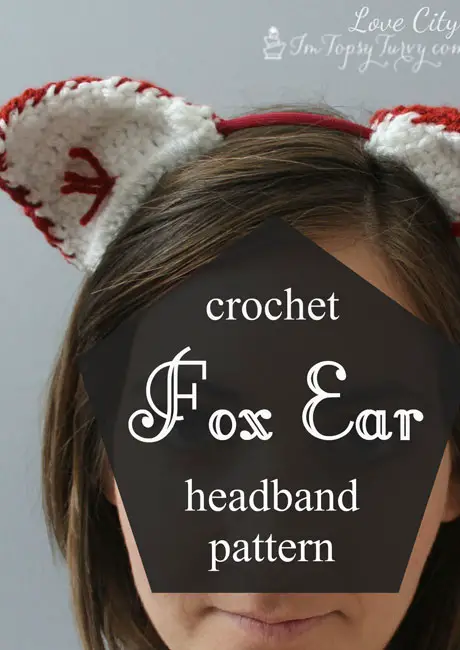 Source: By Lindsay @ Ashlee Marie, “Crochet Fox Ear Headband Pattern” (https://ashleemarie.com/crochet-fox-ear-headband-pattern/)Whether it is a part of your Halloween outfit, something you want to give to a friend or make for your child, or you just want to make a cute headband and wear it yourself, a crochet fox ears headband is what you need. If you’re handy with a crochet hook then this craft should be a breeze. Here’s a list of supplies.
Materials
- Yarn, preferably worsted weight, in shades of red, orange and white.
- Appropriate-sized crochet hook.
- Scissors
- Yarn needle, although this is optional.
- A headband that fits.
Stitches used in this pattern
Slip stitch – insert hook, and pull through both loops to slip stitch.Chain – use the hook to pull the yarn through the hook to form one chain.Double crochet – Yarn over, insert hook and pull through two loops, yarn over and pull through the remaining two loops on your crochet hook to form 1 double crochet.
Sizing and measurements
Depending on the weight and ply of the yarn, and subsequently the hook you use for this project, the finished triangles will vary in size. However, you can make them bigger by simply adding on two or three more rows after step three.
Method
Step 1Take your orange yarn and slip the hook into a slip knot. Chain 4 and slip stitch into the first chain to form a loop. Step 2 Chain 2, and this will be considered as one double crochet. Then, work in 3 double crochets into the center gap in the loop. Step 3Turn your work over, and then chain 2. Place one double crochet in each stitch across till you make your way to the last stitch. Make 2 double crochet in that last stitch. Step4Repeat step 3 over and over till you have a total number of 8 rows.Now, go ahead and fasten off, leaving a tail. You can either use a yarn needle to sew it in, or just the hook to weave it in later. You will need two of these, in orange.Step 5Take your white-colored yarn. Chain 4 and then slip stitch into the first chain to form a loop.Step 6Chain 2 and work in 3 double crochets into the same stitch. Then, go ahead and place double crochets in each stitch across the row until you reach the final stitch where you place 2 double crochets together in it.Step 7 Repeat step 6 until you have a total of 8 rows and then fasten off. Step 8Place one orange triangle and one white triangle over each other and either sew them together with a yarn needle or use a crochet hook to slip stitch them in place together. You can choose to either hide the stitches made to sew them in altogether, or you can choose to make them stand out in contrast to one another. Repeat this step with the other two triangles, one white and the other orange.Step 9 Cut 4-5 strips of red yarn using a pair of scissors. You can use a crochet hook to pull them under and over one of the stitches in the middle of one triangle, the white side facing up. And carefully knot the strands in place. Repeat this with the other triangle ear as well.Step 10All that’s left to do is slide your headband carefully between the bottom stitches of either triangle, set them in place and you’re done.
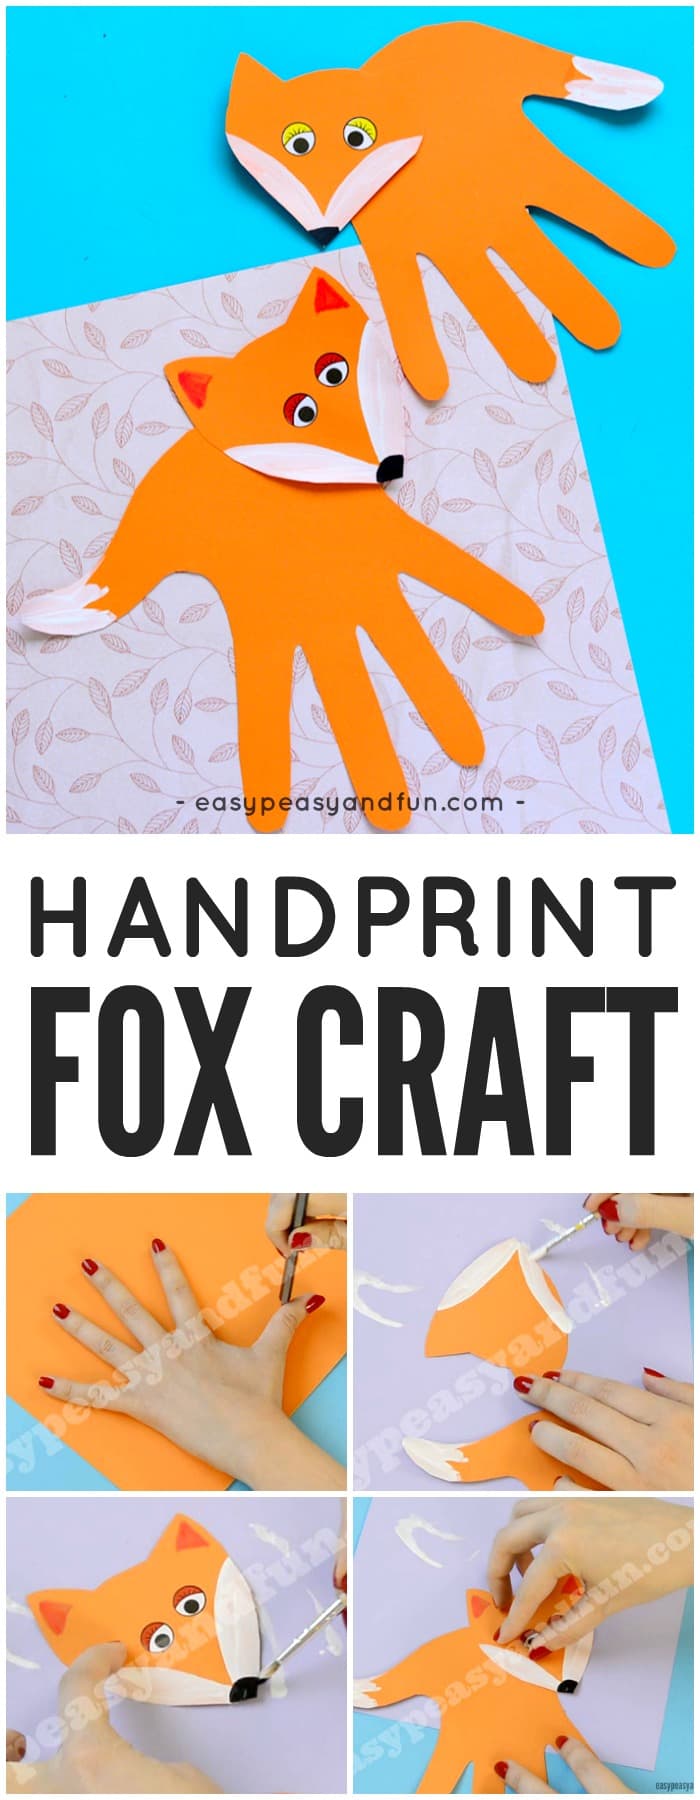
2. Handprint Fox Craft
 Source: By Easy Peasy and Fun, “Handprint Fox Craft” (https://www.easypeasyandfun.com/handprint-fox-craft/)
Foxes are gorgeous and extremely popular animals, and most children are very fond of them. They are also highly iconic, which makes crafts that use them work well, even when little ones are involved. As far as fox crafts go, this handprint fox craft must be one of the cutest ways to preserve your child’s tiny hands forever.
Handprint crafts are wonderful for a whole range of reasons. They are super simple and they immediately involve your child, but they also permanently memorialize a snapshot of your child as they are in that moment.
This makes them very popular with family members, so this handprint craft would make a wonderful gift at Christmas. All you will need is orange paper, some scissors, some white paint, a bit of glue, a pencil, and some googly eyes or sticker eyes ““ and a small child’s hand!
The whole process is very easy, although you might have to offer a bit of help for some of the painting steps if you want a neat craft at the end. Whatever you do, the fox will make a perfect copy of just how small your child is, which is wonderful to look back on in the future.
It would be lovely to make a whole family of these foxes and display them on the wall together, with one for every child and larger foxes for the parents’ handprints.
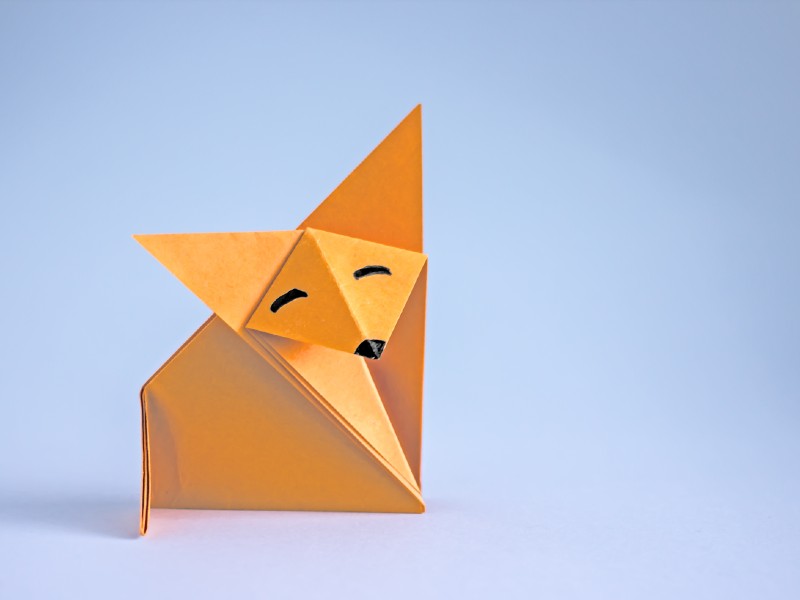
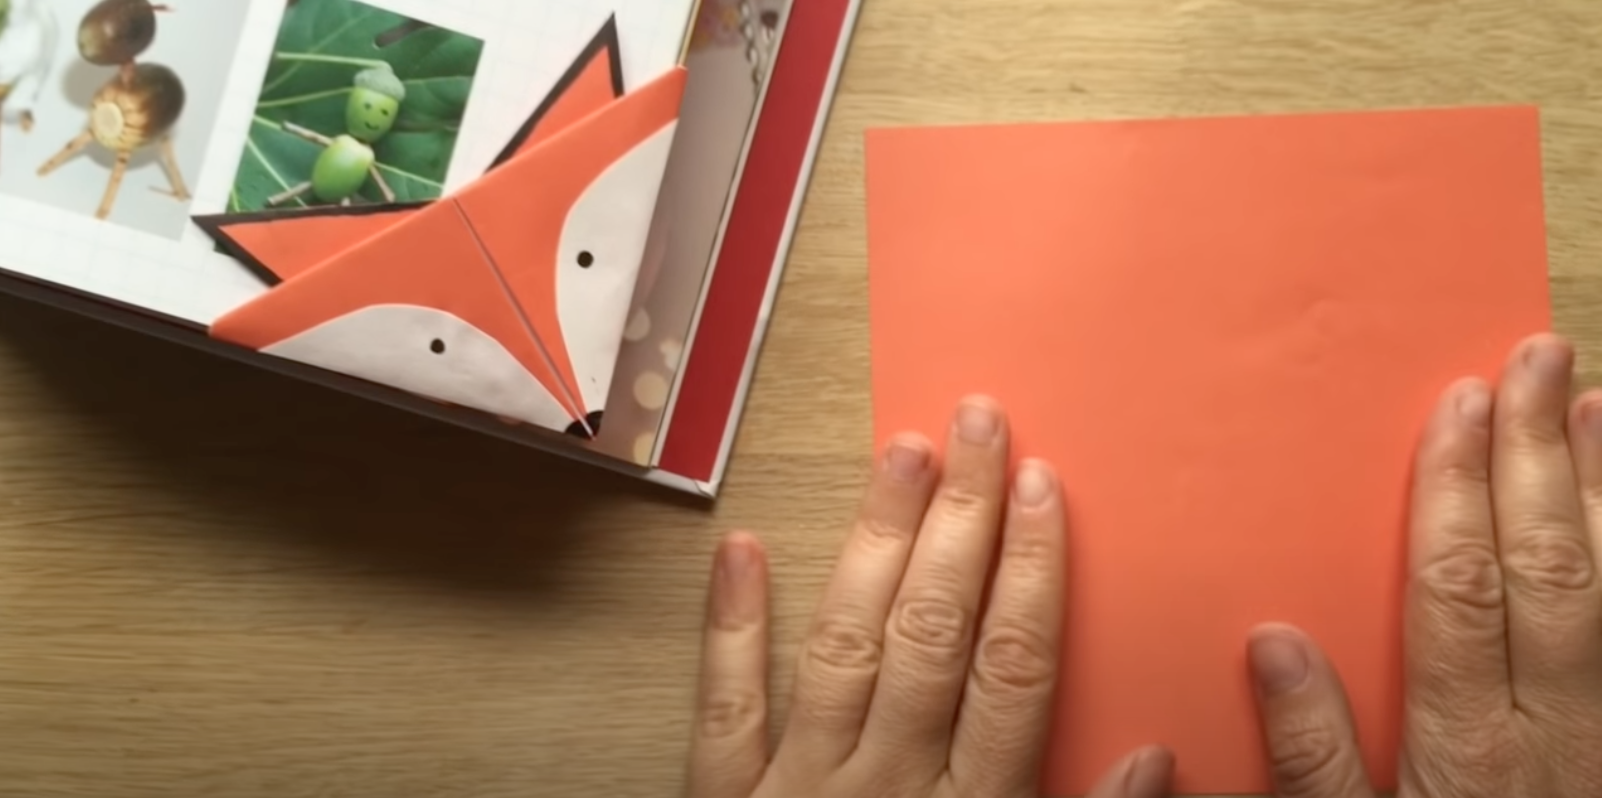
3. Origami Fox
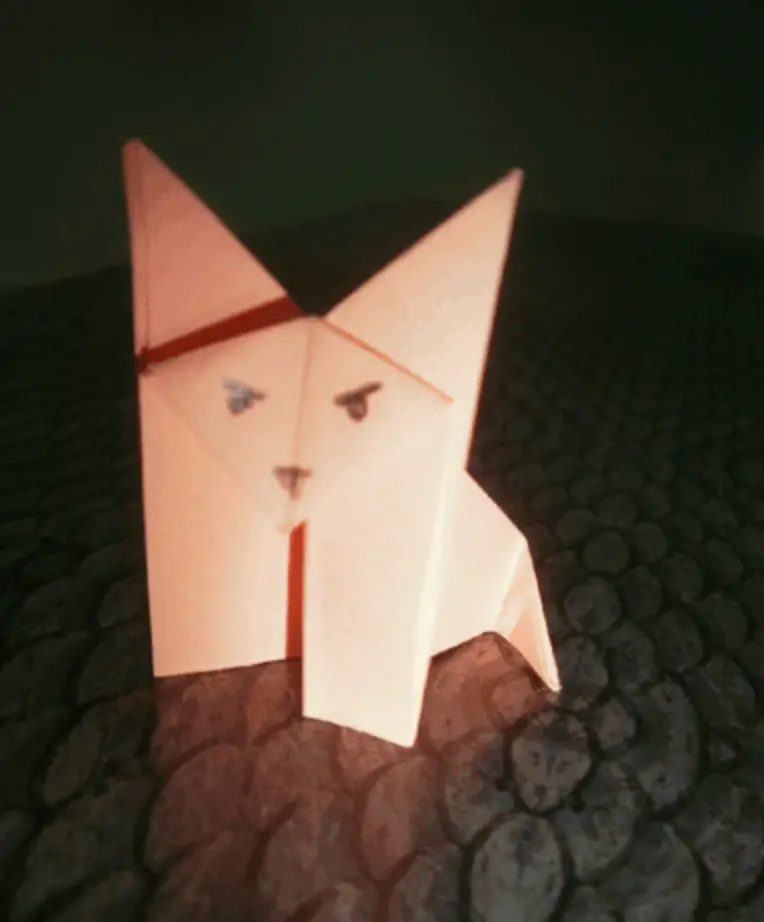 Source: By Origami Instructions, “Origami Fox” (http://www.origami-instructions.com/origami-fox.html)This one’s a little different from your usual fox face origami. This one? It’s got the head and the body. Here’s a list of things you will need to get started.
Materials required
A square piece of orange paper and that’s everything!
Method
- Start by laying out your paper flat on your worktable.
- Next, fold it in half diagonally to form a triangle.
- Fold that triangle again, in half, to form a smaller triangle. Crease the edges and then unfold to get the bigger triangle.
- Take the left corner of the triangle and fold it up towards the center end/corner. Now repeat this step with the left corner. You’ll end up with a neat square
- Flip your work around and then carefully fold the square in half, to form a triangle.
- Now the longest side, the one that is perpendicular, will face leftward, as will the layers of paper under the top layer. You will have six layers.
- Now, fold the perpendicular end, and all 6 layers with it, inwards and crease it in a half-inch fold.
- Unfold the first three layers and then push down the middle two spread open the middle two, with the top pinched in a curved dome.
- Push the top, curved end down halfway to the center and crease into an envelope-like shape.
You have the head, you have the pointy ears and you have the body. What you have is a pretty origami fox.Additionally, you can make “˜legs’ by folding inward the two ends opposite the “˜head,’ as well as fold the tail inward to make the fox stand up. Don’t forget to pencil in a pair of eyes and a nose on the tip of the triangle head.
Comments
0 comments