Building a model rocket is a fun activity for kids of all ages. Many sciences classes will provide these crafts in school, and many kids even have their collections. No matter why you have decided to build a rocket, much of the fun comes towards the end of the creation, when you have to design it and then paint it.When the time comes to paint your rocket, that is when you get to make it unique and specific to your imagination and interest. Painting a rocker is the time you get to make that particular rocket yours. There are many different ways to paint your rocket, and in this article, we will list a few of those ways to help you along.Get your paint, brushes, and rocket ready because we are going to help you create a rocket masterpiece.
Painting Your Rocket
Depending on your personal preferences, there are a few different ways you can paint a rocket. Some methods are more straightforward and can be done within a few minutes, and others may take a bit of time to complete. The choice is yours.
Spray Painting
If you simply want to color your rocket one or two specific colors, it may be easier to grab a can of spray paint and go to town. Using your spray paint cans, you can:
- Spray your specific color and then leave it be
- Spray a base color and then spray it in sections with more colors
- Take the cans and spot spray with multiple colors all over the rocket, holding the spray nozzle for a tiny amount of time just letting a dot of color come out.
Tips: Do not spray too close to the rocket, or the paint will build up and run down, creating streaks.
Masking Tape Spray Paint
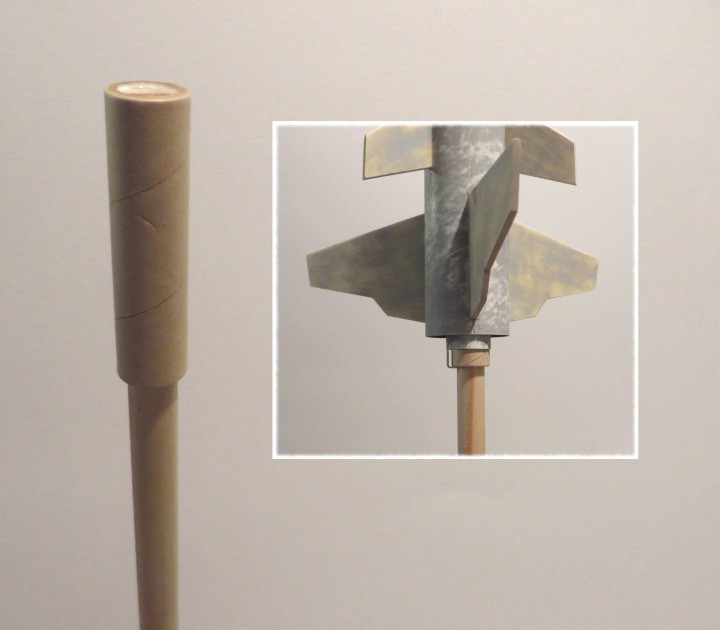 Source: https://www.nar.org/educational-resources/model-rocket-building-techniques/masking-painting/Masking still uses spray paint; however, it is a little more involved and detailed than just spraying paint all over your rocket. Masking a rocket requires steps and time in order to make it look just right. Step 1: Place your rocket on a painting stick – (a wooden dowel or something similar to keep your hands clean).Step 2: Prime your rocket with any type of paint primer. Doing this will guarantee the paint will hold onto the rocket and keep its color. Step 3: With masking tape, mask different areas on the rocket that you would like to spray paint in order to make your desired design. Step 4: Spray one color on the area that you intended for that specific color, keeping the paint inside the tape. Step 5: Once the first color is dried, re-mask if necessary, and then spray on another color. (continue until you have added all the colors and designs you want). Make sure you are slow and steady with the paint, not accidentally overlapping each color. Step 6: Finally, remove all of the tape and allow the entire rocket to dry. (You may finish up with a gloss clear finish if you choose.)
Acrylic Paints
You can use acrylic paint in the same way as you did the spray paint. Painting your rocket in a single color or multiple bulk colored spaces, or masking the rocket with tape and painting it in steps.However, with acrylic paints, you also have the option of making more detailed designs and letters with paintbrushes or sponges. Acrylic paints are great for long-lasting, bold colors.Use these paints to create unique shapes, write your name, or come up with a unique design no one has ever seen before.Keeping an assortment of paintbrushes on hand will give you the ability to create intricate and controlled designs. Paint Brushes come in many different sizes and shapes in order to provide the artist with more options for controlled movements.
Stencils
If you are looking to give your rocket a sophisticated look with a perfectly painted design, you may want to consider grabbing some stencils before you start to add the paint. Using stencils is a great way to get straight and precise lines when painting a rocket. Using stencils can also be very useful when you are trying to add your name or other words to the rocket, helping you keep the letters well spaced out and the same size.Stencils are also a great way to get specific designs and themes added to your rocket even when you are not the greatest artist in the world.
Rocket Themes
If you are preparing to paint your rocket but aren’t quite sure yet what your theme will be, here is a list of the top 10 rocket themes we found while browsing the world wide web. Use these themes on your rocket or just take inspiration from them and turn them into your own.
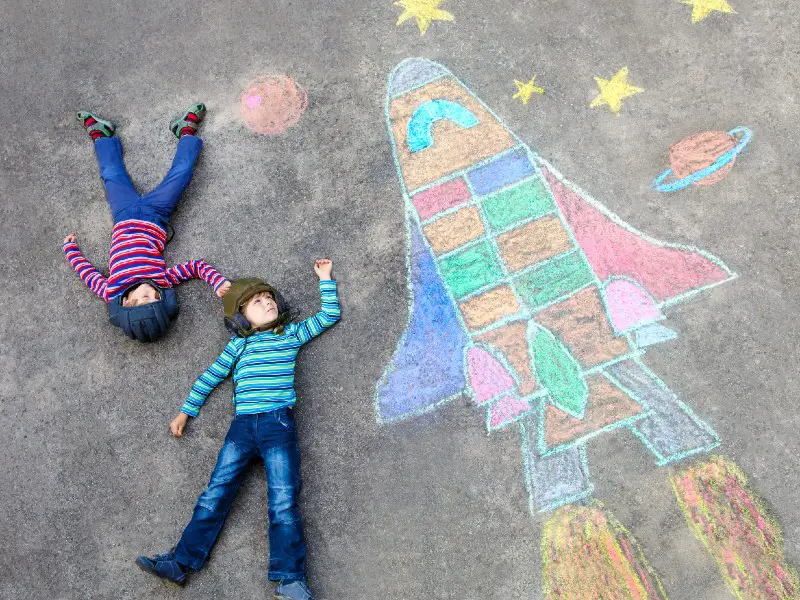
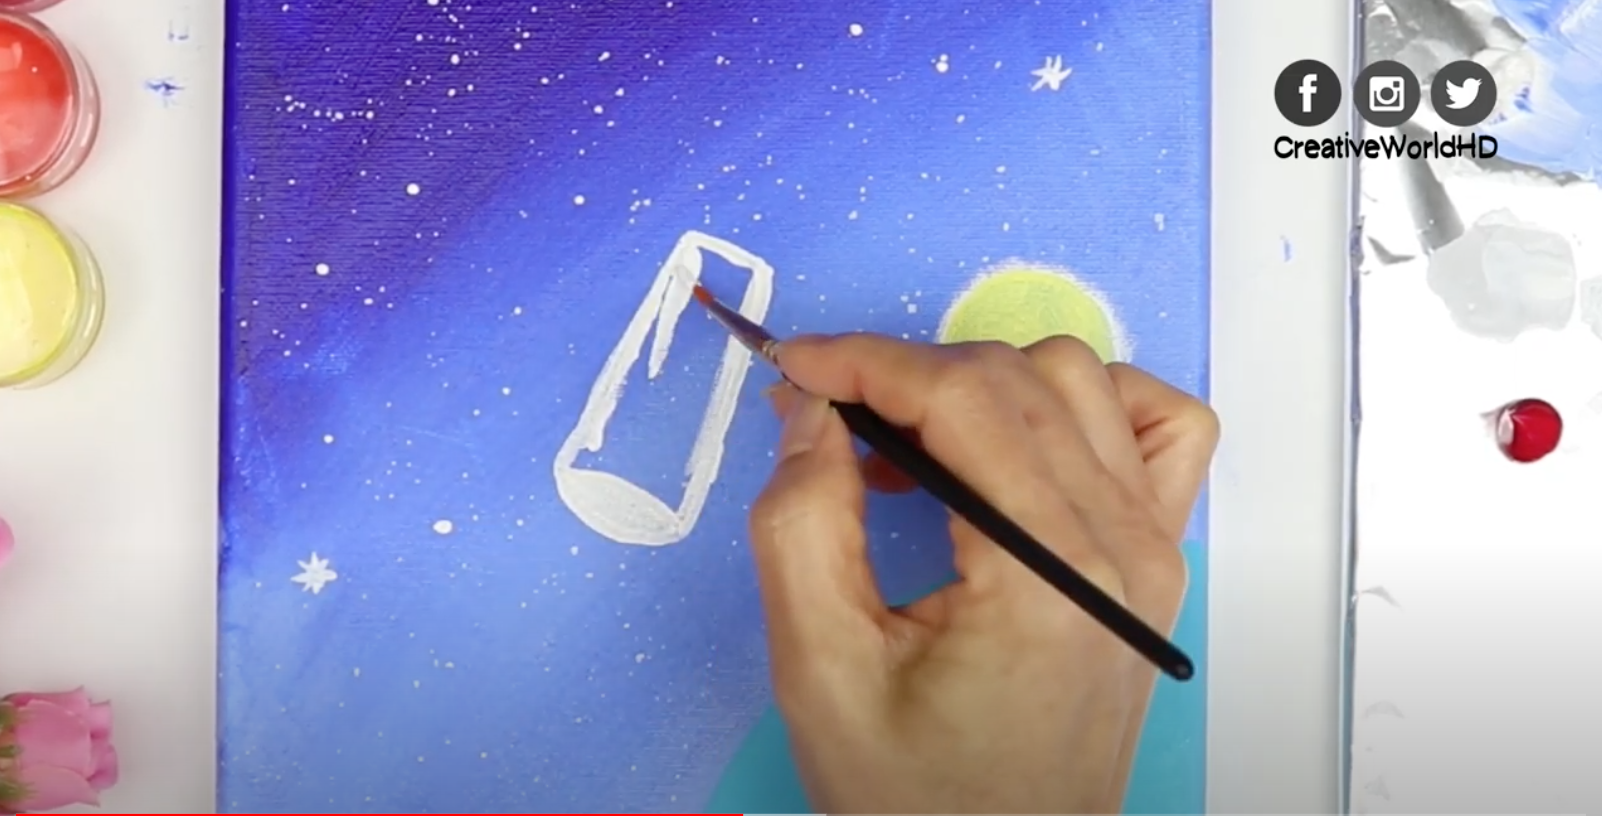
- Planets and stars- consider painting your rocket with a black base color, then paint stars, the moon, and even a ufo or two onto the rocket. (to add some fun, use a glow in the dark paint for the stars, then shoot off the rocket at night)
- Camo- Camouflage is a popular theme for a lot of crafts and projects. Use different colors of green, grey, and browns to make an awesome camo rocket.
- Superheroes- Many rockets have recently been designed with superhero colors and symbols, such as Captain America’s shield, spiderman webs, or Thor’s hammer.
- Red, white, and blue- If you are feeling patriotic, another popular theme is red on the tip, white on the body, and blue on the fins.
- Turn it into a missile- You can paint your rocket with silvers or black to create a missile design.
Conclusion
Rocket painting doesn’t have to be complicated, nor does it require a lot of time or talent. This is something fun for you to do when you want to spend your free time being unique and artistic.There are many different products out there that can help inspire you and give you ways to make your rocket stand out among the rest; you just have to unleash your creative side.
Comments
0 comments