You can do so much to personalize planners, notebooks, and journals if you have a Cricut machine. And you really don’t need to make your own design unless you want to.
All you need to do is browse the images Cricut has in Design Space, and choose something you love!
Cricut Access has over 100,000 images you can use, and they add more every week. It’s beyond worth the $7.99/month, plus you get 10% off at Cricut.com and lots of extra fonts you wouldn’t normally have access to. (Do you love fonts as much as I do?)
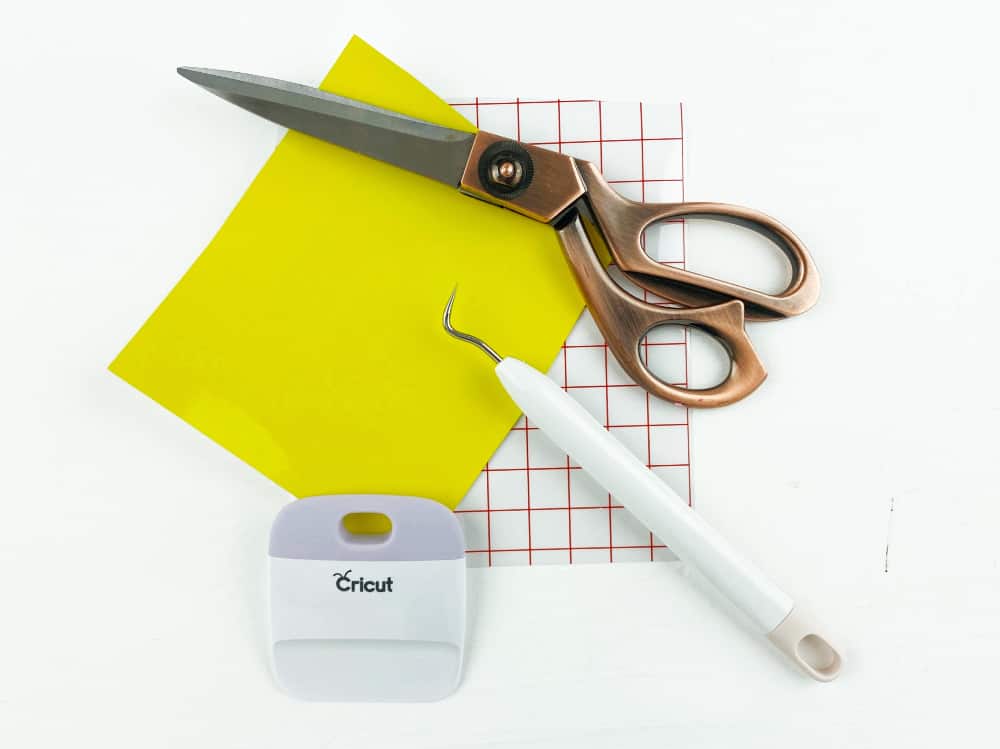
What You Need
(I have the Maker)
Journal or planner – these make awesome bullet journals!

How to Personalize Your Planner
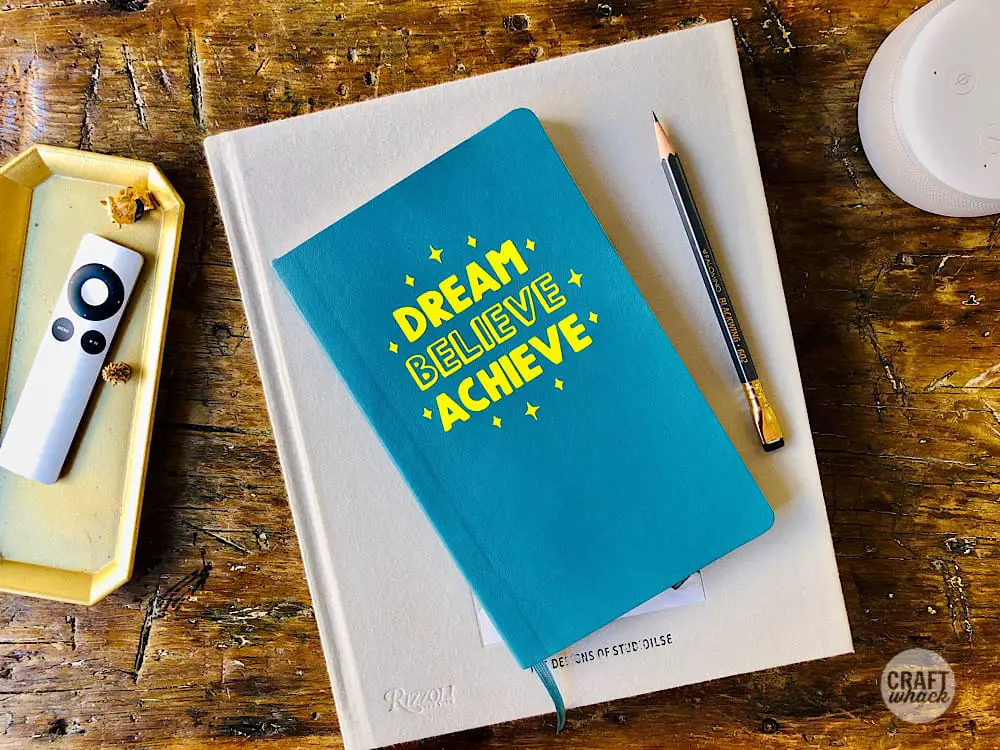
I decided on a fun quote to keep me motivated every time I use my planner, and grabbed some vinyl in a bright yellow that would look great with the blue of the planner.
This quote is in the images section of Design Space as #M915F6C1, or you can use whatever you want!
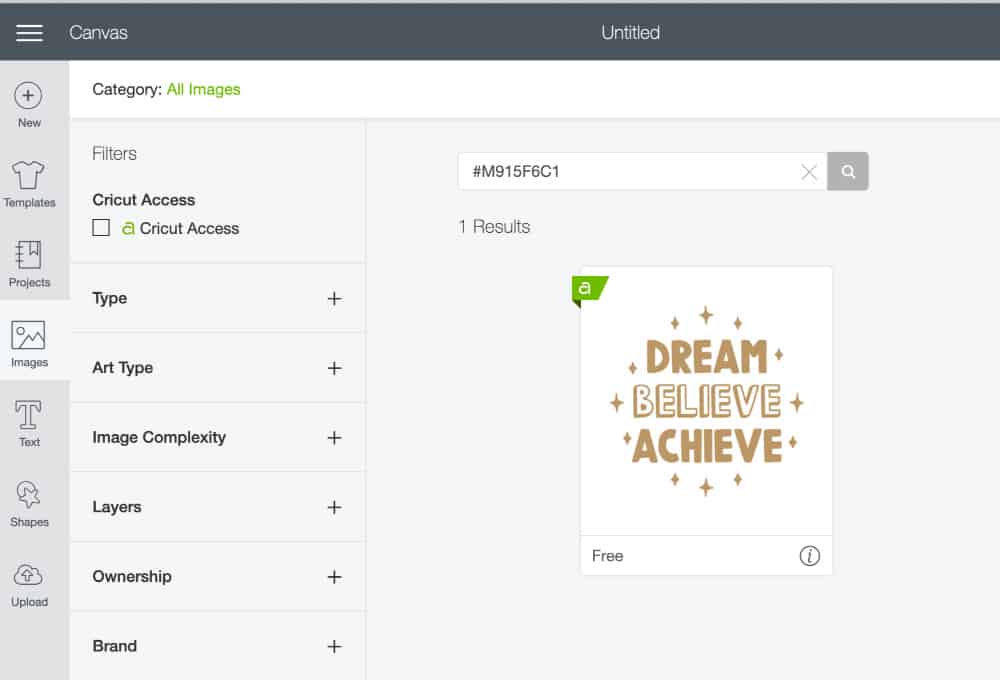
(Make sure you drag the arrows to size the image or text to fit onto your notebook cover.)
Place your adhesive vinyl on the regular sticky mat, and run it through the cutting process. You just need to choose vinyl as the material, and regular pressure.
Remove the vinyl from the mat (it won’t have cut through the back of the vinyl, so you can peel the entire piece off the mat.)
Cut around your image so you can reuse the rest of the vinyl for future projects.
Cut a piece of transfer tape a little bigger than your image vinyl piece.

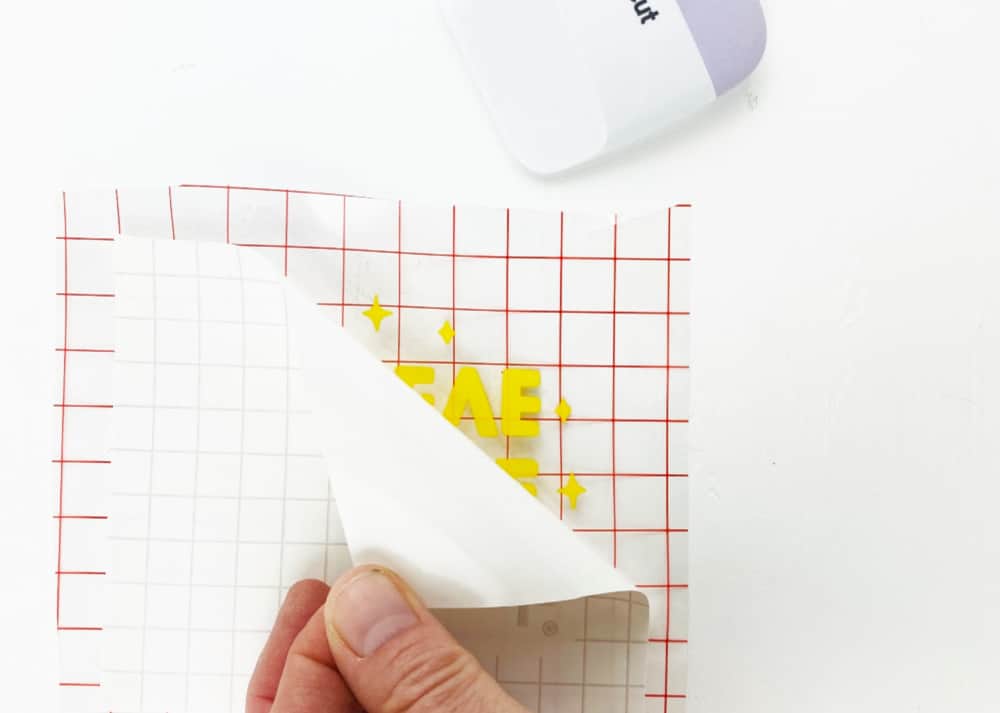
Peel the background vinyl away from your image, slowly and carefully. Some little pieces may want to pop up with the background, so just push them back with your weeding tool.
Weed out the inner pieces that need to be removed.
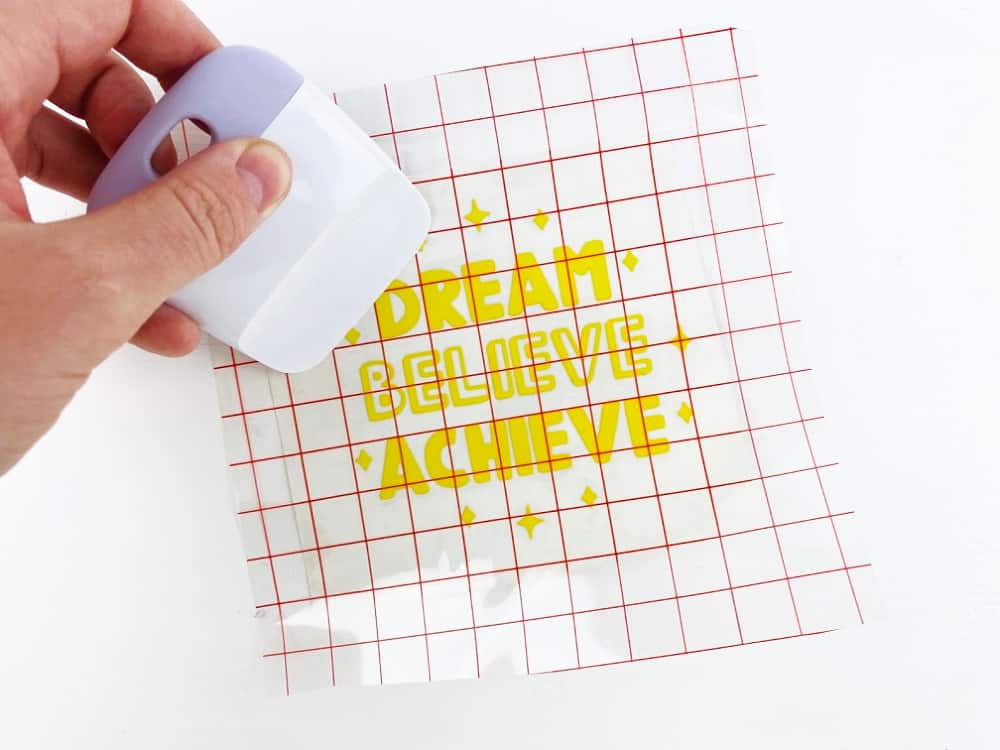
Press your piece of transfer tape face down over the vinyl image and scrape it with the scraper, ensuring you get the whole thing.
Flip it over and peel the backing paper off of the vinyl, then press the image down onto the front of your notebook.
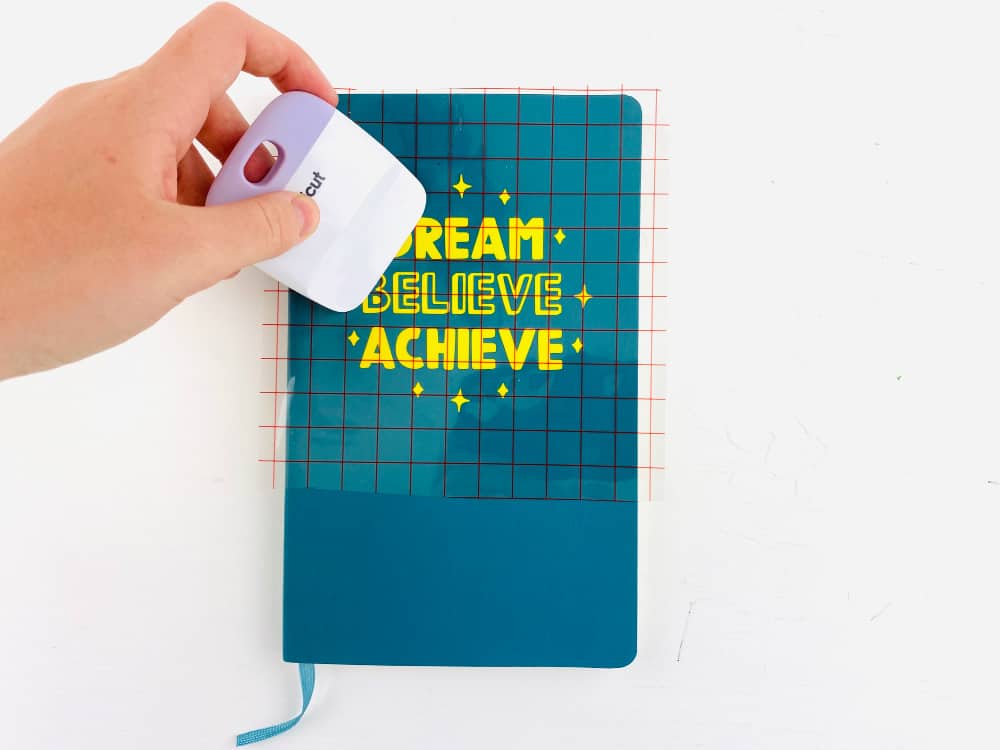
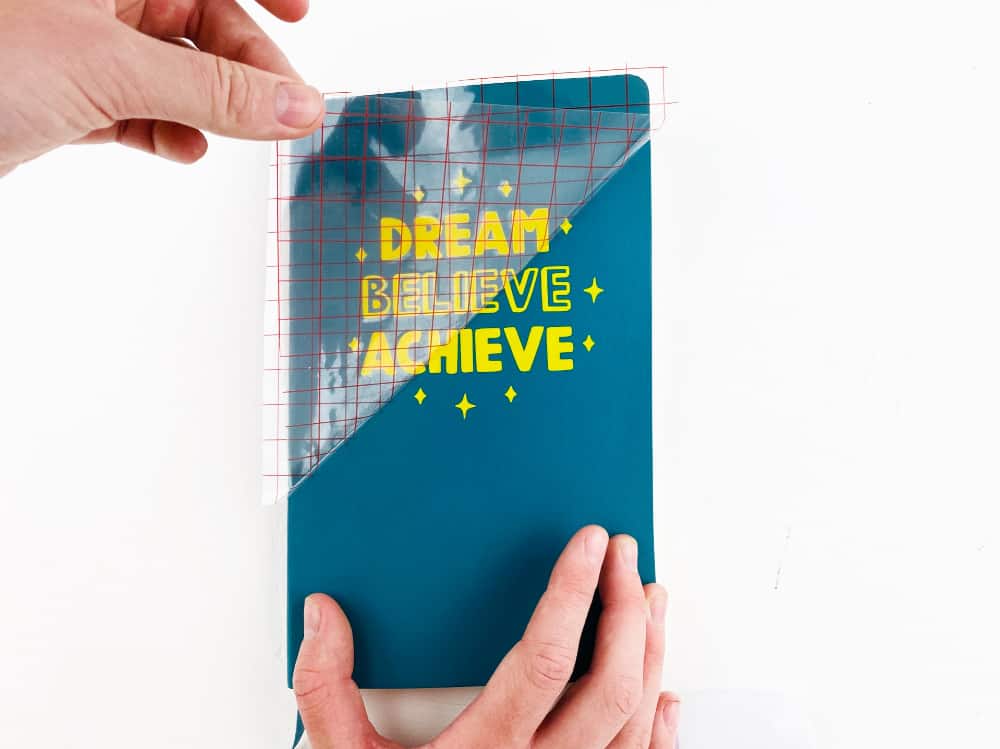
Using your scraper, burnish the whole piece firmly onto the front of the notebook, then peel away your transfer tape. It’s that easy!
This has taken personalizing notebook covers to a whole new level, right?
Comments
0 comments