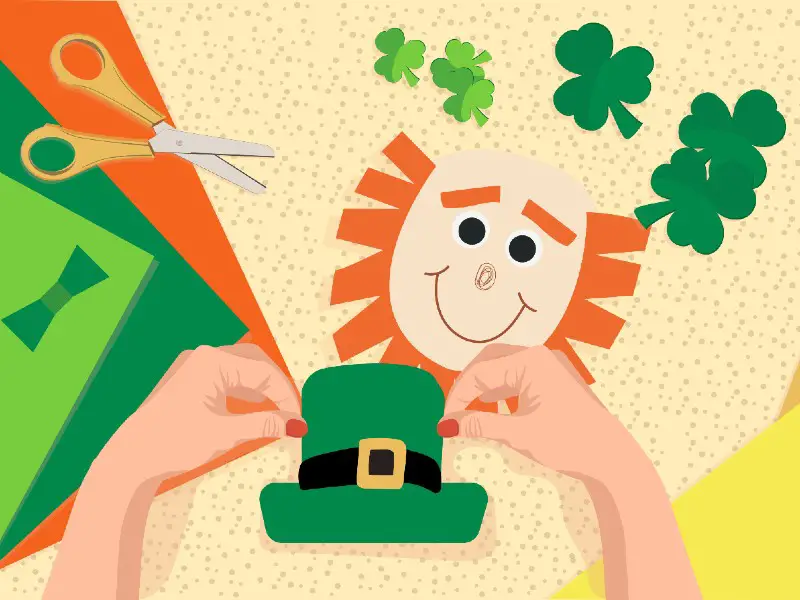
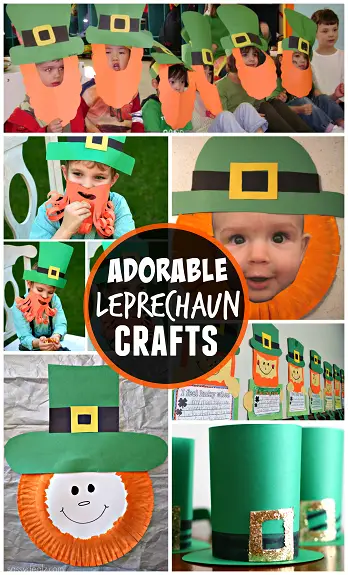
Leprechauns make cute and funny crafts, and if you’re thinking of celebrating St. Patrick’s Day, they are a must-have. Green is going to be your friend here, so pick up green supplies from the craft store, call your child, and get creative.Here are some top leprechaun crafts for you to try.
Green Hat
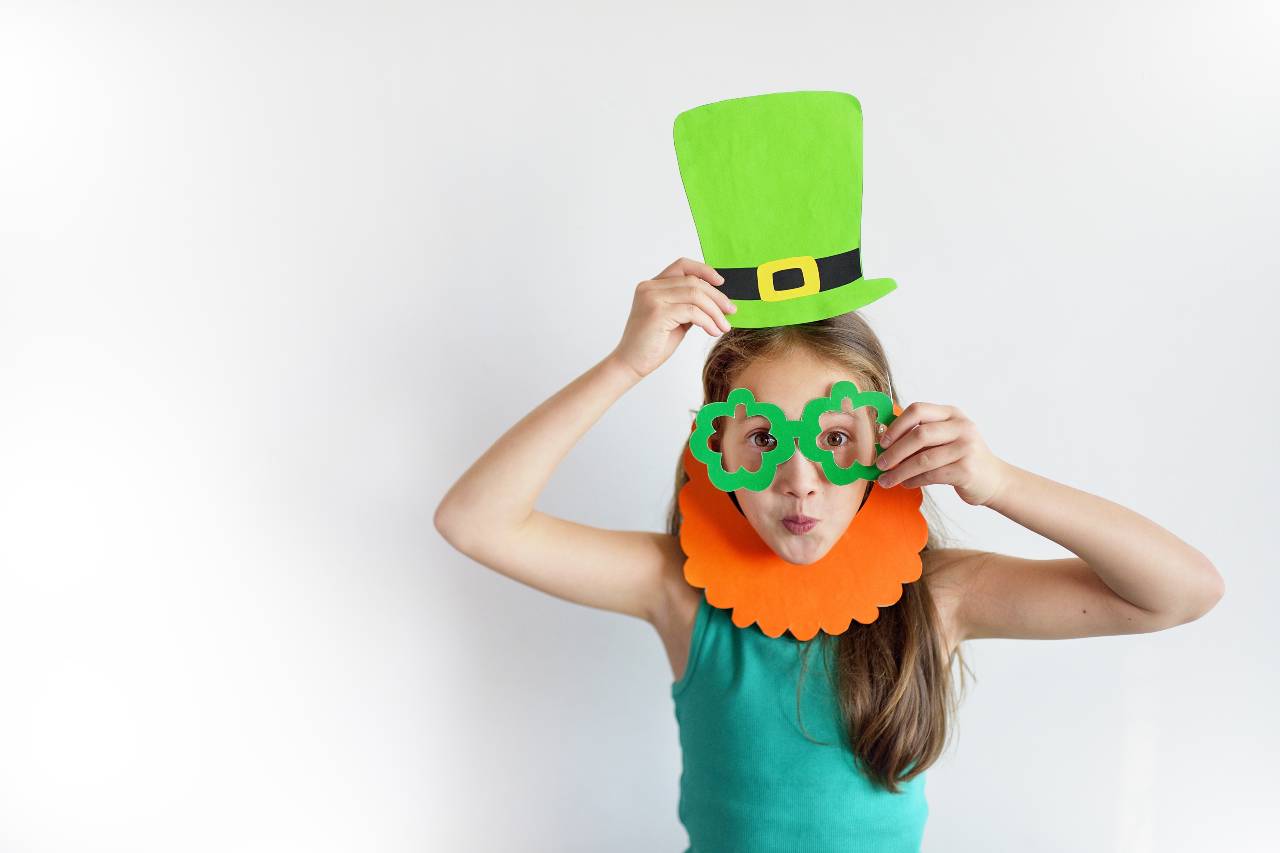
 Source: https://www.craftymorning.com/leprechaun-crafts-kids-make-st-pattys-day/The leprechaun’s distinctive green hat is great fun to make, and you can scale this up to be part of a costume, or have it as a cute little display. You could even use one to hold cocktail sticks or napkins at a party.
Materials
To create a leprechaun’s green hat, you’ll need:
- Green card
- Black paper
- Gold card
- Scissors
- Glue gun
- Pencil
- Elastic (Optional)
Step 1: Draw The Base
Decide how big you want the hat to be, and then find something circular to draw around. If you are making a hat for a person, a paper or regular plate may be a good size. If you want mini hats for a display, try a drinking glass.Help your child draw around the circular object, and then cut out your first circle. This is going to form the base of the hat.If your child (or you) plans to wear the hat, you will now need to cut an inner circle out so that their head will fit in it. Measure the top of their head and use this to judge how big the hole should be. Remember, you can enlarge it if needs be, so aim for too small rather than too big initially.
Step 2: Add The Top
You’re now going to want to add the top part of the hat. This should be nice and tall. If you have cut a hole in your hat’s brim, you’ll need to make sure the sheet of card will wrap around this hole (glue two sheets together if necessary).Next, curve the hat around to make a cylinder. When you’ve got the right shape, get your child to hold the card for you and then draw a quick pencil line to show yourself where to glue. Add a line or two of glue using the glue gun, and then glue the top part of the hat in a cylinder.Once the glue has cooled, run a line of glue around the bottom of the hat and glue it to the brim. You now have your basic hat shape. If someone is going to be wearing it, check its fit.
Step 3: Decorate The Hat
You should cut a strip of black paper and help your child glue this around the base of the hat, where the top part meets the brim.Next, cut a square out of the gold card, and a smaller square out of the inside of that. This is going to be the hat’s buckle. You can add a stick of gold card to represent the part of the buckle that goes through the notch, or keep this simple. Glue the buckle to the front of the hat.Finally, cut some three-leafed clovers out of your green card and glue them against the black band of the hat for extra decoration (skip this step if you’re making small hats as the clovers will probably not show up very well).If the hat is going to be worn, add some elastic to hold it under the wearer’s head more effectively. It won’t be a comfortable hat to wear for long, but it will look great!
Paper Plate Leprechaun
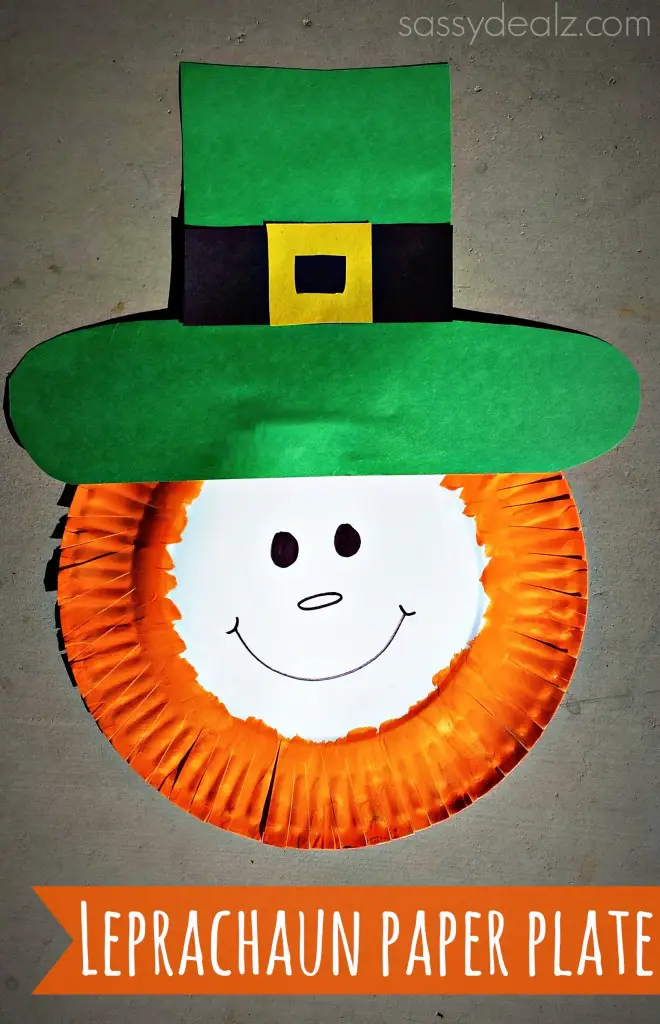 Source: https://www.craftymorning.com/paper-plate-leprechaun-craft-kids/If you want a craft more suitable for young children, a paper plate leprechaun can be lots of fun.
Materials
You’re going to need:
- 1 paper plate
- Green card
- Black paper
- Yellow paper
- Orange paint
- Paintbrush
- Black pen
- Scissors
- White glue
- Glue gun
Step 1: Draw The Face
You’re going to start by helping your child to draw the leprechaun’s face on the back of the paper plate. You can use googly eyes, but just drawing them is fine too. Draw a big smile and a little nose, and if your child wants to add some freckles with orange paint, that’s great.
Step 2: Paint The Beard
Leprechauns always seem to have big orange beards, so your child is going to add this next. They can use the crinkled edges of the paper plate as a rough guide, but it doesn’t matter if they overlap onto the face ““ the leprechaun will just have a bushier beard.Your child should paint all the way around the plate, as the hat will cover the top part so there’s no need to choose a cut-off point.
Step 3: Cut Out The Hat
No leprechaun is complete without a hat, so you’re going to get a sheet of green cards and cut a large rectangle out of it. Next, cut a long, thin oblong for the hat’s brim. Glue this on top of the rectangle you have just cut.
Step 4: Decorate The Hat
Add a strip of black paper (or let your child color a wide black line) to the hat just above the brim, and then cut out a square of yellow paper, and cut a smaller square out of that. Glue this buckle onto the belt of the hat.
Step 5: Glue The Hat On
Finally, glue the hat to the top of the paper plate using a glue gun. It should sit low enough to hide some of the orange paint at the top of the leprechaun’s head.Leprechaun paper plate complete!
Leprechaun Beard
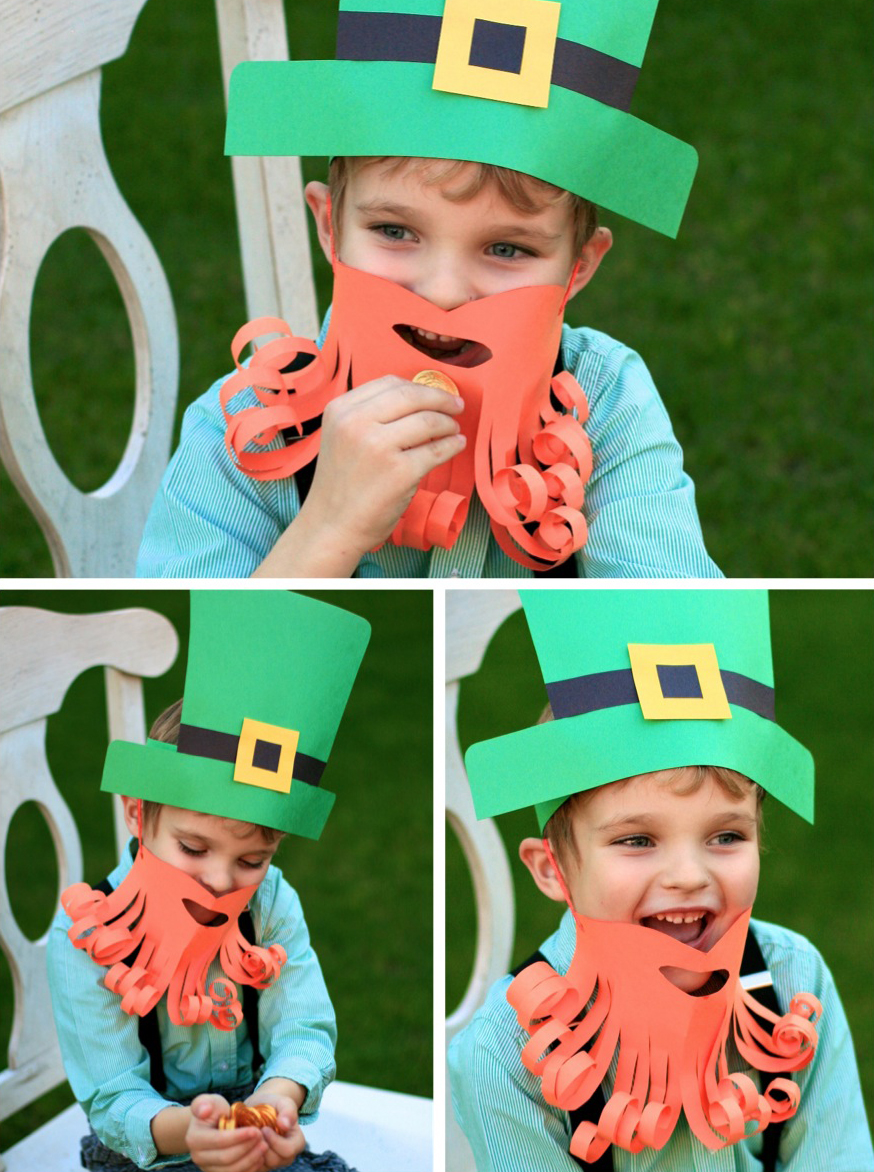 Source: https://pagingsupermom.com/easy-leprechaun-dress-up/To become part leprechaun, you can create an amazing leprechaun beard out of paper. Pair this with the hat in the first craft and a few green clothes, and you’ve got a great costume! Children will love donning this beard.
Materials
You’re going to need:
- 1 piece of elastic
- Orange paper
- Orange card
- Scissors
- Glue
Step 1: Make The Beard
You’re going to start by cutting lots of strips of orange paper. Make the strips different thicknesses and lengths. Get your child to wrap the ends around a pencil (or a straw or other similar object) to make them curl up a bit. You can also score some of the strips with scissors to get a really tight curl.
Step 2: Create The Band
Next, help your child cut a band from the orange card with a mouth hole in it. You are going to be gluing the strips to this, layering up the beard. Try angle strips around the mouth hole off to the side so that the wearer will still be able to talk.Help your child layer up the beard until you’re pleased with how bushy it is. Re-curl any strips that have got bent or squashed, and then it’s time to add elastic.
Step 3: Add Elastic
Punch a little hole through either side of the cardboard band, and thread your elastic through. Knot the elastic on both sides, and add a dot of glue if necessary to make sure it holds.Get the wearer to try the beard on. If the elastic is too loose, you can always tie a loop in the back that can be undone later to allow someone with a larger head to wear the beard ““ because everyone is going to want to try this fun craft!
Conclusion
Leprechaun art is great fun, and you can make crafts that are both wearable and decorative. Create fun table pieces, great costumes, or paper plate crafts that even little ones can enjoy, and have a great St. Patrick’s Day.
Comments
0 comments