Did you know you wanted to make a mini epoxy resin koi pond before seeing this post? Bet you didn’t! Unless you’ve already seen some online and though they were the cutest things ever, like I did!
Epoxy resin projects seem to have grown in popularity, and for good reason. There is something so cool about being able to encapsulate items in clear plastic forever!
With this project, you also get to play with polymer clay to make the cute little koi fish!
It’s definitely a multi-part craft project, but this little koi pond diy is so worth it when you see the finished product.
Supplies For Resin Koi Pond
Stones (remember these rocks from garden stepping stones project?)
Cardstock or cardboard
Squeeze glue (school glue is fine)
Wood slice or board (ours was about 10″ at the longest point)
Heat gun or torch for removing air bubbles from resin (I’ve seen people use hair dryers for this)
How to Make a Mini Koi Pond
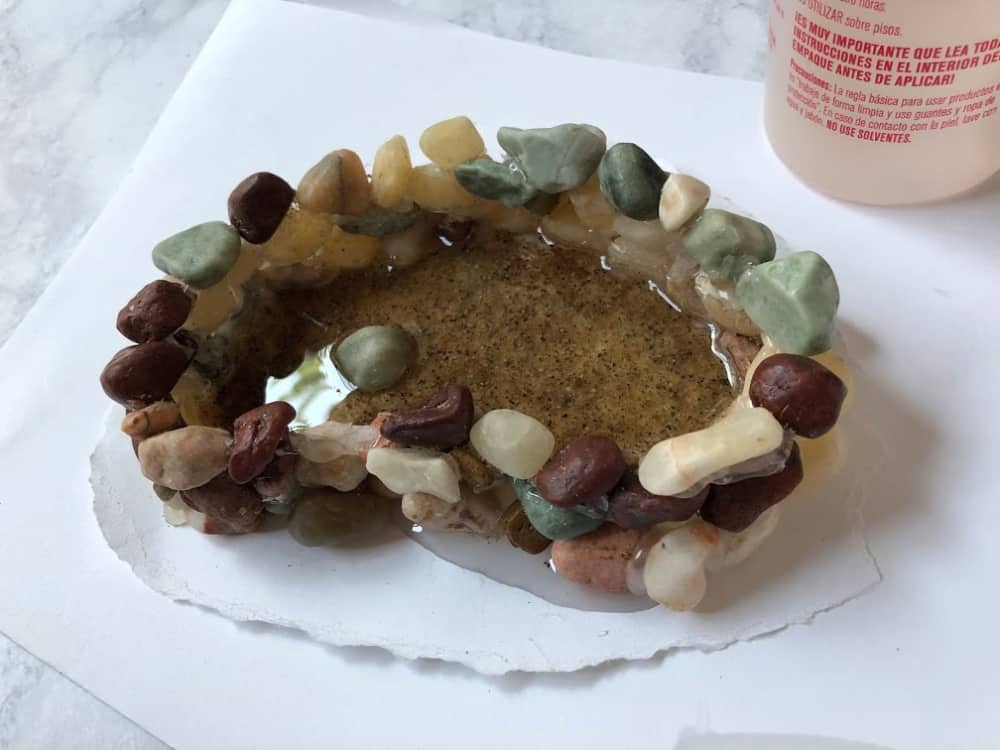
Start out by hot-gluing stones in any shape you like on a piece of cardstock.
Keep adding levels of stones to the previous one, filling in gaps and dips to maintain an even stone level.

Once dried, fill in any obvious gaps in the stones with hot glue. If you miss any gaps, you run the risk of the resin leaking out when it comes time to pour it.
Add some bottled glue to the inside bottom of the pond and smooth it out with your finger or a spreader. Don’t use hot glue for this because it dries too quickly and it’s hot!
Put a handful of sand in the pond and spread it out over the glue and let dry. I also added a stone to the middle of the pond at this point. Once dry, dump out excess sand that didn’t stick to the glue.
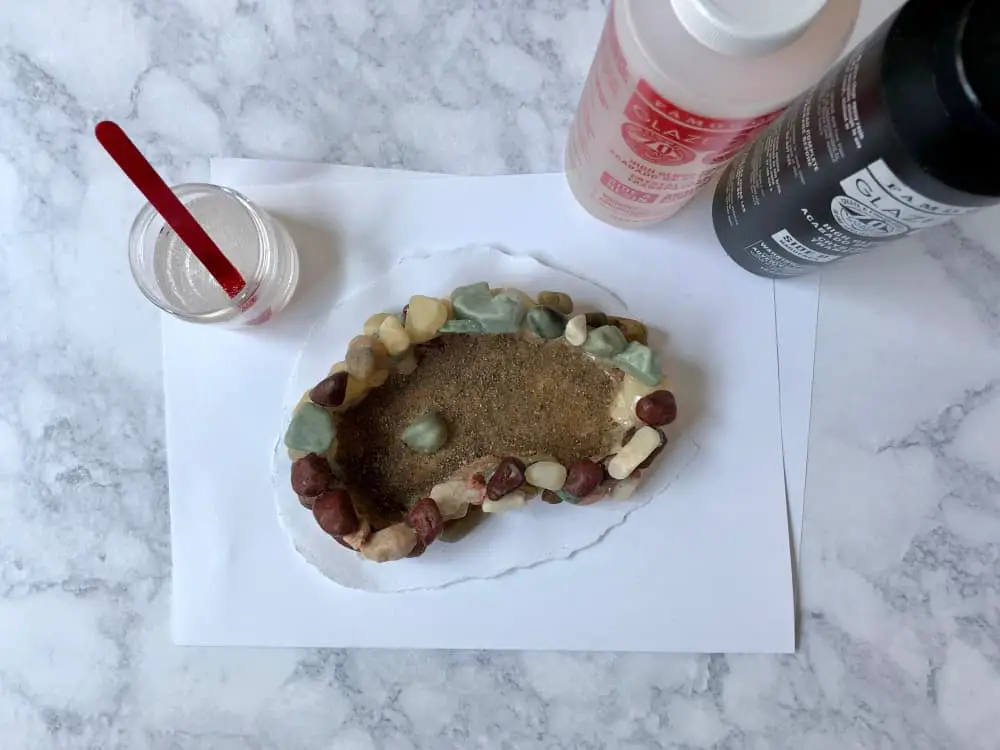
Mix a small amount of the 2-part resin mix per the instructions– probably 1:1, but check the instructions. This is for an initial layer of resin in the pond. It should end up being about â…›” to ¼” thick.
Sprinkle some more sand into the curing resin to fill in any bare spots, so you have a nice even layer of sand.
Read the instructions for the resin–to remove bubbles you’ll need to add a very small amount of heat to the surface with a heat gun or a torch. This is a very quick step and literally takes about ½ second for the bubbles to disappear.
Making the Polymer Clay Fish
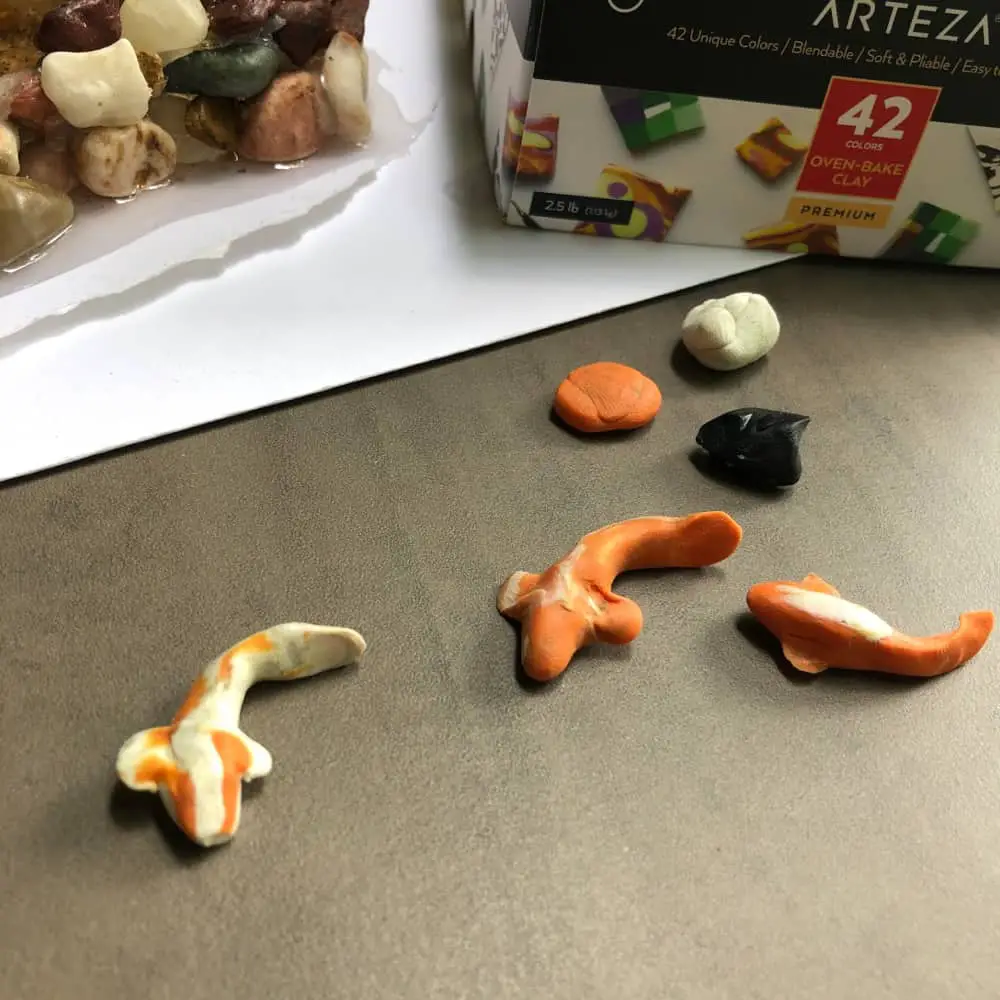
While that initial layer is drying, it’s time to make the fish with polymer clay. The shape of the fish is up to you– the internet is full of examples to follow. To get the marbling effect on the fish, take a really small ball of clay and press into the back of the fish. Lightly wet your finger and rub the tiny ball into the fish. I made little lily pads, and I’ve seen others add little flowers, frogs, and pond grass.
Finishing up the Koi Pond
Once the fish are baked and cool, glue them on the resin surface and let dry. This way they won’t move when you add the second layer of resin. Repeat the steps you took with the first layer.
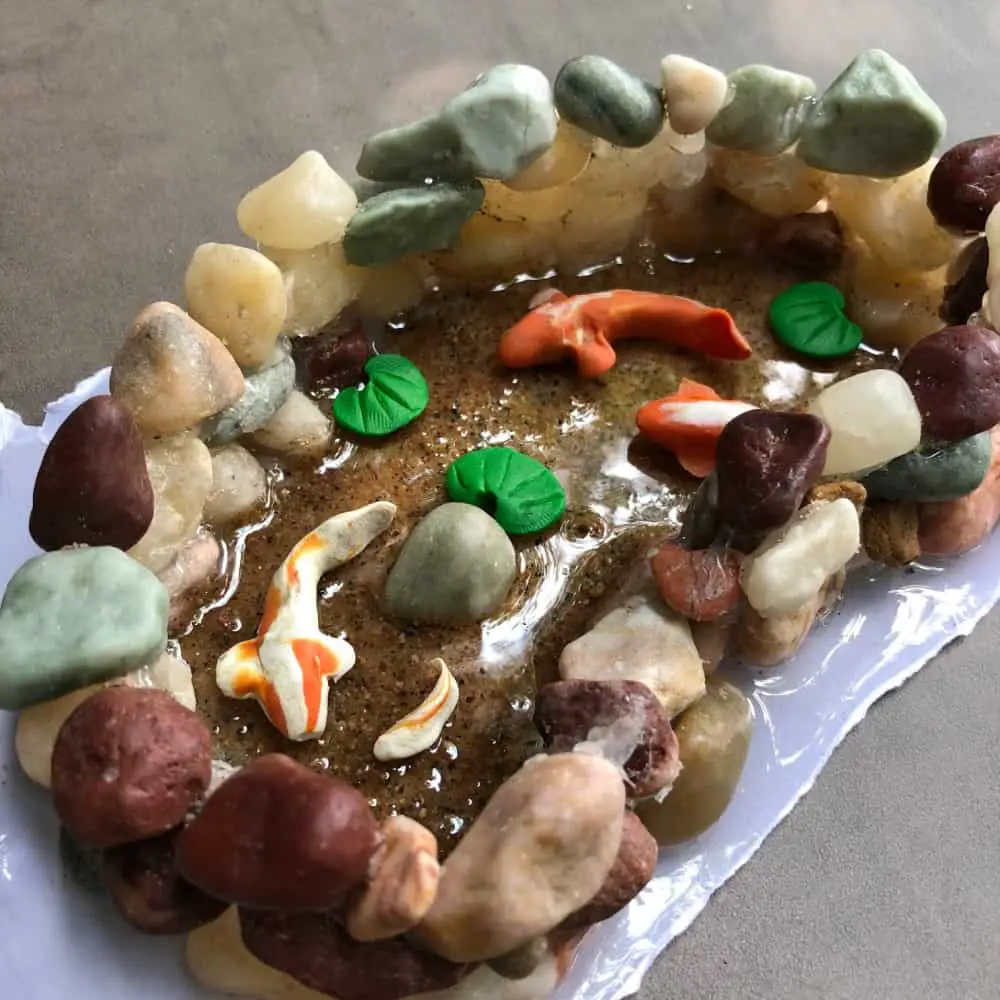

I ended up with three layers of resin, making sure the final layer fully submerged the fish.
Once dry I used kitchen shears to cut the excess card stock and any leaked out resin away from the outside edge of the pond.
I had a slice from a downed tree that I glued the pond to, but you could use a square or rectangular piece of wood, too.
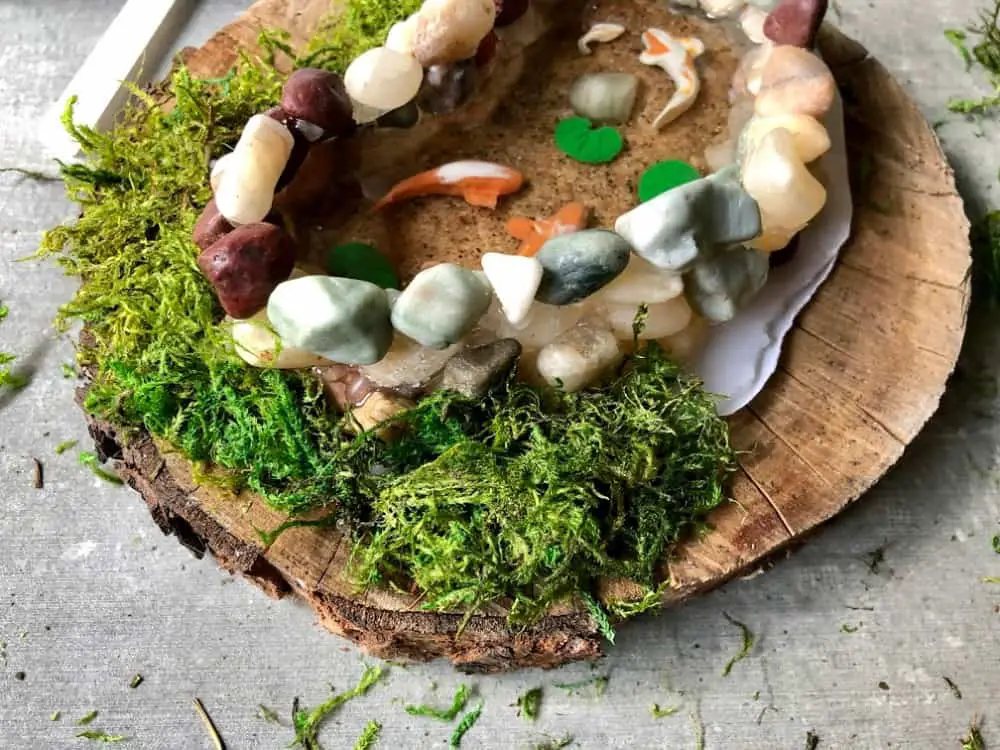
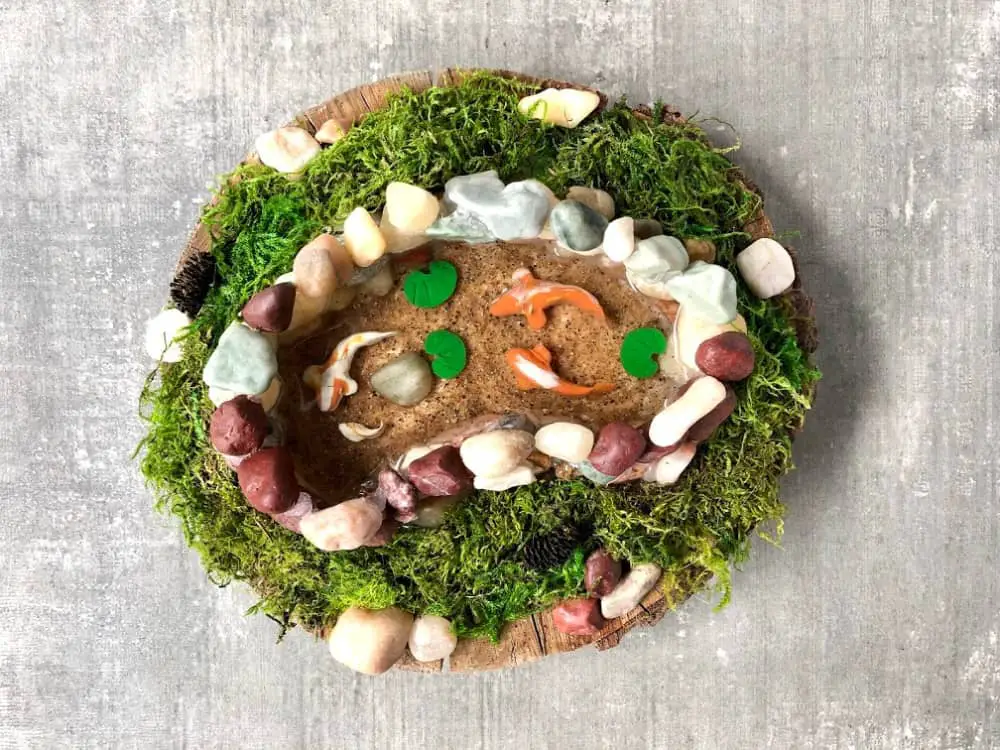
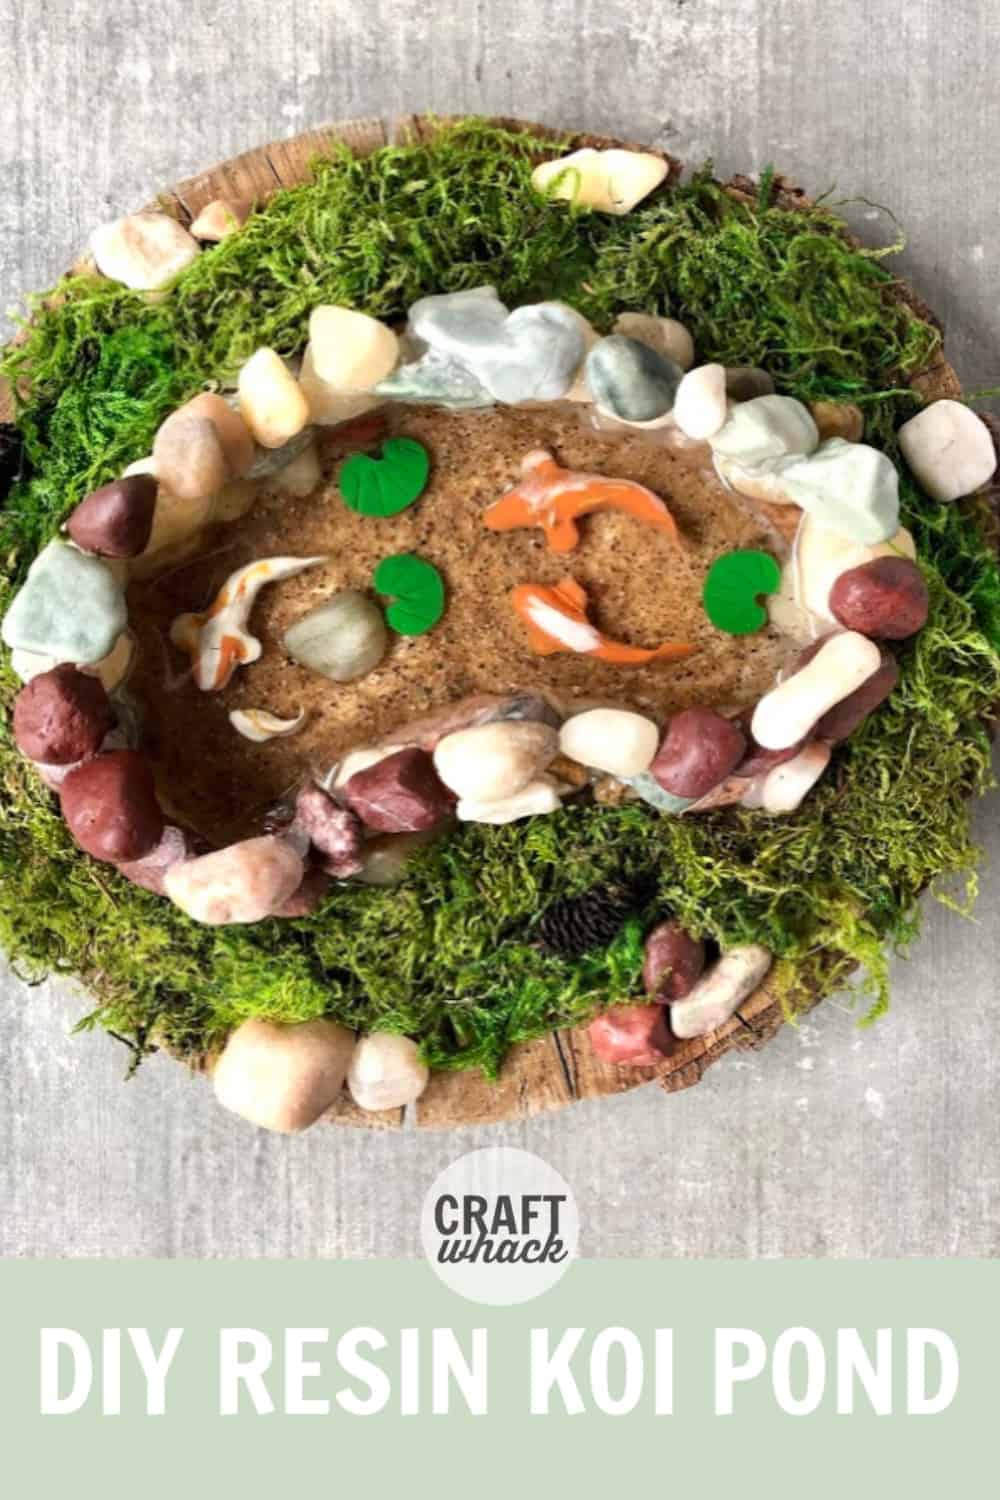
I then added moss around the pod to cover up the lip of cardstock and hardened resin that was visible.
I added a few rocks to the moss, and the koi pond was ready for display!

Pin it For Later
Comments
0 comments