
Drawing a 4 leaf clover is a very creative and fun-filled activity that both kids and adults can enjoy. If you have a flair for creativity and want to experiment with this interesting shape, you can easily learn how to draw a four-leaf clover.You can draw a four-leaf clover while making handmade cards, decorations, or any type of artwork. It might be a great idea to incorporate a four-leaf clover in gifts too, as it stands for good luck. Each leaf of the clover represents faith, love, hope, and luck.The activity is simple and fun so your children will definitely appreciate the learning process of drawing a four-leaf clover. Plus, it can be done in numerous ways with varying levels of difficulty. So, get your pencils out and follow our step-by-step guide on sketching a 4 leaf clover.
Tutorial #1
 Source: By How to Draw Step by Step Drawing Tutorials, “How to Draw a Four Leaf Clover or Shamrocks for Saint Patricks Day” (https://www.drawinghowtodraw.com/stepbystepdrawinglessons/2014/02/how-to-draw-a-four-leaf-clover-or-shamrocks-for-saint-patricks-day/)This method is for a more doodle style 4 leaf clover which is super easy to make.
Step 1
Using a sharp pencil, draw a clear X shape on a piece of paper or canvas.
Step 2
On top of the letter X, start drawing a ‘3’ shape to create a heart-like leaf. This is your first cloverleaf.
Step 3
Now make the same “˜3′ shape on the bottom of the X to form another heart. Now draw the same heart on the remaining sides. Try to make all the hearts equal and even for a perfect-looking clover.
Step 4
Now you need to add the stem to complete the 4 leaf clover. Simply draw an L shape from the bottom of the clover. Then connect the L with a straight line to draw the stem.
Step 5
This is an optional step. To finish off your 4 leaf clover, draw an X in the middle of the clover. Draw the X with S shapes rather than straight lines for an artsy look.
Step 6
Fill in your 4 leaf clover with a green shade using colors, paints, crayons, or markers.
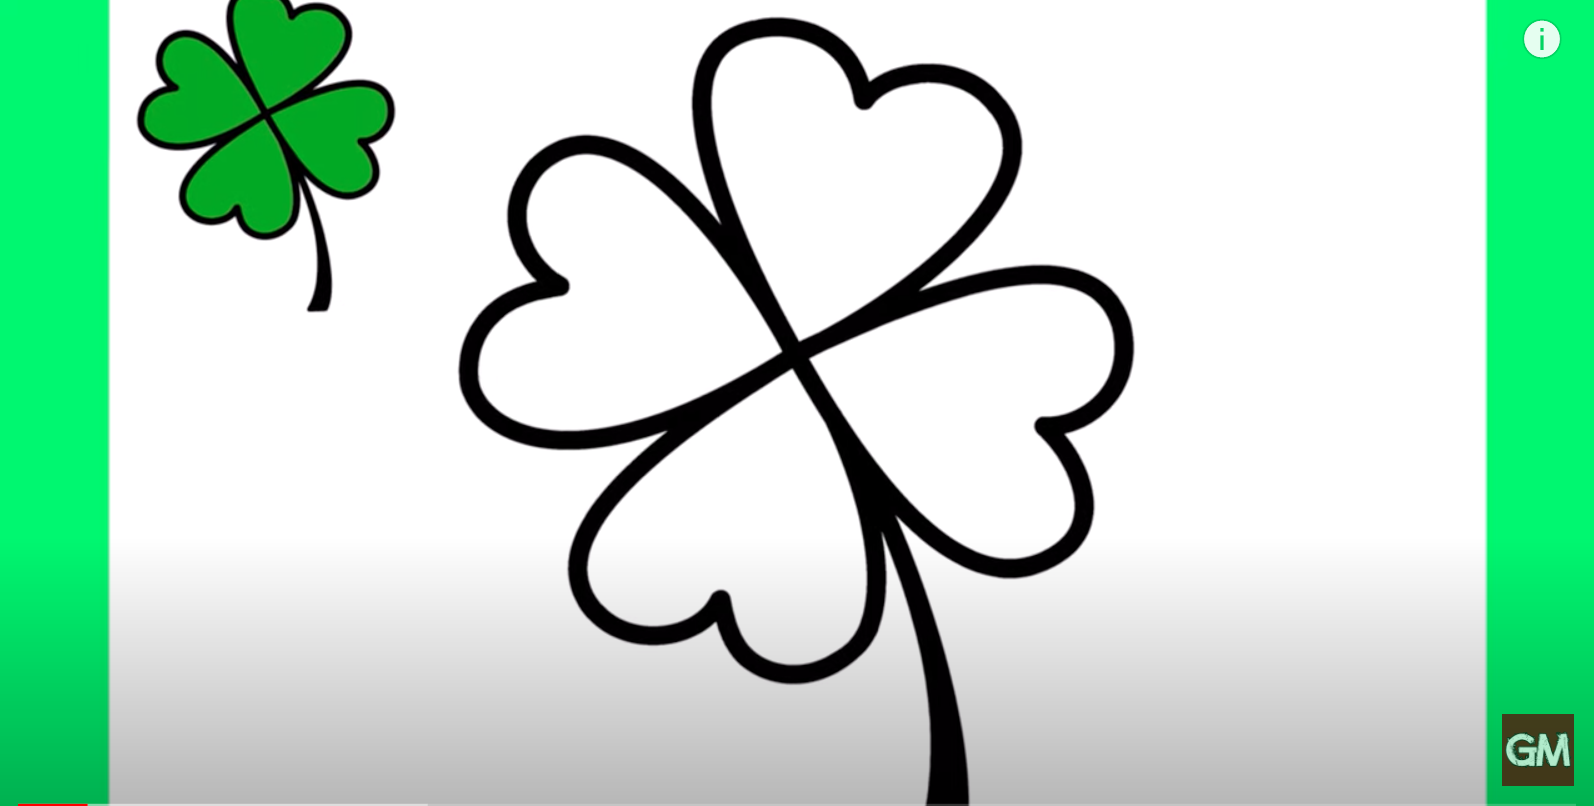
Tutorial #2
 Source: By Cool 2 B Kids, “How to Draw a Four Leaf Clover” (https://www.cool2bkids.com/how-to-draw-a-four-leaf-clover/)
Step 1
Start by drawing a circle on a piece of paper. You can use a compass or round object to draw a perfectly round circle.
Step 2
Draw two intersecting lines to divide the circle into four equal parts.
Step 3
Draw a heart shape in each of the four parts. Start drawing all the hearts from the center point of the circle.
Step 4
Shape the hearts evenly to form the leaves.
Step 5
Draw 4 curved lines from the center of the clover, forming an X shape.
Step 6
Starting from the bottom, create a double-lined stem to complete the 4 leaf clover.
Step 7
Finish it off with your choice of color and you’re done.
Tutorial #3
Source: By Super Coloring, “How to draw a four leaf clover” (http://www.supercoloring.com/drawing-tutorials/how-to-draw-a-four-leaf-clover)This method is advanced and can be used to sketch a professional-looking 4 leaf clover.
Step 1
Use a graph (grid) paper for accuracy. If you don’t have graph paper, you can even draw the grid layout yourself.
Step 2
Decide on the proportions and limits of your drawing. Then, create a base for the clover by lightly drawing a circle. You can also add a line to determine where the stalk will be drawn.
Step 3
Create straight lines to form an intersection in the center to determine where the clove leaves will be formed.
Step 4
Now add two more lines to create empty space between the leaves. Also, draw curves to make the veins of the leaves.
Step 5
To mark the upper point of the clover leaves, draw a large circle. For the lower point, draw a circle of a smaller diameter
Step 6
Each leaf will also have a heart-shaped tip. Draw two circles, overlapping with each other on the edge of the outer circle. Draw ovals to indicate the point where two leaves will join.
Step 7
Now you have created the silhouette of your 4 leaf clover. Complete it by using a smooth line to follow the outline.
Step 8
Your 4 leaf clover is now ready. Fill it in with color and you’re good to go!
Tutorial #4
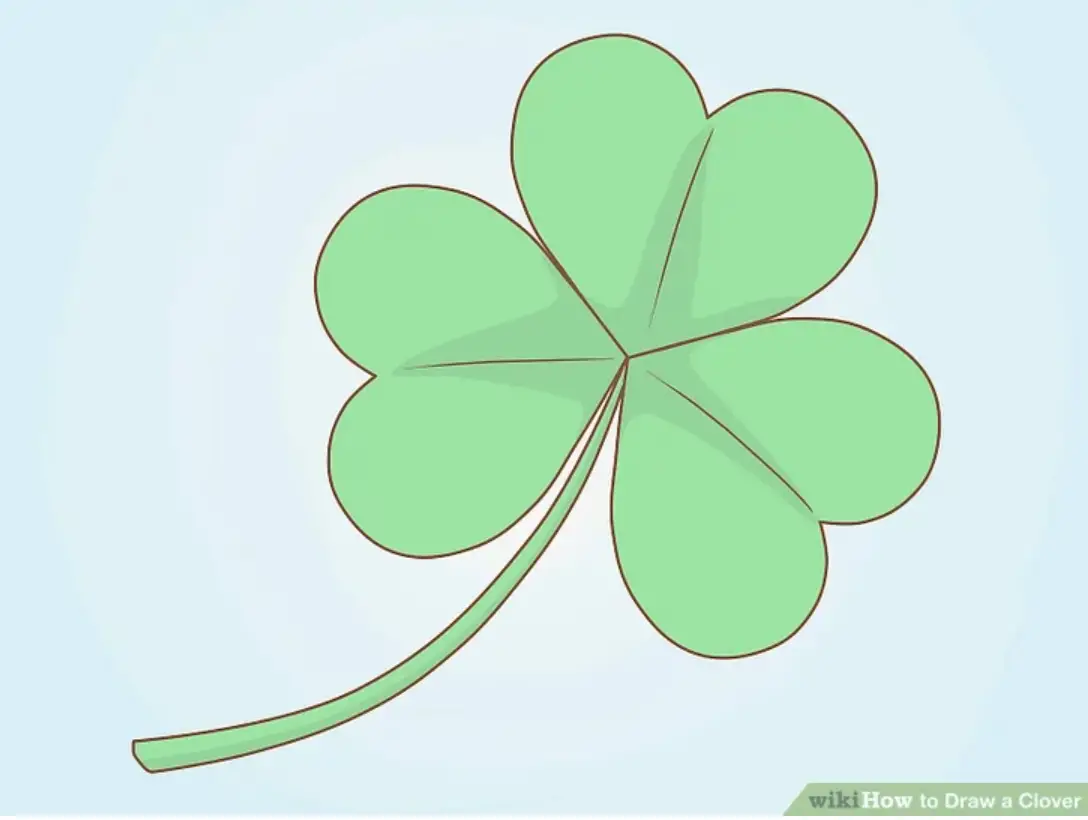 Source: By WikiHow, “How to Draw a Clover” (https://www.wikihow.com/Draw-a-Clover)
Step 1
Start by drawing an arc to form the clover’s stem. It does not have to be a regular line.
Step 2
At the upper tip of the stem, draw a heart. This is your first leaf.
Step 3
Now draw the second leaf just under the first leaf.
Step 4
Add two more leaves to complete the 4 leaf clover.
Step 5
Draw a double-lined stalk at the end of the clover.
Step 6
You can also add curved lines in the middle of each leaf for a complete look.
Step 7
Finish it off by coloring the 4 leaf clover.
Ideas to make your 4 leaf clover even better
Fill it in
One way to make your 4 leaf clover drawing more fancy and special is by filling the leaves in different ways. You can add texture and beauty to the clover by experimenting with various materials.You can use green glitter to fill in the leaves and make your 4 leaf clover sparkly and cute. You can also get more creative and paste leaf cutouts on them, using crepe paper, fabric, or any material of your choice.
Make the heart sides equal
A more symmetrical 4 leaf clover can be created if you ensure that all the heart shapes are equal. This can be achieved using a heart cut-out as a stencil.
Keep all sides even
You can draw a plus sign in the center as a base for your 4 leaf clover. If you want to achieve more evenness, draw a circle around the plus shape. This will keep the height of the clover equal from all sides.
Shading
For a splash of fun and color, you can work with a number of different shades of green to add more beauty to your 4 leaf clover. Using multiple hues will also create a more realistic-looking clover.
When to draw 4 leaf clovers
Your 4 leaf clover drawing can come in handy on several occasions. For starters, it is a symbol for Ireland as it is home to the four-leaf clover. So, if you have an Irish friend, they would surely appreciate it if you gift them a handmade card with 4 leaf clovers on it.In fact, it can be gifted to anyone special as the 4 leaf clover stands for love, hope, faith, and luck.The four-leaf clover is also a symbol for St. Patrick’s Day (Feast of Saint Patrick). This is one day where your drawing of the 4 leaf clover can be utilized.We hope that these tutorials were helpful and that you enjoyed learning how to draw a 4 leaf clover. It is also an activity that children would surely enjoy. As we have shared above, there are multiple ways of sketching this beautiful, cultural symbol that has a special meaning. You can follow any of the tutorials and find that it is very easy to draw a 4 leaf clover. So grab your pencils, sharpen them, roll up your sleeves and get ready to draw the perfect 4 leaf clovers.
Comments
0 comments