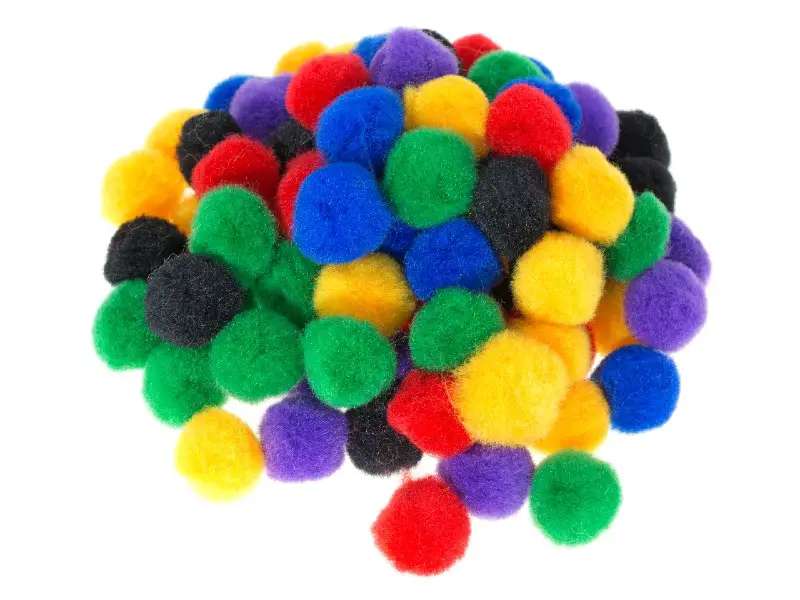
Have you ever tried to make pom-poms? They are cool and cute, and useful in so many different kinds of craft projects, but you don’t have to buy them ““ you can make them yourself. There are lots of good reasons to do this.Firstly, making pom-poms yourself means you can get pretty much any color or look you’re after. You can change the size, adjust the “poof” factor, and even alter the texture. More than that though, making pom-poms at home can be really fun!We’re now going to explore how to make fluffy pom-poms, perfect for your future craft projects.
Large, Fluffy Pom-poms
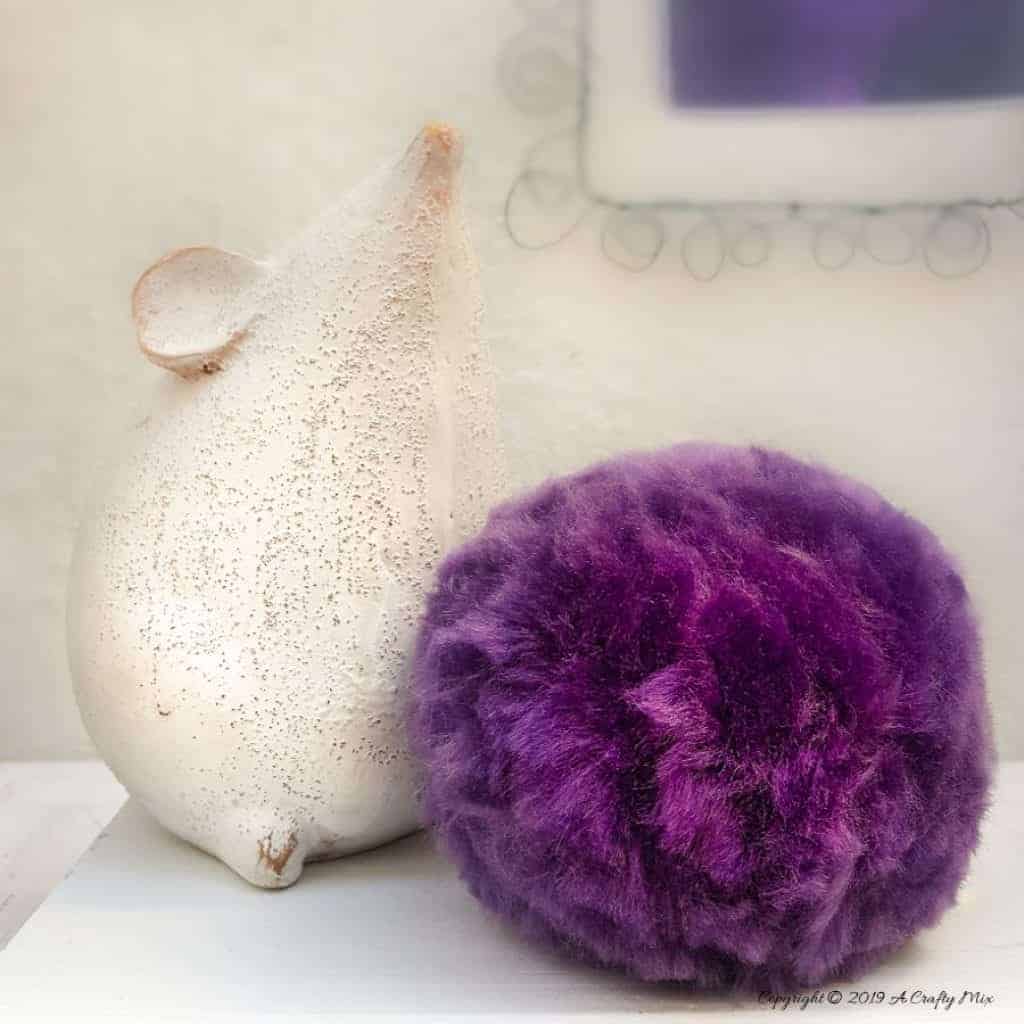 Source: https://acraftymix.com/blog/secret-tricks-round-fluffy-pom-poms/You might have a particular project in mind, or you might just want to have a go at this ““ but it’s probably best to do a practice run or two first. Even with simple crafts, your prototype usually isn’t your best, so don’t use up expensive or particularly pretty materials for your test run.Large pom-poms are great for adding to blankets or rugs, but this method will make one that’s too big for a hat or small craft project. You may need to make a few pom-poms to get an idea of how to size them, but first, let’s just try making one.
Materials
You are going to need:
- Two toilet tubes
- Natural yarn in your choice of color. Fluffy yarn is better; you want something really soft and luxurious, even if it costs a bit more. This is the best way to get really fluffy pom-poms
- Waxed dental floss
- A pair of sharp scissors
- Two circles of stiff cardboard, approximately the same size as you would like your pom-poms to be (a bit bigger or smaller is fine)
Step 1: Wrap Your Wool Around The Empty Tubes
You’re going to start by putting the end of your yarn between two empty toilet roll tubes, and then wrapping it around the tubes. The number of wraps you need to do will depend on how thick your yarn is, but the more you do, the fluffier and thicker your pom-poms will be.If you’re using thin yarn, you are going to have to spend quite a while wrapping in order to get a good look overall. Don’t be discouraged; it’s still possible, so just keep going.
Step 2: Tie It Up
Waxed dental floss is a good option for tying your pom-pom, but you can use other materials, such as thin yarn or cotton. Be aware, however, that these are more inclined to snap when you pull them tight, which can be frustrating.Wrap the dental floss around the wool down the center of the two tubes and pull it as tight as you possibly can. Wrap around again and once more, pull really tight. You want to do this a few more times before you knot it, getting the center of the pom-poms as closely bound as possible so that you get the best result.
Step 3: Cut The Yarn
Next, take your scissors and slip them into the loops of yarn at one side. You really do need sharp scissors to get a good finish here, so check that’s what you’re using before you go ahead with this.Cut across all the loops on first one side, and then the other. You should see the wool spring open as it is freed, and you will now have a rather ruffled-looking, untidy sort of pom-pom. We’re going to sort that out in the next step!
Step 4: Trim The Pom-poms
You can try to fluff up and even out your pom-poms by hand, rubbing it here and there where you think it looks a mess, and then trimming off the bits that look too long ““ but you won’t get a very good result.It’s much easier to do this by using the two circles of cardboard you should have handy. Place one on either side of your pom-poms and line them up, squashing the wool out on either side gently.Grab your sharp scissors and use the circles to guide your cuts, trimming off all the excess wool and fluffy stuff. If you’ve used natural wool, you can add this to your compost heap or use it for stuffing cushions, etc.Once you have a neat line around your card circles, set them aside.
Step 5: Puff Up Your Pom-poms
You’re about finished with the pom-pom, but this is an opportunity to ruffle it up and trim any last straggly bits of wool to get a really neat finish. Do not cut off lots at this stage!! If in doubt, put your card circles back around it and use them to guide your cuts. You don’t want to leave your pom-poms with bald spots.Once you’ve finished, brush away any last bits of loose fluff, and admire the gorgeous pom-poms you just created! Wow!
Small Pom-poms
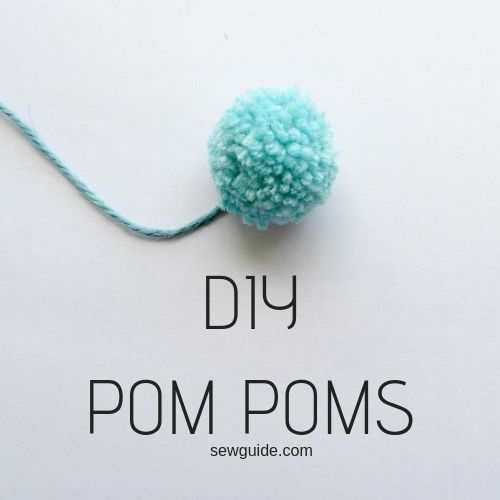 Source: https://sewguide.com/how-to-make-pom-poms/If you want your pom-poms for trimming clothes or a hat, you’re not going to want one the size of your head, so let’s look at how to make smaller pom-poms. Most of the methods are going to stay the same.
Materials
You’ll need:
- Two pencils
- Natural yarn in your choice of color. You’ll want thinner yarn for little pom-poms, but you still want fluffy stuff
- Waxed dental floss
- A pair of sharp scissors
- Two circles of stiff cardboard
Step 1: Wrap Your Wool Around The Pencils
For this method, we’re replacing the toilet tubes with pencils. This will give you a much smaller pom-pom. If you want something in between, you can try using any other medium-thickness objects that will give you two cylinders to work with.Just because the pom-poms are small doesn’t mean you should skimp on the number of times you wrap the wool around; you still want it to be nice and fluffy and full.
Step 2: Tie It Up
When you’re satisfied that you’ve got enough wraps, use your dental floss to tie the center of the pom-pom, as you did before. Again, it’s crucial to get a tight center, as this will help the pom-poms hold their spherical shape.Tie it tightly in the center, and then cut the dental thread away.
Step 3: Cut The Wool Loops
Slip your scissors into the loops of wool and snip through them on both sides of the pom-pom.
Step 4: Trim The Pom-poms
Grab your card circles and put them on either side of the pom-pom. As before, use them to trim away the excess wool, catching it for use on another project.
Step 5: Puff Up Your Pom-poms
Again, trim any last loose wisps of wool and ruffle your pom-poms into shape. If you aren’t happy with the fullness, you can make another using more wraps of yarn or a slightly fluffier weave, but otherwise, you’ve now completed a small pom-pom that’s perfect for decorating clothing.You can scale pom-poms up and down by using different central objects, choosing thinner yarns, and increasing or decreasing the number of times you wind the wool around ““ though too few circles of wool may result in a sad, crumpled pom-pom rather than a smaller one, so don’t take that too far.Making a mix of small and large pom-poms is great fun and can offer a fantastic aesthetic for your craft projects. Choose complementary colors, and you’ll be top of the craft lists in no time!
Make A Lot Of Pom-poms At Once
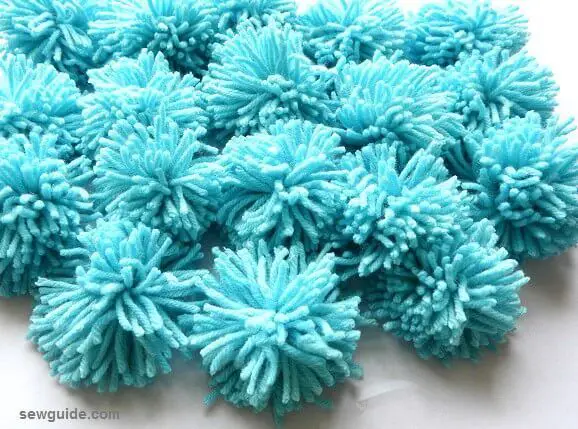 Source: https://sewguide.com/how-to-make-pom-poms/If you’re decorating a room or making a blanket and you want pom-poms for the edging, you may find it a bit tedious trying to create them one by one. You can skip ahead a bit and make a whole bunch at one time!
Materials
You’ll need:
- Two spaced out points to wind around, such as the arms of a chair or the legs of a table
- Natural yarn in your choice of color
- Waxed dental floss
- A pair of sharp scissors
- Two circles of stiff cardboard
Step 1: Wind The Yarn
Wrap your yarn round and round between the two points, and don’t skimp here ““ it may look like a lot of yarn, but it’s going to make a lot of pom-poms. You don’t want to waste your yarn by ending up with sad-looking pom-poms because you didn’t give them enough fluff, so make sure you go round plenty of times.
Step 2: Tie It Up
Instead of going around the middle point only, you are going to tie off the yarn in several places. Start with the top part of your circle (if you are using chair arms, this will be the strands of yarn that are on top of the arms).Tie a length of dental floss around a short way from the chair arm. A little further along, tie another. Space them out evenly, working right around, underneath the chair arms, and back to the start. You should have as many ties as you want to create pom-poms. Make sure your knots are all tight.
Step 3: Cut The Wool Loops
You need to pay close attention here or you’ll end up cutting your pom-poms wrong. Cut carefully in the mid-point between two ties. Cut between the next two ties, also at the midpoint. You now have your first pom-pom.Tension the yarn loop so you can keep cutting straight lines, and work your way around it, cutting the central line between each tie. You should end up with lots of little pom-poms, ready for the next step.
Step 4: Use Your Card Circles
This may be the most time-consuming part, but it’s still worth doing well. If you would rather not waste time and you are not too worried about getting the look perfect, you can skip this step, but your pom-poms may be a little wonky and “rustic.”If not, grab your card circles and use them to cut around the pom-poms one at a time. Fluff them up, cut away any stray strands, and you’ve got beautiful pom-poms all ready to be turned into something crafty.
Multicolored pom-poms
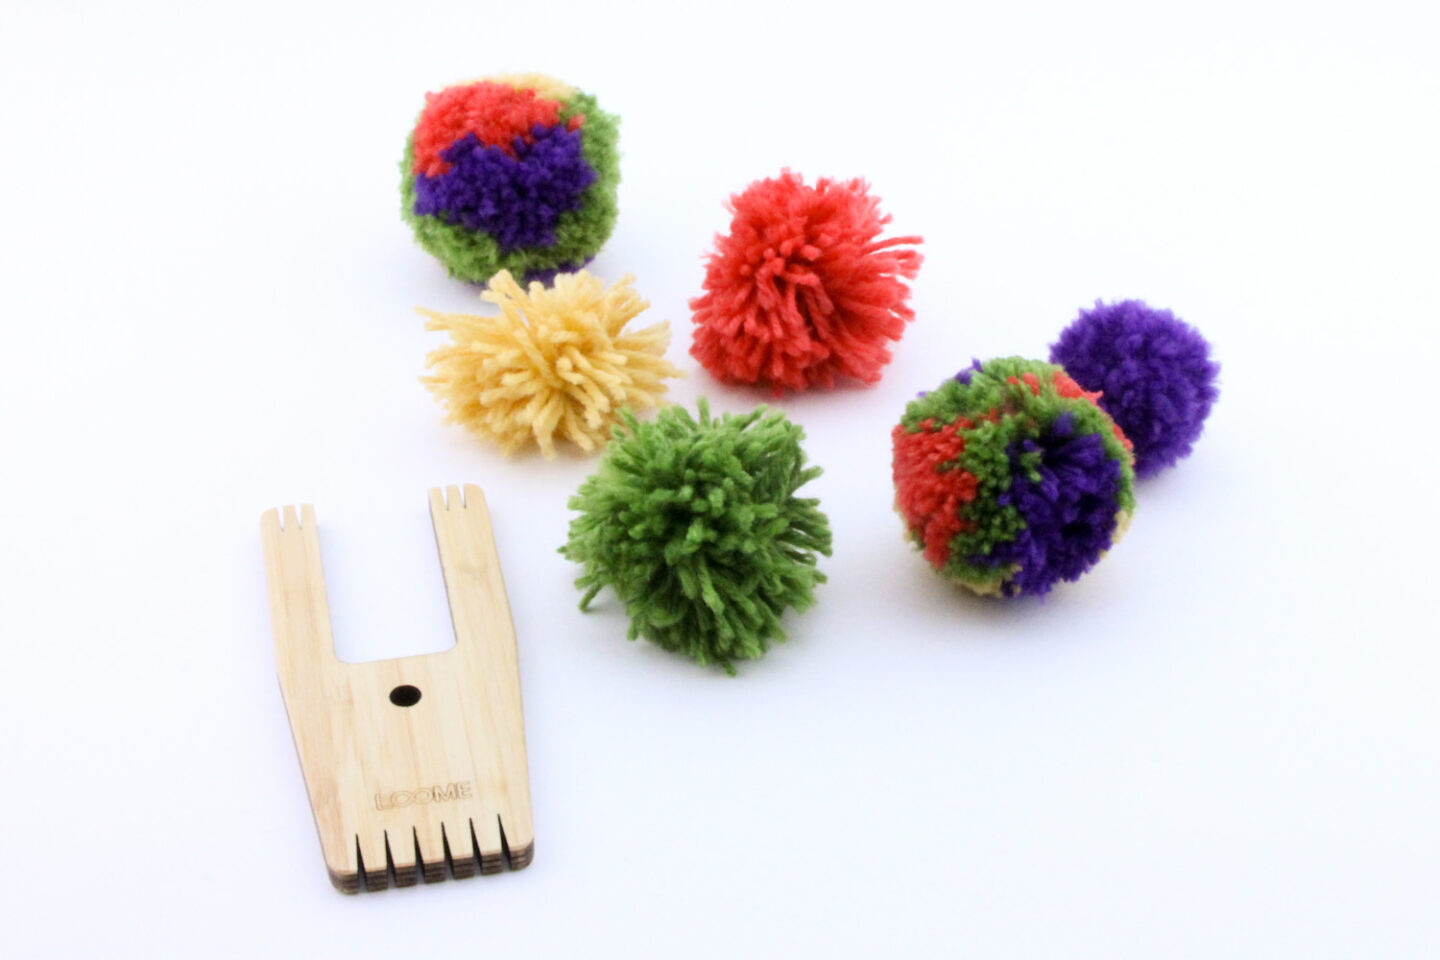 Source: https://woolery.com/blog/how-to-make-multicolor-pom-poms/What if you want to make a single pom-pom with lots of different colors, but you don’t have multi-colored yarn? There is a way around this!
Materials
You’ll need:
- A winding surface (e.g. toilet tubes) in the size you want to use
- Natural yarn in your choice of colors. You may want to choose one major color or do it all in equal amounts
- Waxed dental floss
- A pair of sharp scissors
- Two circles of stiff cardboard
Step 1: Wrap Colors Onto Your Winding Surface
Pick which color you want to use first ““ it doesn’t matter, as they will all show up in the finished thing. Wind it around several times, and then cut the end. Don’t let it unravel as you swap to the next color.Wind the following color on top. You can do the same amount of yarn, or more or less depending on the look you want to achieve. When you have wrapped enough of that yarn, add the next color.Keep going until you have as many colors as you want to use. You can wind a second patch of color if you decide to; anything goes here, and it’s great to experiment so you’ll get a feel for the different effects and how colors will behave when you block them like this.You can keep adding colors, but remember that you need to be able to cut through the yarn loops, so don’t make it so thick you can’t do this!
Step 2: Tie It Up
Once you’re satisfied, use dental floss to tightly bind the central point just as you did with the other methods.
Step 3: Cut The Yarn
Slip your scissors into the loops on both sides and cut them off, and then start fluffing the wool up.
Step 4: Use Your Card Circle Guides
Use your card circles to guide your scissors as you trim the edges and fluff up the pom-poms to perfection. Look at it from different angles and decide what you think. More or less of one color? More mixing? Have another go!You can make endless amounts of colorful pom-poms like this, and the only challenges might be running out of wool or getting carried away and drowning in a pom-poms mountain. They are so fluffy and cute!
Pom-poms On A Doughnut
 Source: https://www.instructables.com/How-to-make-a-Pompom-doughnut-style/You might prefer a different method for creating pom-poms, and the doughnut method is a popular alternative that only needs you to make a doughnut shape out of stiff cards.
Materials
You’ll need:
- Stiff cardboard
- Natural yarn
- A pair of sharp scissors
- A pencil
Step 1: Create The Doughnut
First, we’re going to make the doughnut shape. Take your piece of card and draw around the bottom of a drinking glass. Find another circular object that is a little smaller in size, and draw around this in the center of your larger circle. Repeat this, so you have your pattern twice.Next, cut out both large circles and carefully punch through to the central circle on each and cut that out too. You now have a doughnut pom-poms maker, which should be roughly the size your pom-poms will turn out.
Step 2: Wind Your Yarn
The tricky part of using a doughnut pom-poms maker is that you have to guess how much wool you will need. It is better to cut more than you need than end up short. You can double up the length to make the pom-poms creation process faster by using double-thick wool.Wrap the wool round and round your card doughnut until there is no more room to thread it through the central circle.
Step 3: Cut The Wool Loops
This part is a little tricky; you need to hold the wool so it doesn’t all escape when you have cut it. Use a flat surface and work slowly. Cut around the edge of the doughnut.
Step 4: Tie The Center
Cut another piece of wool (or use dental floss) to tie around the center of your pom-pom, between the two circles of card you made. Tie very tightly to catch all the threads in a strong knot. Tear or cut the card away.
Step 5: Fluff Up And Finish
Because you have cut around the edge, you shouldn’t need to do much trimming; this is one of the advantages of the doughnut method. Cut off any loose bits you are unhappy with and fluff your pom-poms up ““ done!
Further Tips
Here are a couple more things that might help you get the most out of your pom-poms creation!
1) Use A Brush
If you want ultra fluffy pom-poms without individual strands of wool visible, a brush is a great way to achieve the effect. Be careful that you don’t pull, however; the pom-poms will unravel quickly if its strands get yanked out.If you’re going to brush your pom-poms, it’s even more important that you get your central knot tight so the different strands won’t tug free.If you do want to try this, simply use your brush to lightly flick and tease the end of the pom-poms. A cat grooming brush is particularly good for this, but be careful you don’t snag and yank. Go slowly, and just ease the fibers out into their maximum poof.
2) Make Your Pom-poms Hang
You can make your pom-poms hang by tying a loop of yarn around your central point before you cut the pom-poms (or after, but before you fluff it up if you’re using the doughnut method). You should use a yarn that matches, and tie both ends in a tight, small knot so it won’t affect the look of the pom-pom. Make sure it is long enough, and be careful not to cut it while you finish off the pom-pom.Now you’ve got a loop to hang your pom-poms up with! You can also just use one strand if you want to tie it at the other end.
Conclusion
You can have endless fun making pom-poms in every color and size imaginable. Experiment with different kinds of wool for different levels of poof, and try out the different methods for making them. Pom-poms are great decor for any occasion and you can even make them out of tissue or ribbon using similar methods.
Comments
0 comments