


Farm animal crafts are an easy win with kids: pigs, chicks and cows are instantly recognizable, and the kids get to moo, baa and cluck while they glue. Here are five simple farm animal crafts, a paper plate cow, a cotton ball lamb, a cardboard tube goat, a handprint chick and a footprint horse, each with the materials, an age range and short steps.
They suit preschool and homeschool groups, and the low-mess ones also work well for seniors who want gentle fine-motor practice or occupational-therapy activities. Googly eyes, cotton balls and other small parts are choking hazards, so for children under 3 skip them or stay hands-on with the child the whole time.
Cow Craft Using Paper Plates
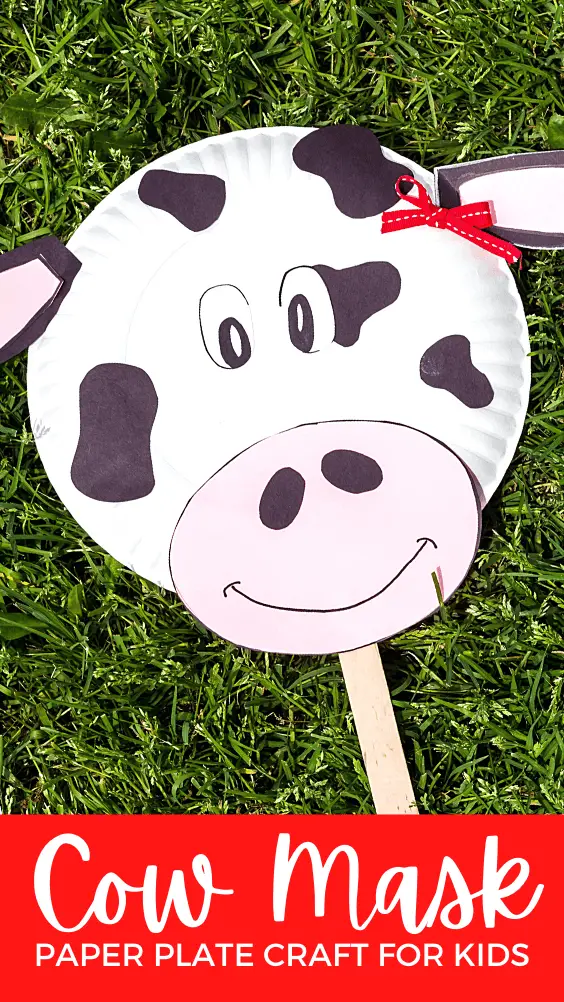 Source: By Homeschool Preschool, “Paper Plate Cow Craft” (https://homeschoolpreschool.net/paper-plate-cow-craft/)
This one is cheap and quick, and it doubles as a letter C activity. Ages 3 and up (about 20 minutes). Difficulty: easy.
What You’ll Need
- Paper plate
- Black and pink cardstock or construction paper
- White crayon (shows up well on black paper)
- Craft stick and ribbon (optional, for a handle and a bow)
- Googly eyes (optional, ages 3 and up; or cut eyes from paper)
- Glue stick and scissors
Directions
- Draw the cow’s ears and a few spots on the black paper. Draw the inner ears and a nose on the pink paper. Cut everything out.
- Glue each pink inner ear onto a black outer ear. Draw two small nostrils on the pink nose.
- Glue the ears to the back of the top of the plate and the nose to the front, near the bottom.
- Let your child glue the spots on wherever they like. No two cows have the same spots, so there is no wrong way.
- Add the eyes. If you like, tie a small ribbon bow and glue it by one ear, or tape a craft stick to the back as a handle.
Spring Lamb Craft
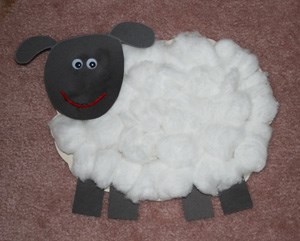 Source: By All Kids Network, “Cotton Ball Sheep Craft” (https://www.allkidsnetwork.com/crafts/animals/farm/sheep-craft.asp)
A good fit for spring, Easter or a farm-themed birthday party. Ages 3 and up (about 20 minutes, plus drying time). Difficulty: easy. Cotton balls and googly eyes are small, so supervise closely.
What You’ll Need
- White cardstock or construction paper
- Black cardstock or construction paper
- Cotton balls
- 2 twigs or craft sticks, about 3 inches long, for legs
- 2 googly eyes
- White school glue (a glue stick won’t hold cotton well)
- Scissors
Directions
- Draw a lamb body shape on the white paper and a head shape on the black paper. Cut both out.
- Pull a few cotton balls into smaller pieces. Glue about four pieces to the top of the head, then add the googly eyes. Set aside to dry.
- Spread glue over the body, one section at a time for little hands, and press on the rest of the cotton balls.
- Once the body is dry, flip it over and glue the two sticks to the bottom edge as legs. Let dry.
- Turn the body back over and glue the head on, using plenty of glue. For a scene, glue the finished lamb onto a background sheet.
Cardboard Tube Goat
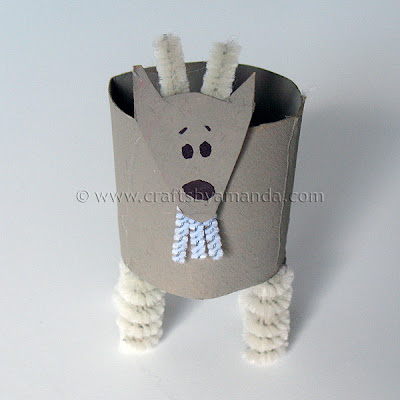 Source: By Amanda @ Crafts by Amanda, “Cardboard Tube Goat: The Farm Series” (https://craftsbyamanda.com/cardboard-tube-goat-farm-series/)
Goats are friendly farm favorites, and this one uses a recycled tube. Ages 6 and up, or younger with an adult doing the cutting and gluing (about 30 minutes, plus paint drying). Difficulty: medium.
What You’ll Need
- 1 empty toilet paper roll
- 2 gray chenille stems and 1 thin white chenille stem
- Paint and a brush (gray, or any goat color you like)
- Black Sharpie or other permanent marker
- Scissors
- Glue: a hot glue gun gives the strongest hold, but it is for adults only. Tacky craft glue works for kids if you hold each piece for a minute.
Directions
- Cut the roll down to about 3 inches. From the leftover cardboard, cut a piece about 2 inches wide for the head. A triangle with two ears is a good basic shape.
- Paint the tube and the head piece, and let them dry.
- Cut a 1-inch piece from each gray chenille stem for the horns. Cut the remaining long pieces in half to make four legs, and coil each one around a pen or the thin end of a paintbrush.
- Cut the white chenille stem into three 1-inch pieces for the goatee.
- Draw the eyes, nose and eyebrows on the head with the marker. Glue the horns on the back, between the ears, and glue the goatee on the chin.
- Glue the head to the front of the tube and the coiled legs inside the bottom of the tube.
Spring Chick Handprint Craft
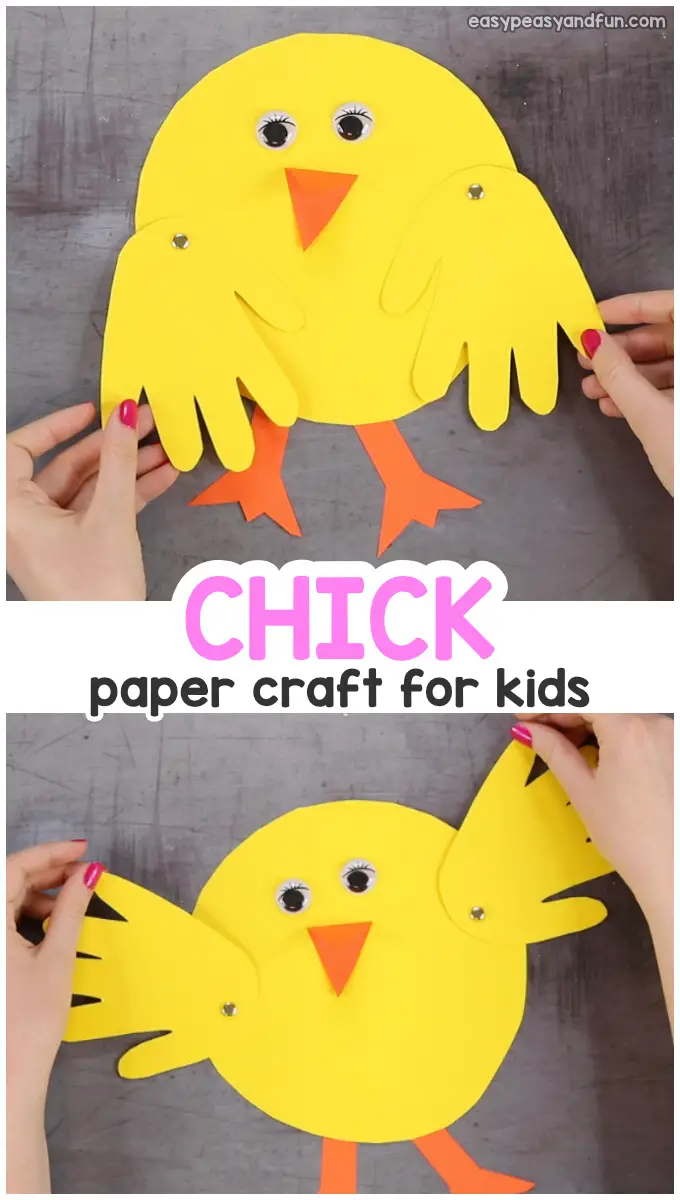 Source: By Easy Peasy and Fun, “Handprint Chick Craft” (https://www.easypeasyandfun.com/handprint-chick-craft/)
It is simple, and the finished chick makes a sweet keepsake for grandparents. Ages 2 and up with help (about 15 minutes). Difficulty: easy. Skip the googly eyes for under 3s and draw the eyes with a marker instead.
What You’ll Need
- Orange construction paper or cardstock
- 2 sheets of yellow construction paper or cardstock
- 2 large googly eyes
- Glue stick and scissors
Directions
- From the orange paper, cut a pair of feet and a small triangle for the beak. Fold the triangle in half.
- Cut a large oval from one sheet of yellow paper for the body.
- Trace both of your child’s hands on the second yellow sheet and cut them out. These are the feathers.
- Glue the handprints, feet and eyes onto the oval to form the chick.
- Glue only the bottom half of the folded beak so the top lifts up like a real beak.
Footprint Horse Head Craft
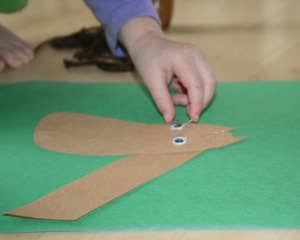 Source: By All Kids Netword, “Footprint Horse Craft” (https://www.allkidsnetwork.com/crafts/animals/farm/footprint-horse.asp)
A good pick for horse fans, and it looks great on the wall. Ages 4 and up (about 20 minutes, plus drying). Difficulty: easy.
What You’ll Need
- Construction paper or cardstock in your horse color (brown is a classic)
- Non-toxic kids’ paint, including black and white
- Black Sharpie
- A second sheet of bright cardstock for a backing (optional)
- Scissors
Directions
- Trace your child’s foot on the colored paper, with the toes at the top.
- Paint ears and a mane near the toe end. Black streaks make the mane stand out. Add a white stripe down the nose if you like.
- When the paint is dry, draw the nostrils and mouth with the marker. Reins are a fun extra.
- Cut out the horse head and glue it to a sheet of bright orange or red cardstock for a sturdier finish.

Comments
0 comments