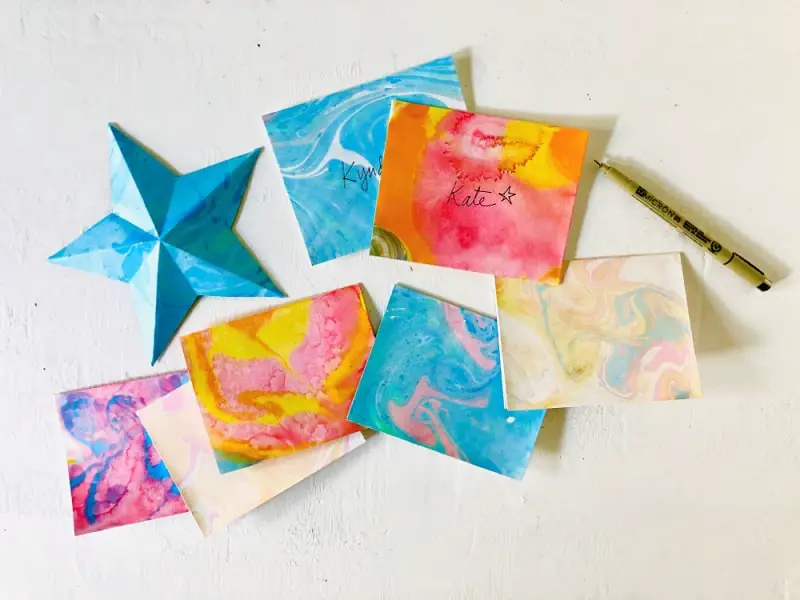
Marbling paper is one of those crafts that is so hard to stop. Every piece comes out different, and the technique is sort of magical.
There are different inks and dyes you can use for marbling paper, but I stuck with using this paper marbling kit for my first try.
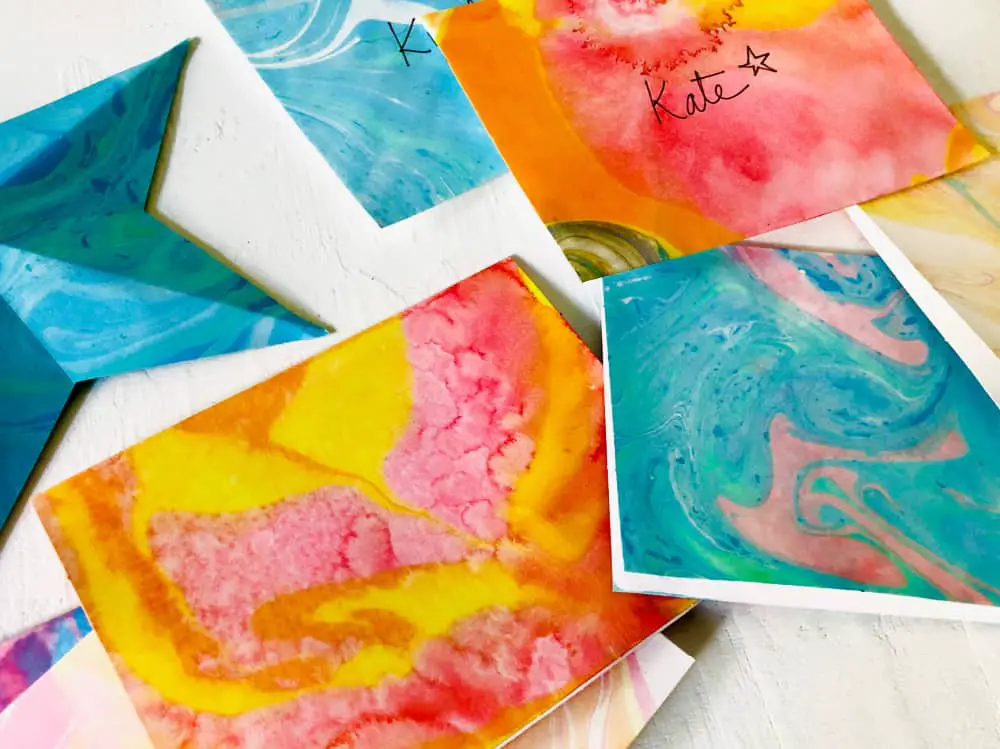
It worked really well and I ran out of cards so fast! I would buy extra cards if you want to make marbled cards, otherwise have plenty of paper on hand that you want to marble. You are going to love this”¦
Tip: if you are using thinner paper, your paper will curl after marbling because it gets wet. You can either flatten the paper/cards under a heavy book for a couple of days or use thicker watercolor paper or cards.
I haven’t tried cold press watercolor paper, so not sure if the texture of that paper will have any effect on the marble look. If you do use thinner paper, let it dry completely, and protect the marbled surface with wax paper before you weight it under the book.
I used these cards and envelopes, and they worked really well, although I did have to weight them down for a few days.
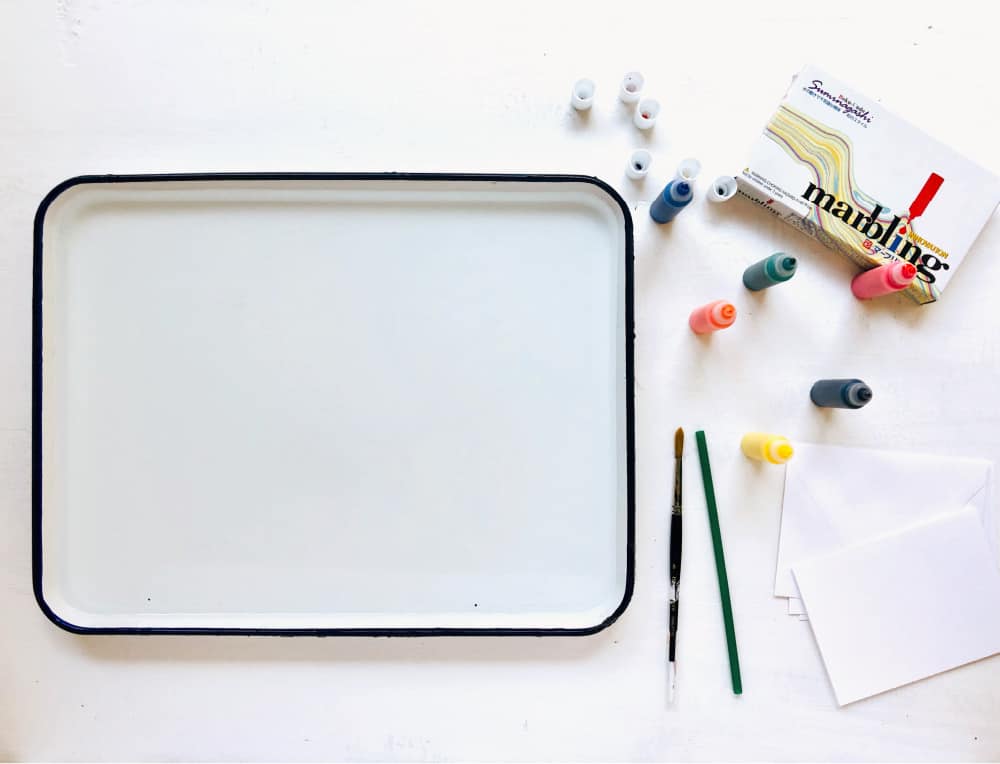
Supplies For Marbling Paper
- Marbling Kit
- Cards and envelopes or other paper
- Large shallow tray
- Toothpicks or wooden skewers
- Lots of paper towels
How to Make Marbled Cards and Envelopes
Make sure you have a big surface to work on – you will need to have space to let the cards sit and dry after marbling them.
Alternatively, you could lay out newspaper on the floor to let your cards dry, but make sure they are in a secure location away from kid and pet feet!
If you want to protect your surface/table from spills, line it with freezer paper, a plastic tablecloth, or a big plastic tarp. This can get a bit messy with water drips.
Set up your tray and fill it with an inch or two of water.
The marbling kit comes with little round pieces of paper called “float paper”. You submerge the float paper in the water and when it floats it is ready. Put a drop or two of ink on the float paper and you will see that it distributes the ink evenly across the surface of the water. If you don’t use the float paper, the ink just sinks to the bottom of the tray and doesn’t stay on the surface.
Add different colors to the water and then mix them together with either a toothpick or blow on the surface with a straw.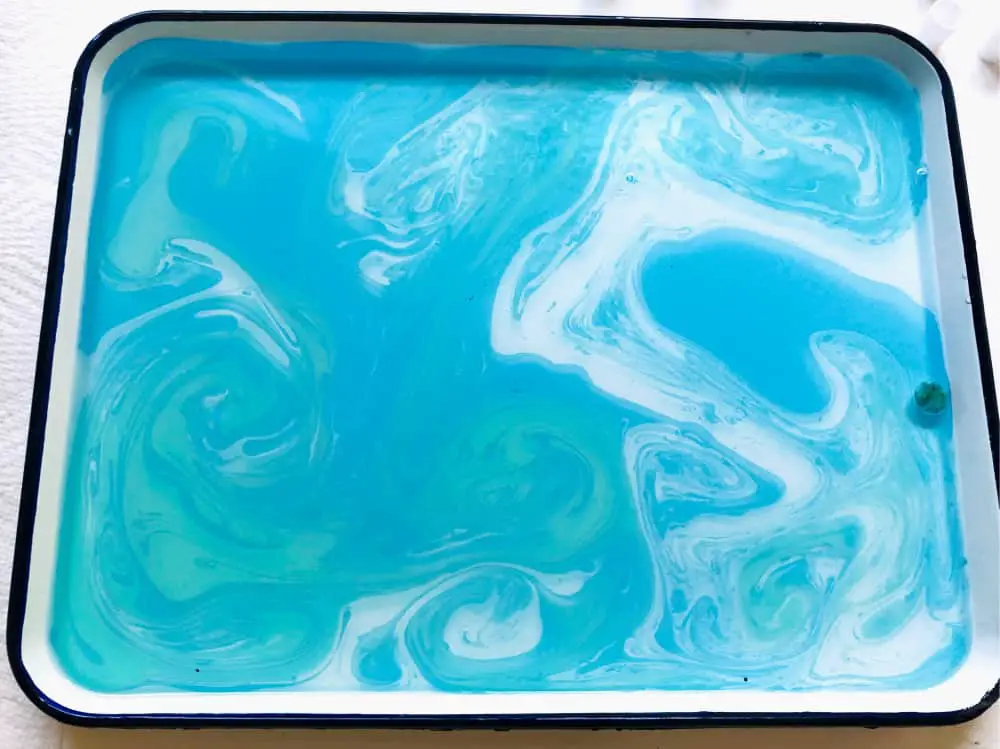 Once you have a pattern you like, you can either remove the float paper or push it off to the side of the tray.Place your paper directly on the surface of the water for 3-5 seconds without submerging it.Lift by two corners and place face up on some paper towels. You can lightly blot the excess water and ink off the surface if you’d like, but just be sure to use a cloth or paper towel without a distinct pattern, otherwise the pattern may transfer to the paper and ink.Let dry for an hour or two, then place inside or under some heavy books to flatten.
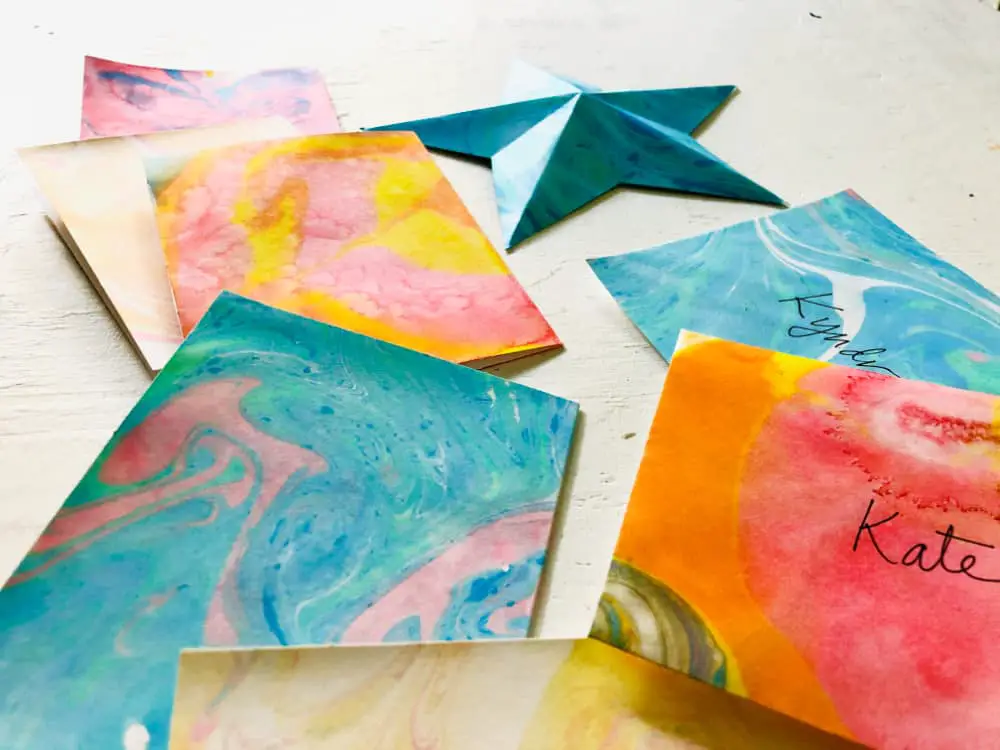
Comments
0 comments