
Making your own bearded dragon enclosure is affordable and shouldn’t mean compromising on quality. Anyone, including beginners, can make a DIY bearded dragon enclosure – you just need focus, patience, and basic DIY skills. Building a homemade enclosure for a bearded dragon takes approximately four hours. This project is suitable for people aged 18 or above due to the use of dangerous tools. Children can help with the fun, safe aspects of the tank setup.
Enclosure Requirements
The right size tank for a Bearded Dragon is 36 x 18 x 18 inches, and the ideal size is 48 x 24 x 24 inches. The minimum size should accommodate a bearded dragon, which grows up to 24 inches long in captivity. The ideal material for a bearded dragon enclosure is thick wood or corkboard. These materials do a good job of maintaining the enclosure’s heat. A glass front conserves heat and allows you to view your bearded dragon without having to open a lid. These lizards need water to stay hydrated and cool down. The enclosure should have space for a large water bowl or a reptile pool.Bearded dragons need a temperature gradient – a hot, bright area and a cool, shaded area – in the enclosure for temperature regulation. The enclosure should have a vent system, like mesh or air holes that can be opened or closed, to control the humidity. Adjustable vents give you the most control over the tank’s humidity levels, but adding these to a DIY enclosure can be complicated. Non-toxic glue should be used to build the enclosure to ensure the bearded dragon can be safely housed inside.
Building a DIY Enclosure (Step-by-Step)
Here are the materials you’ll need and the steps you should follow to build a DIY bearded dragon enclosure:Materials:
- An old wooden cabinet, dresser, or container
- Sandpaper
- Insulation boards, such as 1-inch thick corkboard
- Glue (non-toxic)
- Mesh or chicken wire
- Acrylic sheet or plexiglass
- Paint (non-toxic)
- Two 2 x 2-inch sticks of wood
- Drill
- Screws
- Table saw
- Substrate and decorations
Step One: Prepare the Container
Begin by buying and preparing the container you plan to use for the bearded dragon enclosure (remember, this should measure 36 x 18 x 18 inches or bigger). You can reuse your own old wooden dresser, container, or cabinet, or buy one for $5 or less from sites like Gumtree and Facebook Marketplace.Use sandpaper to smooth the rough edges of the container, and clean out the container with a sponge dipped in hot water and dish soap.
Step Two: Set up the Insulation Boards
Next, use a table saw to cut out the insulation boards (this should be done by a competent adult). Take measurements of all the container’s outer sides to ensure the insulation boards are accurately sized to fit on the outside of the container.After cutting the boards, use non-toxic glue to install them on the base and over the outer sides of the enclosure. Set the enclosure aside to allow the glue to completely dry.
Step Three: Install the Mesh or Chicken Wire
Mesh and chicken wire are the best materials for ventilating a DIY bearded dragon enclosure. Install a panel made from either of these materials on the tank’s top opening. The panel should be accurately sized to cover the entire top of the tank. This will allow some heat to escape from the enclosure without blocking light or heat from entering.
Step Four: Cut the Plexiglass or Acrylic Sheet
Once the ventilation is installed, use a table saw to cut the plexiglass or acrylic sheets into two rectangles for the front of the tank. These will serve as the doors of the enclosure and allow you to look into the enclosure to view your bearded dragon. When cutting the doors, make sure they’re measured perfectly to the frame’s outer measurement. Set the cut doors to the side, as they’ll be installed later on.
Step Five: Paint the Enclosure
If you prefer, you can paint the enclosure with non-toxic paint. Paint isn’t necessary but gives the enclosure a finished, polished look. Greens, oranges, and browns are colors that replicate the colors of the dragon’s natural habitat. Wait for the paint to dry before moving on to the next step.
Step Six: Install the Plexiglass or Acrylic Sheet
Sliding doors are easier to make for a DIY enclosure than hinge doors. Make a frame for the doors out of two sticks of wood, measuring 2 x 2 inches, with a 1/4-inch groove running the length of each stick.Drill a hole at each end of each stick, then attach the frame to the top of the enclosure’s opening, groove facing down. Slot the two doors in place by sliding them into the grooves end-to-end, with one middle-end of the door slightly overlapping the other. One door should slide behind the other to give you access to the enclosure.
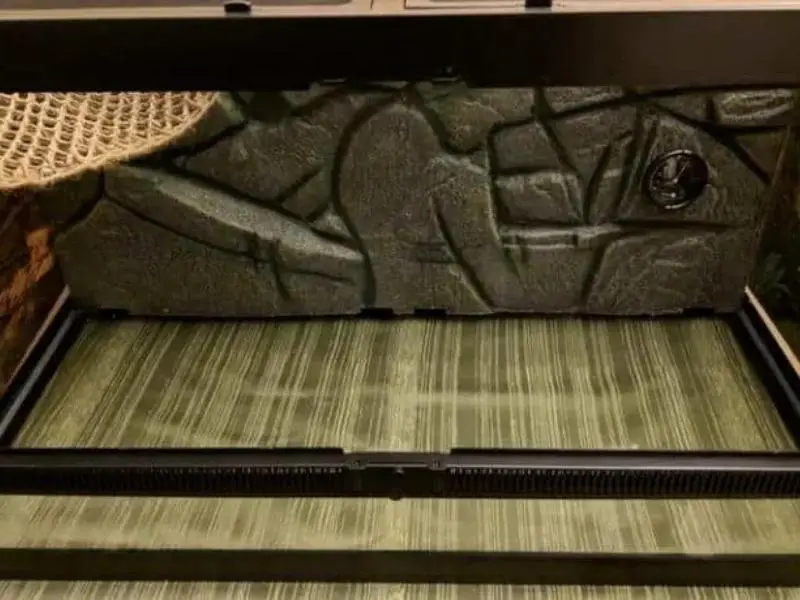
Step Seven: Add Substrate and Decorations
Now that the tank is built, the substrate and decorations can be added. Substrates like loose sand or compacted clay-like sand best replicate the bearded dragon’s natural desert environment. Good decorations for a bearded dragon tank are live or artificial plants, rocks, caves, hammocks, ramps, bridges, and driftwood. A large water bowl, big enough for the bearded dragon to submerge most of its body in, is also essential and should be placed in the middle of the enclosure.
Building Tips
It’s best to build a DIY bearded dragon enclosure outside to prevent paint, dust, and other building materials from getting into your home. If you’re concerned about using a table saw, consider visiting your local hardware store and enquiring about their wood cutting services – hardware store personnel are usually happy to help for free.After building the enclosure, look carefully for unwanted gaps or possible breakage points, and use expanding foam to fill these holes. A well-sealed enclosure should retain heat and keep your bearded dragon from escaping. Polishing the enclosure will give it an attractive finish. To clean the walls and base of your new enclosure, use a sponge dipped in warm water and dish soap.
Comments
0 comments