Do you like to entertain? Do you like cheese? Do you own a Cricut cutter? You are in luck!
I have the cutest DIY for you today – it’s making cheese tray labels with removable vinyl. Not only does labeling your cheeses make the whole charcuterie tray experience much fancier, your guests will love being able to see at a glance which cheeses you’ve picked out.
All you need for this project is removable vinyl and your Cricut cutter. You can use whatever cheese board or tray you already have. Of course, the bigger the tray, the more good stuff you can put on there!
Supplies
Serving tray
How to Customize Your Charcuterie Tray
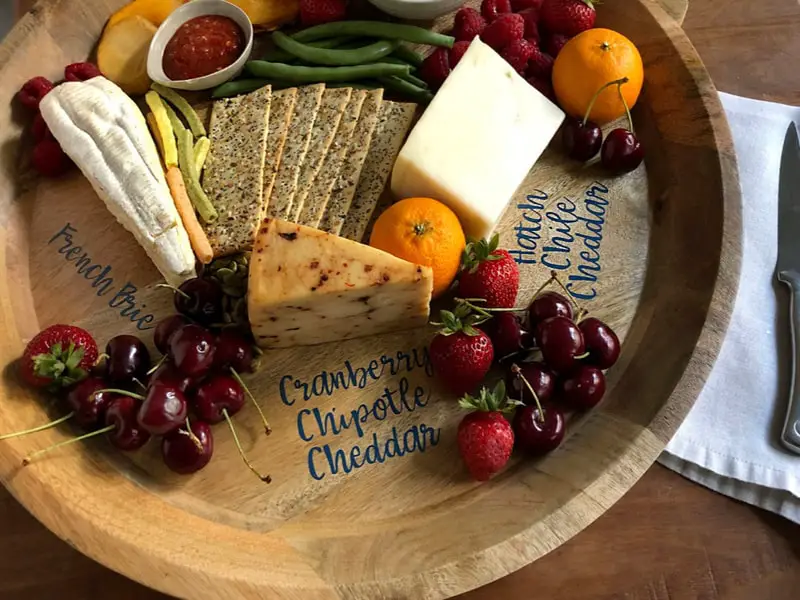
First, buy your cheeses and other tasty treats you will be adding to your cheese tray. I decided on 3 cheeses and laid them out on the tray still wrapped up to see where I wanted them to be, and where I should place the vinyl writing.
For this tray, I decided on roughly 4″ wide sections of font, so then I had to decide on a font.
I decided to use the Babette font because I’ve seen it used in so many Cricut crafts and it’s the perfect mix of scripty and fun.
Tips for script font: After you type out your word, click the word to select it and hit “˜ungroup’. You’ll need to move each letter around to get the spacing correct so the letters look good all together. See the image below of how they look when you just type them as opposed to when you move them around.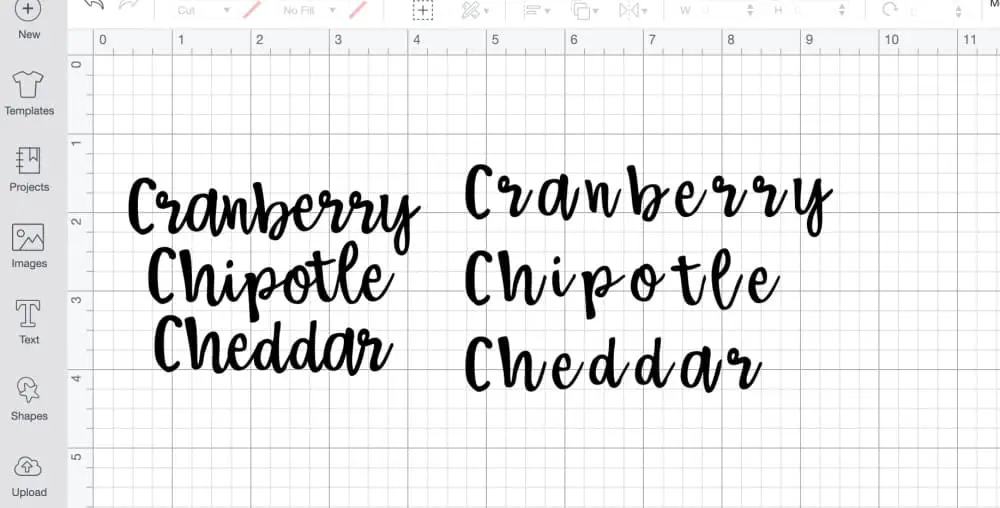
Once you have them where you want them, hit “˜group’ again and then “˜weld’ so the cutter sees the overlapping letters as one shape.
One weird thing about weld is that with some script fonts, sometimes welding fills in the loops on some letters. I learned from Jennifer Maker that if this happens, to hit undo, enlarge the font REALLY BIG and hit weld again. I had to minimize the size of my canvas several times in order to make the font huge. Then after welding you can scale it back down smaller.
I didn’t keep the fonts the same pixel size as each other but rather eyeballed the size visually to make them all relatively the same size. The 2 cheddars had more words than the brie, so I didn’t want them to look huge on the tray and the brie to get lost.
You use removable vinyl the same way you use the permanent vinyl: Lay i vinyl-side-up on the cutting mat and cut it on the ‘vinyl’ setting.
I found the removable vinyl to be a little bit trickier than permanent vinyl to remove the background around the letters – some of the letters wanted to peel up, so be careful (and slow) when you’re removing the background vinyl.
It helps so much to work on a light box for this step, and use your weeding or pin tool to help hold the letters back on the backing while you peel the outside off.
Another thing I noticed about this vinyl is that it needs more pressure when you use your scraper to transfer the letters to the transfer tape. I usually don’t have to press that hard with permanent vinyl to get it to transfer to the tape, but this stuff required some elbow grease.
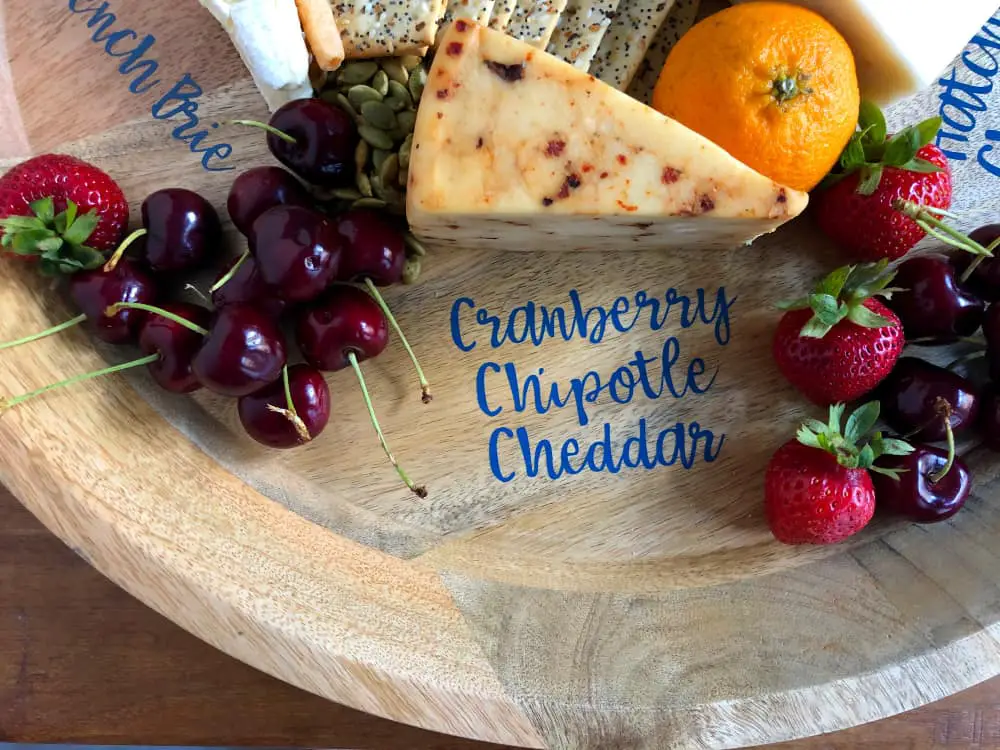
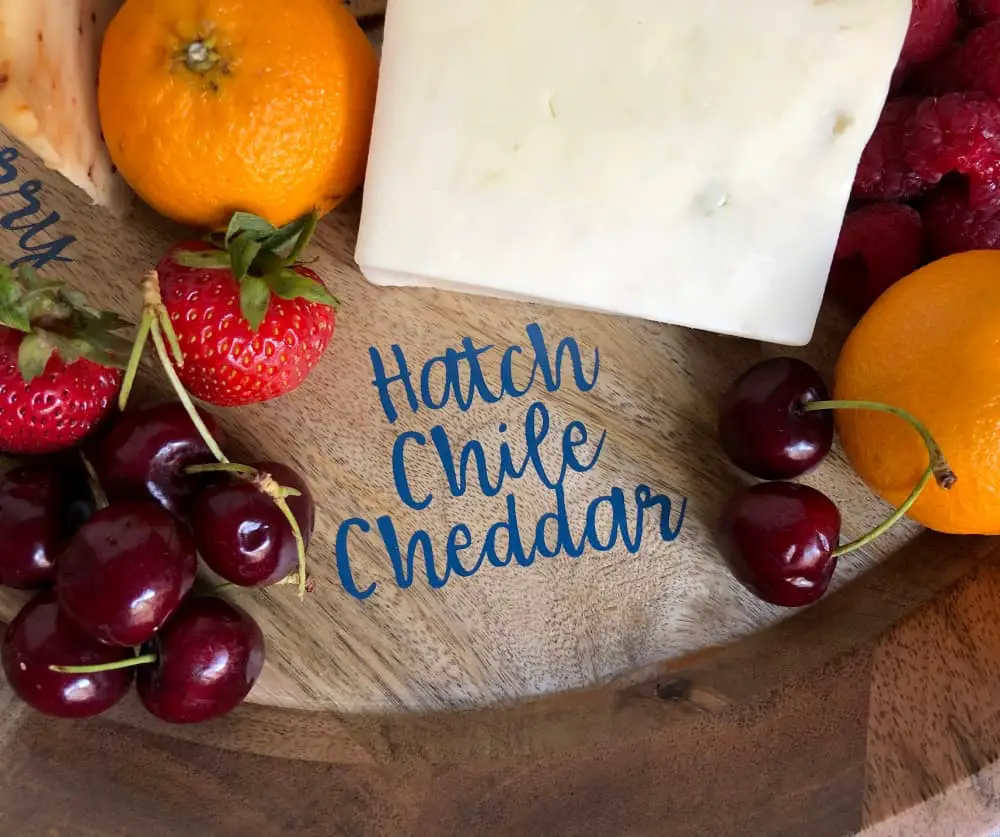
 Don’t you just love the blue with the color of the wood?

Pin This For Later!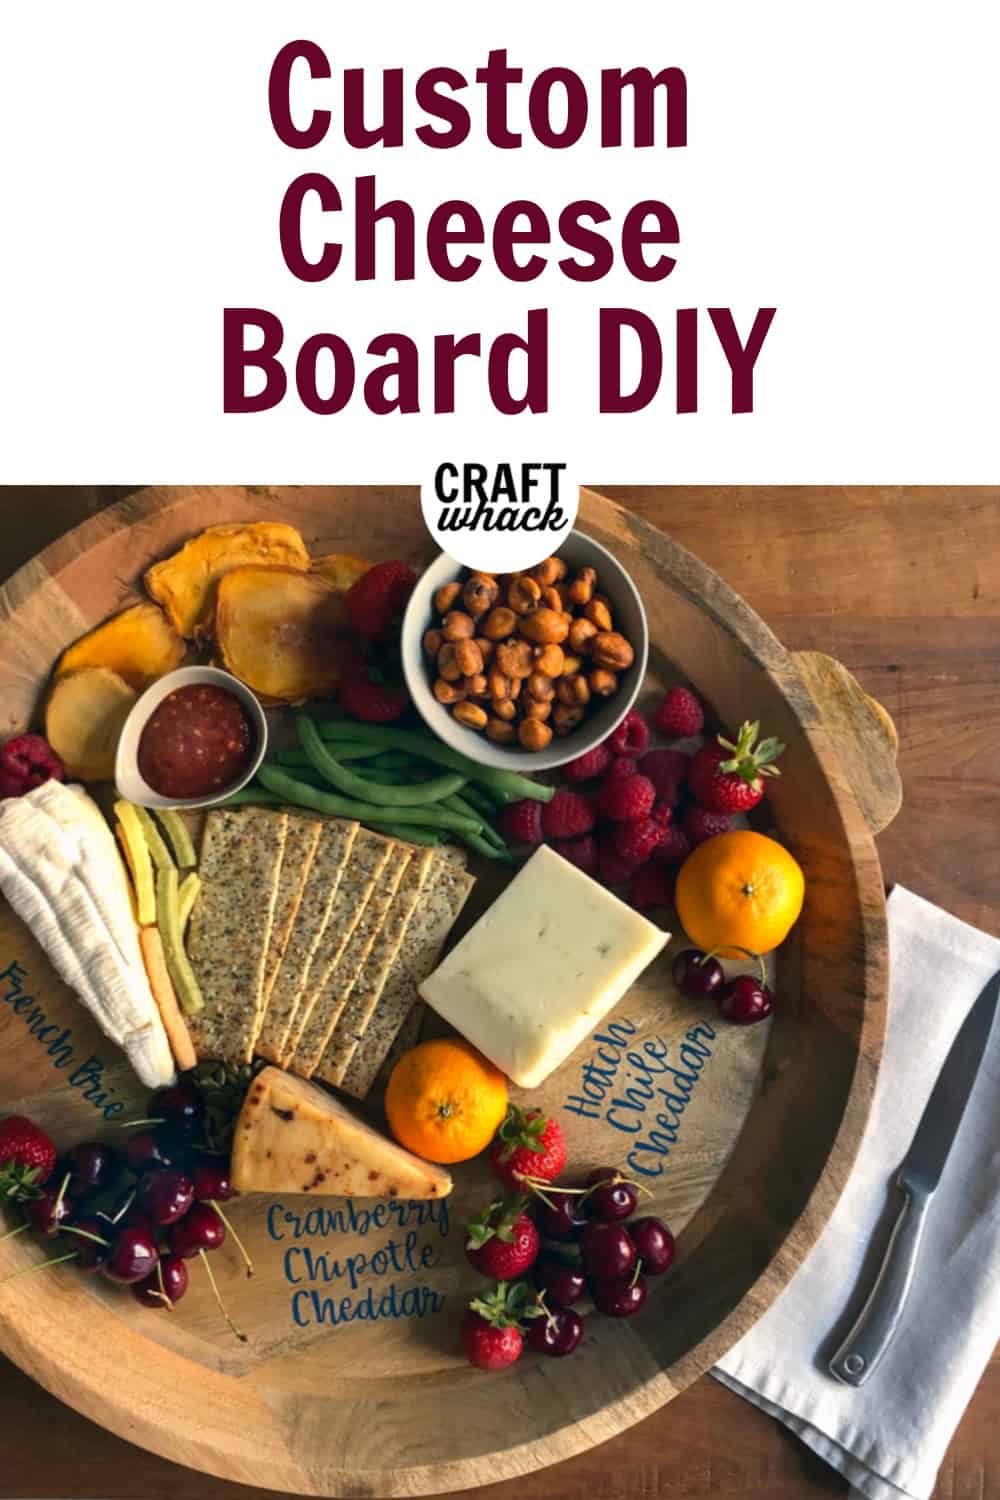
Comments
0 comments