The print and cut feature on Cricut machines opens up a world of being able to use your own designs in projects.
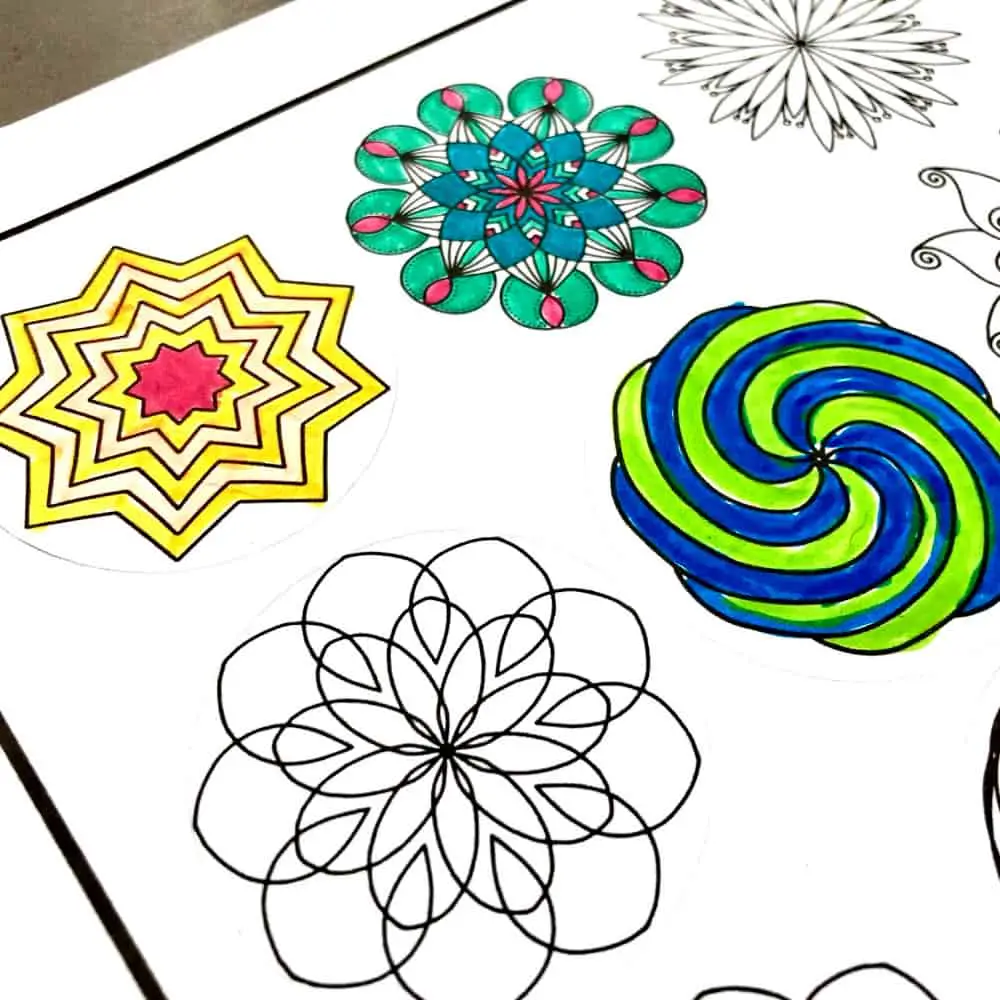
The summer-themed print and cut stickers we made were super fun, but I wanted to make some printable stickers that we could color in.
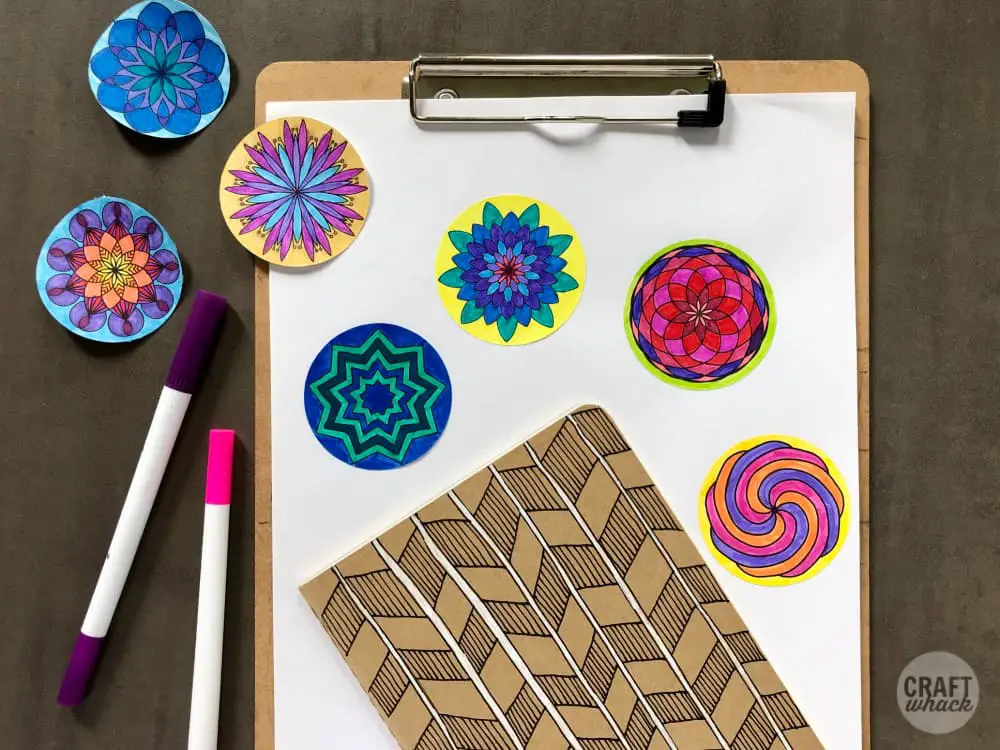
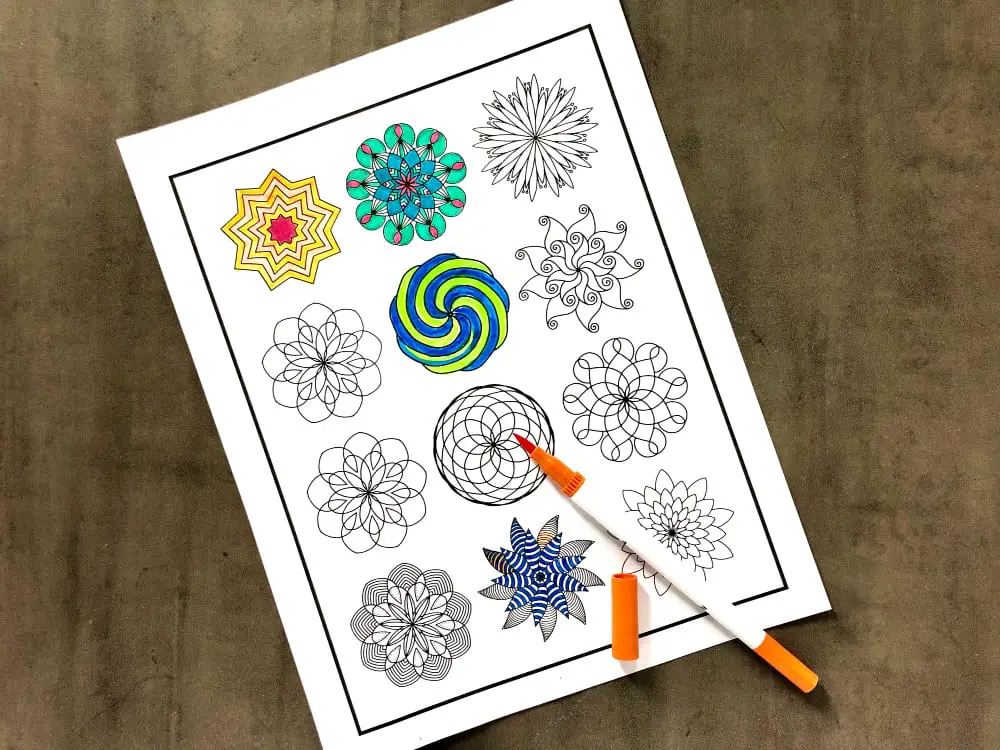
I found some amazing mandala designs on Creative Market, downloaded them, and used them in Design Space to make these adorable print then cut coloring stickers with my Cricut Maker.
I’m going to show you how you can upload your own designs, use designs from Design Space, or just use the designs I uploaded to make your own print then cut stickers.
Supplies
Sticker paper – I’ve read in several places that the Cricut sticker paper is really thick and can jam your printer, so I have been using this sticker paper, and it’s great.
Printer – I love my HP because we use HP instant ink and I never have to worry about running out of ink!
Markers – We tried these markers and you get a lot of fun colors for the money. 60 different colors in a cute cardboard tube box!
Directions For Making Coloring Stickers
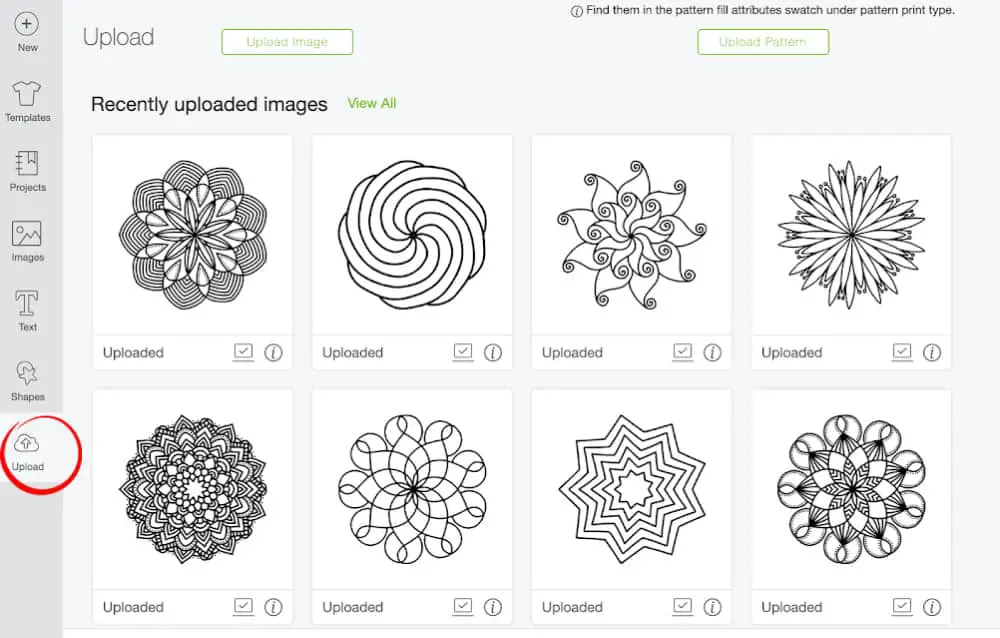
Uploading Your Own Designs: You can use either pngs or svg (vector) files using the “˜upload’ button to the left.
You can see in the image below the designs that I uploaded, so this will be where anything you upload lives.
If you use designs from Design space, just go ahead and grab them from the images section.
Click on the images you want to use and then click “˜insert images’. Most likely your images will be really big and you’ll have to resize them using the little arrows that show up when you click the individual image, or by selecting the image on the right and manually filling in the size at the top. I made each one 2″ wide.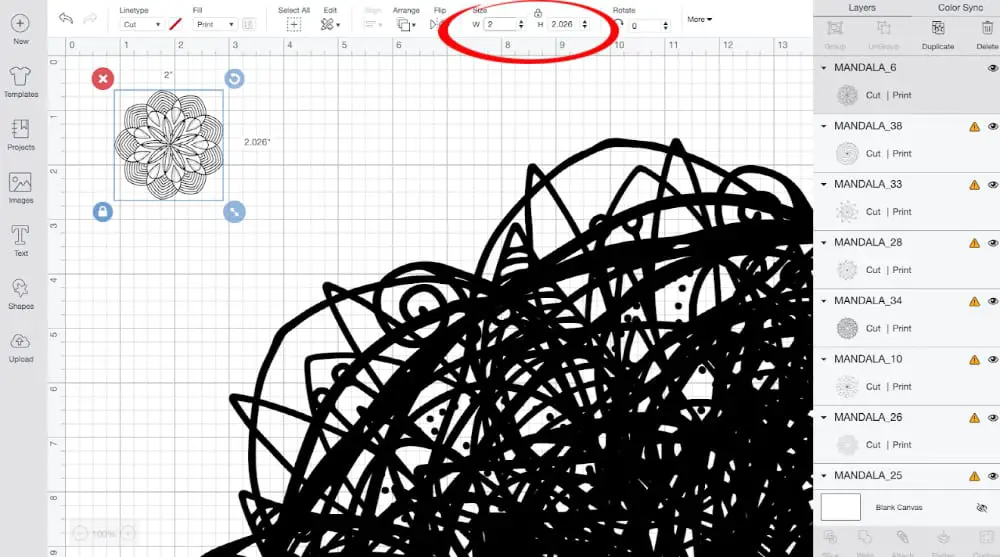
Arrange the designs fairly evenly on your canvas.
Click on “˜shapes’ on the left and insert a circle onto your canvas.
Resize it to about 2.25″, drag it over one of the shapes, then send each behind the design. (Click “˜Arrange’ > “˜send to back’ at the top.) Arrange it so the design is placed evenly over it, then change it to white at the top of canvas.
Duplicate the circle 11 more times. Repeat the positioning steps above with each circle, and remember to turn each one white.
You will probably have to move some of the designs and circles around on the canvas as you work.
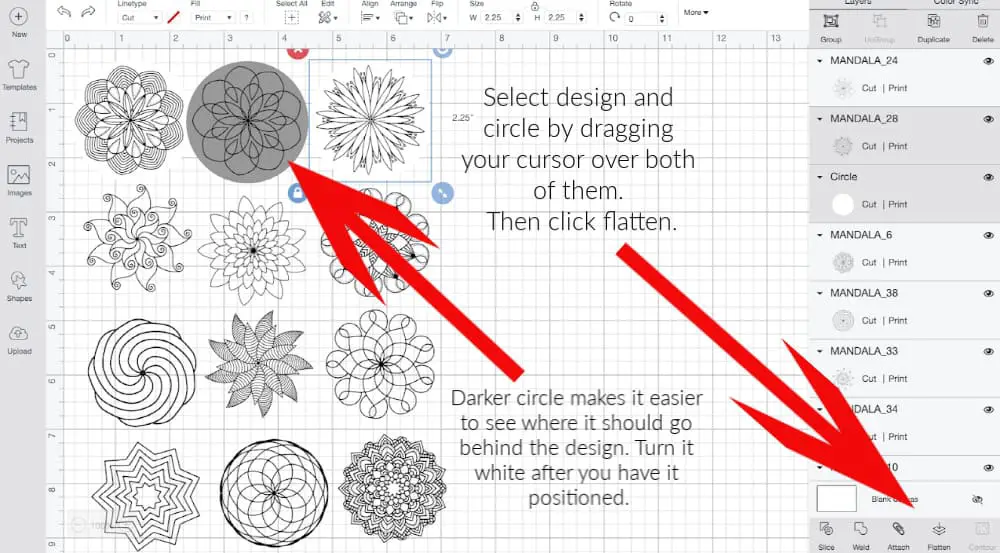
Next you will select each design and circle behind it together by dragging your cursor over both of them. Then Click “˜flatten’ at the bottom. This will make the Cricut machine cut out around each circle instead of each design.
Now it’s time to print and cut!
These will cut on 2 pieces of sticker paper if you want to keep them this size. I found that to print them all on one piece of sticker paper together, I had to go back and resize each design/circle combo to 2.10″.
Remember: I’m a beginner Cricut user! I’m sure more advanced Cricut-ers know better tricks and more streamlined processes…
Anyway, I recommend using the removable sticker paper setting if you want your machine to just cut through the sticker paper and leave the back wax paper uncut. That way you can peel your individual stickers off and keep the rest intact.
If you want individual stickers, use the ‘sticker paper’ setting. Since Cricut’s sticker paper is so thick, this setting will cut through other sticker paper all the way. This is kind of cool though, because you can have separate stickers with their backing to color and give away!
Tip: When you print, uncheck the bleed setting so the designs print out cleanly.
Have fun with your stickers!
Here is the link to these print then cut coloring stickers in Design Space.
Comments
0 comments