

An op art sphere is a flat circle drawn to look like a 3D ball. You draw a straight grid across the paper, fill each circle with lines that curve more as they near its edge, color alternate squares in two contrasting colors, then shade one edge with pencil so the sphere seems to pop off the page.
Last updated: October 18, 2026. Facts checked against the sources listed at the end of this article.
You very well may have seen these op art spheres before, because they’re cool and they’re all over the old Pinterest. But they’re also the sort of project you can’t just look at and move on. They MUST BE TRIED. And try them I did. And they are every bit as fun to draw as they look.
If you aren’t familiar with the term ‘Op Art’, it’s short for Optical Art, which basically is art that plays with the ways your eyeballs see and process certain visual information. Your eyeballs can go all wacky if you look at some Op Art for too long. In fact, I’m not sure how people can deal with giant pieces of Op Art hanging in their homes without losing their minds.
Materials:
- Paper (use thicker paper like White card stock
)
- Ruler
- Pencil
- Markers (use 2 colors for maximum awesomeness)
How do you draw an op art sphere?
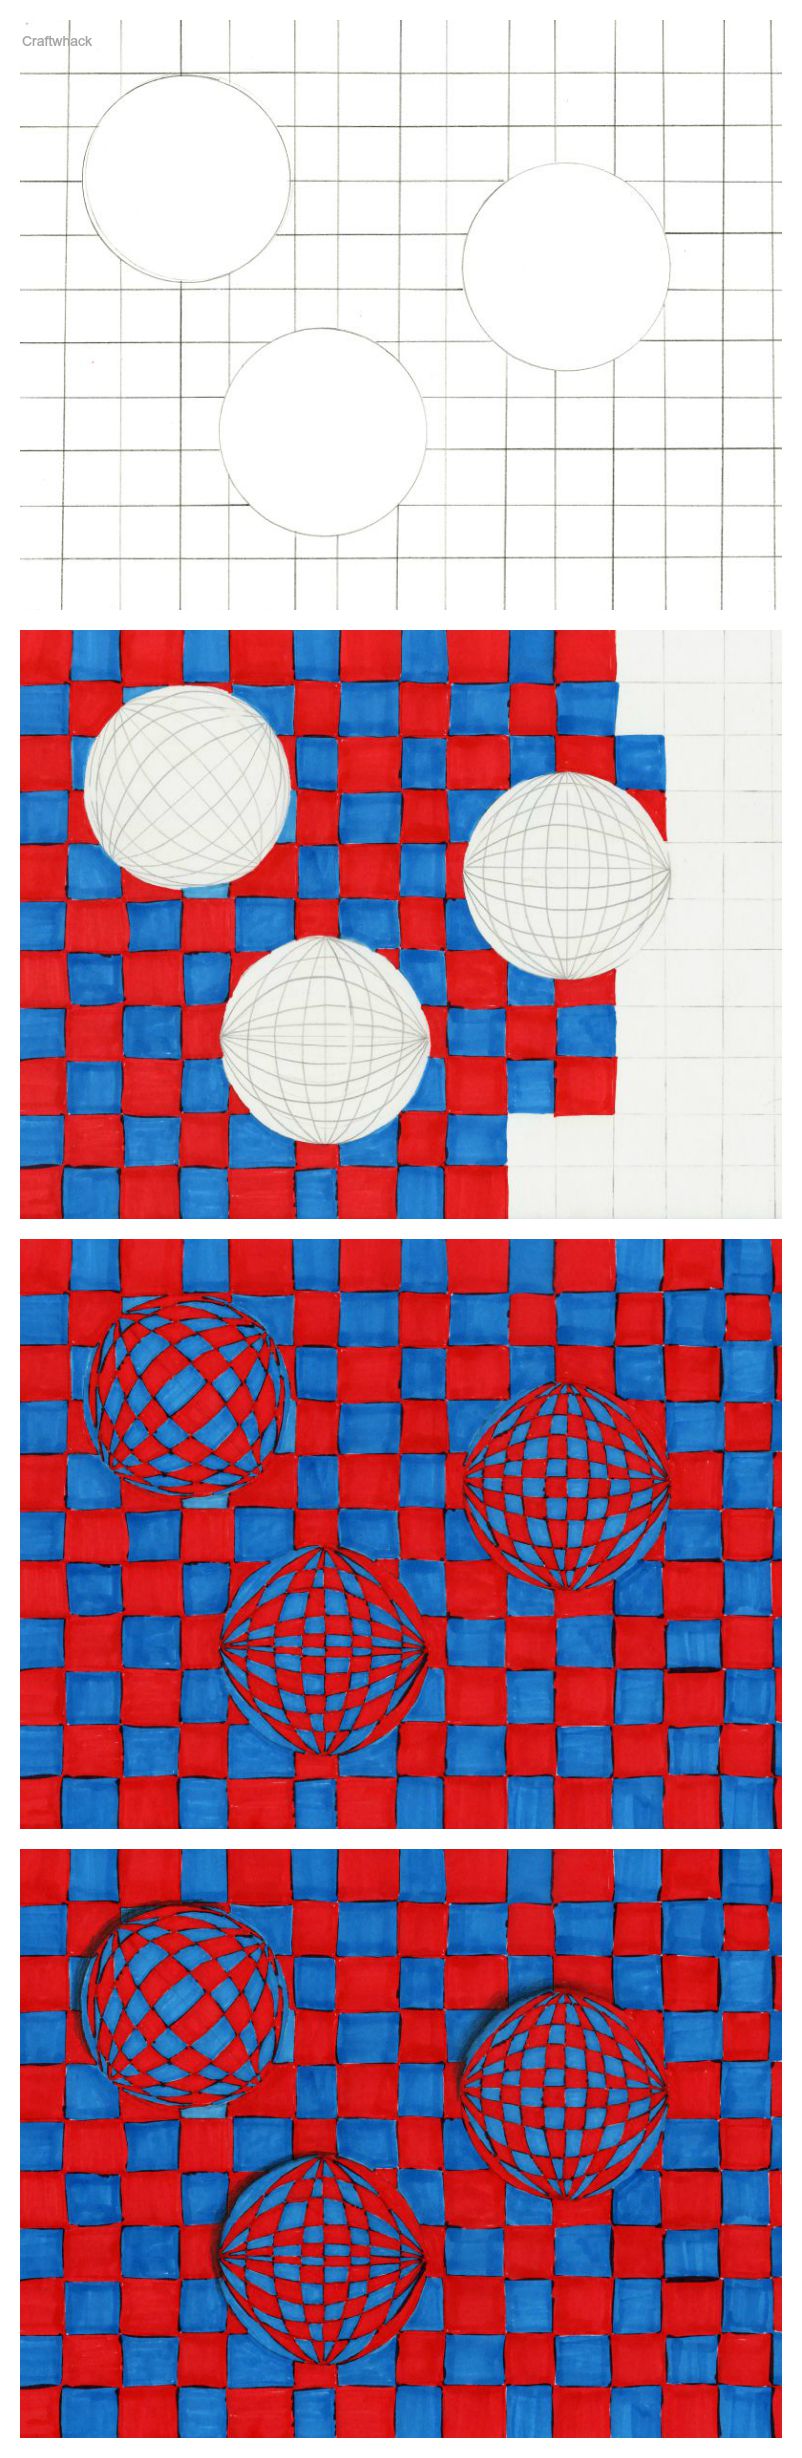
You draw an op art sphere in six steps with paper, a ruler, a pencil and two marker colors:
- Trace around a can or other round object to draw one to three circles anywhere on thick paper.
- Rule a straight pencil grid across the rest of the paper, stopping at the edge of each circle.
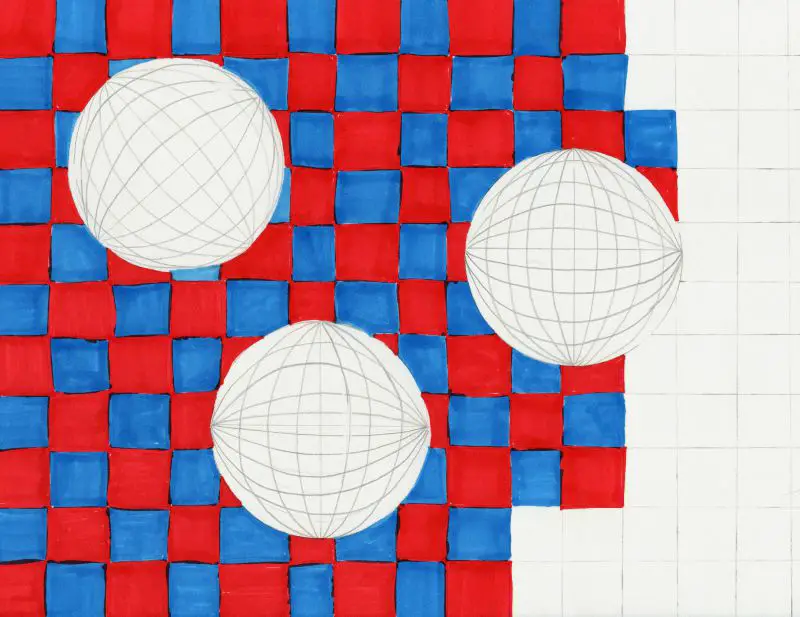
- Draw a straight line down the middle of each circle, then add lines on both sides that curve more and more as they get close to the edge. Do the same in the other direction to make a curved grid.
- Color the background squares and the sphere squares in a checkerboard of two contrasting marker colors.
- Shade one outside edge of each circle with the side of your pencil point, darkest right at the edge and lighter as you move out.
- Smudge the shading with your finger so each sphere looks like it is lifting off the page.
Here is how mine went, with photos of each stage.
Trace around something round to make a circle or 3 on the surface of your paper. Any size(s) are fine, and draw them anywhere on the paper. I traced around a can of chickpeas. I love chickpeas.
Using your ruler, draw a grid of pencil lines all over the paper, avoiding the circles.
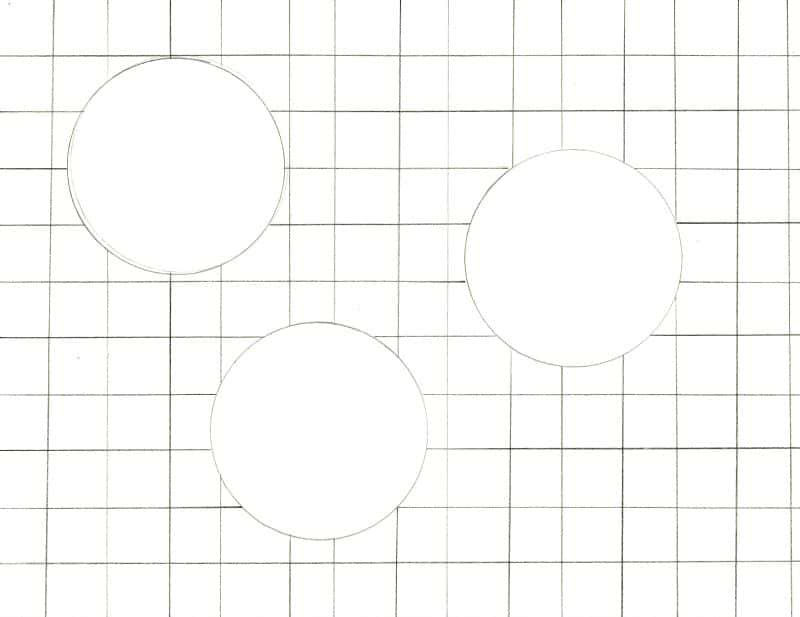
Next, draw grids of lines on each circle. You start with a straight line down the middle, then gently curve them as you draw lines out to the edge of the circle. This gives the circles the illusion of 3-dimensionality.
Your grids can be positioned any way. I made 2 that were ‘straight’, as compared to the background, and one was all wonky. See?
Now you can go in and color everything- I’ve seen these looking really cool in black and white, but I chose to get all superhero and use red and blue.
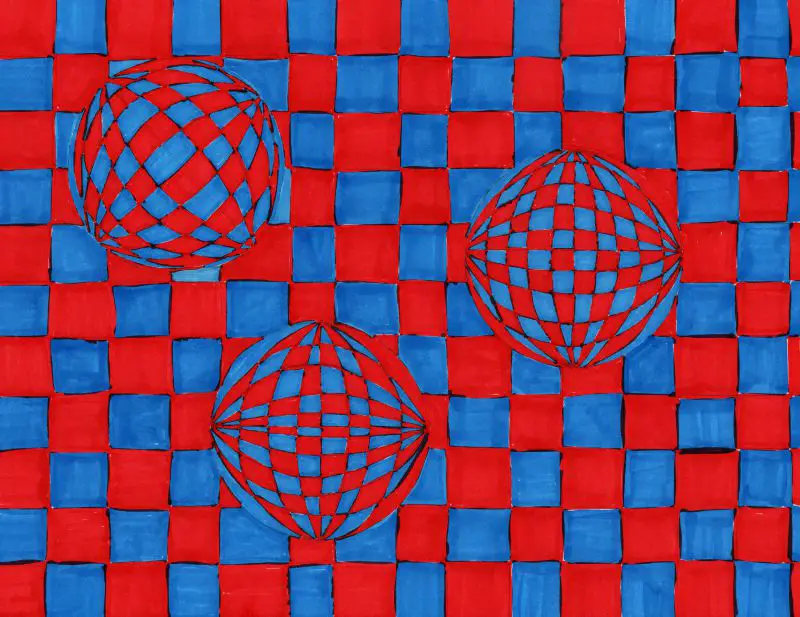
The final touch is to make ’em POP! Basically, you just take a pencil, and draw a shadow with the edge of the pencil point. Start lightly on one outside edge of the circle, darkening a little bit right at the edge, and lightening it a little as you go out, I like to smudge it with my finger.
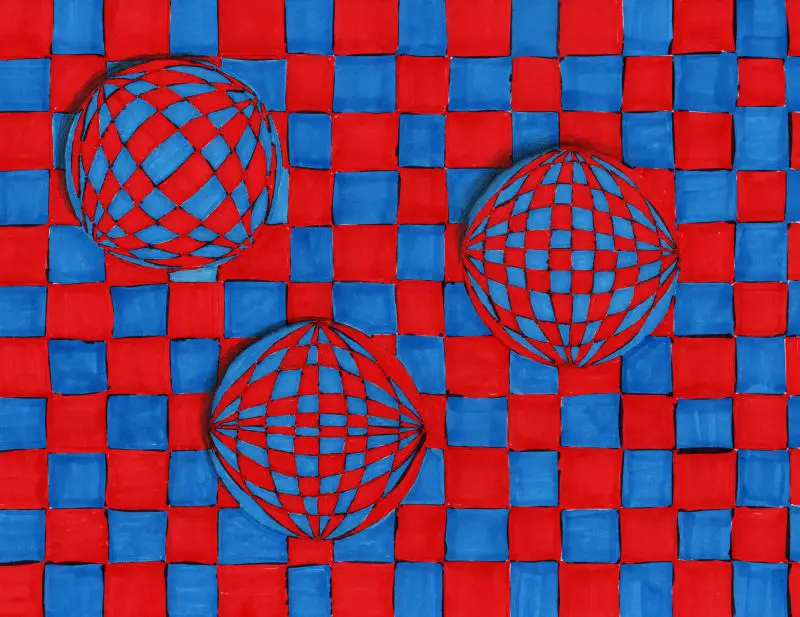
If you have not yet discovered the magic that is pencil smudging, you will want to do so stat. Practice making marks and shapes with a pencil on paper and smudging them around with a finger. Such a cool technique.
Frequently Asked Questions
Why is it called op art?
It is called op art because “op” is short for optical: the style uses geometric patterns to play with how your eyes see. According to Google Arts & Culture, the term first appeared in an unsigned Time magazine article on October 23, 1964, and the Museum of Modern Art’s 1965 exhibition The Responsive Eye, directed by William C. Seitz, followed.
What is op art known for?
Op art is known for flat geometric patterns that seem to shimmer, bulge or move. Tate describes it as a major 1960s development in painting that used geometric forms to create optical effects, from subtle to disorienting, and names Bridget Riley, Victor Vasarely and Jesús Rafael Soto among its artists, with Vasarely one of its originators.
What is an example of op art?
An op art sphere drawing is a simple example you can make at home: a checkerboard grid that bends inside a circle so the flat page seems to bulge. For a museum example, Tate illustrates the style with Bridget Riley’s Untitled [Fragment 5/8] from 1965.
How do you make an op art sphere look 3D?
Curve the grid lines inside the circle and shade its edge. A straight line runs down the middle, and each line after it bends more as it nears the edge, so the flat checks seem to wrap around a ball. A soft pencil shadow on one outside edge, smudged with a finger, makes the sphere look raised off the background.
What do you need to draw op art spheres?
You need thick paper such as white card stock, a ruler, a pencil, markers in two colors and something round to trace, like a can. The ruler keeps the background grid straight, the pencil handles the curved lines and the shadow, and the markers fill in the checkerboard pattern on both the background and the spheres.
So, anyway. Make these and then show me what you all made. Here. Just go ahead and post your photo to Facebook or Instagram and tag me. Facebook Instagram
Pin it:
More cool drawing projects:
Household Object Drawing Prompts
Sources
- Tate, Art Term: Op art (1960s geometric painting with optical effects; Bridget Riley, Victor Vasarely, Jesús Rafael Soto; Riley, Untitled [Fragment 5/8], 1965). Read October 18, 2026.
- Google Arts & Culture, Op art (term first used in an unsigned Time article, October 23, 1964; The Responsive Eye, MoMA, 1965, directed by William C. Seitz). Read October 18, 2026.
Comments
0 comments
Way cool! Pinning to our Art For Kids board!