Crafty collaboration alert! Okay, you guys. This is how my mind works: Maggy from Red Ted Art invited a group of bloggers to each do a post on a basic craft, and we’d all support each other, share each others’ crafts, etc. So immediately I FREAKED OUT, obsessing over which craft to do- Is it crafty enough? Is it too obscure? Is it creepy? Is it easy enough? Is it too easy? Is it eye-roll-worthy?
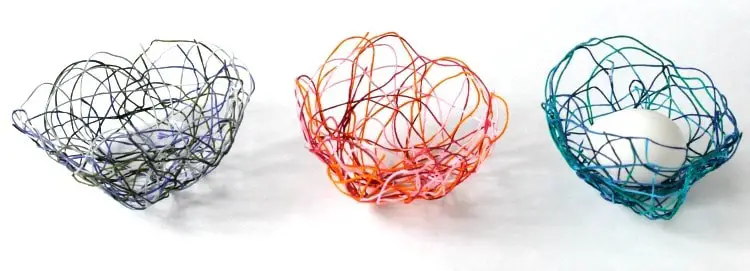
After 2 scrapped ideas, I came up with these bowls made from embroidery floss, and I find them adorable. The problem is, they look like blobs in photos, so I FREAKED OUT again.
Now I’m just at the acceptance stage, where maybe I’ll rename them, “Crazy explosion of string blob bowls of doom.” What do you think? Anyway, they are based on my extremely popular string Easter egg project, and I’ve been wanting to try other shapes, so’s I did.
Here’s what they require:
Embroidery floss
Glue (I used good old Elmer’s .)
Wax paper
Wooden skewers
Cut lengths of floss in whatever color combos you like. I made them each about arm-length, so they weren’t too unwieldy.
Pour a bowl/cup of glue (I probably used about 1/4 cup), and add in a tiny bit of water- just enough to thin out the glue a tiny bit. Too much water and the bowls won’t hold their shape. I’ve got my eye on you.
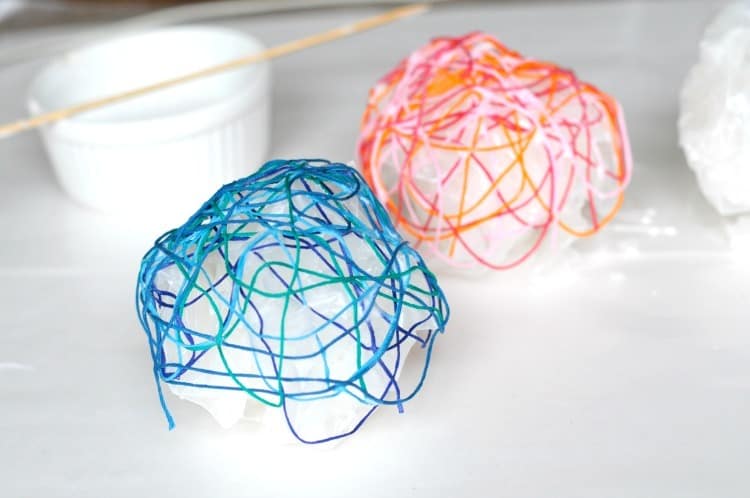
Lay out a few sheets of wax paper and crumple up some balls of wax paper. You can sort of mold them into basic shapes of bowls- round or oval, tall or shallow.
Now- piece by piece, dunk a length of floss into the glue mixture, pushing it into the glue with the tip of a wooden skewer. Keep one end out of the glue or else you’ll be digging around in the glue for whole precious seconds, looking for the end. Ask me how many times of losing the end it took me to figure this out.
Run your pointer finger and thumb down the length of the floss as you remove it from the glue, to get rid of excess glue, and also this works the glue into the floss more.
Drape the floss over your wax paper bowl form however you want. I went very loosey-goosey, and let the floss fall where it wanted to go for the most part.
Continue to do this until your bowl is as dense as you want it. Look at it from every angle to make sure you don’t have big, gaping holes.
Finally, drip some glue globs over a bunch of the places where the floss criss-crosses over other floss. I just did this to ensure stickage, and because I’m slightly anal about gluing things.
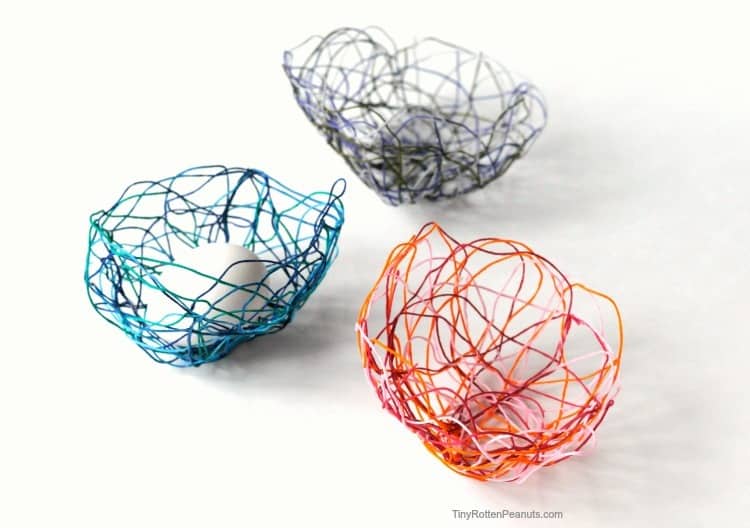
Let them dry overnight. COMPLETELY DRY. (Remember, I’m watching you.) (This was the creepy factor I was talking about earlier.) Gently work out the wad of wax paper, and you have yourself some ethereal little bowls, my friend.
P.S. Clip off whatever string ends are sticking out awkwardly.

I encourage you to go eyeball everyone’s crafts in this series, but I’ll give you little tease sneak peeks of who went before me, and who is going after me.
Rachelle! Tinkerlab! Her craft is how to weave a doll hammock using a paper plate.
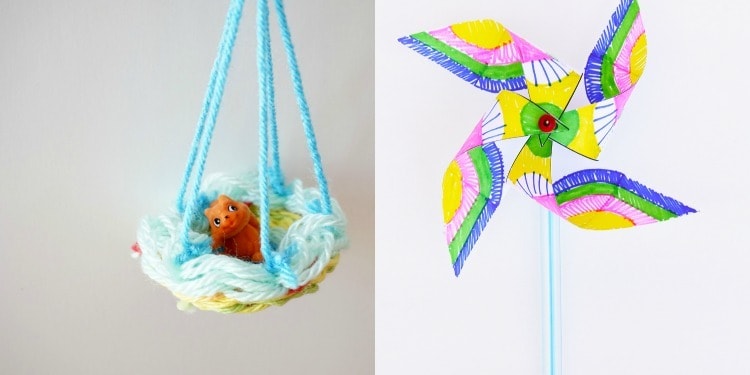 Ana! Babble Dabble Do! Her craft is colorful pinwheels.
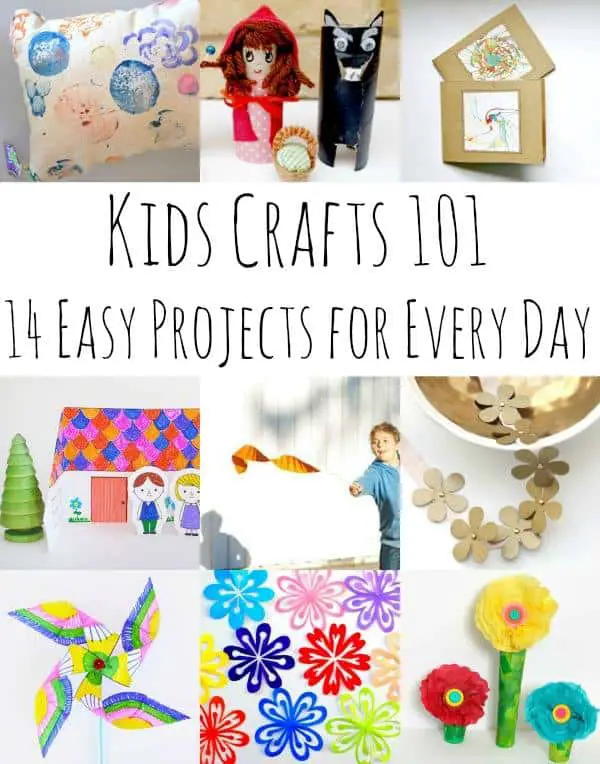
See all the amazing crafts in this roundup by clicking the image below:
Comments
0 comments
So pretty! My kids will love this! 🙂
You should be selling these! They are gorgeous!
On the off chance you’ve tried, do you think this would work with a paper mache paste?
I’m thinking it would- it’s basically the same technique, although I haven’t tried it with paper mache paste!