When I was 6, it was 1976 and there was a buzz of excitement throughout the year because it was the Bicentennial! Red white and blue was everywhere, all year.
That July a few families from our neighborhood were in a parade for some reason, and we were to make a float. All I remember was hours of twisting tissue paper flowers into submission and fastening them into chicken wire. We made hundreds of these bad boys, all in red, white and blue, and our float was like a massive, mobile pinata.
I clearly remember throwing candy out of the float at screaming kids, and I believe that was a defining moment in my creative life. Tissue paper + candy= happy kids.
Anyway, perhaps that’s a little bit of a tangent, but I couldn’t think of another intro for my tissue paper mosaic project. By the way, this uses different tissue paper than my bleeding tissue paper heart art. You want tissue paper that doesn’t bleed its color here, or you’ll have a gluey mess of yuck.

Materials:
- Chipboard
- Tissue paper in various colors
- Glue (Aleene’s)
- Aluminum foil
Directions:
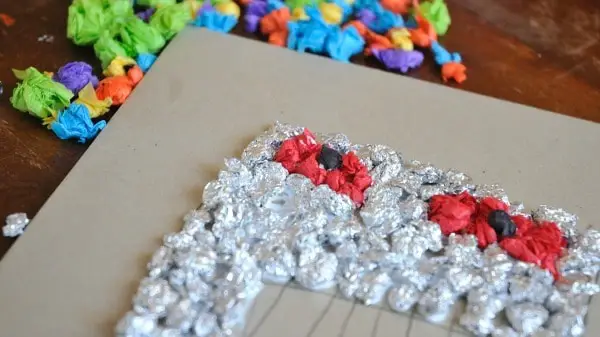
Draw out your subject matter. Ideas: fish, first initial, abstract design, your favorite number
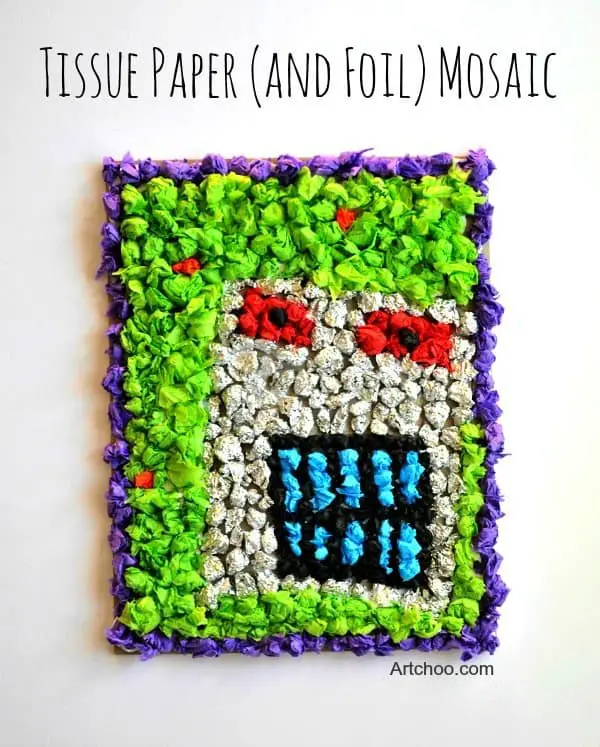
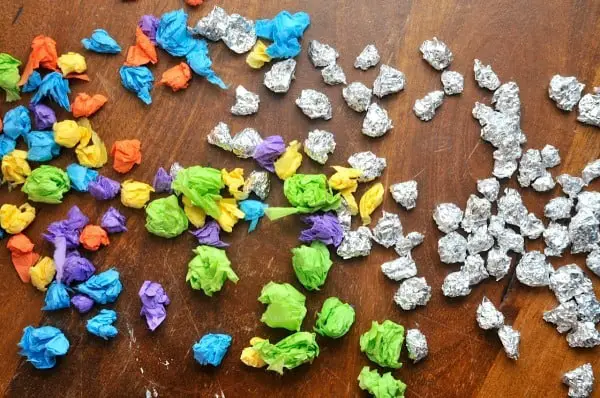
Wad up little pieces of foil and tissue paper and glue ’em! Glue them everywhere, all over the cardboard. (Hint: bigger wads of paper and foil cover surfaces faster than small pieces.)

This is a pretty simple, straightforward project, but it takes a while! Beckett was all too happy to draw the robot for me, but had no interest in the mosaic part. I think this project is well-suited for maybe the 6 and up crowd.
Check out my Pinterest board Kids’ Art Projects: Collage for more fun projects….
Follow Artchoo! (Jeanette Nyberg)’s board Kid Art Projects: Collage on Pinterest.

Comments
0 comments

I never would have thought to include aluminum foil as part of the tissue mosaic but I love how that turned out with it. So shiny!!
Very creative idea using foil and tissue paper.
Thanks Tiffany!