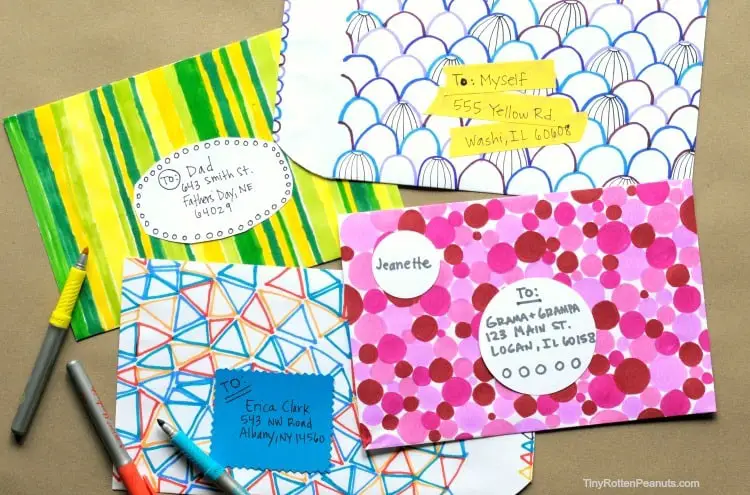
I don’t send mail all that often, and I was sitting around the other day, pondering whether or not I should revive the lost art of letter-writing in my house. Of course the answer to that should always be a resounding ‘yes’.
I struggle with trying to keep myself off the computer, so I’ve recently taken up using a planner book to organize my blogging life, a small Moleskine to organize my to-do’s, and I thought about trying to call people on the telephone to connect, but that’s just a ridiculous thought. It feels great to get back to pen and paper- theres the act of writing (and doodling), and of course those moments where you find yourself staring vacantly, hung up on a thought.
Back to mail. Since we were talking about Annie (my step daughter) going into the Marines the other day, Christian noted that he had read to not send anything but the plainest of letters to your little Marines when they are in the midst of Boot Camp. Nothing that could even be remotely considered cutesy is tolerated, and of course my brain started to scramble around thinking of ways to hide the most secretive of tiny flower drawings when I send her a letter.
Anyway, in the civilian world, we can get as decorative and fun as we wish, and I have. And you can, too! Grab your plain white envelopes, some markers, and git to it. Go on, git.
I used Bic permanent markers on these, and a Faber Castell black pen. I bought these pens. And these markers.
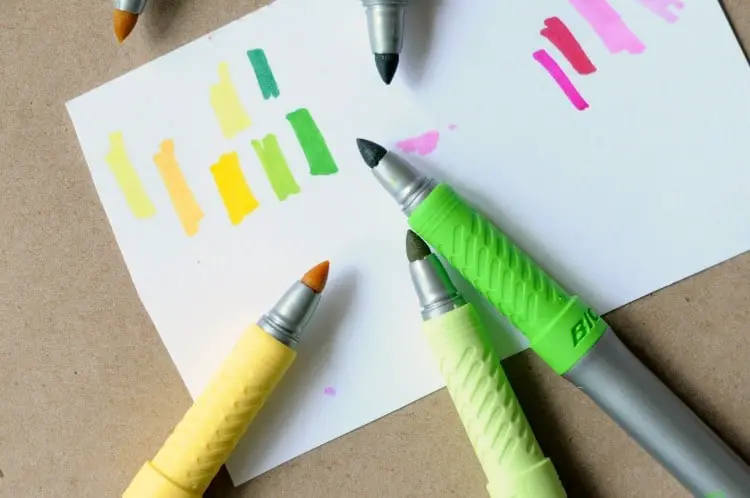
Before each envelope, I decided what sort of color palette I wanted, and picked out 4 or 5 colors I liked together. Try the markers out together on white paper first- the caps are sometimes way different than the real colors.
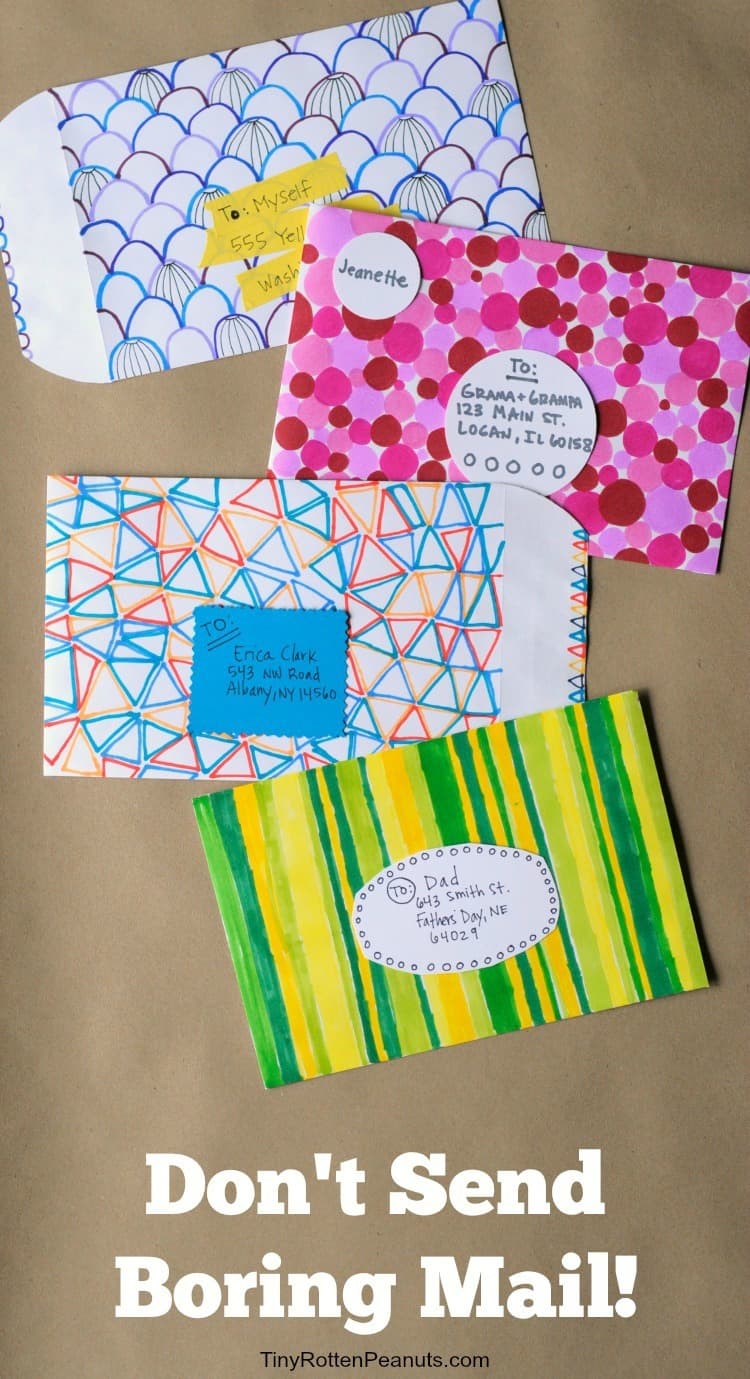
For my dots envelope, I started at one corner and made dots of 4 different colors, trying to mostly spread out the colors, but sometimes putting the same color next to itself. I hole-punched out a big circle and smaller circle for the addresses.
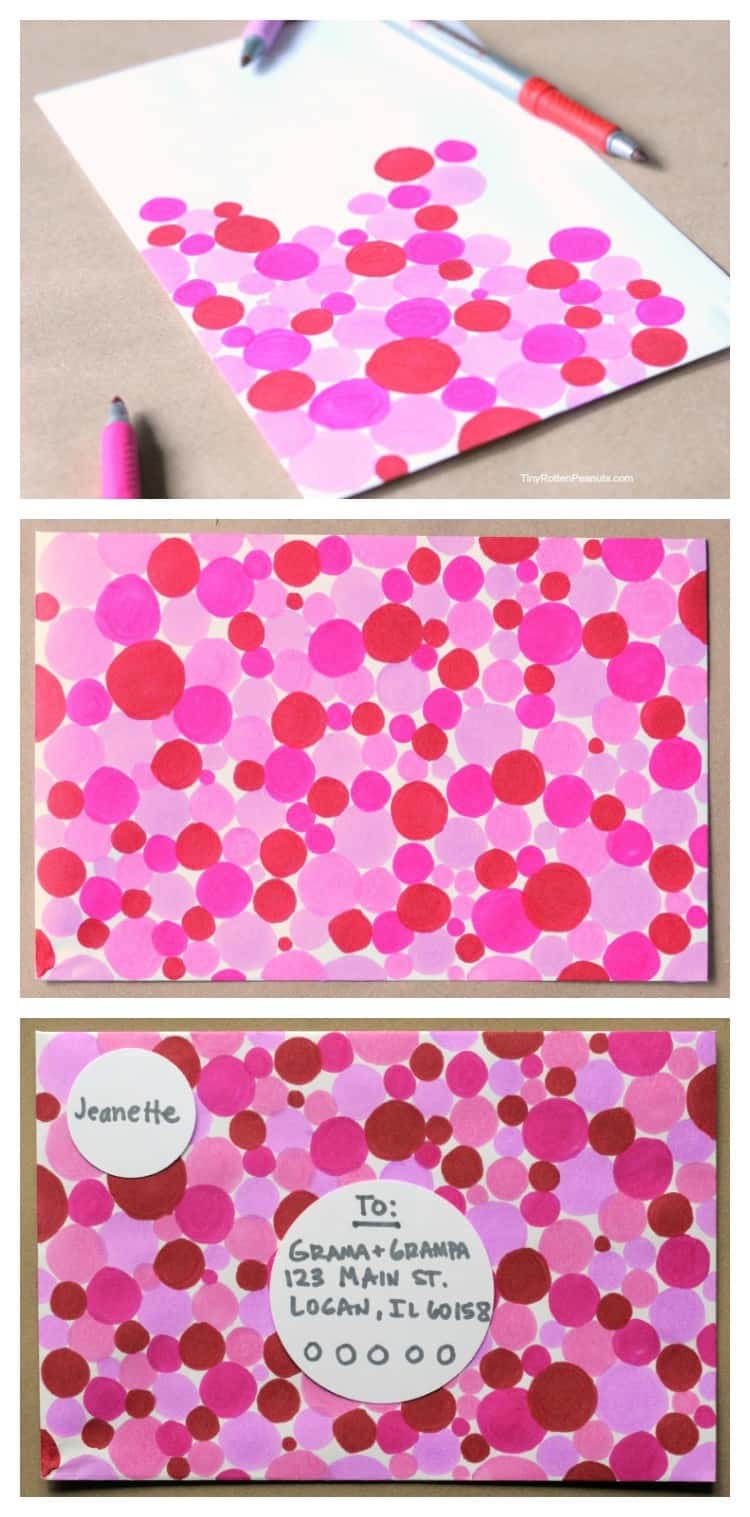 Remember to put a piece of paper inside your envelope, or the marker will bleed through to the back.
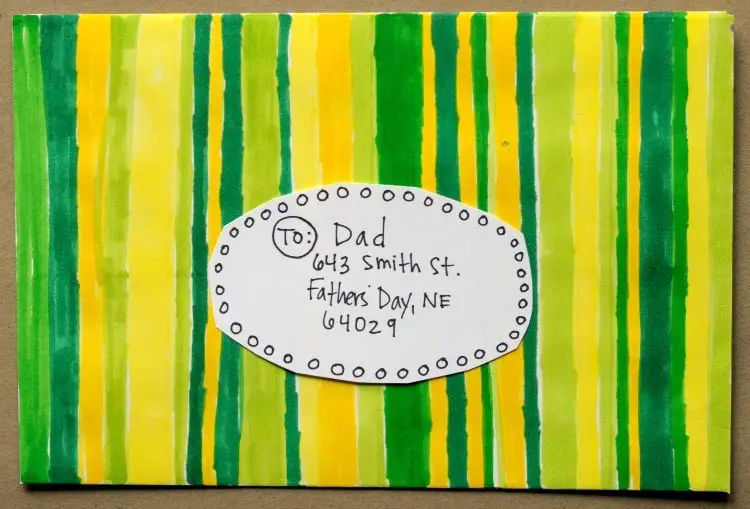
Next up was the striped envelope, and I striped in different widths. At first I left white between the stripes, but then I liked the way they looked all jammed up next to each other better.
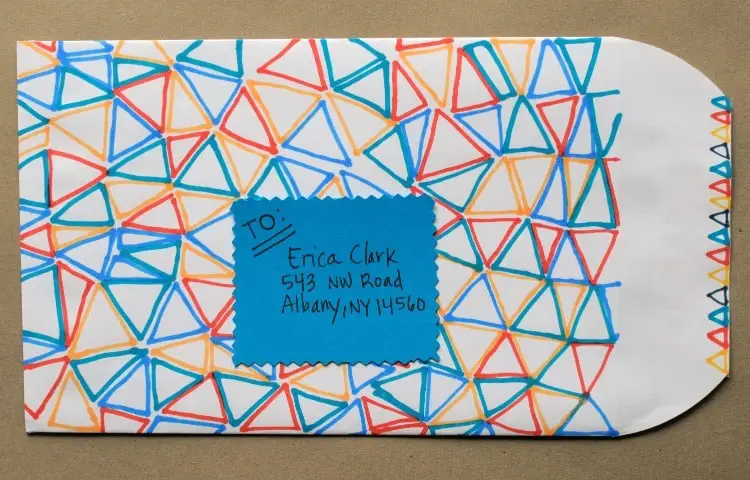
The triangles were fun because 1. triangles are fun to draw, and 2. I like these colors together. I started with one triangle at the top left of the envelope, and worked out from there.
My 4th envelope was upside down scales, and after I drew them with my colors, I thought they looked a little boring, so I added the lines.
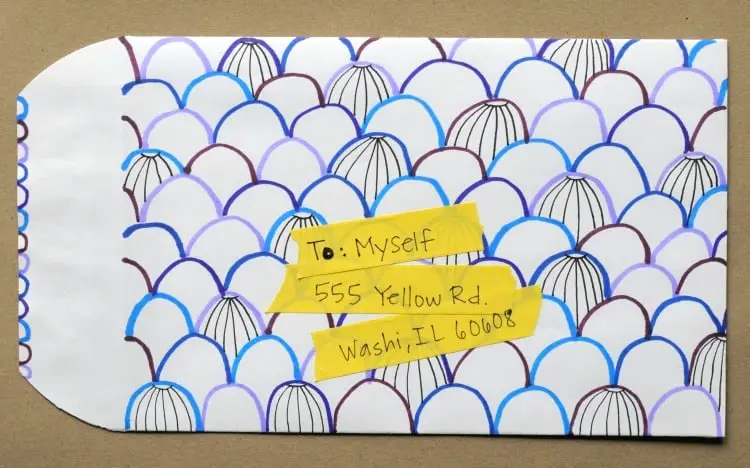
Then I added the address thingies on: washi tape, a punched circle, a pinking scissor-cut rectangle, and a wonky oval. You know what? These were really, completely fun. The surface area is small enough where these don’t take too much time, and envelopes are pretty low-stress surfaces. You can pre-make a bunch of these, and have them sitting around for whenever the urge hits you to write a letter.
Think of someone right now that would be beyond excited to get a letter from you…
Here’s what I used:
Envelopes
Okay, it just dawned on me to see if there were any books out there about arty mail, and I spied a brand new book that looks all sort of inspiring. Even for art journal projects:
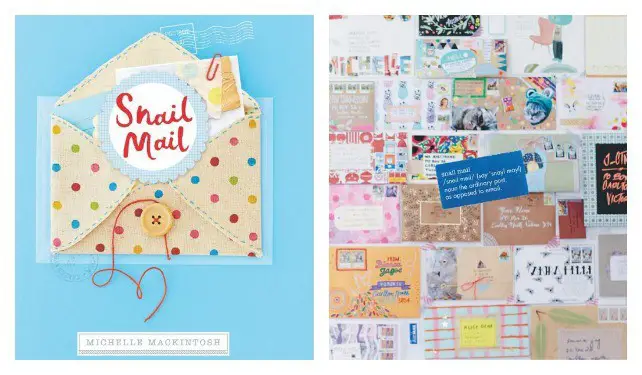
It’s Snail Mail by Michelle Mackintosh.
Comments
0 comments

This is perfect for thank you note envelopes to the relatives!!
Do these cost any extra to send?
I believe so. Honestly, I always slap an extra stamp on any envelope that is bigger than the norm. 🙂