

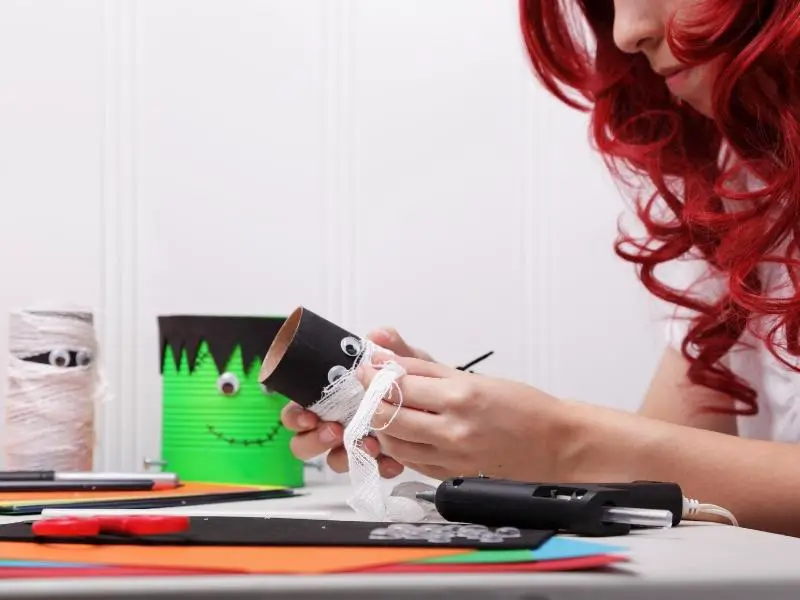
Halloween is a great excuse to make something with friends or family. These 12 Halloween crafts for teenagers are easy to start, and each one lists what you need, how hard it is, and the basic steps. Most work for ages 13 and up, and a few flag where an adult should help.
Each idea links to a full tutorial on the site that inspired it, so you can follow along with photos.
1. Halloween Layered Candles
Best for: ages 13+ with adult help · Difficulty: medium · Time: about 1–2 hours plus cooling
You need: candle wax (soy or paraffin), candle wicks, a heat-safe pouring pitcher, wax dye in Halloween colors, a clear glass jar, and optional candle fragrance oil.
- Melt the wax in a double boiler, following the wax maker’s temperature directions.
- Stir in dye, then pour one layer into the jar with the wick centered.
- Let each layer set before pouring the next so the colors stay separate.
- Trim the wick to about 1/4 inch before lighting.
Hot wax can burn, so keep this one to teens working with an adult nearby, and never leave a lit candle unattended. If you don’t want to deal with melted wax, use an LED candle as the base instead.
Learn more about this DIY Halloween Candles craft idea on candlejunkies.com.
2. Fabric Ghost Craft
Best for: ages 8+ (teens will make several fast) · Difficulty: easy · Time: 15 minutes each
You need: a square of muslin or cheesecloth, yarn or string, scissors, a small ball (foam or crumpled paper) for the head, and a black marker.
- Place the ball in the center of the fabric.
- Drape the fabric over it and tie yarn under the ball to form the head.
- Draw on eyes and a mouth.
- Hang the ghost from a door, tree branch, or party banner.
Ghosts make easy party decorations or a quick front-door scare. Younger kids may need help with the scissors.
Check the instructions for this Friendly Ghost Craft for Halloween on buggyandbuddy.com.
3. Decorated Skulls
Best for: ages 8+ · Difficulty: easy · Time: 30–60 minutes plus drying
You need: plastic or foam prop skulls, acrylic craft paint, brushes, glitter or glitter paint, and craft glue.
- Paint the skull with a base coat and let it dry.
- Add patterns, flowers, or spooky details on top.
- Brush on craft glue and sprinkle glitter where you want sparkle, then shake off the extra.
Loose glitter gets everywhere, so work over a tray. Find all three ways to decorate Halloween skulls on abeautifulmess.com.
4. Spider Soap
Best for: ages 13+ (gift idea) · Difficulty: easy · Time: 30 minutes plus setting
You need: clear glycerin melt-and-pour soap base, a microwave-safe measuring cup, a silicone mold, small plastic spiders, and optional skin-safe fragrance or essential oil.
- Cut the soap base into cubes and melt it in the microwave in short bursts, stirring between each.
- Stir in a few drops of fragrance if you like.
- Pour into the mold and drop in a spider.
- Let it set fully, then pop it out.
Melted soap gets hot, so an adult should handle the microwave and pouring with younger kids. The plastic spiders are small parts, so skip this one around kids under 3 and tell gift recipients the spider is decoration only. Check that any essential oil is labeled safe for skin before adding it.
Here’s an implementation of the Creepy, Crawly Homemade Spider Soap craft on steampoweredfamily.com.
5. Spooky Lanterns
Best for: ages 10+ · Difficulty: easy · Time: 45 minutes plus drying
You need: clean glass jars, black adhesive vinyl, a craft knife or scissors, spray paint (purple works well), and battery-powered LED tea lights.
- Cut spooky shapes such as bats, witches, or little monsters from the vinyl.
- Stick them on the outside of the jars.
- Spray the jars outdoors in a thin coat and let them dry.
- Peel off the vinyl, drop in an LED tea light, and switch it on.
Use spray paint outside or in a well-ventilated space. Skip real candles inside painted jars. LED lights stay cool and are safer.
A step-by-step tutorial for these Enchanting Halloween Lanterns is available on adventure-in-a-box.com.
6. Halloween Punch Bowls
Best for: ages 10+ · Difficulty: easy · Time: 30 minutes
You need: a large glass bowl, black adhesive vinyl, googly eyes, craft glue, and scissors.
- Cut witch hats, spider webs, or other shapes from vinyl.
- Press them onto the outside of the bowl.
- Glue on googly eyes.
- Fill with punch just before the party.
Keep decorations on the outside so nothing touches the drink, and hand-wash the bowl afterward. Googly eyes are choking hazards for little ones, so keep them out of reach of toddlers.
For more great ideas on how to decorate a DIY Halloween Punch Bowl, read the instructions on nobiggie.net.
7. Four-Paint Pumpkin Crafts
Best for: ages 6+ with adult setup · Difficulty: easy but messy · Time: 30 minutes plus a day to dry
You need: a pumpkin (real or craft), four acrylic paint colors, pouring medium, plastic cups, and a drop cloth or tray.
- Mix each paint color with pouring medium in its own cup, following the label.
- Pour the colors over the pumpkin, or into one cup in layers and then onto the pumpkin.
- Tilt the pumpkin so the paint swirls together.
- Set it on a cup or tray to dry for 24 hours.
Work on a protected surface because this gets messy. You can find a detailed guide for these Gorgeous Pour Paint Pumpkins on bhg.com.
8. Bat Treat Bags
Best for: ages 6+ · Difficulty: easy · Time: 15 minutes each
You need: black paper bags (or crepe paper over plain ones), black craft paper for wings and ears, white paper for eyes, glue, scissors, and wrapped candy.
- Cut two wing shapes and two small ears from black paper.
- Glue wings to the sides of the bag and ears to the top fold.
- Add paper eyes and fangs.
- Fill with wrapped treats and fold the top shut.
Hand them out to trick-or-treaters or keep them for friends. For more on how to create these Bat Treat Bags, check sayyes.com.
9. Mummy Pillows
Best for: ages 8+ · Difficulty: easy, no sewing · Time: 30–45 minutes
You need: a plain throw pillow, cheesecloth or gauze strips, fabric glue, and two large googly eyes or felt circles.
- Wrap strips of gauze across the pillow in a loose, messy pattern.
- Glue the ends down with fabric glue as you go.
- Leave a gap near the top for the face.
- Glue the eyes in the gap.
Felt circles are a safer choice than googly eyes if little kids will play with the pillow. Learn more about this easy No Sew DIY Mummy Pillow at sugarandcharm.com.
10. Wicked Signposts
Best for: ages 14+ with adult supervision · Difficulty: hard · Time: a weekend afternoon
You need: wood boards and a post, a saw, sandpaper, nails or screws, a drill or hammer, black and brown paint or spray paint, and a string of lights or a lantern for the finishing touch.
- Cut the boards to arrow or plank shapes and sand the edges.
- Paint them, then add spooky place names with a marker or paint pen.
- Attach the boards to the post.
- Stand it in the yard and add a garland of leaves.
This is the most advanced project here. Power tools and saws need an adult in charge, along with eye protection. Instructions for this DIY Halloween Spooky Lantern Sign Post can be found on momendeavors.com.
11. Realistic Witch’s Hearth
Best for: ages 14+ with adult help · Difficulty: medium · Time: 1–2 hours plus drying
You need: a small cauldron, orange or red LED lights, plastic bones, spray foam, white and black spray paint, and gloves.
- Stack the plastic bones and wrap lights through them.
- Spray foam over parts of the pile to look like ash and soot, then let it cure.
- Paint the foam with spray paint to add depth.
- Place the cauldron on top and switch on the lights.
Always use LED lights instead of real flame for a fake fire. Wear gloves and work in a ventilated spot, because spray foam is sticky and spray paint gives off fumes.
Here’s a detailed tutorial on how to make this Ultimate Fake Fire Prop for Halloween on makelifelovely.com.
12. Skeleton Snack Boards
Best for: ages 10+ · Difficulty: easy · Time: 30 minutes
You need: a foam core board, a craft knife, parchment paper or plastic wrap, popcorn, cheese cubes, chocolate, apple slices, and toothpicks or short pretzel sticks.
- Draw a skull shape on the foam board and cut it out (an adult should handle the craft knife for younger kids).
- Cover the board completely with parchment paper or wrap.
- Arrange snacks as teeth, eyes, and a bone border.
- Serve right away, with toothpicks or food-safe picks in the cheese.
Don’t put food directly on bare foam core. Cover it first, and keep picks away from small children. For more instructions on making a Skeleton Snack Board and some fun snack variations to try, check almostmakesperfect.com.
That’s a dozen Halloween crafts for teenagers to try this October. Most also work for younger kids with a bit of help, so pick one and get started.
Comments
0 comments