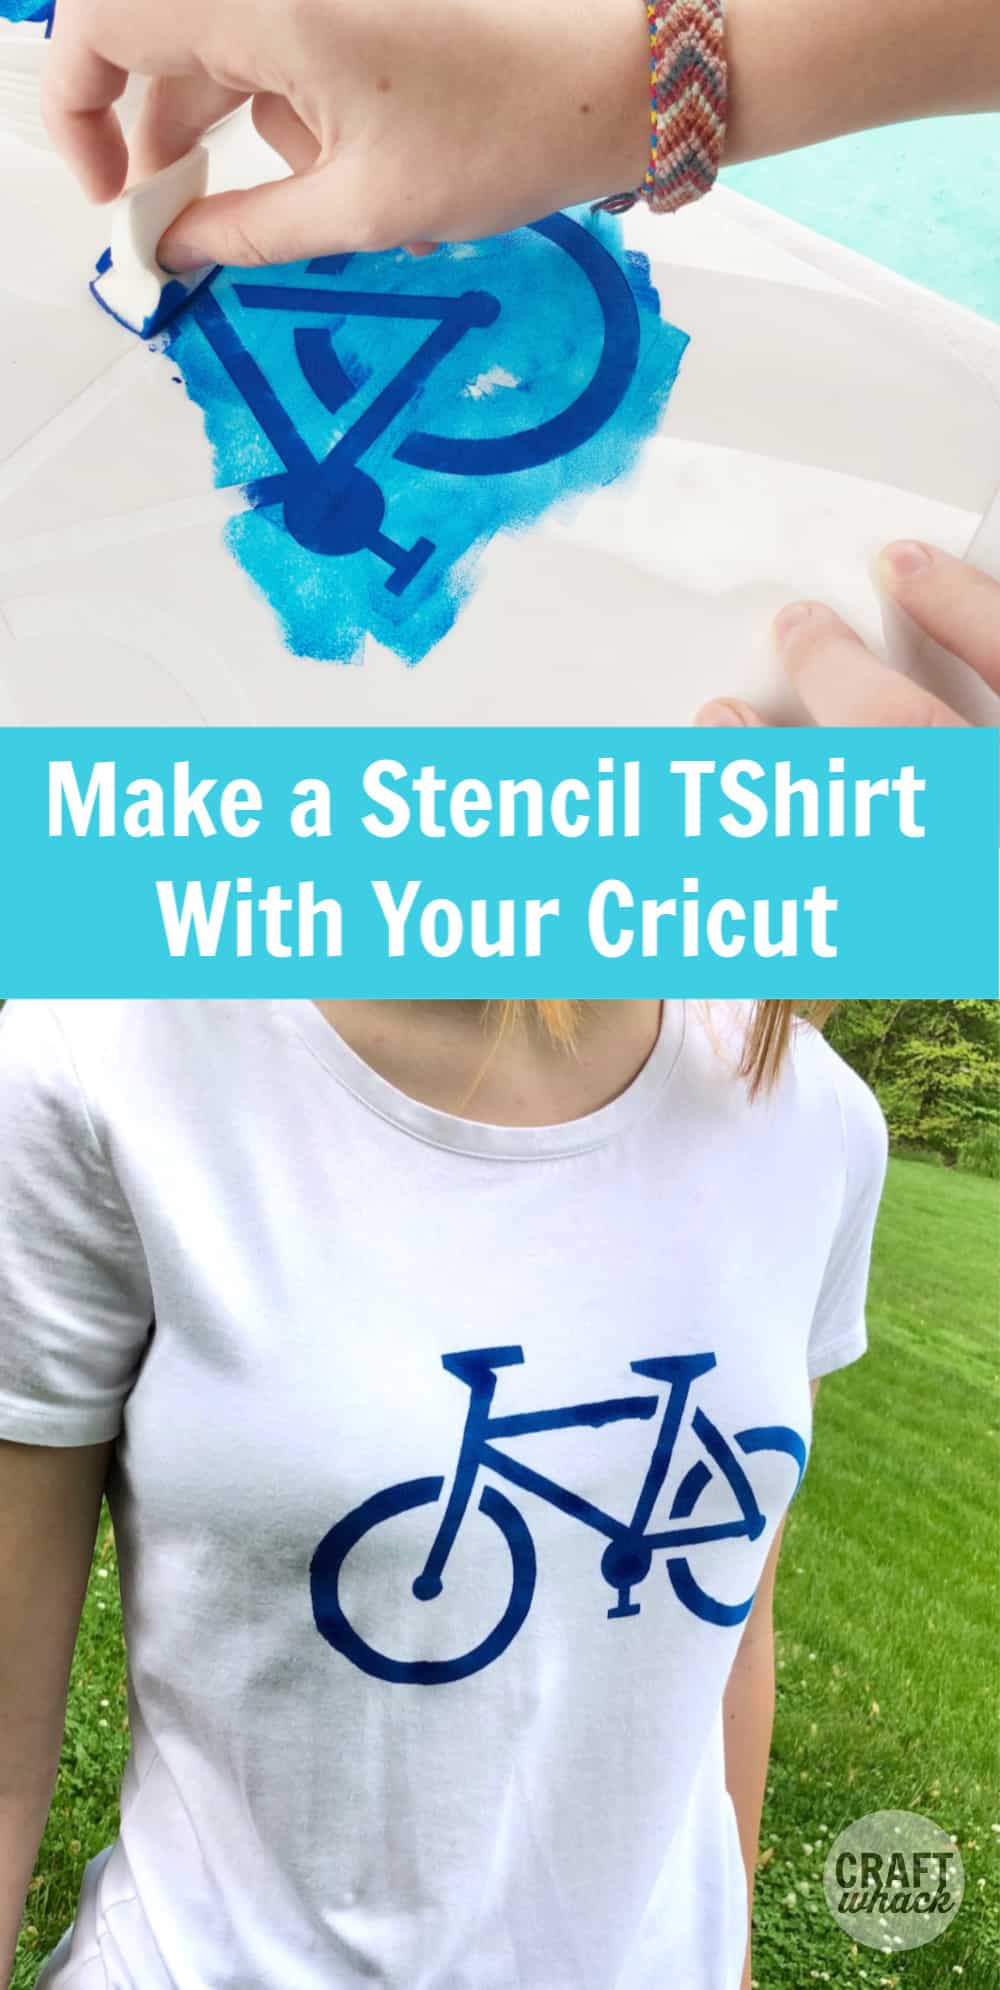
Next up for the Cricut Maker craft experiments is making stencils! I have been wanting to make my own stencils forever, but knew I didn’t have the patience to cut them out by hand.
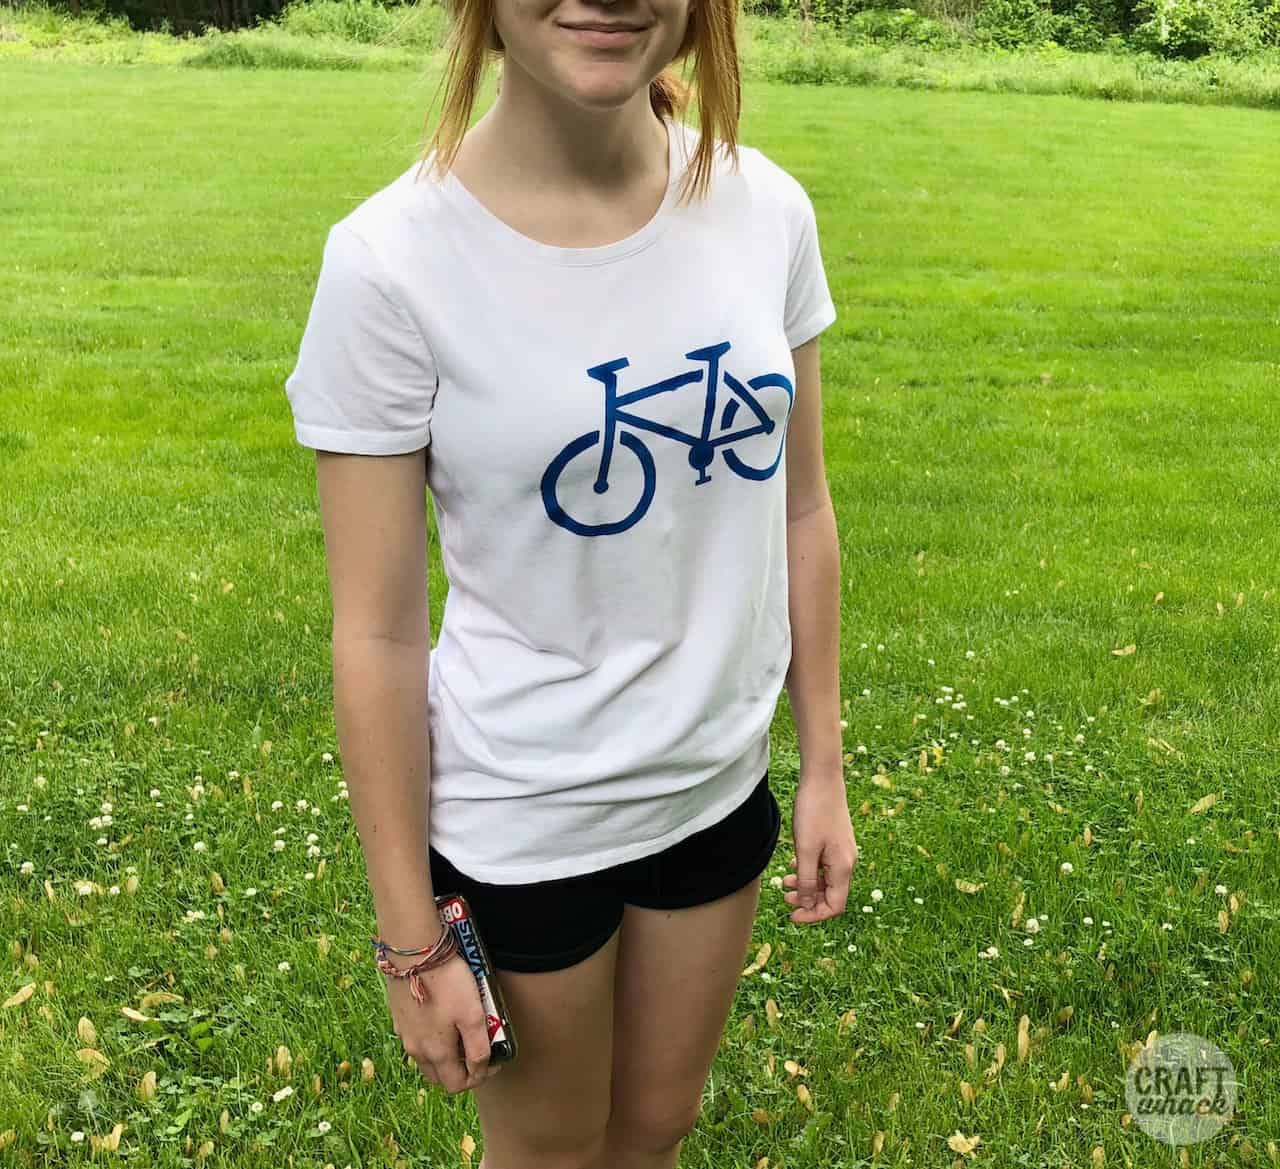
This is another amazing thing the Cricut Maker can do in no time, and all you have to do is tell it what to cut out! Grab some inexpensive t-shirts, and you can make your own stenciled t-shirts to give as gifts or wear yourself. (Or maybe it’s time to open an Etsy store???)
This project took a little bit of testing to find the right image and setting for the mylar, but I’m so pleased with how the stencil turned out, and you can use these over and over.
Supplies For Cricut T-Shirt Stencil
Stencil plasticCricut MakerFabric PaintT-shirt
(wash it before stenciling it)
Makeup sponge or stencil brush
Shipping box (to fit shirt around)
How to Make a Stencil on the Cricut Maker
Making a stencil with the Cricut Maker is simply a matter of choosing your design, getting it to the size you want, and putting the stencil plastic through the machine to cut it.
Then you will have a stencil you can use anywhere, from t-shirts to canvases, walls, bags, pillowcases, you name it!
For this Cricut stencil I opened up Design Space, started a new project, and then clicked on “images”.
I searched for ‘bicycle’ and found this cute, simple image of a bike that I wanted to put onto my t-shirt. I hesitated to use anything too fussy and detailed for my first stencil t-shirt, so this bike image was perfect.
I sized the image to a tiny bit over 11″ x 11″. If you are trying to drag the arrow on the image to resize it, and you run out of space on your computer screen, click the little – at the bottom left of Design Space to resize it to about 75%.
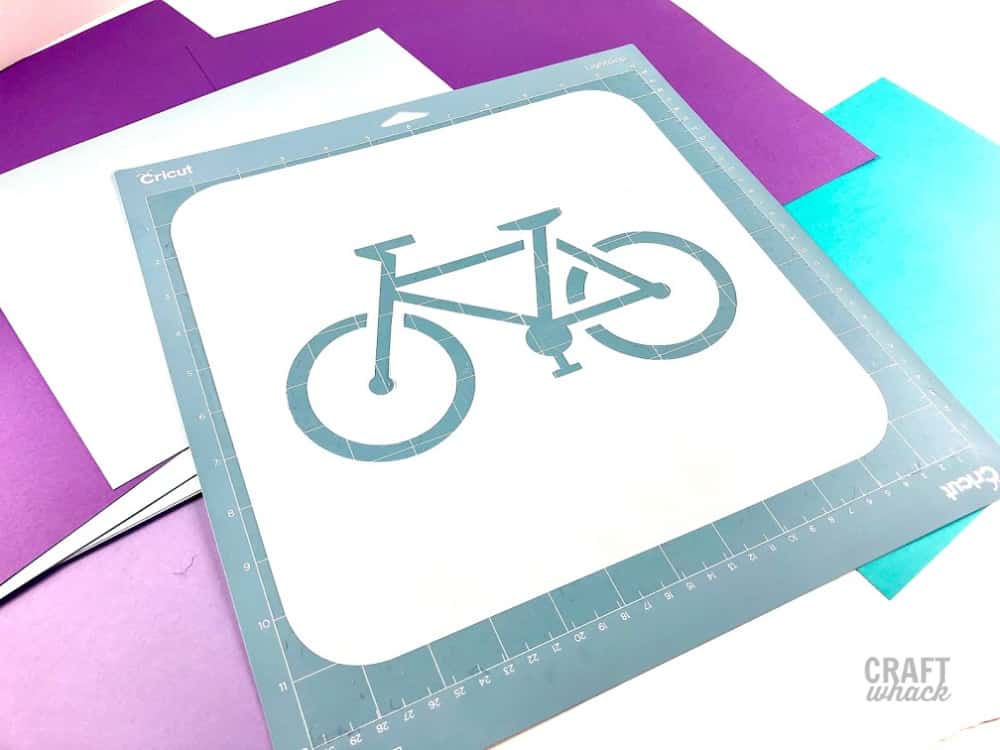
Next I clicked “Make it”, stuck my stencil plastic on the top left of the light sticky mat, and loaded it in the machine.
I recommend the poster board setting for this plastic, and send it through the cutting process 2 times. It still uses the fine blade, but it really needs that second pass through the machine to cut all the way through the plastic.
After the stencil is cut, you can use the weeding tool to pick off the bicycle stencil pieces and the border around the outside of the stencil.
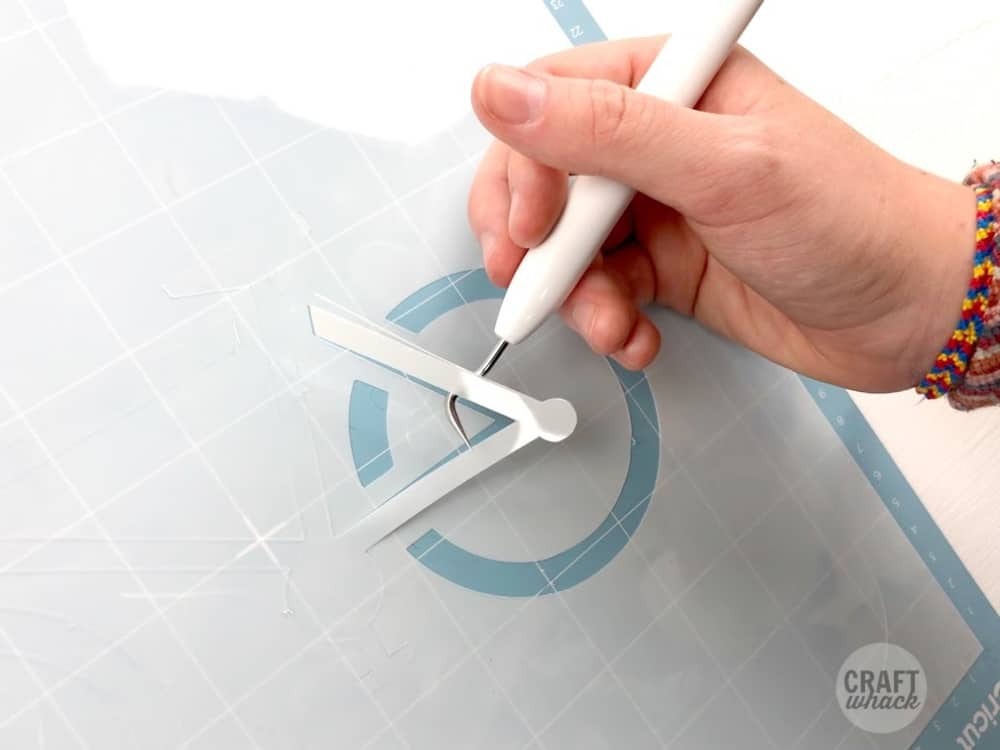
Carefully lift the main stencil piece off the mat. You may want to use your Cricut spatula to help you do this. (I tore my first stencil because I got overeager to pull it up….)
Spray a layer of spray glue on the back side off the stencil plastic and let it dry to tacky.
While that is drying, you can stretch your t-shirt around a shipping box. Don’t stretch it out too much, just enough to keep it flat while you stencil the image on.
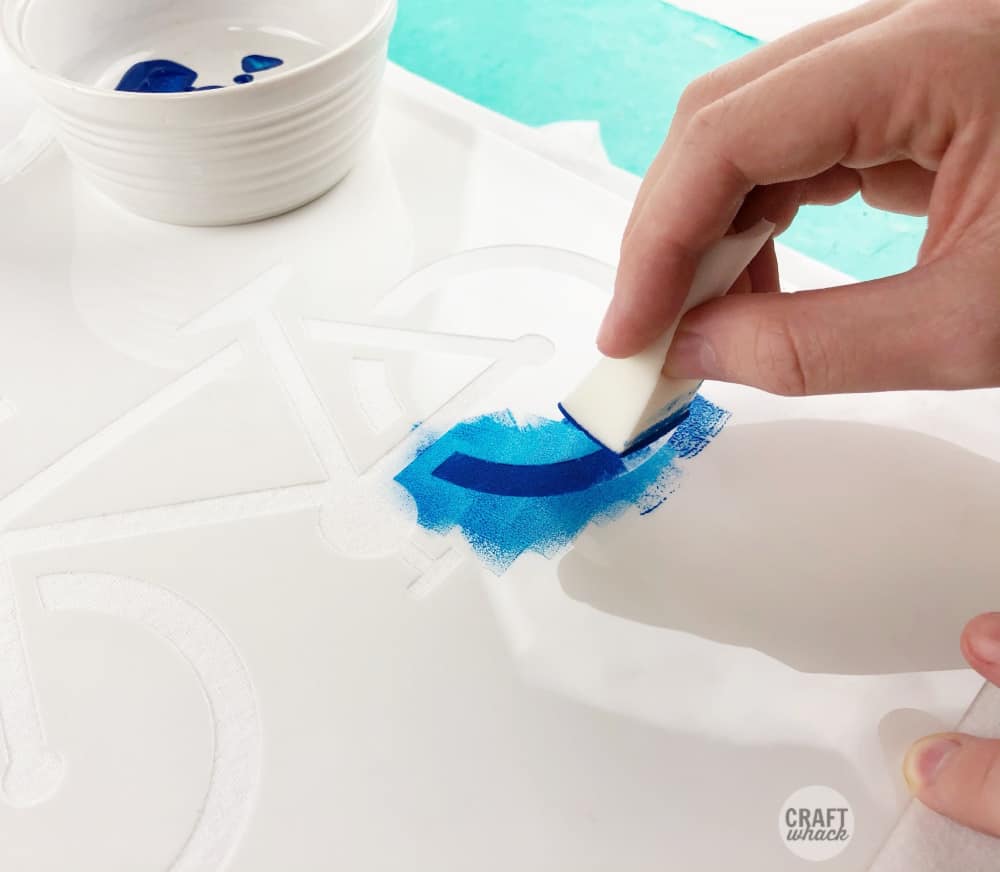
Lay the stencil on the t-shirt right where you want it.
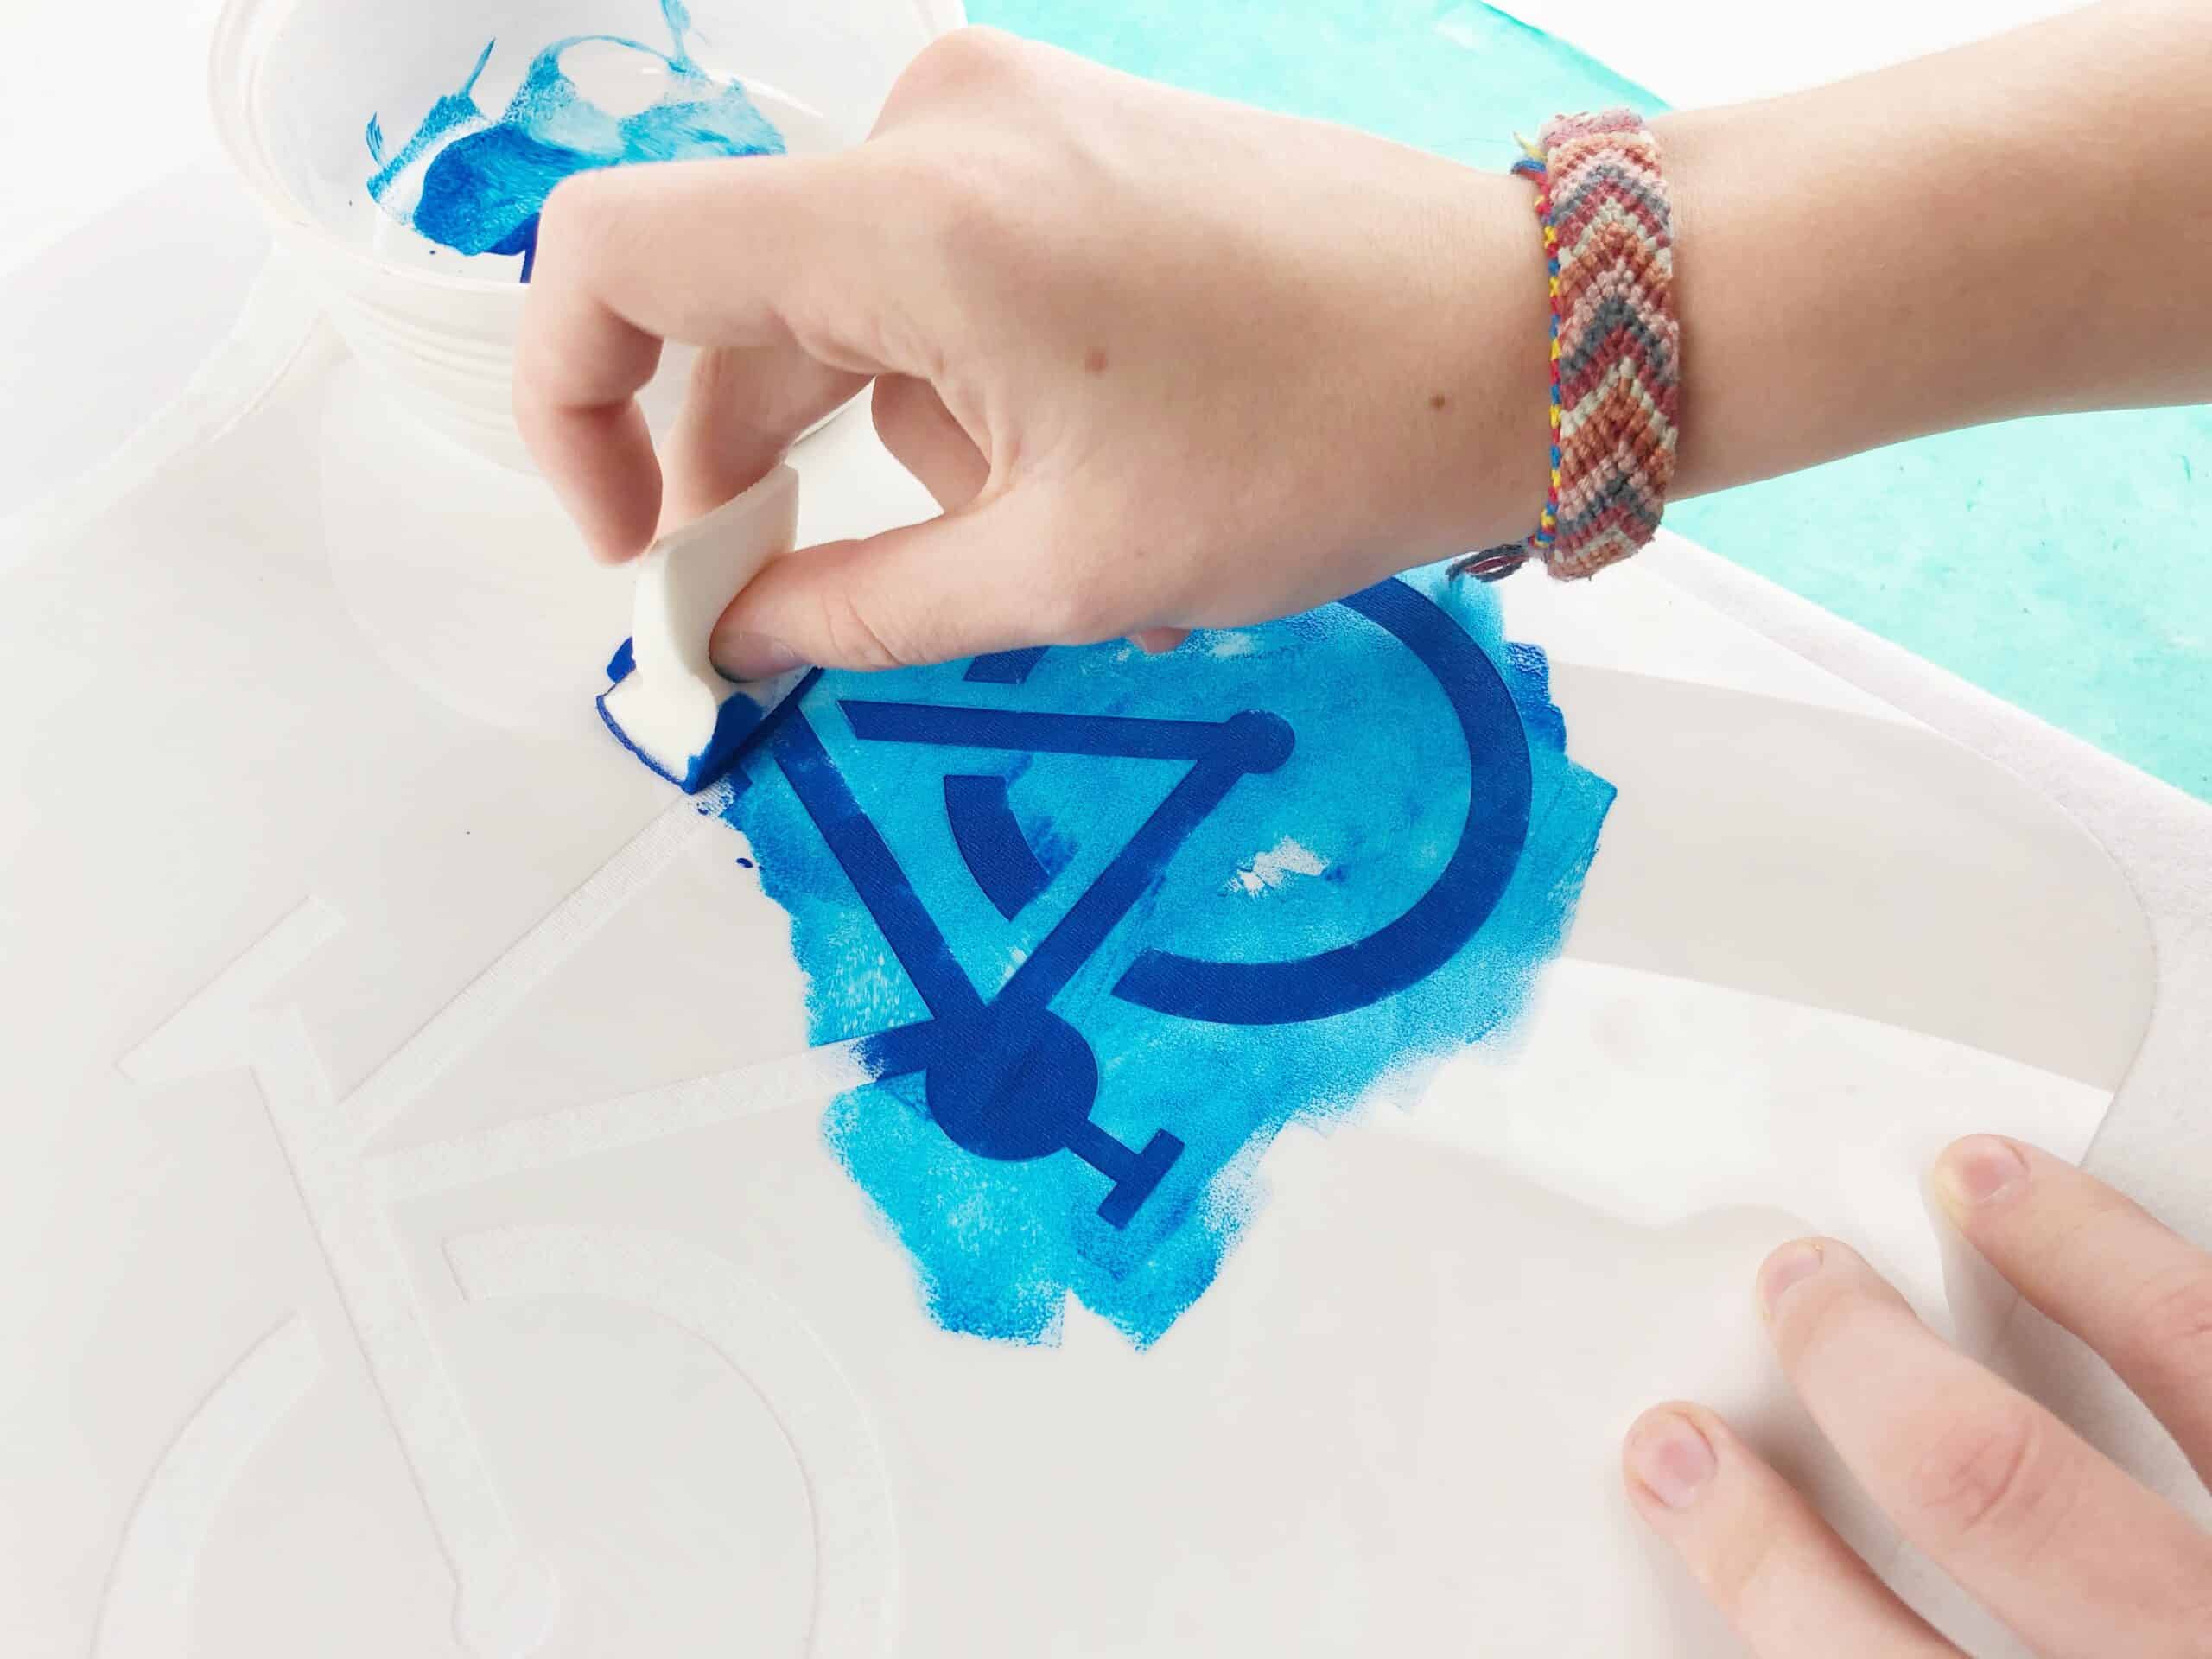
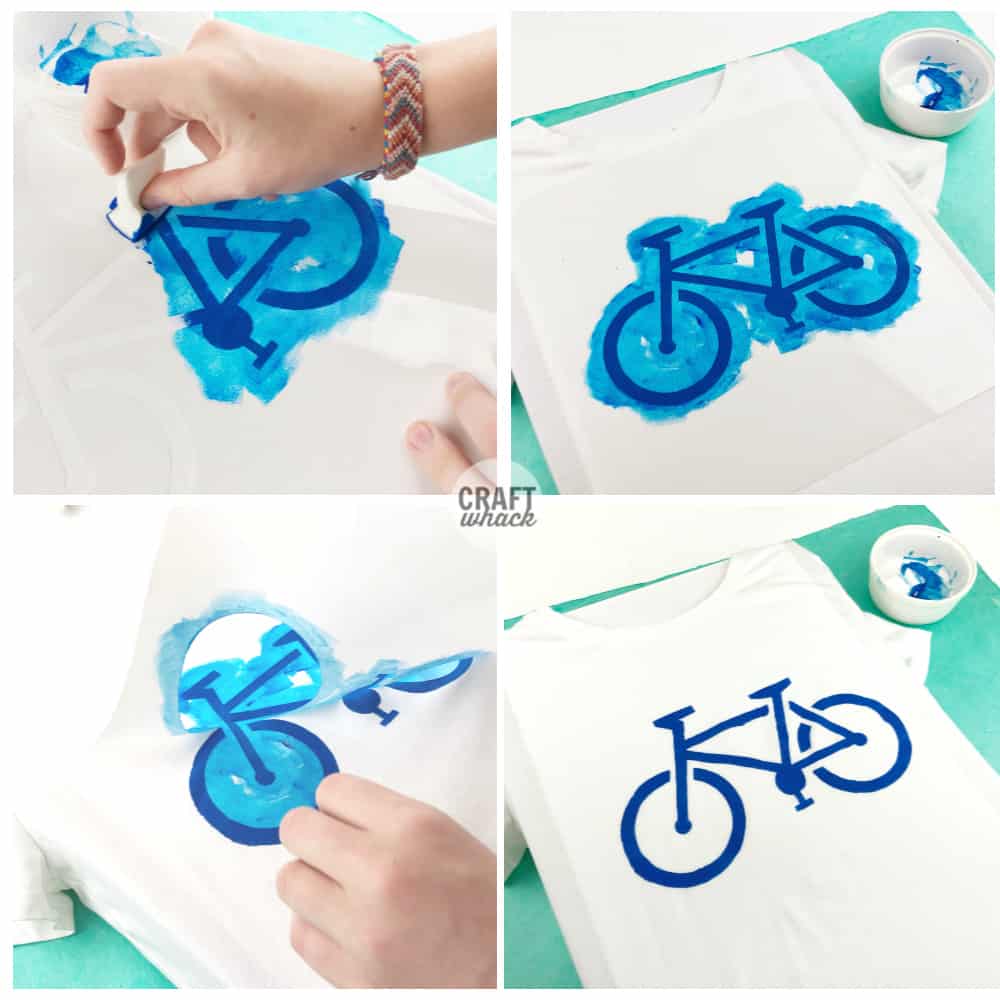
Using a makeup sponge wedge, spouncer, or stenciling brush, apply a thin layer of fabric paint into all the open parts of the stencil. Let the paint dry and add a second coat.
You can gently lift off the stencil before the paint dries, but then let it sit and dry completely.
To heat set your fabric paint, place a thin piece of fabric over the painted design and iron it on medium-high setting.
Want to remember to make this? Pin it for later:
Comments
0 comments