
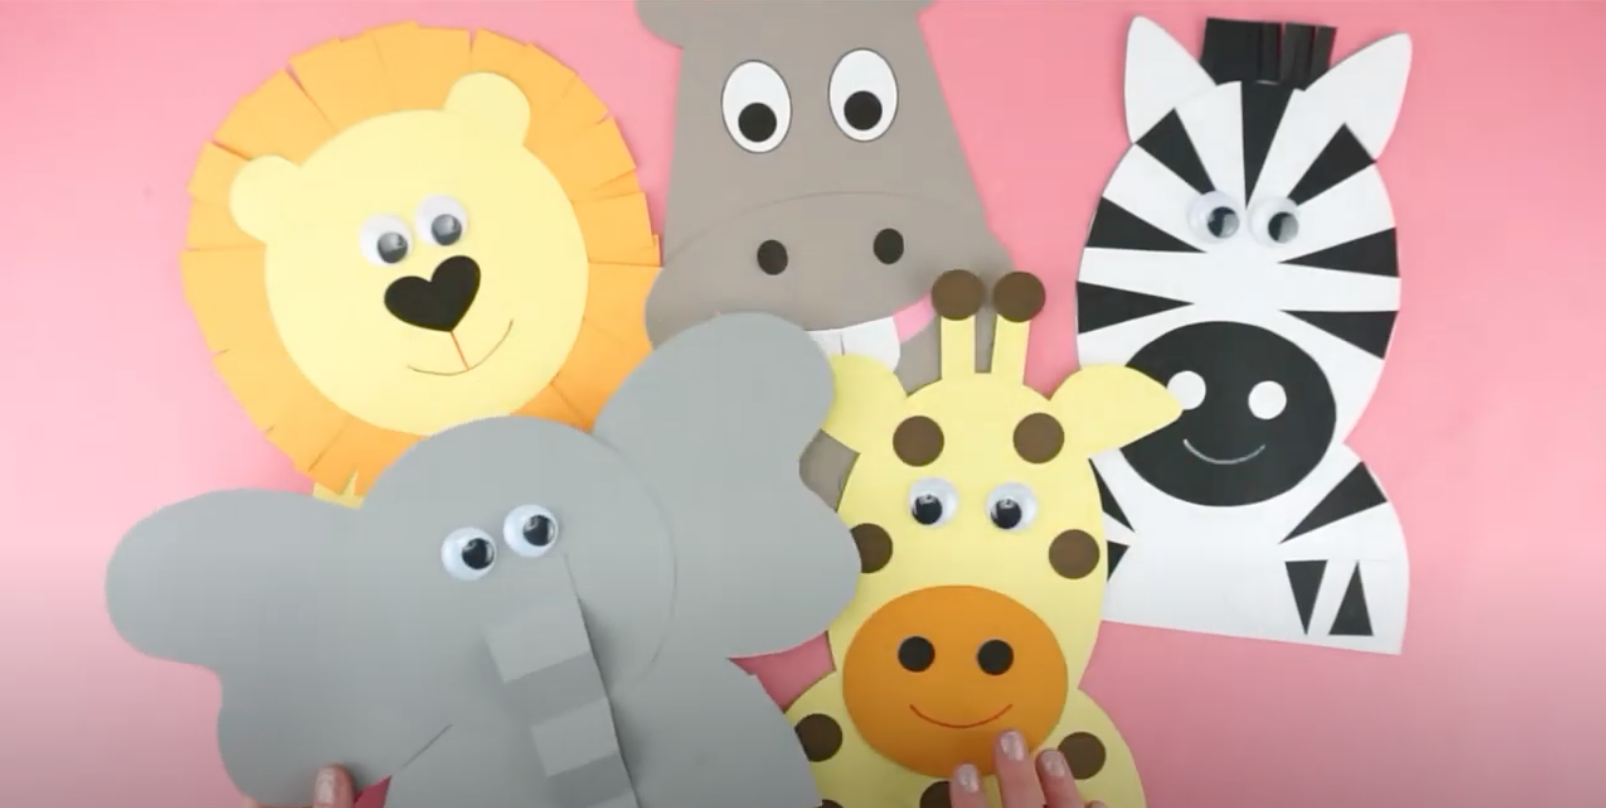
If you’re looking for exciting safari crafts to make, these will set you up perfectly. Whisk your kids away to magical Africa where they can don safari gear and explore the safari parks, ready to see the wildlife in its natural habitat. With their wearable gear ready, they could take to the backyard to spot wildlife or draw typical wildlife they would see on a safari, like elephants, giraffes, and hippos.
Safari Vest
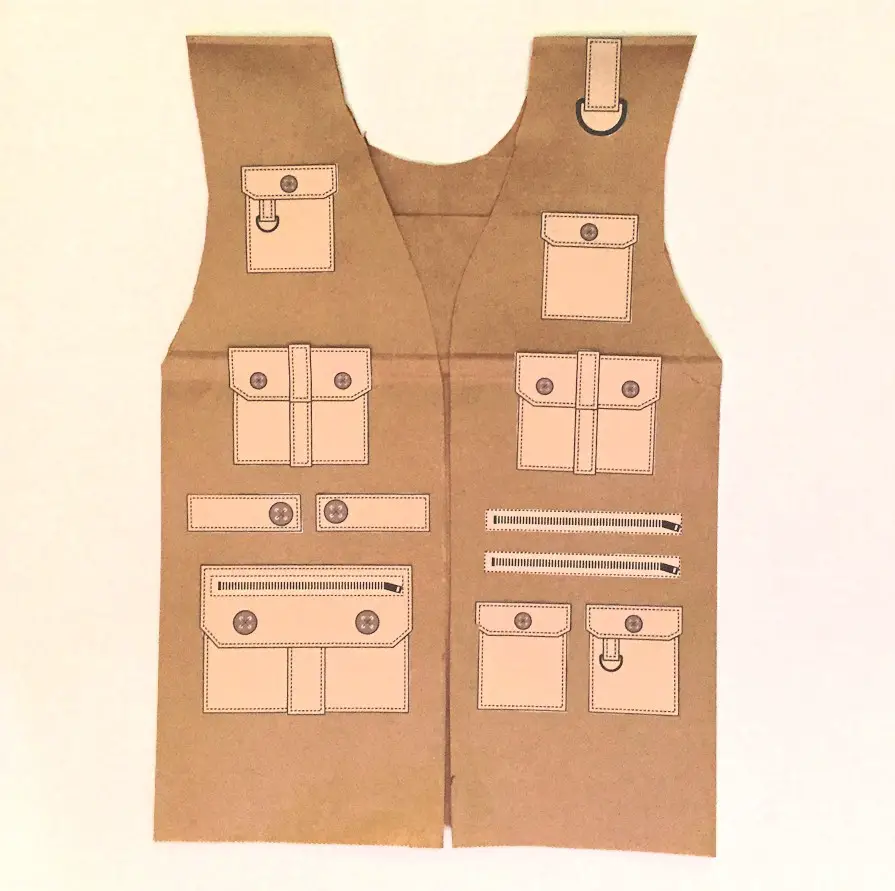 Source:https://www.freekidscrafts.com/paper-bag-safari-vest/A safari vest is essential for any good safari adventure and intrepid traveler. These vests are made using paper bags and will make you look the part. You can adjust the size of the vest by cutting larger armholes.
Supplies you’ll need
- Grocery-sized paper bag
- Stapler
- Scissors
- Glue
- Pale pink paper or card
- Pencil
- Black pen
Step-by-step tutorial
- Lay your paper bag down on a flat surface with the bottom end pointing up.
- Draw your vest outline on the paper bag with a pencil. Start by drawing the armholes which will begin at the top corners of the bag, come in slightly, and then go back to the edge of the bag. It should cover about 5 inches from the top pencil mark to the bottom. You can make these larger or smaller depending on whether kids are wearing jumpers etc.
- Now you will draw the neckline and front of the vest which will open up. Back at the top of the bag, measure 4 inches from the top left across and draw a slightly curved line down so it meets in the middle of the bag, and then continue the line straight down until it hits the bottom.
- Create a mirror image from the right-hand side and when the line meets the top of the line in the middle you can stop. It will share the same line as the other side so there is just one.
- Flip the bag over, keeping the closed end at the top. Now you want to draw your neckline at the back. Folding the top of the bag toward you slightly, draw a line where you see the neck markings on the front side of the vest. Connect your two lines at the back by drawing a large semi-circle.
- Now you can cut out your vest using scissors. Cut the armholes first. Then cut up the line running up the front middle of the vest. Start cutting from the bottom and follow the line up then around one side where it curves to form the neck. Then cut the other side of the neck hole.
- Flip the vest over and cut out the neck hole at the back.
- Take your pink paper/card and draw 7 rectangles in the following sizes (width x height) and (quantity): 5 in x 4 in (1) / 4 in x 4 in (2) / 2 in x 3 in (4). These will be your safari vest pockets. Cut out these rectangles.
- Draw stitching around the edge of the pockets and draw the flap by making little dots or dashes using the black pen. Draw 1 button on the smallest pockets (above the “flap”) and 2 on the larger ones.
- Draw 2 thin rectangles on your pink card 5 in x ½ in. These will be zippers that you can place on the jacket. Cut out your rectangles and then using your black pen, make stitching all around the edges of the card. Then make lots of vertical lines moving across the rectangle, like a zipper pattern. Then draw the zipper pull at one end.
- Now you can assemble your vest. Grab your glue and arrange the pockets on the front of the vest. Place the largest pocket at the bottom right. Glue two of the smallest next to each other on the opposite side. Fix the other two small pockets to the top of the vest, and add your remaining pockets and zippers where you like in between.
Your safari vest is now ready for action. If you have a small child (and a very big bag!), you can leave the middle line on the front of the vest just with a pen outline and don’t cut it (essentially making a sack or t-shirt). You would just cut the armholes and neck hole.
Safari Hat
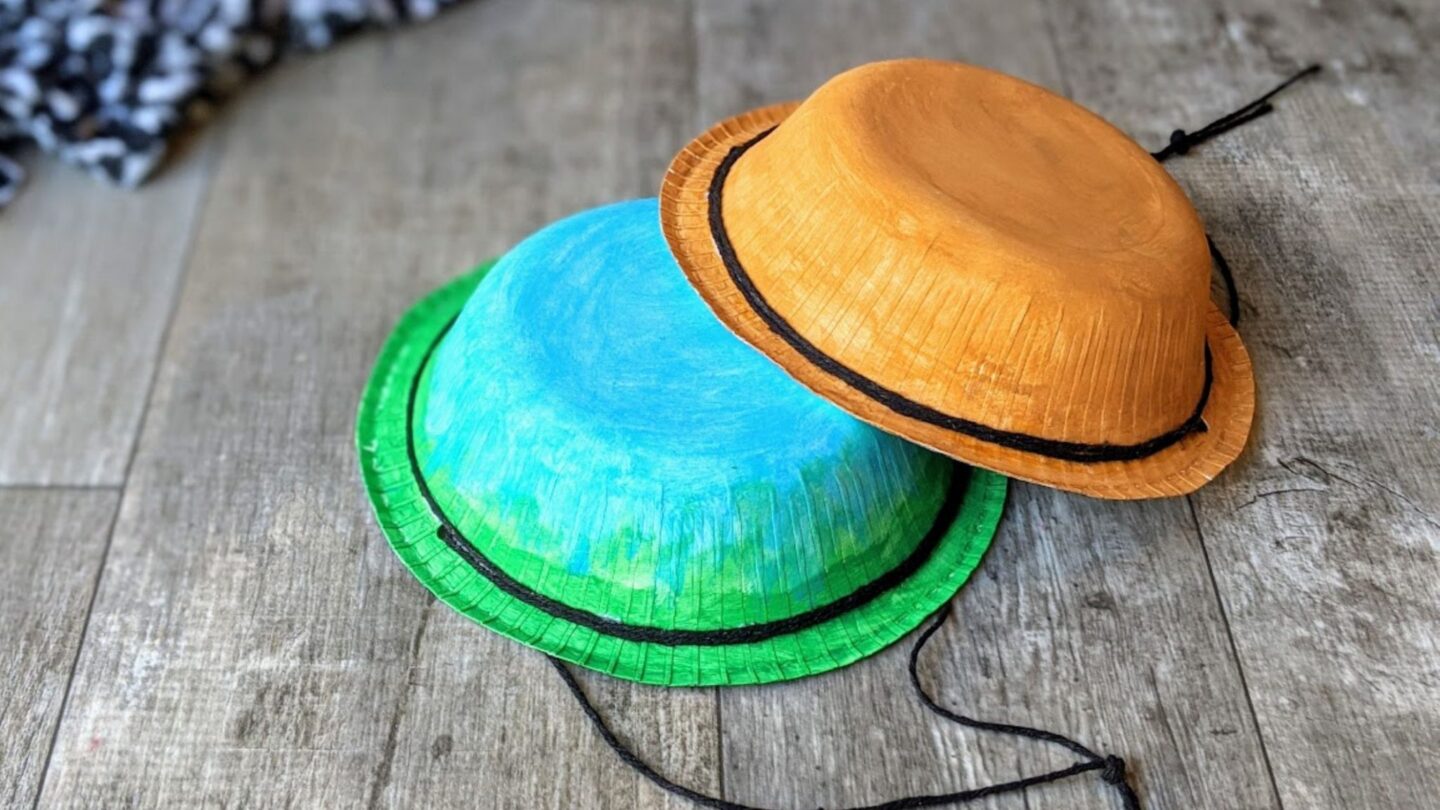 Source: https://goplaceswithkids.com/how-to-make-your-own-safari-hat/No safari would be complete without an authentic safari hat to keep the sun off and help camouflage. These hats are simple to make and adorable.
Supplies you’ll need
- Paper bowl
- Paint (beige or green)
- Paintbrush
- Hole punch
- Newspaper or an old sheet
- Black ribbon or thick string
- Glue
Step-by-step tutorial
- Choose your workspace and lay down some old newspaper or an old sheet to cover the worktop or floor.
- Grab your paper bowl and fold the edges so they face downward instead of up.
- Paint the outside of the bowl in a khaki-themed color (green or beige tones). Let it dry.
- When the paint has dried, punch one hole on opposite sides of the bowl.
- Take your ribbon and measure it so it can wrap around the hatband/trim area of the hat 1.5 times and then calculate enough extra to go under your child’s chin. Cut the ribbon.
- Thread one piece of the ribbon through the hole from the top downward. Pull enough down so it can easily fit under your child’s chin and tie to the other end when you pull that through.
- Get your glue and squeeze some out around the hatband/trim area. Starting on the side of the hat where you thread the ribbon through, take the ribbon and wrap it around the full circumference.
- You are going to continue to wrap the ribbon around halfway again. Before you do so, add more glue in the same direction you will be laying the ribbon. Take the ribbon and place it on the glue until you meet the other hole that you made. Gently press down on the ribbon that is glued to the top. Let the glue dry.
- When the glue is dry and the ribbon is stuck to the hat, thread the ribbon through the hole on the other side. You will now have two pieces of ribbon hanging down under the inside rim of the hat. Your hat is ready to use.
Place it on your child’s head and tie the two ends of the ribbon together to fasten it so it doesn’t fall off. Alternatively, you can just tie it loosely or leave it hanging as decoration if they don’t want it tight.
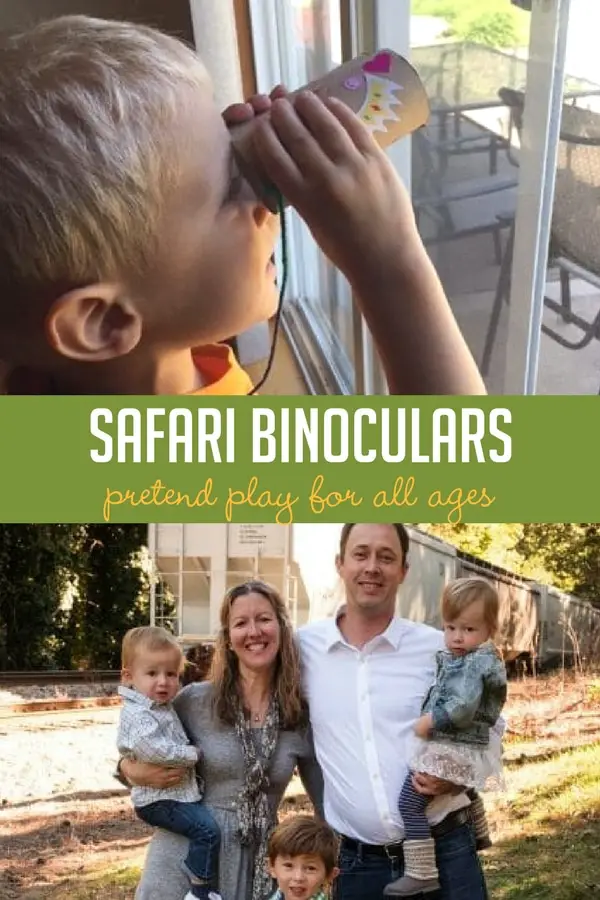
Safari Binoculars
 Source: https://handsonaswegrow.com/binoculars-craft/
Supplies you’ll need
- 2 x empty bathroom tissue rolls
- Paints in black, dark green, light green, and yellow
- Paintbrushes
- Newspaper or an old sheet
- Scissors or hole punch
- Thin black ribbon or thick round string
- Glue
Step-by-step tutorial
- Choose your workspace and lay down some old newspaper or an old sheet to cover the worktop or floor.
- Paint your tissue rolls in camouflage print, leaving ½ inch blank at both ends which you will paint black. With dark green, light green, and yellow paints, make thick swirls around each other until the rolls are covered (except for the ends). Paint ½ inch of black around each end and leave them to dry.
- Once dry, glue the rolls together down the middle.
- While the glue dries, prepare your ribbon or string. Cut a 16-inch piece off.
- Make a hole – for the ribbon – on each of the tissue rolls which will act as the neck strap. On the outside rim at the back (choose either end as long as you use the same for both holes) make a small hole with a hole punch or scissors.
- Thread your ribbon through and tie it off on itself. Your binoculars are ready for use.
If you want to make this craft faster, you can paint the rolls all in black and skip the colors.
Comments
0 comments