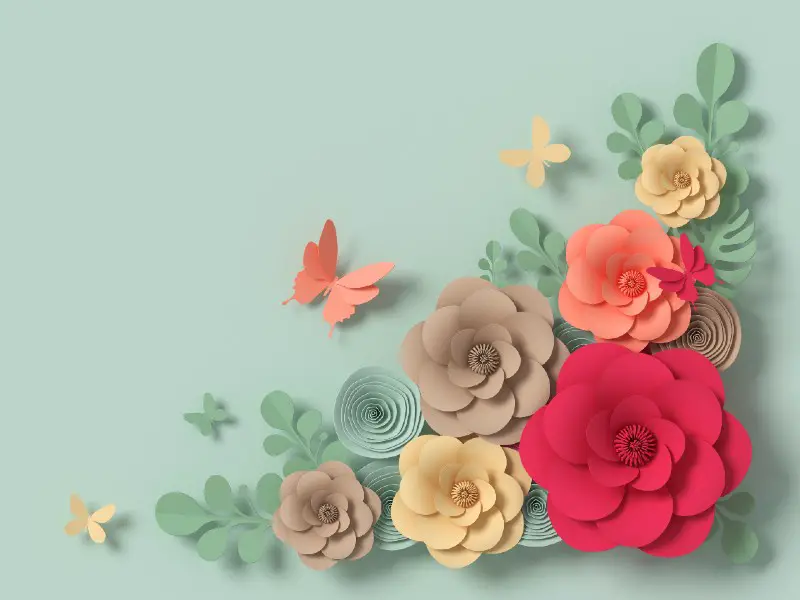
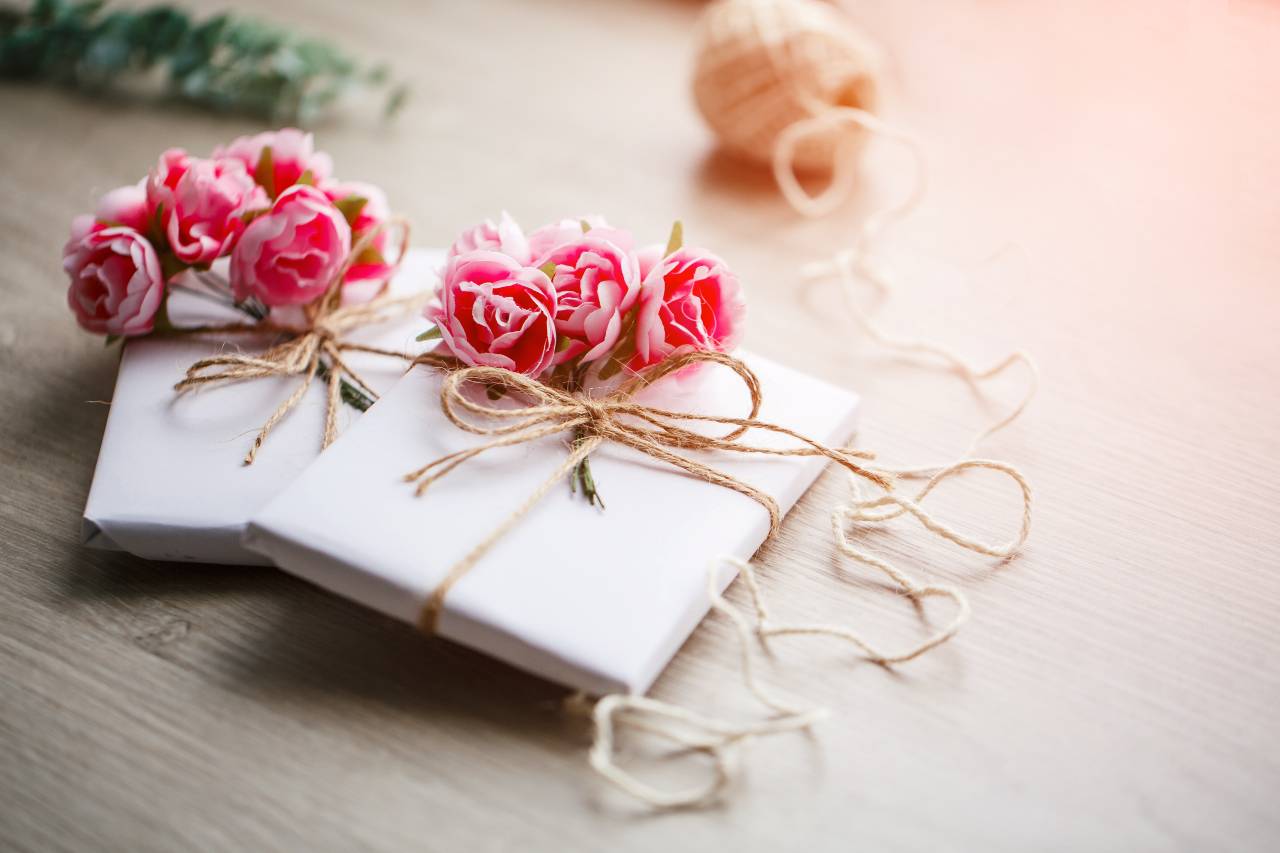
You can make some truly stunning flower crafts using just paper, and if you’re crafting with a youngster, there are a lot of other fun materials you can make to create lasting flowers. Many of these would serve as lovely gifts to a special someone, so they’re perfect for holidays and birthdays.With that in mind, let’s explore some of the top rose crafts to do with your child.
Rolled Paper Rose
 Source: https://www.diythought.com/fold-beautiful-paper-roses/To make a paper rose, you don’t need anything except a piece of red paper, some scissors, and a pencil. It’s very easy for even young children to get the hang of these, provided you are present to do the cutting for them, so let’s look at how to create a rolled paper rose!
Materials
You are going to need:
- Red paper
- Pencil
- Glue
- Scissors
- Green pipe cleaner (optional)
Step 1: Draw A Spiral
You’re going to start by drawing a spiral onto a piece of red paper. You may want to choose reasonably thick paper to keep the rose sturdy, but any type will do really. Make sure you don’t draw the spiral too thin if you’re crafting with a small child; they might tear it.
Step 2: Cut The Spiral Out
Next, grab the scissors and cut around the spiral, using the pencil line as your guide. Keep cutting all the way to the center. It doesn’t need to be very neat, but trim off any jagged edges as these will spoil how the rose looks.
Step 3: Roll The Spiral Over
Starting at the outer edge of your spiral, help your child start to roll the paper over itself. Keep rolling, all the way inward, until you reach the center of the spiral. This will create a beautiful, complicated rose with many petals and layers fanning outward.When you have finished, add some glue to the underside to hold the roll in place. You can stick a little more red paper over this if you want to hide the glue.
Step 4: Add The Pipe Cleaner (Optional)
If you want your child’s rose to have a stem, you can add a pipe cleaner to the base and leave the glue to dry. When it has, your rose will be on a beautiful stalk and perfect for displaying in a vase.
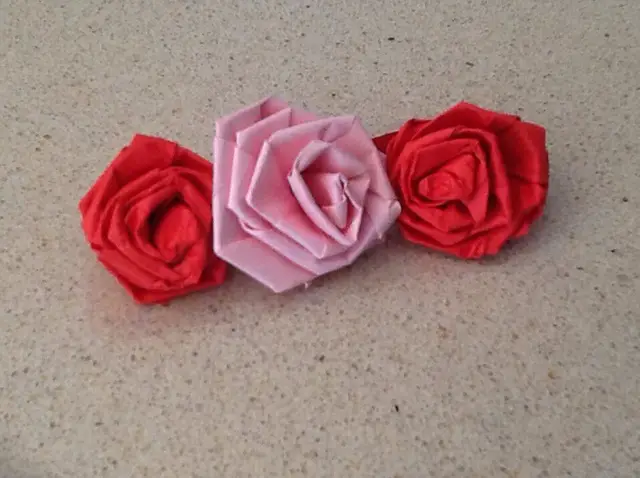
Rose Heart
 Source: https://www.google.co.uk/imgres?imgurl=https%3A%2F%2Fwww.rebootedmom.com%2Fwp-content%2Fuploads%2F2019%2F02%2FPaper-Hearts-Rose-Craft.jpg&imgrefurl=https%3A%2F%2Fwww.rebootedmom.com%2Fpaper-heart-rose-craft%2F&tbnid=IT7WBoyYQbk7GM&vet=12ahUKEwjEzpWezpnwAhVG4hoKHetRC2AQMygregUIARDAAg..i&docid=Yq1IWGfdB9JL-M&w=2346&h=3128&q=rose%20craft&hl=en&ved=2ahUKEwjEzpWezpnwAhVG4hoKHetRC2AQMygregUIARDAAgIf you want to make a stunning card for a special someone, you and your child can create a rose heart. For this craft, you’re going to be using the above instructions to make many roses of different sizes and colors.
Materials
For a rose heart, you’ll need:
- Dark red, light red, pink, white, purple, and yellow paper (or a mixture of whichever colors you and your child like best)
- 1 sheet of stiff white card
- Scissors
- Glue
- Pencil
- Green pipe cleaner (optional)
- 1 sparkly red pen (optional)
Step 1: Make Some Roses
Use the steps for the previous craft to make a whole selection of roses in different colors and sizes. You can add tighter spirals to make more complicated roses, or wider ones to add big petals.Choose different colors to make your heart look interesting, or just stick to one color if you would rather make things simple. Don’t stick your pipe cleaner to the back of any of your roses.You can also make rosebuds out of some crumpled tissue paper if you’d like to add these to your craft. Simply fold some tissue around and around itself until you are satisfied with the shape, making sure you crumple it up to reflect the look of newly unfolding flower petals.
Step 2: Stick Them In A Heart Shape
Once your roses are finished, you’re going to help your child stick them in a heart on the white card. You may want to draw a pencil heart shape to make this easier, or you can just do it by eye.Arrange the roses before you glue them. This is really important so you don’t accidentally mess up the design or end up with big gaps. Once you are happy with the layout you’ve got, start gluing the roses down one by one, leaving the others in place so you don’t forget the pattern or make a mistake.Get your child to help you with this and show them how to stick the roses firmly to the paper so they won’t fall off.
Step 3: Write On The Card (Optional)
If your art is for someone special, consider adding a message in a sparkly rose-red pen to personalize the card while the roses dry.
Step 4: Add A Stem (Optional)
Your heart isn’t exactly a flower, but it’s made up of flowers, so it’s perfectly reasonable to add a stem to it. Take your pipe cleaner (you may want several if you have made a large heart; you can twist them together to make a thicker, longer stem) and glue it at the bottom point of the heart.Finally, give it to the intended recipient and wow them with some thoughtful, homemade creativity.
Frilled Tissue Paper Rose
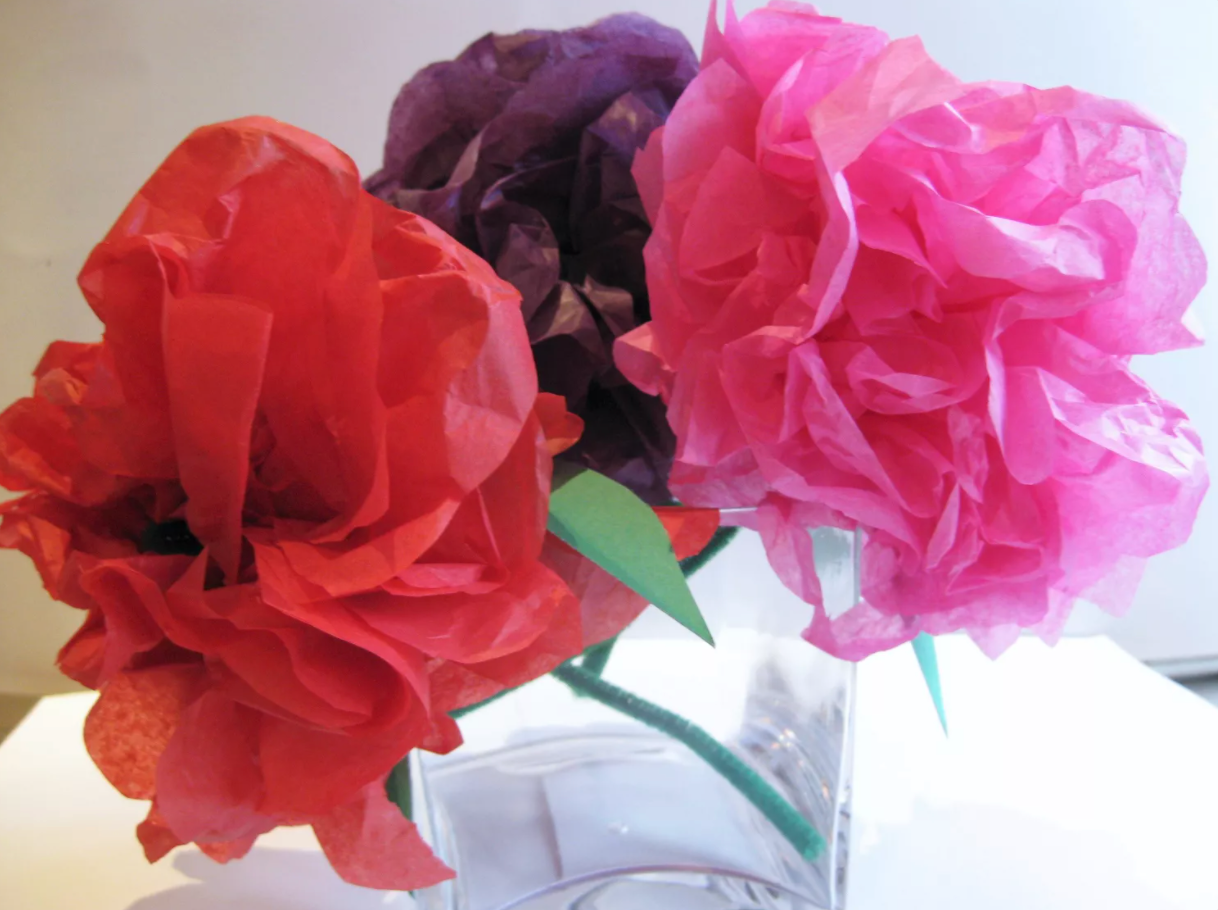 Source: https://www.verywellfamily.com/tissue-paper-flowers-craft-620428If you want to create a rose in a different way, tissue paper might be a good option. Choose a nice color, such as pink or red. This is a craft many older children will enjoy, and it creates stunning results.
Materials
You will need:
- Tissue paper in the right color for your rose (3 sheets will make a nice, full flower)
- 2 green pipe cleaners
- Scissors
- Glue
- Ruler
- Green paper or ready-cut leaves (optional)
- 1 pom pom to match your chosen tissue paper (optional)
- Green tissue paper (optional)
Step 1: Arrange The Tissue Paper
Help your child stack the three sheets of tissue paper neatly on top of each other. Cut them into rectangles, approximately double in length what they are in width (this does not need to be exact).Once you’ve got them nicely lined up, help your child to start folding the short edge. First, you are going to do a 1″ fold. You are then going to be doing an accordion fold for the whole length of the tissue paper.Fold your 1″ over once more, and then fold it back the other way. Keep folding it back and forth like an accordion, until you reach the end of the tissue paper. Try to keep it all lined up.
Step 2: Round Off The Edges
Use the scissors to round the ends of your rectangle, making sure the tissue paper doesn’t slip too much as you do so.
Step 3: Add The Stem
Next, wrap the pipe cleaner around the center of your tissue paper rectangle, putting a twist in it to hold it in place. It shouldn’t pull the tissue inwards much but should be a good fit.
Step 4: Open The Flower
Once the tissue is secure, you and your child can start fanning out the flower. The tissue needs to be handled gently so that it doesn’t tear, but this is a fun part of the craft; you will see it start to take shape and open into beautiful frilly petals.Fluff up the flower, separating out the individual layers of tissue paper to create a full bloom. If the odd little rip does occur, don’t worry ““ it is unlikely to show much, and a dab of white glue will reseal the tissue if there is an obvious tear.
Step 5: Add A Bud And Leaves (Optional)
If you want to make your rose look more realistic, you can help your child add a bud that is about to open and some leaves.The leaves can be cut from the green paper (or bought if you prefer), and simply glued to the stem. Rose leaves are quite rounded, with a sharp tip, and often cluster in groups of three, but your child can arrange them however they like.To add the bud, you are going to cut a short length of pipe cleaner, wrap it around the stem, and then angle it to the side. Next, get your child to take the pom-pom and glue it into a little nest of green tissue. They can overlap the tissue as far as they like to make the bud look more tightly closed.If you don’t have a pom-pom, you can create a similar effect just by bunching up some more of the tissue you used to make the flower.Glue this bud to the end of your pipe cleaner stem, and your flower will have a second bloom just waiting to open.
Conclusion
Rose crafts are wonderfully fun things to create with your child, and can be a great alternative to buying cut flowers ““ they will last longer, and can be just as beautiful.Many people like to add glitter or other decorations to their flower crafts; that’s a lovely way to make them extra-special, but they don’t necessarily need it. Let your child think about the deep hues of the tissue or paper before they decide they need to include glitter in the craft. After all, natural roses are beautiful without!
Comments
0 comments