Many of you have already jumped into the world of crafting with Cricut, but I am a total Cricut beginner. At first I wasn’t sure which machine to buy, or what I even wanted to make, but I knew I wanted to buy a Cricut.
Given the number of projects I like to make, and the fact that I love to experiment with different materials, I settled on the Cricut Maker.
The Cricut Maker is AMAZING!
Not only can you cut all the normal paper and vinyl projects you would expect from a craft cutting machine, you can also cut:
- fabric
- leather
- chipboard
- foil
- felt
- wood
- aluminum
- cardboard
- plus so much more
If you want to be instantly inspired by the materials and types of projects you can make with the Cricut Maker, go look here.
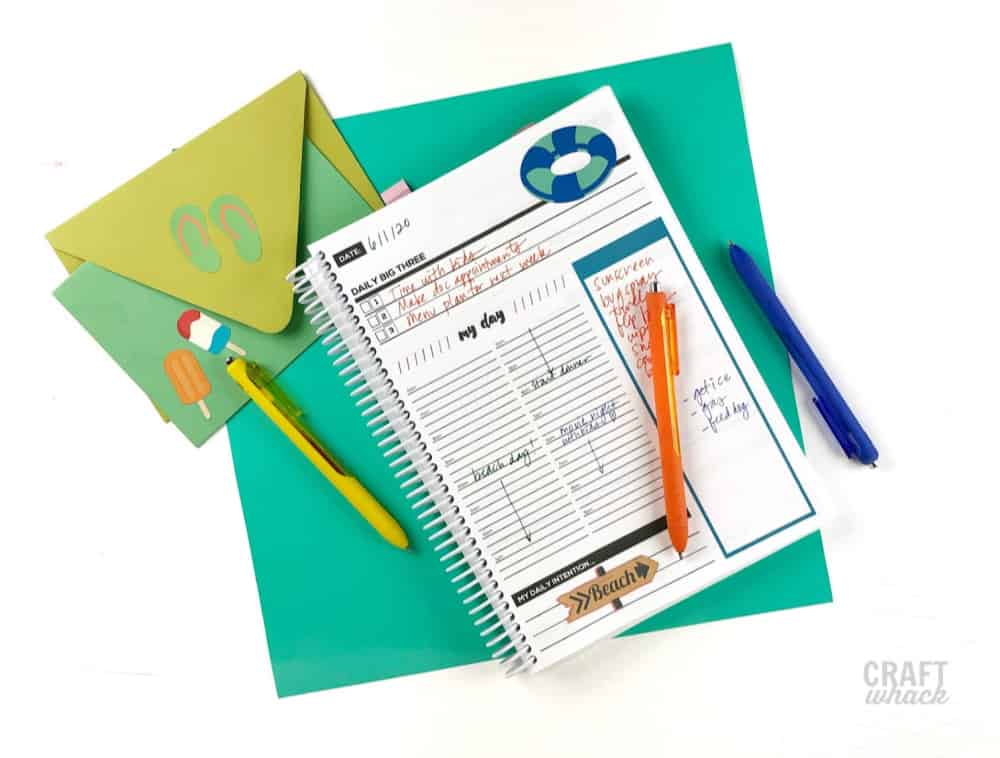
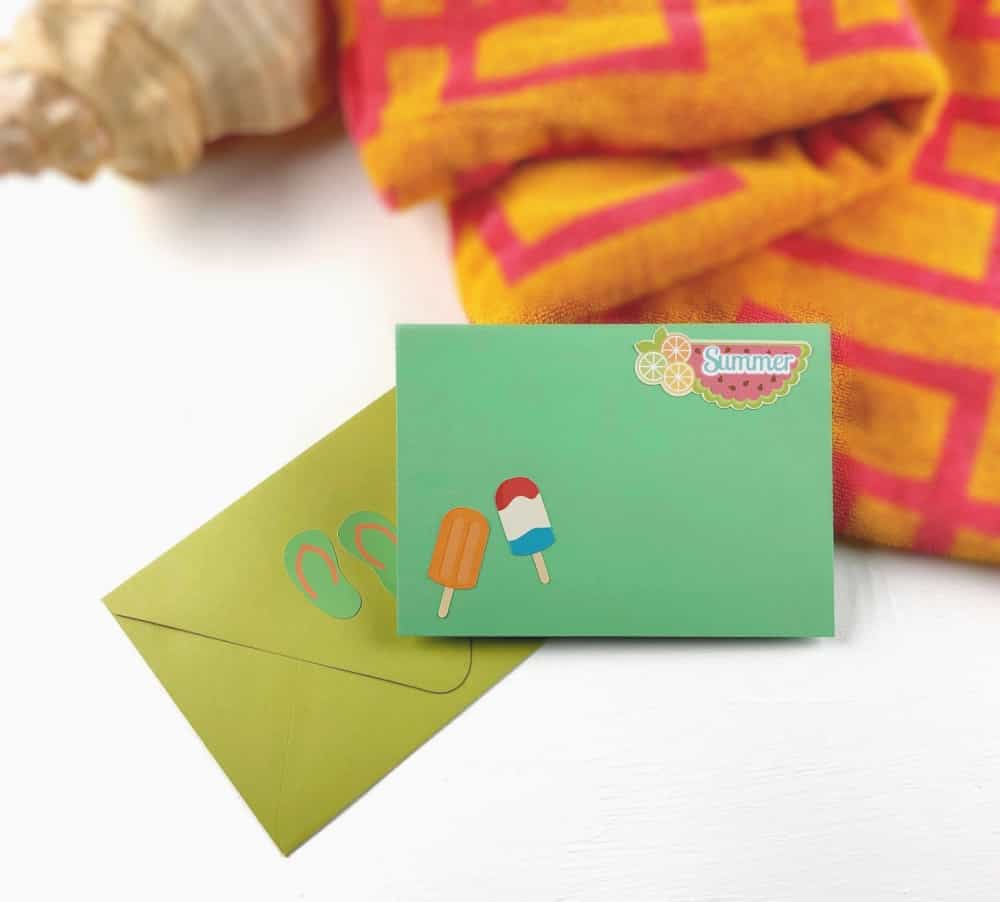
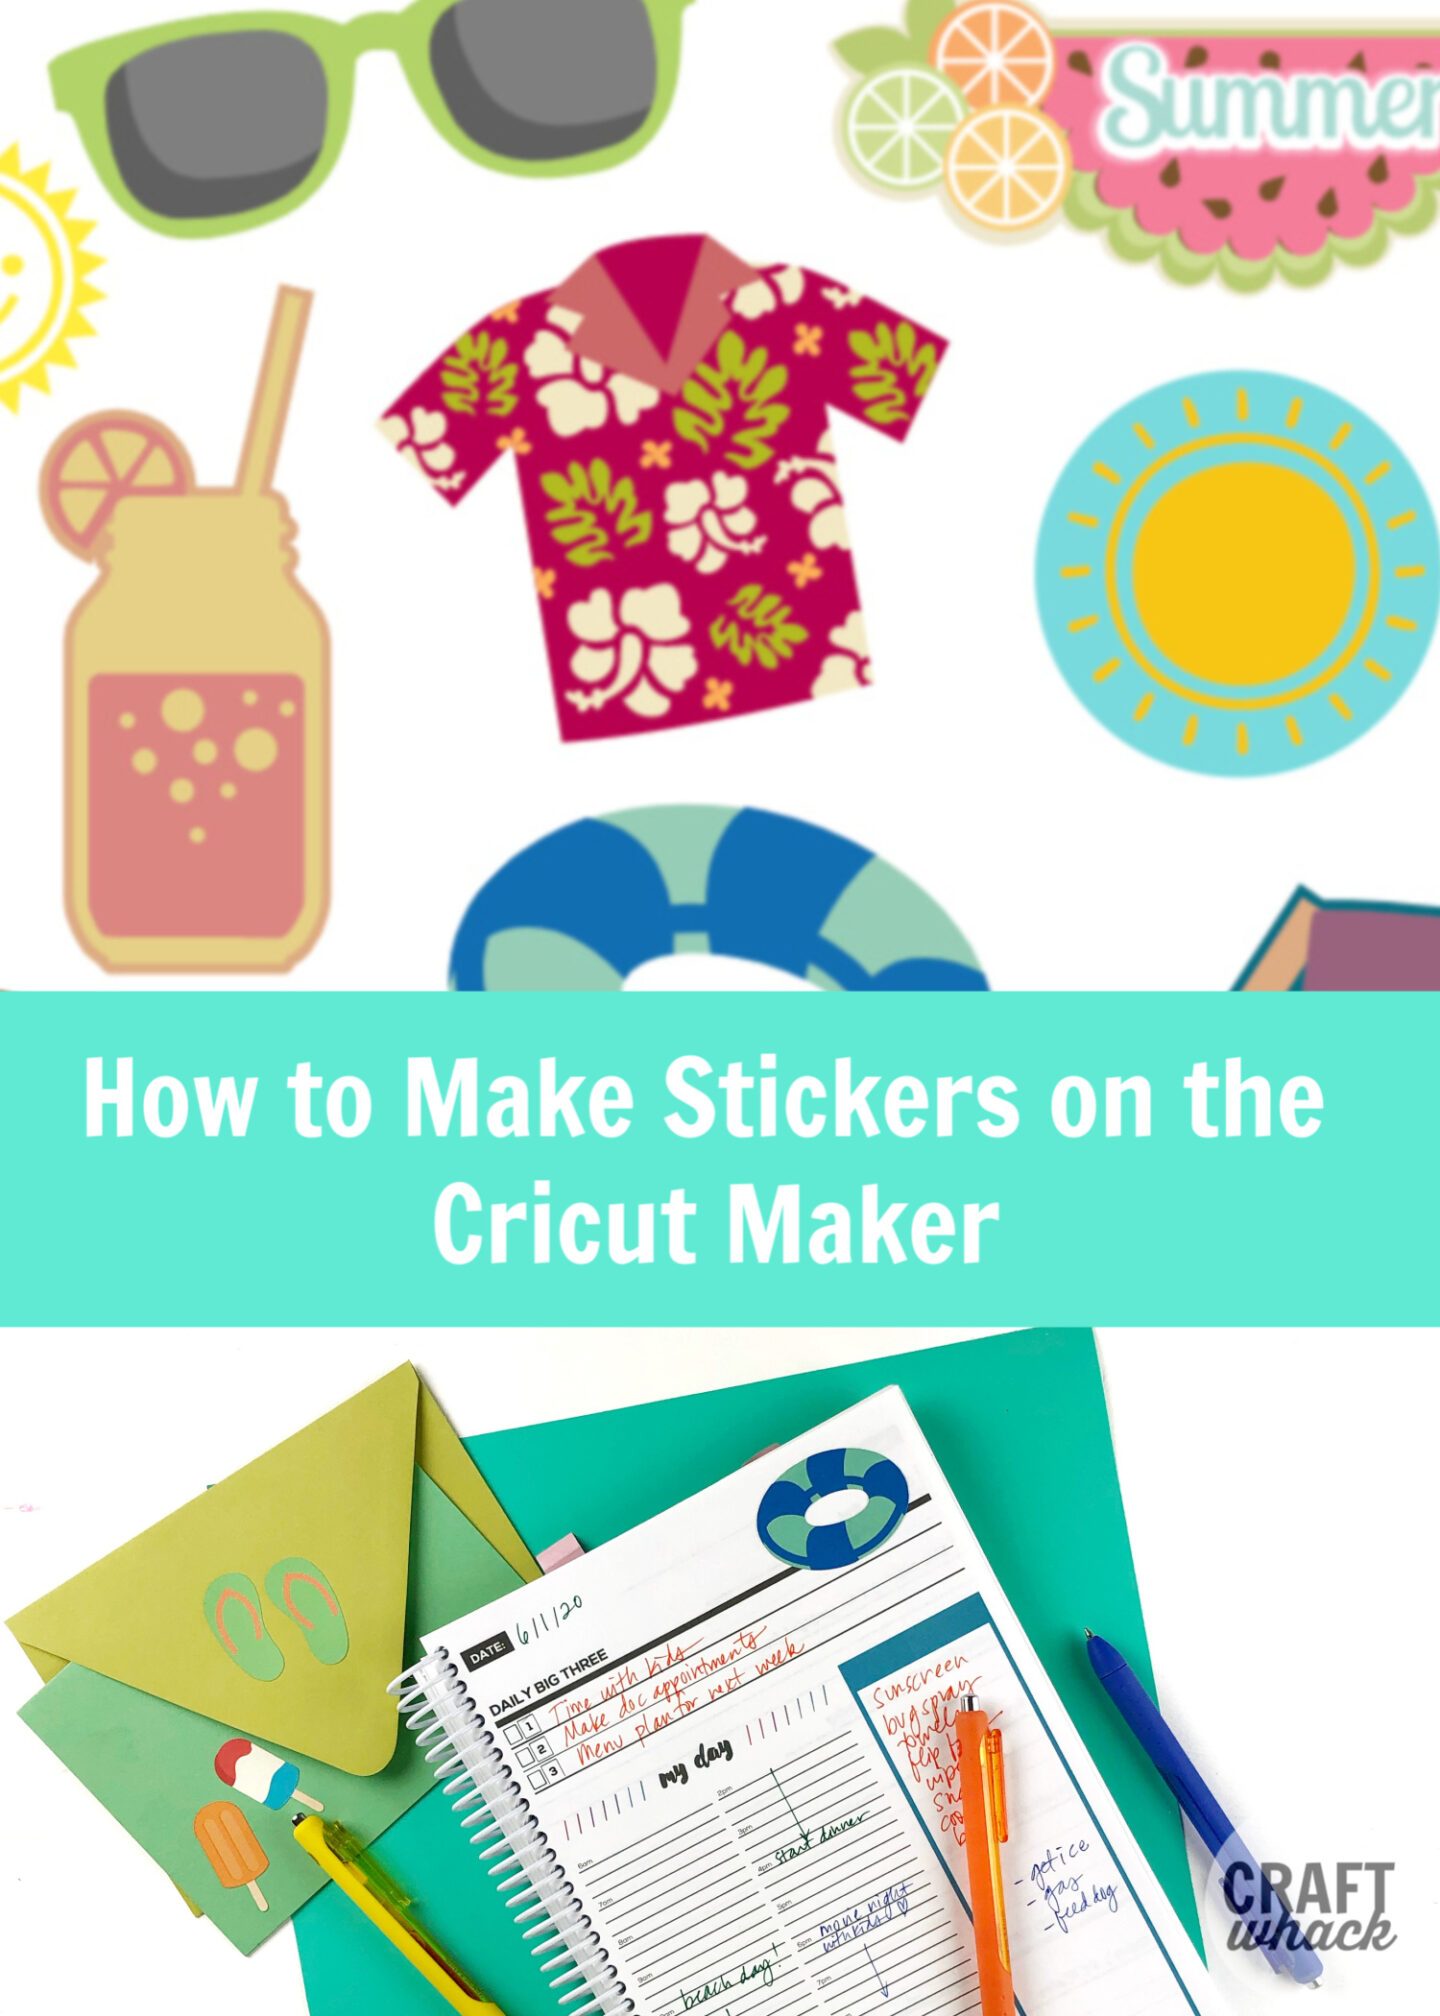
How to Make Stickers on the Cricut Maker
For my first Cricut project, I wanted a very easy beginner project, and decided to make stickers. I thought I could just choose some images and print them out on label paper…
It turns out there are a few tips you need to know to make this truly an easy Cricut project. Follow along and you can learn to make your own stickers with any images you want, or feel free to access my page of summer stickers.
I would have killed to be able to make my own stickers as a kid. Obsessed is an understatement, and my best friend and I would spend hours collecting, swapping, and filling books with stickers.
Materials for Cricut Maker Stickers
- Cricut Maker
- Light grip sticky mat (12″x12″)
- Full page printable label paper
- Printer
How to Print and Cut Stickers Using the Cricut Maker
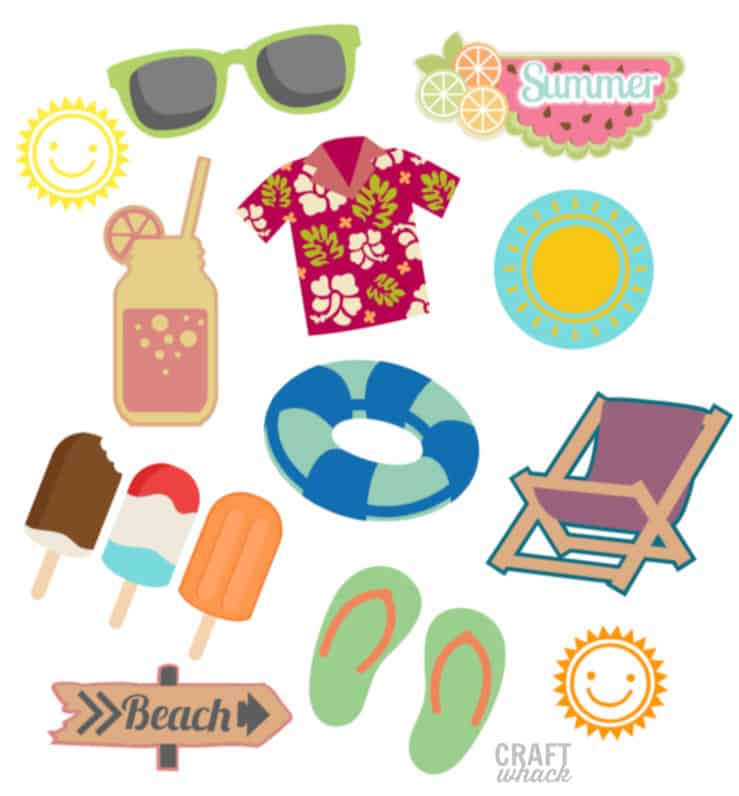
You can search for images in Cricut Design Space or use my summer stickers pack found right here. Alternatively you can upload your own images, but I’m not covering that in this post!)
If you do want to look for your own images, here’s how you do it:
- Click ‘new’ at the top left of Design Space. Your blank mat will open.
- Click on ‘images’ and do a search or browse to find images you like.
- You can click on any images you want to add to your mat, and then click ‘insert images’.
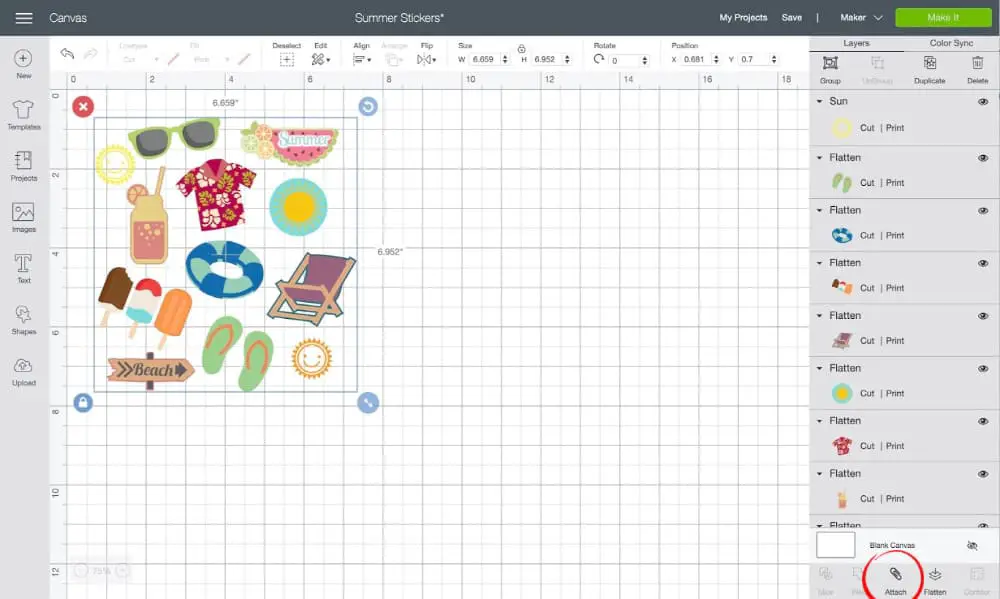
- Arrange and resize the images on your mat to fit them all in. Here’s something I figured out by trial and error: You need to keep your images within the 6.75″ x 9.5″ area or it won’t work!
Once you have your sticker images arranged, highlight all of them and click on the ‘attach’ button at the bottom right. This will keep all of your images arranged this way, without Cricut moving them around before printing/cutting.
Printing the Stickers
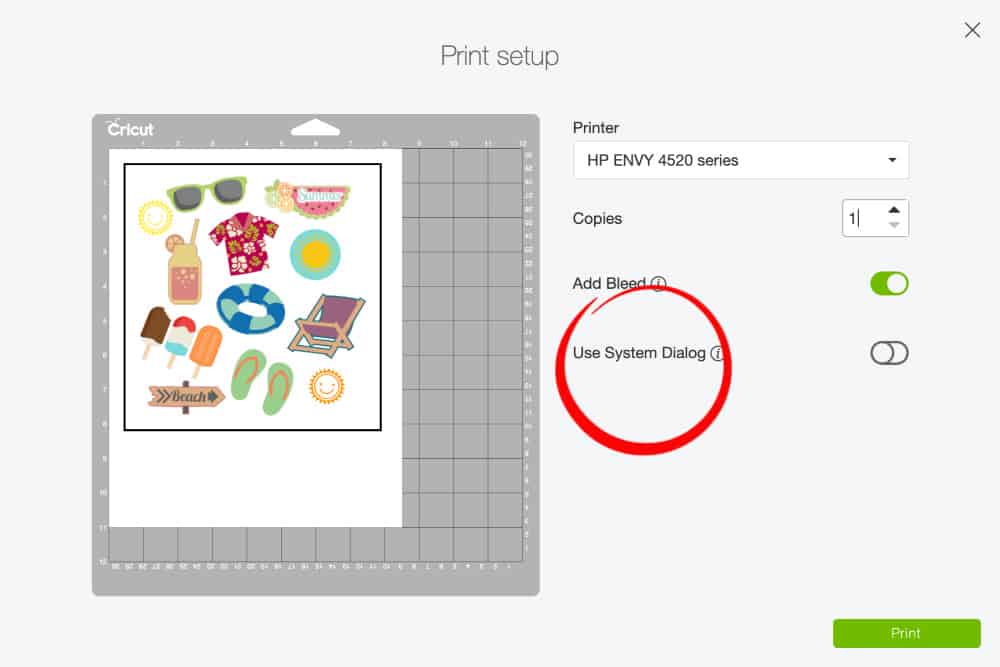
Next you will click “Make it” on the top right hand corner and you will be prompted to print your image from your printer. Load your sticker paper in the print tray and print it.
Our paper loads face down, but yours may be different. Double check with how you load your paper.
Print on the best quality setting on your printer.
Tip #2: In Cricut Design Space, Use the System Dialog to fine tune your settings. (It will probably open up behind the Cricut window, so you’ll have to look for your print preview box behind it.)
Cutting the Stickers
After printing, it’s time to cut!
Place your printed sticker paper on your mat at the top left corner, just like the image above.
Tip #3: I needed to cut with the setting Cardstock – intricate cuts because of the tiny suns. If you have any little complicated shapes like that, the intricate cuts setting will keep them from being torn up by the blade. If you just have simple shapes to cut, I have seen other people say to use the “sticky note” setting for cutting.
Follow the prompts in Design Space to press the insert button, and then the cut button.
Voila! Your stickers should be cut and ready to use.
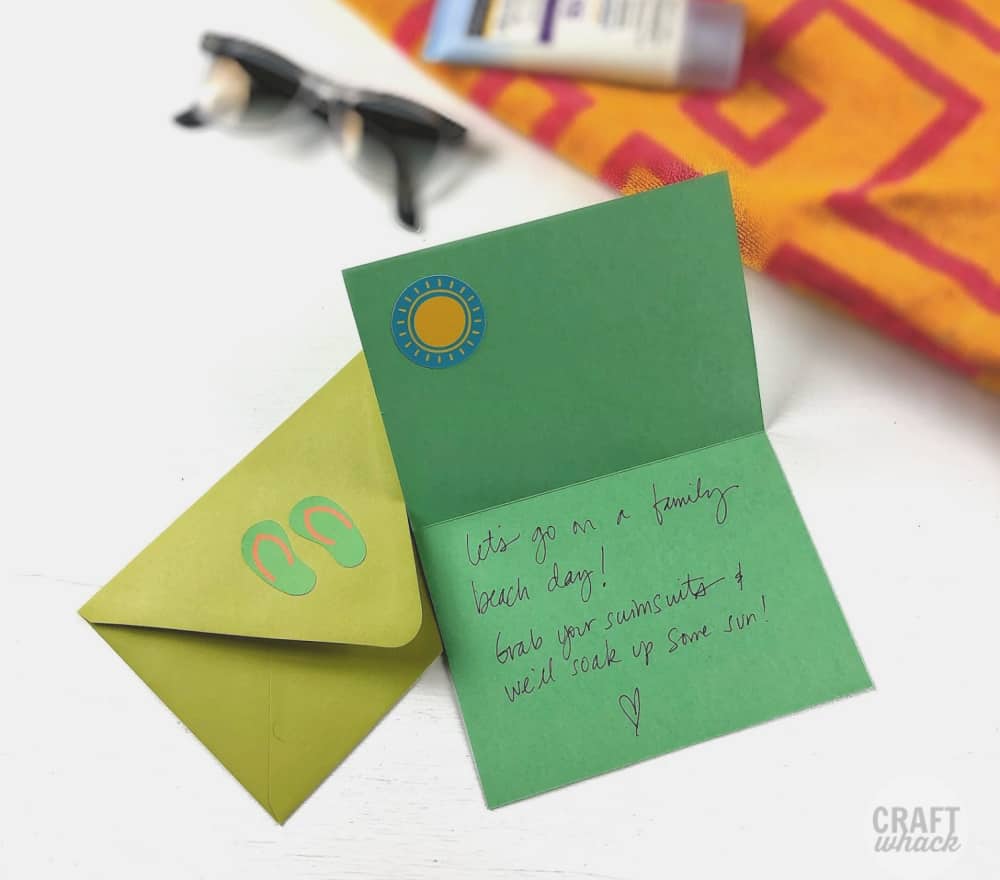
There is so much to love about stickers on the Cricut Maker. You can make them using any image you want, resize them to fit your needs, and make personalized sticker gifts for your friends!
Want to remember this for later? Pin it!
Comments
0 comments
