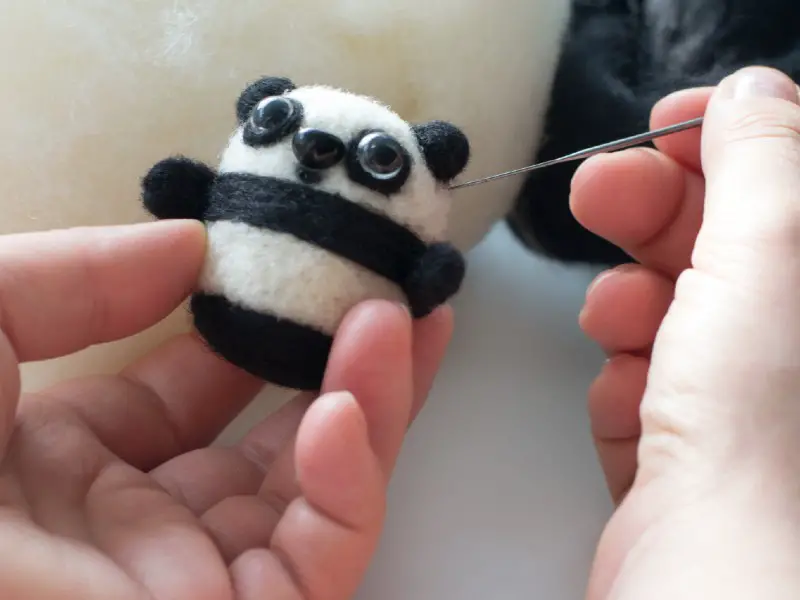
Pandas are popular for kiddy crafts, partly because they are so distinctive that it’s easy for children to grasp what shapes they need to make to create a panda. They also use just black and white (possibly with some green for bamboo), so it’s easy to acquire the materials you need for them!Children often learn about pandas at school as a symbol of conservation, so these can be a fun thing to make at home ““ while talking about the environment that pandas need, and what people can do to help protect the species.
Paper Plate Panda
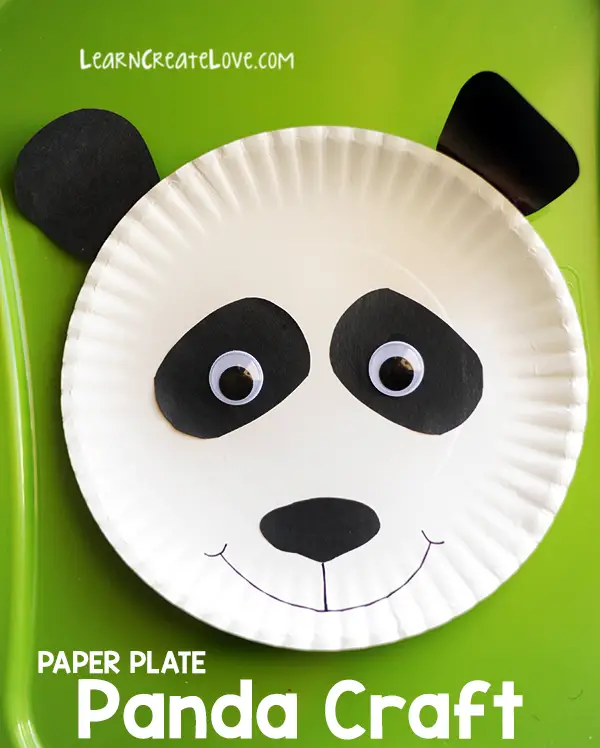 Source: http://learncreatelove.com/paper-plate-panda-craft/One of the easiest crafts to do to create a panda, a paper plate craft is suitable for young children, creates a minimal mess, and can be a great party activity, or fun thing to do on a rainy weekend.
Materials
You are going to need:
- 1 paper plate
- Googly eyes
- Black paper
- Scissors
- Black pen
- Pencil
- Glue stick
- White glue
Step 1: Draw The Eye Patches And Ears
Pandas have very distinctive black ovals around their eyes, so the first thing you’re going to do is draw these on your black paper. They don’t need to be exactly even, since they want to reflect a panda’s natural shape.Next, draw two large semi-circles to create the panda’s ears, and you have everything you need for a paper plate panda. Cut these shapes out, and call your child over to help you with the sticking.
Step 2: Decorate The Plate
First, help your child level up the two ovals near the center of the plate, where you want to stick the panda’s eyes. Once you have got the position right, help them to add some glue to the back of the ovals and stick them in place. A glue stick will be fine for this.Draw a black triangle (with the wide edge at the top) for the panda’s nose, and help your child draw a smile underneath this, with a line going up to the panda’s nose.Next, help your child glue the ears onto the back of the head, and then stick the eyes in the black ovals using white glue.Once the plate is dry, your child’s panda is finished and can be proudly displayed!
Paper Plate Panda Mask
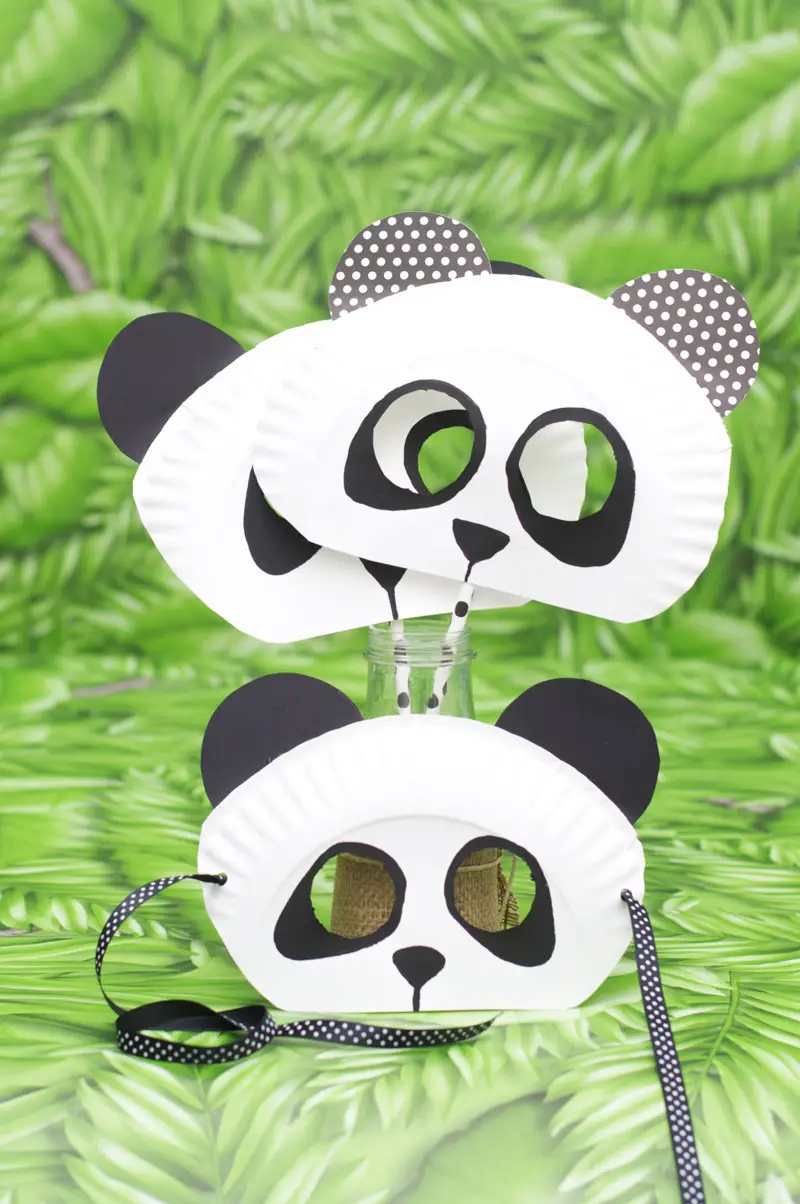 Source: https://www.kixcereal.com/kix-cereal-4-fun-zoo-themed-party-crafts-for-kids-and-1-for-mom/If you’ve got another paper plate handy, this craft is also super quick, and your child will have even more fun as they can then wear their creation. It shouldn’t take long and uses similar materials to the first craft.
Materials
To create a paper plate panda mask, you’re going to need:
- 1 paper plate
- Black pen
- Black card
- Scissors
- Glue
- Hole punch
- Ribbon
- Pencil
Step 1: Cut The Paper Plate
You’re going to start this craft by cutting the paper plate in half. Measure it against your child’s face and draw an approximate pencil guide that will let it finish on their cheeks or a little lower.Next, cut the plate along this line, rounding off the bottom so that you have a gentle curve, rather than a hard line.
Step 2: Cut Out The Eyes
Get your child to help you measure the eye holes, and then move the plate away from them and cut around these using scissors. The holes don’t need to be exact, but you should aim to get them reasonably level so your child can see what they’re doing and doesn’t look lopsided.Check the fit and enlarge the holes a little if necessary.
Step 3: Decorate The Face
Next, draw some outlines of the black ovals around the eye holes, and let your child color these in to make the panda’s distinctive face markings. Below these, they should draw a triangular nose.However, the mask won’t have a mouth, as the child’s own mouth will be the bottom part of the mask.
Step 4: Add The Ears And Ribbon
Take your black card and cut two large semi-circles to form the panda’s ears. It’s a good idea to make these fairly big so that they will stand out. Measure them against the mask and trim them down a little if necessary.Glue them to the top of the mask, and then use your hole punch to make a hole in either edge of the mask and knot some ribbon neatly through it. Add a dot of glue to hold the knots, and then try the mask out against your child’s face to see how it looks.Make any necessary trims so that it fits them comfortably, and then help them to tie the ribbon around their heads and watch your little panda scamper off to find some bamboo.
Pom Pom Panda
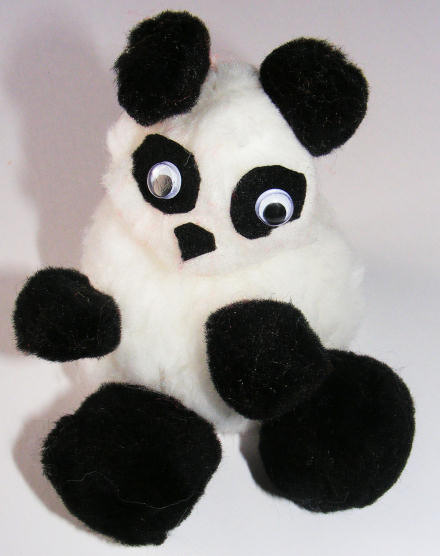 Source: https://www.activityvillage.co.uk/pom-pom-pandaPom poms are really fun crafts to play with, and they don’t make too much mess ““ so you can make a great panda without loads of clean-up afterward. If you have several different sizes of pom pom, you could make a whole panda family.
Materials
For a pom pom panda, you are going to require:
- 1 large white pom pom and 1 smaller white pom pom
- 4 black pom poms (smaller than the smallest white pom pom)
- 2 small black pom poms
- Black felt
- Glue gun
- Mini googly eyes
- Scissors
- Black marker
- Green pipe cleaner (optional)
Step 1: Make The Panda’s Face
You are going to start by helping your child to make the panda’s face. For this, you will be using the smaller of the two white pom poms.Cut two ovals in your black felt and a small black triangle. Glue the ovals as eye patches, and then glue the triangle as a nose. Add the googly eyes to the eye patches, and draw a little mouth under the nose ““ now the panda’s face is complete.
Step 2: Glue The Panda Body Together
Take your large white pom pom and help your child glue the smaller one on top ““ you now have a panda head on a panda body.
Step 3: Add The Legs
Take your four larger black pom poms. You are going to help your child glue two at the bottom of the panda’s body, and two at the top, forming the panda’s four limbs. They don’t need to be too even ““ your child’s panda may be lifting one leg up to reach for something.
Step 4: Add The Ears
Add the smaller black pom poms to the panda’s head as ears. If you cannot get small enough pom poms, you can also use circles of black felt. If you want to, you can use a strip of black felt to wrap around the upper half of the panda’s torso, going from the legs around to the back. However, the panda will be recognizable without this detail, so this is totally your choice.
Step 5: Add The Bamboo (Optional)
Cut a small length of the green pipe cleaner, and help your child glue this to one of your panda’s front paws so their panda has a tasty bamboo snack ready to munch on.
Conclusion
Panda crafts are a lot of fun for any child, and they can be made with very simple materials ““ you don’t need piles of paints or different colored cards for these, which makes cleanup easier and the crafting simpler.No matter what kind of panda craft you choose to do with your child, they will enjoy it, and will likely get something that looks great out of it!
Comments
0 comments