It doesn’t matter what year it is; you and your kids can get into the spirit of the Olympic games by creating some beautiful Olympics crafts. The Olympic torch is a fun craft and an excellent way to engage with your kids and teach them the history of the torch, games, events, and the great athletes who compete at the Olympics.
We’ll present some easy Olympic torch craft ideas that may inspire you and your family to create something for the next Olympic games. Of course, you can modify the projects to suit your taste. So, keep reading!
1. Olympic Torch Painting Project
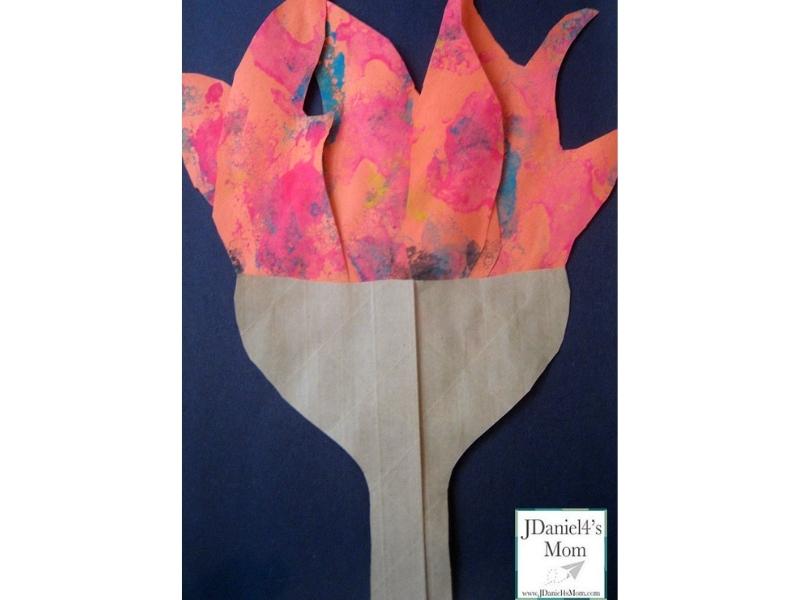
If you’re looking for an easy Olympic torch craft for you and your kids to do together, this is it! This craft will teach your kids about the winter Olympics and help improve their painting skills.
You’ll start by using sponges in the shape of flames to create flame flickers on orange paper. Then, when the paint is dry, you’ll cut the painted orange papers into shapes resembling fire flames. These flames are then glued to a torch cut out of brown paper to give you an Olympic torch!
Learn more about this Olympic Torch Painting Project at JDaniel4s Mom.
2. Class Olympic Torch
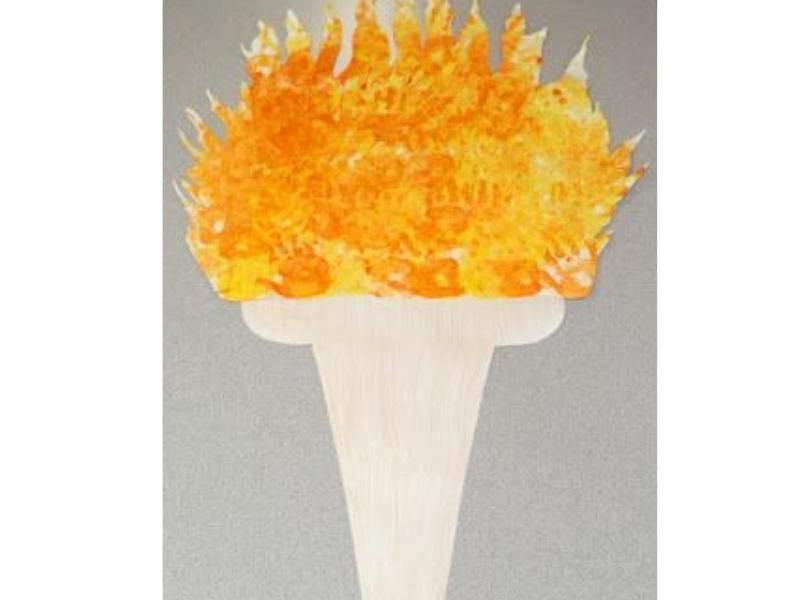
This Olympic torch craft is suitable for little children, especially preschoolers. It’s pretty easy to do and doesn’t require a lot of materials. All you need are some yellow and white paint, and your little ones can get to work!
To make the craft, apply the paint on a flat plate, let the kids dip their hands in it, and make several handprints on construction paper that form the torch’s flames. The torch’s handle can then be painted with any color. And if you want more handprint craft ideas, visit craftwhack.com.
Find out more about the Class Olympic Torch at Tippytoe Crafts.
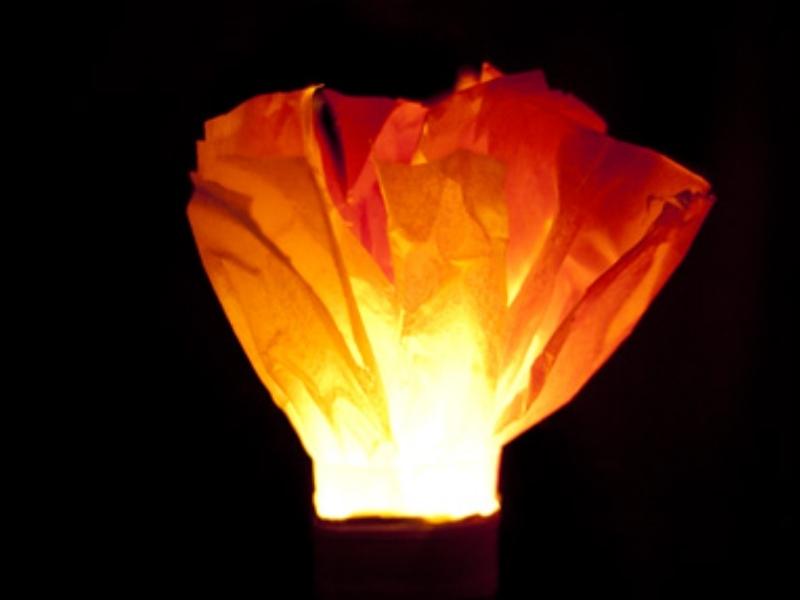
3. Flashlight Olympic Torch
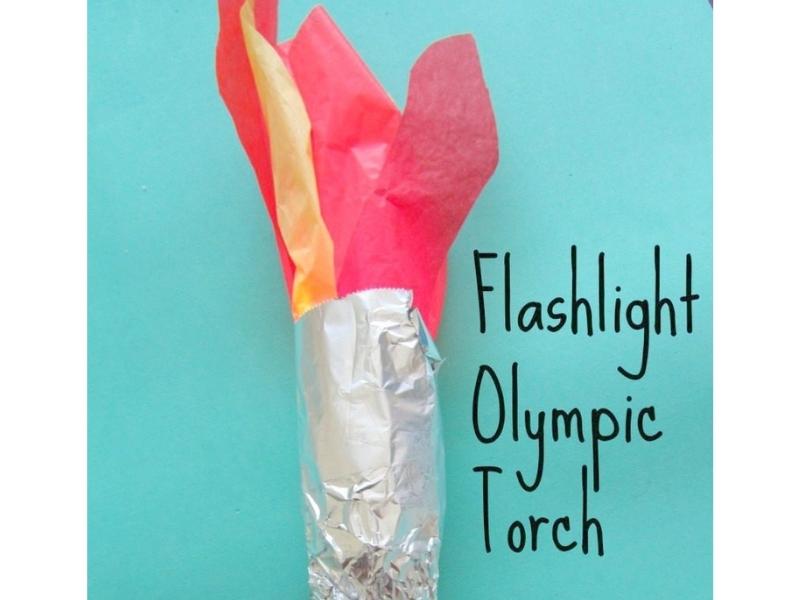
This is another fascinating and easy Olympic torch craft. It’s fun and easy to make. We’re sure your kids will love it! All you need is a working flashlight, tissue paper, tape, and some pieces of foil.
The first step is to get some flame-like shapes from the tissue paper, then tape them to the paper foil. Next, wrap the foil with the tissue paper flames around the flashlight. You can also tear a small hole to control the switch.
Learn more about this Flashlight Olympic Torch on Teach Beside Me.
4. Glowing Tealight Olympic Torch
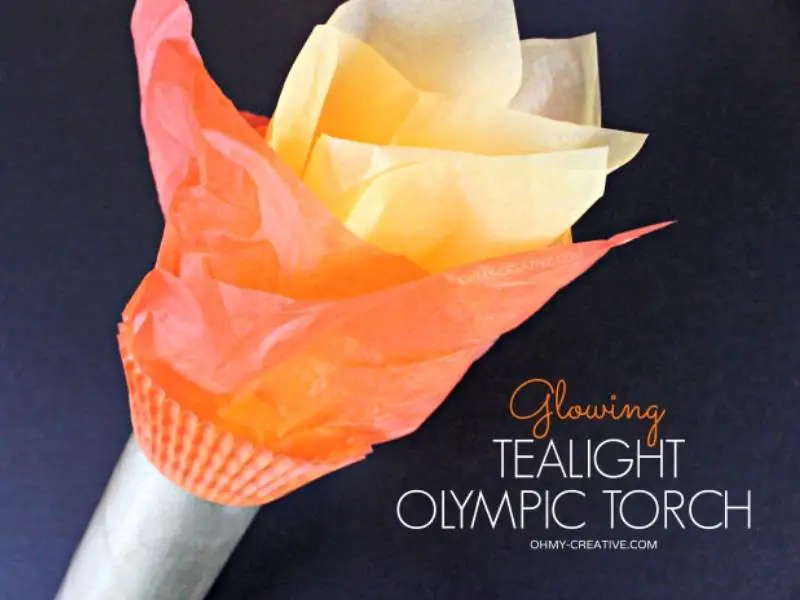
Watching the Olympic games while holding their own Olympic torch is something your kids will relish. You can make their dreams come true with this Olympic torch art. The supplies required for this craft include yellow tissue paper, orange tissue paper, a toilet paper tube, scissors, and more!
First, you’ll have to paint the toilet paper tube gold. Then, when it’s dry, add some cupcake liner at the top. The next thing is to cut the yellow and orange tissue paper to form the torch’s flames. Finally, place a tealight into the top of the cup.
See the step-by-step tutorial for the Glowing Tealight Olympic Torch on Oh My Creative.
5. Plush Olympic Torch
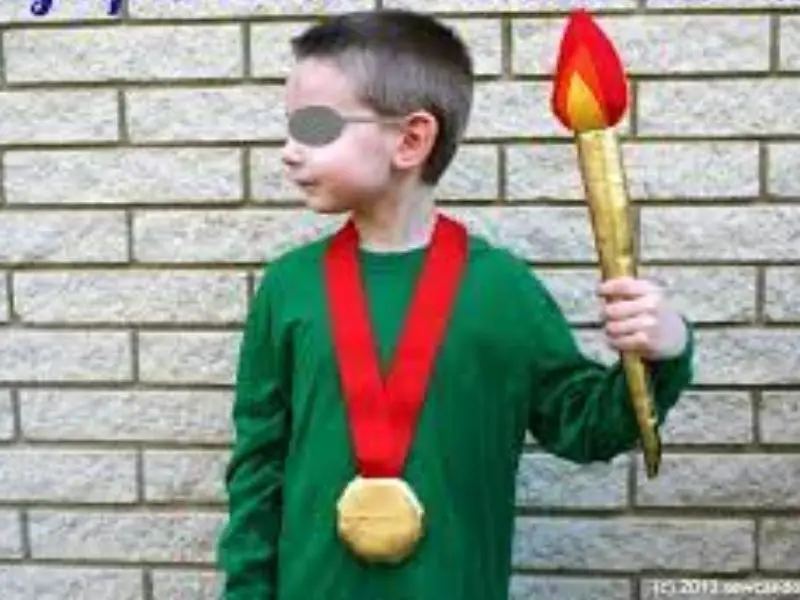
Here’s another entertaining Olympic torch craft your kids will love. It’s a great way to unleash their creative side while getting into the Olympic spirit. Some of the items required for this craft include fleece scraps, gold pleather fabrics, red grosgrain ribbon, and more!
To make the flames of this torch, cut three different colors of the fleece scraps in leaf shapes. Next, sew the leaves together to form one leaf of three layers. Then, you can make the torch handle using the gold pleather.
See the full tutorial for making this Plush Olympic Torch on Sew Can Do.
6. Olympic Cookie Gold Medals and Torch
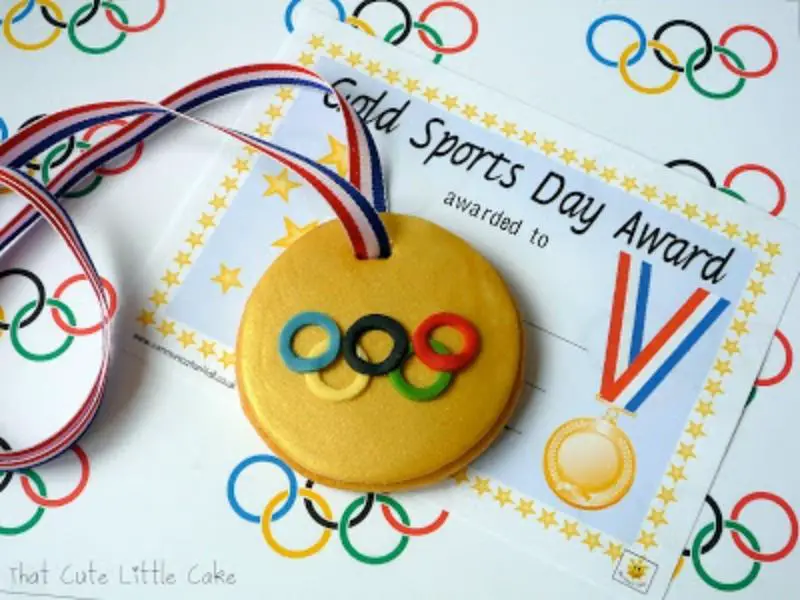
You can do your little Olympics and play your own games with your family any time of the year. And to make it more interesting, here’s a fun idea: create an Olympic torch and some gold medals from cookies.
Punch a hole into small paper plates and push a paper towel roll to form the torch’s handle. Then, get some red and yellow tissue paper sheets and stuff them on the paper plates to look like flames. Now your Olympic torch craft is ready!
Learn more about the Olympic Cookie Gold Medals and Torch at The Idea Room.
7. Olympic Torch With Circuits
If your kid is interested in STEM (Science, Technology, Engineering, and Mathematics), this is the perfect Olympic torch idea. The torch craft is pretty easy to do, and it’s suitable for upper elementary and middle school kids.
Some of the materials you’ll need are AA batteries, tin foil, black construction paper, and tissue paper. First, make a torch by assembling a simple electric circuit using 2 LEDs and AA batteries. Then, you can create the flames using tissue paper in Olympic colors.
See the step-by-step tutorial for this Olympic Torch With Circuits at Steam Powered Family.
8. Tin Foil Torch
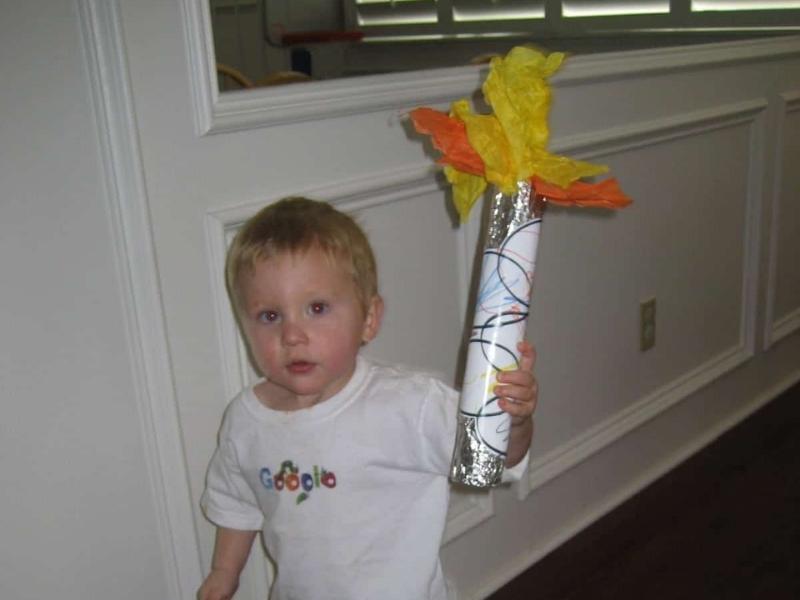
This is a super easy Olympic torch craft idea for you and your kids. Also, the materials required to make the craft are easy to come by. They include tin foil, toilet paper rolls, and colored construction papers.
Simply wrap some foil around a toilet paper roll to make the torch handle. Next, rip some colored construction papers and stuff them on top of the toilet paper roll you wrapped with foil earlier.
Get more info about this Tin Foil Torch at Toddler Approved.
9. Torn Paper Torch
.
Not everything you tear comes out bad, and this Olympic torch craft is proof of this fact. In this simple project, your kids can learn about the Olympics and why they use a torch. And you’ll only need supplies like white paper, glue, and construction paper (in brown, red, yellow, and orange).
Start by adding glue to the torch handle shape that’s cut out from brown construction paper, and add some to the white background paper. Then, tear the other colored papers into smaller pieces and glue them on the top of the brown torch handle.
See more info about this Torn Paper Torch on 3 Dinosaurs.
10. T-Torch
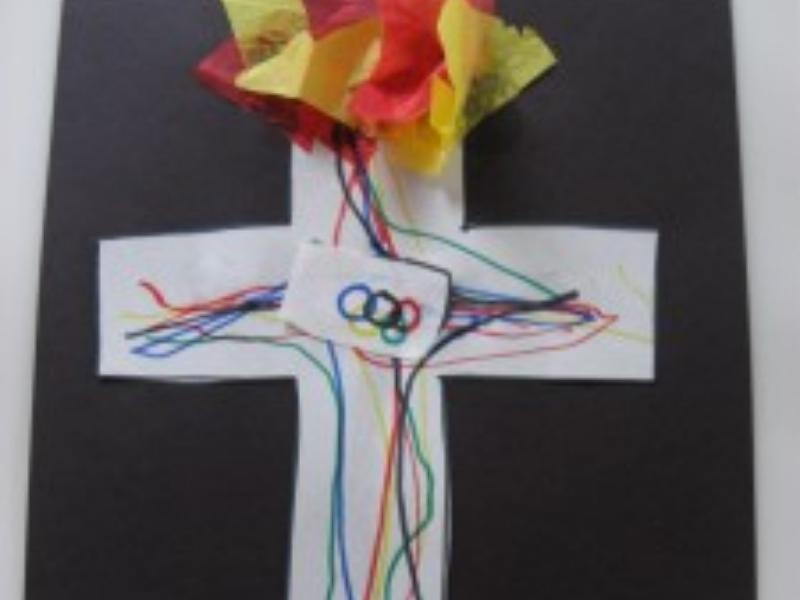
In this one, your toddlers will need some black pieces of paper, scissors, glue, markers (in Olympic colors), and yellow tissue paper.
The first step is to draw the letter “T” and cut out the shape. After that, glue the letter to black paper and draw some lines throughout the body in Olympic colors. Next, cut some red, yellow, and orange pieces of paper and glue them on the top of the T-shape as flames. And voila, your little ones can start cheering.
See the tutorial for the T-Torch at No Time for Flashcards.
11. DIY Olympic Torch
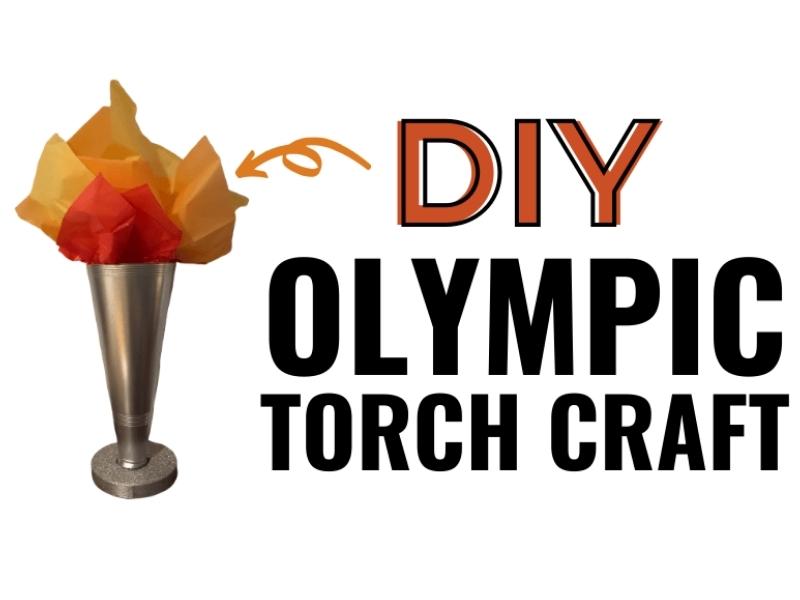
You won’t need to break your bank to have an Olympic-themed centerpiece. Instead, with this craft, your toddlers will enjoy the Olympic period without costing you too much!
The materials you’ll need for the craft are easy to get from the store. First, you’ll get a cheer cone with a defined mouthpiece and poke it through round craft styrofoam. Then, spray some paint over the exterior of the cone and styrofoam structure. As soon as it’s dry, you can add some colored tissue paper to stand as the flames.
See the full tutorial for this DIY Olympic Torch at Mommy Standard Time.
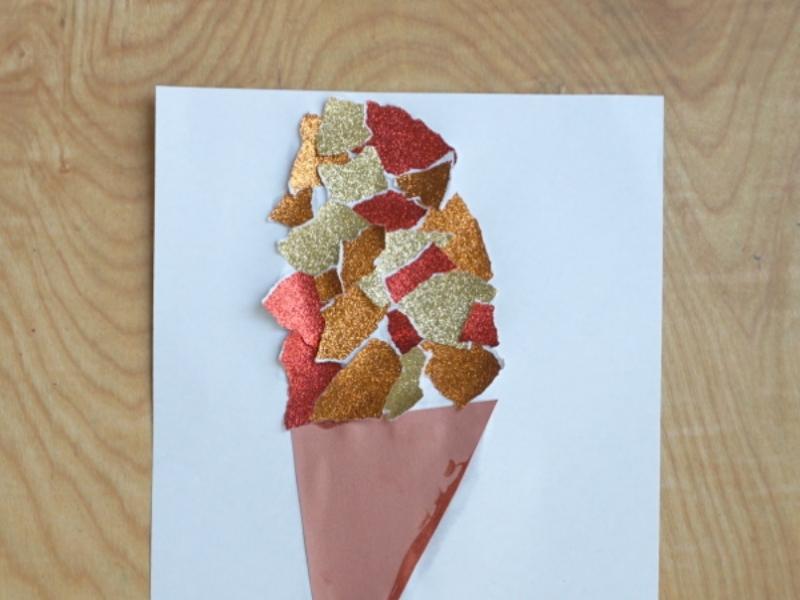
12. Easy Olympic Torch Craft for Kids
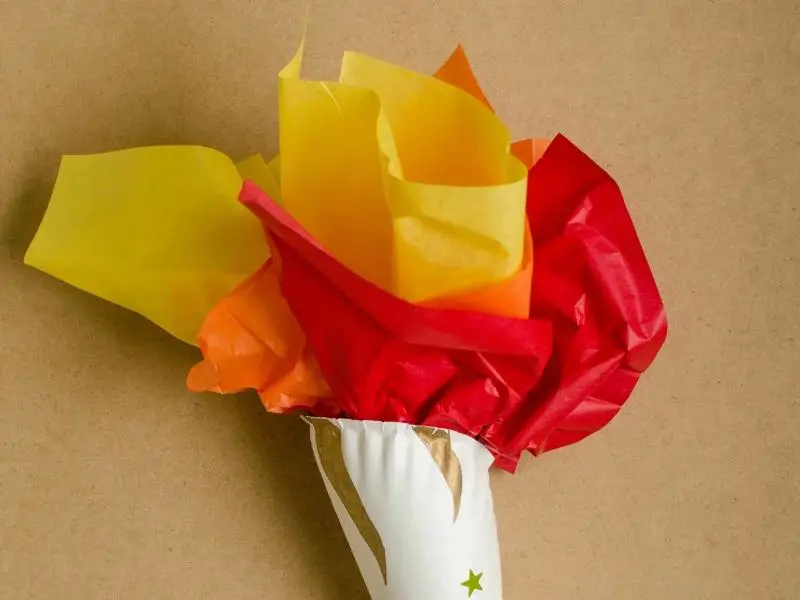
Here’s a fascinating Olympic torch craft inspired by the official torch of the 2018 Winter Olympics. All you need for this fun craft is some paper plates, scissors, gold foil, a gold sharpie marker, some stickers, and tissue paper.
To make this craft, add some stickers to the bottom of the paper plate and draw some designs using the gold sharpie marker. Next, roll the paper plate in the shape of an ice cream cone. Finally, arrange tissue papers with Olympic colors as the flame of the torch.
See the step-by-step tutorial for this Easy Olympic Torch Craft for Kids on Fun Loving Families.
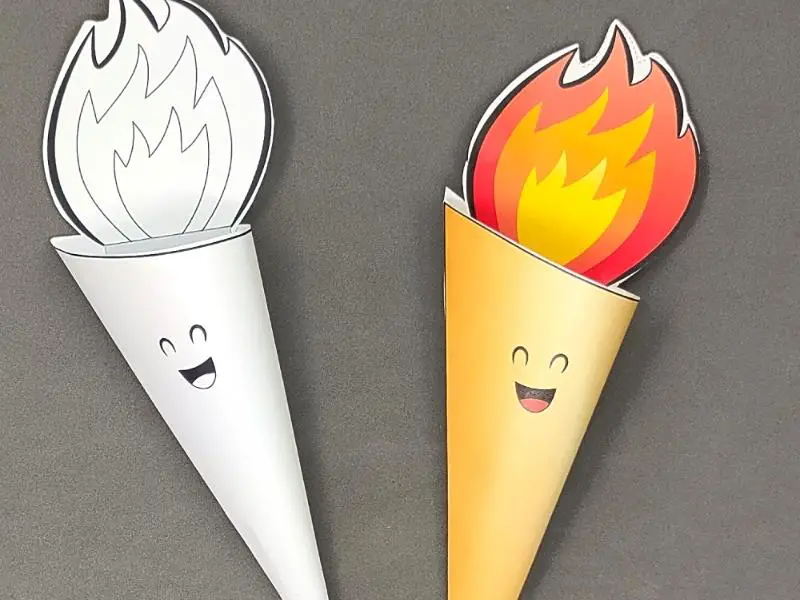
13. Paper Olympic Torch Craft
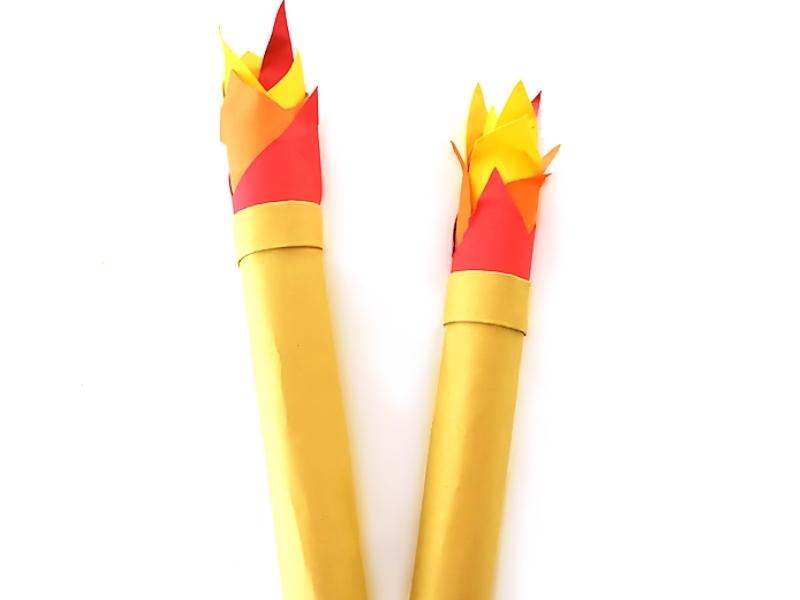
This is one of the easiest Olympic torch crafts to make on this list. You and your kids can always be part of the action that comes with the Olympic spirit. Start by getting cardstock, tape, glue, and scissors to make this quick craft.
Then, cut the yellow, orange, gold, and red cards into large jagged shapes, and glue them together. After that, cut a sizeable square-shaped gold card and roll it into a cylinder. Next, join the jagged-shaped cuts and glue them to the cylinder. Now, your torch is ready!
See the entire procedure for making this craft at Our Kid Things.
These are some of the best Olympic torch crafts that you and your kids will have fun tinkering with. So, prepare your supplies and unleash your creativity!
Comments
0 comments