
Sensory bottles are growing in popularity with both parents and children. They are a wonderfully calming tool for children and can help with panic attacks or overload. They are also great toys for the car, or during quiet time. Many adults seem to enjoy watching them too!A good sensory bottle is perfect for many occasions, and they’re also really fun to make, so here are some suggestions for making a truly amazing one that you’ll want to keep for good.Let’s learn how to make sensory bottles!
Materials
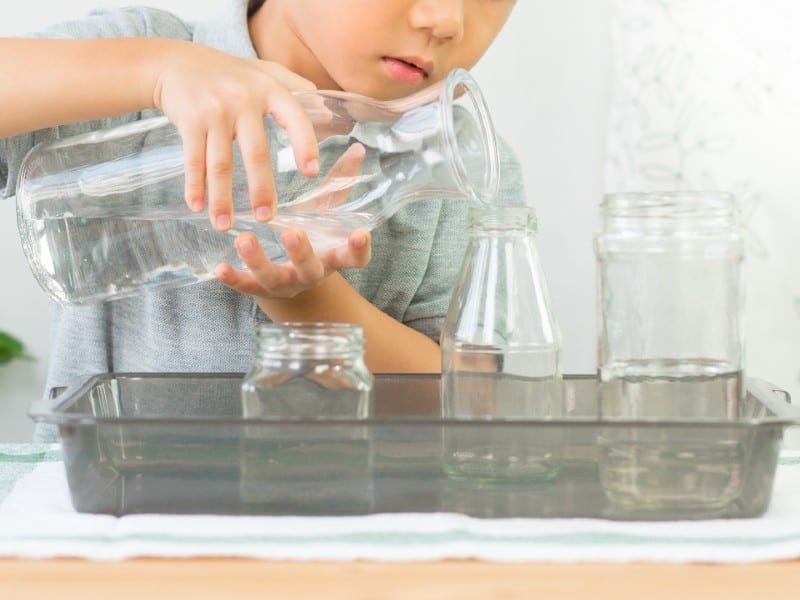 To create a sensory bottle, you are going to need:
- A bottle
- Some liquid
- Some items to put inside
- Superglue
Let’s discuss those things in a bit more detail so you know how to choose, and then we’ll get onto ideas about the kinds of sensory bottles you might like to create.
Bottle
Getting the right bottle is crucial, and ideally, the recipient of the bottle should choose one they like, as it wants to be a shape that particularly appeals to them.For example, they may want a bottle that is rounded or one that is straight. Smooth edges, bobbly edges, or a sleek sweep to the top ““ everything will appeal in different degrees to different people.If your sensory bottle is intended for an adult, you may want to choose glass as the material, but if it’s for a child (especially a young child), you might feel plastic is a more suitable option. It will be lighter for them to hold, and won’t shatter if they accidentally drop it.Think about the lid, too. A sensory bottle is a whole experience, so the little details matter. You may find there are many kinds of bottles you can reuse, such as perfume bottles or water bottles, but whatever you pick, make sure that the aesthetics feel right and are pleasing. This will make a surprising difference.Feel free to use recycled containers ““ there’s nothing to say that the bottle must be specifically bought just for your project in order to be suitable. You can use anything. If it’s for a child, think about how easy the bottle will be to hold and whether they’re likely to be able to grip it easily.Always make sure that the lid will fit tightly onto the sensory bottle so you can seal it and avoid any leaks.
Liquid
What kind of liquid should go in the bottle? Well, it will depend a bit on the result you want to get out of it. You can just use plain water or water with food coloring in. The water lets you view the things inside with crystal clarity, while food coloring tints the sensory experience and makes it potentially more soothing.Bear in mind that if you put metal items in a sensory bottle full of water, they will rust.Mineral oil is another option you can choose. It will make the things in your bottle drift slightly more slowly when you tip it. If you’re including anything heavy, this may be a better option. Baby oil is another choice you can use, with a similar advantage.If you want to color the oil, you will need a specific dye, as food coloring will not mix with the oil ““ it’s water-based, and will end up beneath the oil no matter what you do. This can be a sensory experience in itself, of course, but it’s not going to work to alter the color.If you want something that flows even more slowly, you could use liquid soap. You can get clear liquid soap or choose a colored one, and this is a great option for jars intended to calm people down.You can also use other fillings, such as clear glue, corn syrup, or even things such as water beads. Get creative and try different things out ““ you’ll probably find yourself making sensory bottles for everyone you know, as there are so many possibilities with this craft.
Contents
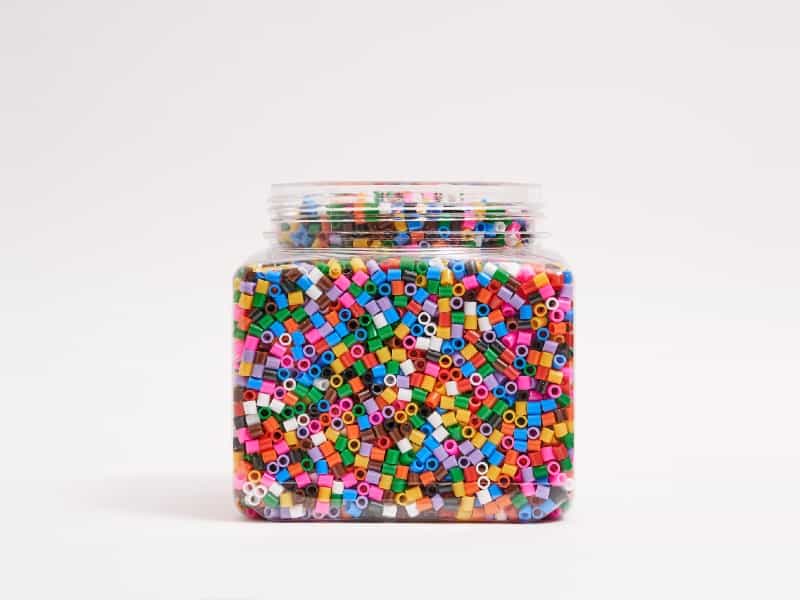
What should you put in a sensory bottle? Well, you can choose just about anything that’s small enough to fit in the mouth of the bottle and move around inside it! Think about the recipient and the things they like.You can do a themed bottle, e.g. blue liquid and sea creatures, green liquid, and plant-themed contents, etc., or just create something that is pretty and appealing and soothing.Some people use sensory bottles as a way of keeping glitter they have already bought from getting into the environment and giving it a practical purpose. By sealing it in the bottle, you’re ensuring it won’t add to the issue of microplastics and creating something beautiful with it.You can also use beads, which look beautiful drifting around inside a bottle. Sand and confetti are other popular choices, as are shells, mini pom-poms, tiny toys (such as you might find in a dollhouse), or glow-in-the-dark stars.Further ideas include googly eyes, tiny pebbles, Lego people, loom bands, marbles, dry rice, or even tinsel. You can put almost any non-perishable item in the bottle, and it will create a great sensory experience as it drifts around.If your child is interested in magnets, you could add some magnetic things to the jar and show them how applying a magnet to the outside makes the contents behave. Remember, however, not to put metal in water or it will rust away quite quickly.
How To Get Started
The first step is to choose a bottle. Once you have one that you like, decide what you want to put in it and how quickly you want the contents to fall. If you want them to move slowly, it’s best to choose a medium bottle, whereas if you fill it with water and the contents move fast, you may want a larger container.Check that everything you want to include will actually fit through the mouth of the bottle before you get started ““ otherwise you may find yourself having to leave out things you’d planned to include before you can’t get them in.Before you start assembling the bottle, you should have made a decision about what liquid you are going to use and what you are going to put into the bottle.So, now you know about the different possibilities, let’s look at a few of the sensory bottles you might choose to make. Remember, you can deviate at any point and make the bottle your own (or for your child) with whatever preferences you have!Let’s look at making a glitter bottle first, as these are particularly popular.
Creating A Glitter Sensory Bottle
Step 1: Start Filling The Bottle
Fill about 1/3 of the bottle with corn syrup, and then top it up to the three-quarter mark with tap water. You should then add a good sprinkling of glitter. If you want to include food coloring, now is also the best time.
Step 2: Mix The Ingredients
Put the lid tightly on the bottle and give it a very thorough shake to mix all the components together. Stand it on the side and see if you’re happy with it. Does the glitter drift satisfyingly? Do you want more glitter? More food coloring? More syrup?
You can make the glitter drift more slowly by adding a bit more corn syrup or speed it up by adding a little more water.
Keep shaking the bottle up to check whether you’re happy with it as you go, and once you are, fill the last bit up with water. Remember that once the top is glued in place, you can’t change the contents, so make sure you’re happy before proceeding to the next step!
Step 3: Glue The Top On
Once you are satisfied with the bottle’s behavior, apply hot glue or superglue to the inside of its top and then screw it very tightly into place. You don’t want your child to accidentally undo this, so the more firmly it is fixed, the better.
Creating A Sunken Treasure Bottle
 Fun-A-Day’s pirate sensory bottles are a blast to make in the summer
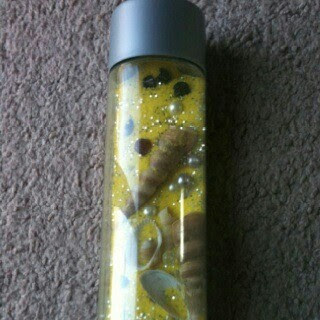
Blue is a soothing color and many kids and adults particularly like seascape bottles, so here’s a quick method for creating a sunken treasure bottle.
Googly Eye Bottles
Source: https://fortheloveoflearningblog.blogspot.com/2013/01/sensory-bottles.html
Sensory bottles don’t always have to be serious affairs. You may actually find that your child (or you) benefits from a bit of silliness when they are finding life stressful. Googly eye bottles look wonderfully silly, and you can have fun with different colors, depending on what your recipient likes best.
Step 1: Fill The Bottle
You can create this bottle using oil or water, but remember our tip about needing oil dye if you use oil. This bottle works much better if it is a fun color, so bear that in mind. Red or green or purple make it a much more “monster” bottle, which may be fun for your child.
Step 2: Choose The Eyes
If you’re doing this with your child, encourage them to pick out some googly eyes that they like. They don’t have to stop at two; you can create a whole bottle full of eyes if you want to!
You may also be able to find some silly erasers of noses and mouths, which could be a great addition to a project like this. Humans in a bottle! Your child will love it, but the eyes should be plenty if you can’t find anything else suitable.
Once they’ve selected their eyes, drop them into the liquid, put the lid on, and give it a good shake to check you’re happy with it. Remind your child that you can’t add to the bottle once the top is glued on, so see if there’s anything else they want to add to their “monster” bottle before you finish it.
Step 3: Glue The Lid On
As always, glue the lid tightly into place, and then consider decorating the outside a bit. You could add a little tuft of yarn or a feather to the bottle cap to represent the monster’s “hair” if you’re so inclined. This will also give your child something they can touch and stroke if they need to calm down.
Oil And Water Sensory Bottle
Source: https://fortheloveoflearningblog.blogspot.com/2013/01/sensory-bottles.html
We all know that oil and water don’t mix, and that’s one of the reasons they’re really interesting to add to a sensory bottle. This is not only a fun and calming bottle to watch, but it can be a good way of teaching your child a little about science ““ and they won’t even realize it’s a lesson!
Step 1: Fill Your Bottle With Oil And Water
Mineral oil and tap water are fun options for this type of bottle, especially if you can add food coloring and/or oil dye. Fill your bottle about halfway with equal parts oil and water, put the lid on, and shake. See if you’re happy with the result.
Add the rest of the oil and water, changing the ratios if you feel so inclined, and then check it again.
Step 2: Add Glitter Or Other Contents
You don’t necessarily need any other additions for this bottle, but they can bring an extra element of interest that you can talk to your child about.
Will the glitter cling to the oil? Sink through to the water? How does it behave? What about heavier items? Why does the oil always end up at the top? What happens if you shake it extra hard? Can you do anything that will make the oil mix with the water?
Kids will find this fascinating, and it’s an opportunity to learn and experiment as well as relax.
Step 3: Glue The Lid On
Stick the lid of this bottle particularly tightly so you don’t end up with oil all over your floors. If you are using a plastic bottle for a child, remember to leave a bit of slack in the bottle and don’t fill it so full it will burst readily.
Slow Motion Sensory Bottle
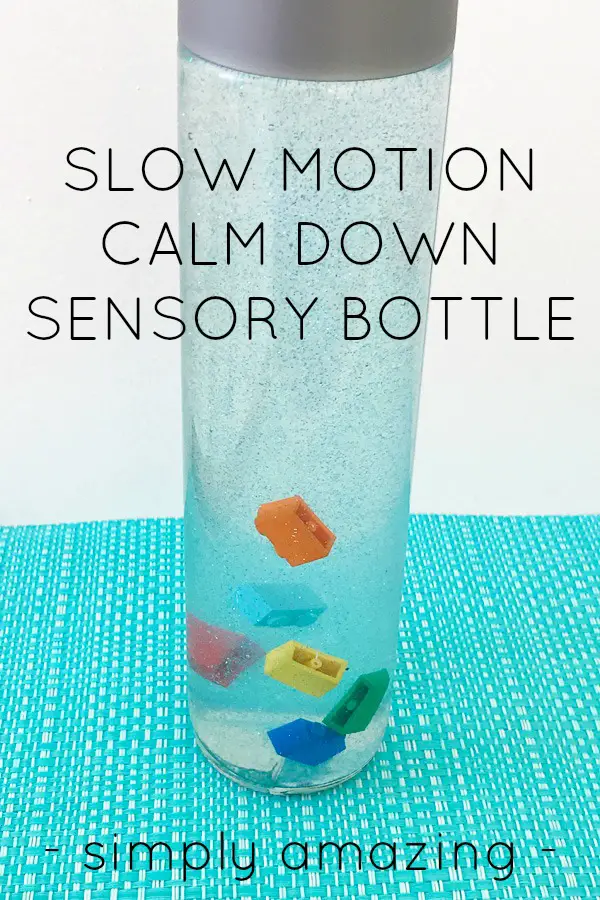
Source: https://childhood101.com/calm-down-bottle/
This can be wonderfully calming, for adults and kids alike. For this one, it’s a good idea to choose a bottle that can be flipped over and stood either way up. That means the bottle should be quite straight and have a top that’s as wide (or almost as wide) as its base.
This will allow you to stand the bottle either way up, and keep turning it to keep your child’s attention on it. Children will get tired if they have to hold the bottle, and you’ll find that everything gets stuck at the bottom, so this is quite important to get right if you want your slow-motion bottle to be a success.
Step 1: Fill The Bottle
Mix one part clear hair gel with six parts warm water. Stir it well, and then let it cool. The result should be a thick, clear mixture that will work really well to suspend the objects you want to drift slowly down.
Make sure you have enough to fill the bottle but don’t fill it to the top until you have added all the contents.
Step 2: Choose Your Contents
It can be good to have a nice mix of different weights and size contents for this bottle. This will give your child different things to watch and will help them understand a bit about resistance and the pull of gravity ““ even if only by observing it, rather than being taught about it.
What you want to add will depend a bit on your child, but choose things that you know they will like. Lego bricks are a popular selection, but you could also add marbles, glitter, small stones, shells, beads, or sequins. Almost anything will work, as long as your child is willing to watch it drift down.
If you are creating a bottle for yourself or another adult, consider beads or little charms, or even miniature fake flowers, etc.
Step 3: Test The Bottle
Once you have added the contents to the bottle, give it a good shake and see if you are satisfied with how it behaves. If you find that the contents move too quickly, you can empty the mixture out and add a little more hair gel to your ratio.
If the contents are too slow and you think your child will get bored, add a bit more water.
Tip everything back into the bottle and see if you’re happy with the result now. Keep doing this until you are satisfied that you have got the right consistency. This may take a few tries, but it’s worth taking the time to get it right.
Step 4: Seal The Bottle
Because the lid is wide, take extra care to seal it well with a good amount of glue to hold it in place. Screw it on tightly, leave it to dry, and check it has sealed before you give it to your child to avoid accidents.
Water Beads Sensory Bottle
 Source: https://parentingchaos.com/water-bead-sensory-bottles/
Water beads are beautiful things, and if you have some, you may be wondering how you can utilize them to the best possible effect. Sensory bottles are the answer, and any kid will love these. Colored water beads look particularly spectacular, but you can also use plain ones.
Stand these in the sun on a windowsill for a striking experience ““ if you can persuade your child to put them down, that is!
Step 1: Fill Your Bottle With Water
Fill your bottle part of the way up with water and your choice of food coloring. Any color will look effective for these, so pick your kid’s favorite (or your own favorite) and add a good few drops to get a really vibrant hue.
Step 2: Add The Beads
Add the sensory beads a little at a time. Don’t feel you have to rush this; let the beads expand, and go for less than you think you need to begin with. You may find they grow bigger than you expected, and it’s not very easy to get them back out through the neck of some bottles.
You may need to top the bottle up with dyed water and a few more beads. Leave them to settle and come back to the bottle a bit later to see if you’re satisfied with the look.
If you are, top the bottle up with water.
Step 3: Glue The Lid On
Only do this when you are thoroughly satisfied with the look of the bottle since you can’t take it back off again.
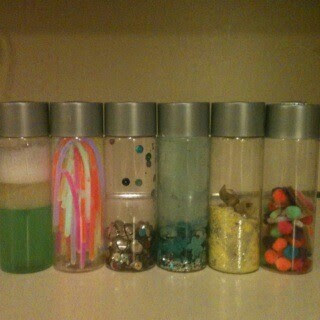
You may want to make a whole array of these in different colors, and they’ll look great standing on a windowsill! Kids will really enjoy their translucent colors, and adults will too, so they are just perfect as a sensory experience for everyone.
Glow-In-The-Dark Sensory Bottle

Source: https://childhood101.com/glowing-sensory-bottle/
What could be more appealing to a kid than a sensory bottle that glows in the dark? These are a brilliant way to calm down at bedtime, offering your kid a dimly glowing light, paired with the soothing motion of the moving parts of the bottle. They are just perfect for any parent who finds bedtimes challenging.
Step 1: Add Some Water Beads
Water beads are a nice addition to this bottle. Activate some in water, and then tip them into the bottom of the bottle.
Step 2: Add Other Contents
Put in sequins, glitter, or little toys that your child particularly likes (though not favorites s/he will want to get out of the bottle again!). You could add toy dinosaurs, snowflakes, tiny fairies, Lego miniatures, toy sea creatures, or anything else.
These are going to drift around in the bottle and help soothe your child.
Step 3: Get A Packet Of Glowing Stars
The glowing stars will provide the light for this particular bottle, so be generous with them, and add plenty. Little stars are better, as they can swirl around with the other contents.
You can use glow sticks to provide the light, but this makes the bottle very short-lived as (once the top is glued on), you won’t be able to replenish them. Glow sticks also aren’t very environmentally friendly, so glowing stars are a better choice.
Step 4: Add Baby Oil And Glue The Top On
Fill the bottle most of the way up with baby oil, and you’re almost done! This will give you a nice consistency that will let the toys drift slowly about.
Because this uses oil, seal it very tightly with glue, and then stand it in bright sunlight for a few hours to activate the stars in time for a magical (and hopefully calm!) bedtime experience.
Conclusion
Sensory bottles can serve all sorts of purposes, keeping your child quiet and engaged in the car, in bed, or when the world is getting a bit too much for them. You can make so many different kinds and have so many different experiences, they’re a great tool.
Sensory bottles are also opportunities for your child to learn more about the way the world works and see how different things interact. All in all, they’re a toy your child can enjoy from tiny to full-grown ““ and beyond!

Comments
0 comments