 Source: https://www.how-to-draw-funny-cartoons.com/cartoon-ufo.html
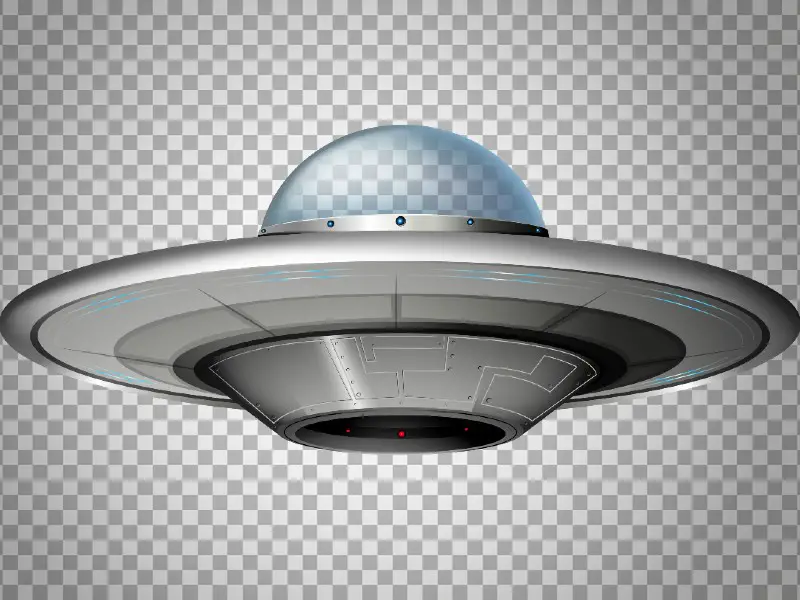
UFOs are great fun for both kids and adults alike, and there are all sorts of reasons you might want to draw one ““ especially if you’ve got kids who are interested in space.
UFOS are fun and relatively simple, and you can draw almost whatever you want (after all, if they’re “unidentified,” who’s to say your representation is wrong? However, you may want to capture a recognizable UFO shape, in which case, we’re going to walk through how to draw a UFO.
Materials
To sketch a UFO, you’re going to need:
- Sharp pencil
- Plain white paper
- Black fineliner
- Flat surface to work on
- Ruler
- Eraser
- Pencil sharpener
- Colors (optional)
Step 1: Divide Up Your Paper
You want both sides of your UFO to look the same, so you should start by drawing a vertical line down the center of your plain paper. This will help to guide you and keep your shapes even.
Step 2: Draw The Glass Semi-Circle
Start by drawing the very top part of the UFO: the glass viewing circle which the alien looks through in most traditional UFO drawings.This should be a steep horizontal curve near the top of your paper. It can either be a true semi-circle or a slightly squashed version. You can make it squarer or rounder depending on your preference.Draw a gently curving line along the bottom of this, almost straight, but slightly sloped. Think of this as a lemon wedge; the top should be a fuller curve than the bottom.
Step 3: Draw A Ring Around The Bottom Circle
Next, you are going to draw a ring around the bottom of your lemon wedge shape. This should curve around to touch either side of the curve. You should now have a shape rather like a bowler hat, but with quite a narrow brim.
Step 4: Draw The Sides
You now want to fill in a small curve on either side of your UFO. This will make the sides of the spaceship when you have finished.Next, you are going to draw a gradual curve along the bottom, coming up to meet both of these sides. Follow the trajectory of the ring you already drew to make an even-looking spaceship.You should now be able to see the ship forming, with the bubble for viewing at the top, followed by the body of the ship below.
Step 5: Start Adding Detail
Begin to add buttons and dials and bolts to your UFO. You can keep this really simple by just drawing a line of circles along the body of the ship, but there are plenty of other options, too.You may want to draw a door for your alien to get in and out of. This should probably be off to one side, and you can draw a little handle or a button alongside it.You can also sketch dotted lines to represent seams in the metal, or draw little dots for the bolts and rivets holding the ship together.
Step 6: Put Your Alien In
A good UFO needs an occupant, so it’s now time to add your alien to the capsule at the top. Again, you can get inventive here if you want to (as aliens can look like anything), but here are some basic steps to create a great-looking alien.Give your alien a large, oval head, and add some big black eyes and antennae. You could also opt for just one central eye, or three if you prefer. Alternatively, the alien could have eyes on stalks.Add some controls for the alien to be poking inside the capsule. You can sketch a small inner curve to represent a “dashboard” of sorts, and then add buttons and knobs to it. You could also draw a little steering wheel.Your alien could have several arms, with three blobby fingers on each hand.
Step 7: Draw The Night Sky
Your UFO needs the background to fly through; try adding a moon and some stars. Draw the moon by tracing around half of a drinking glass, and then carefully sketching the inner circle. Stars can just be little dots, or you could take the time to add some five-point stars.Try to vary the size of the stars, and consider adding a cloud or two to show your UFO is swooping down low.
Step 8: Add Legs (Optional)
You may want to give your UFO little landing legs or even a protruding staircase to show your alien can get down to Earth. Three legs look great; you can position one on either side of the UFO, and one at the back.Draw your legs by creating a simple curve, followed by another, and a sphere at the bottom. Add a few joints by drawing lines across each leg. These will then look like they can be retracted as needed.
Step 9: Fineline
Erase any lines you are unhappy with, including your central guideline, and take a bit of time to review your picture. Do any parts need re-drawing to make them work better?If you are happy with everything, grab a fineliner and start inking in the outline. Make sure you work from the top down to avoid smudging, and go slowly; you don’t want to ruin your picture at this stage!
Step 10: Color
Coloring in your UFO is one of the best parts; you can make your alien all sorts of wonderful colors, and add as many lights or flashing buttons as you like. This is a great way to make your picture look vivid and exciting. Your actual UFO could be colored silver, or you could use bright colors such as orange and purple to make it stand out. Leave the glass panel clear so that your aliens can see out.
Conclusion
Drawing a UFO is a bit tricky, but you can have a lot of fun with it once you’ve got the basic shape. Experiment with different looks and colors, and feel free to try adding things like grasping claws or laser beams once you have mastered the outline of the flying saucer.

Comments
0 comments