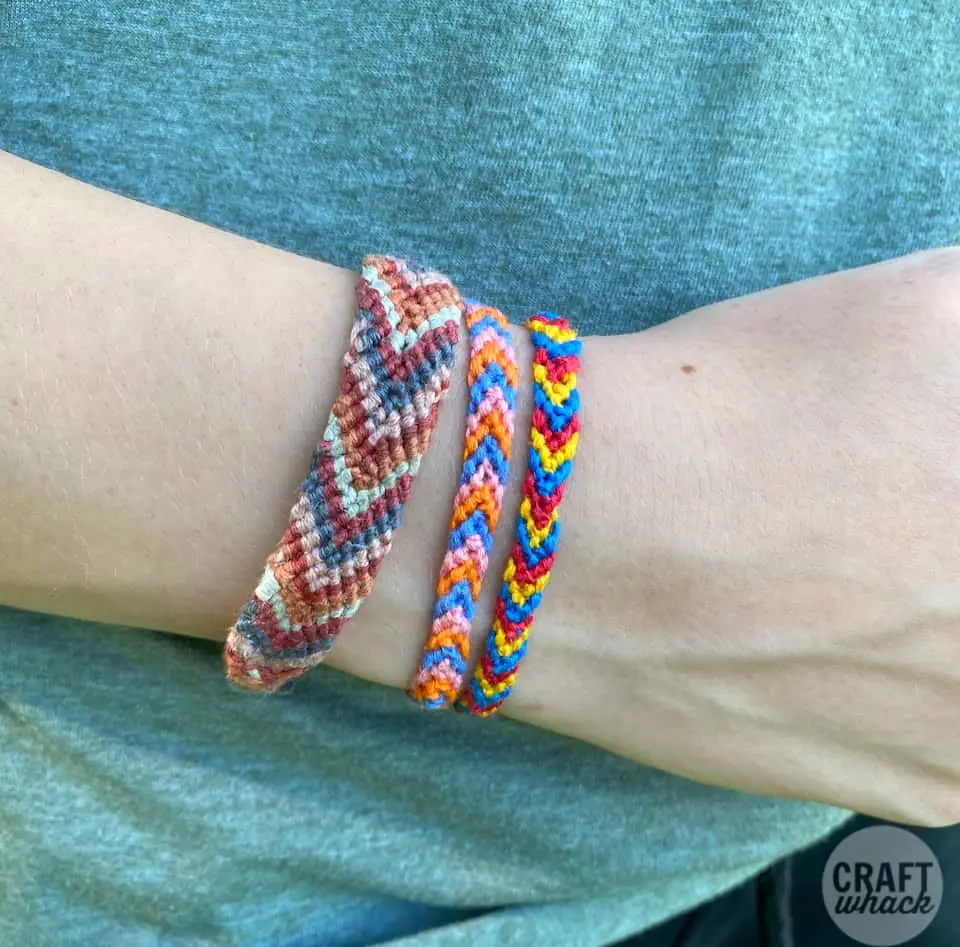
My teenager brought this friendship bracelet project home from the camp where she is a counselor every summer. She taught me how to make these really cute embroidery friendship bracelets, and I thought I would capture the process to share with you.
This is a great way to use up any random embroidery thread you may have lying around. But it’s also a great excuse to buy new embroidery thread in ALL THE COLORS!
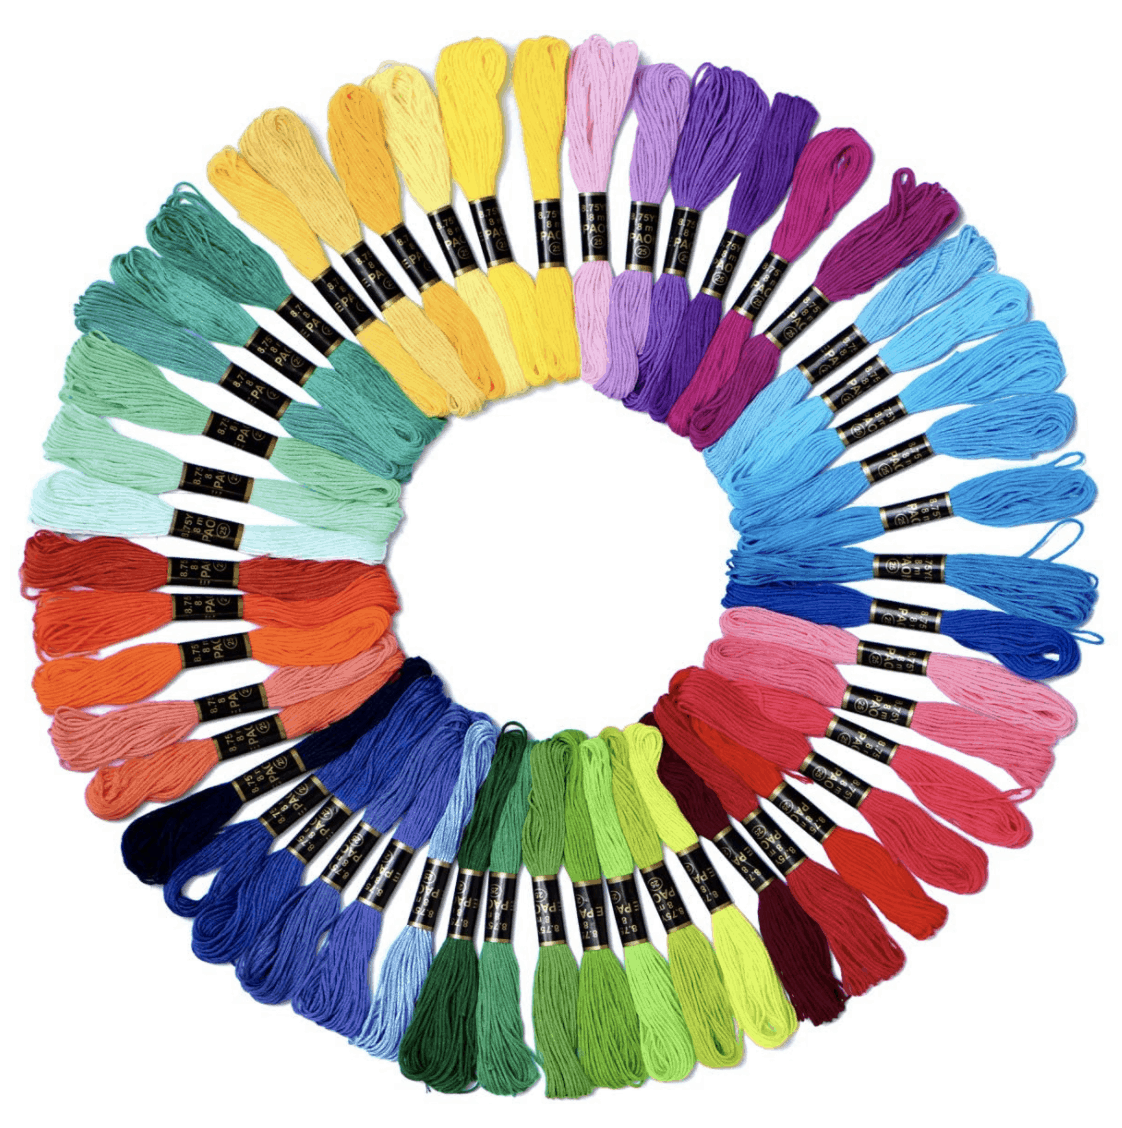
Supplies
– make sure you have about a five foot length of each color you want to use.
Washi tape or a clip board or safety pin – something to secure the top of the bracelet as you tie the knots
How to Make Friendship Bracelets
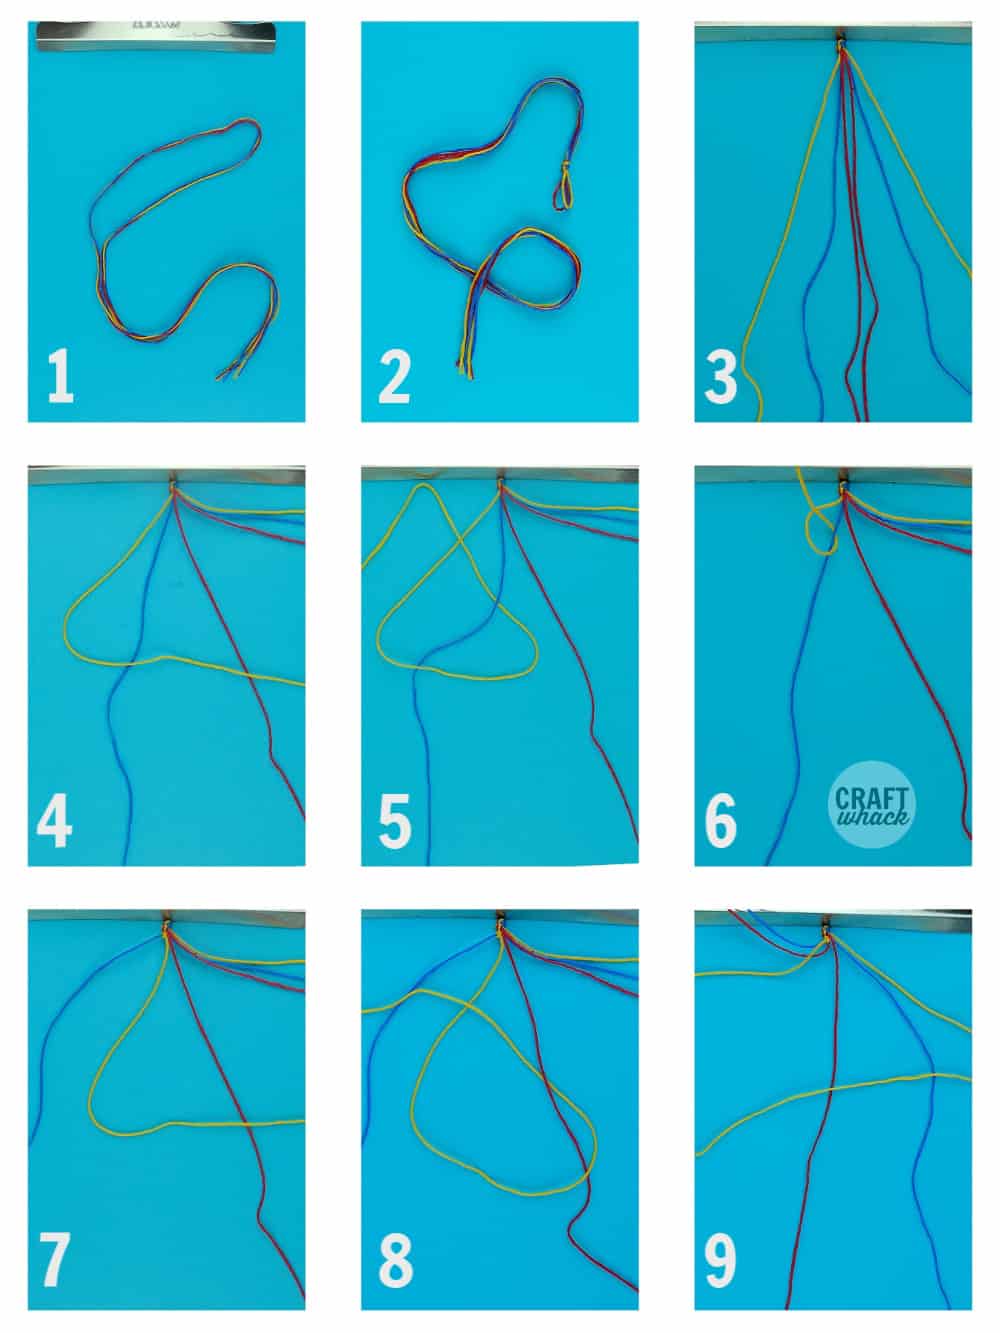
Choose 3 colors you love together, and measure out an arm’s length and a half of each of them.
#1 Fold them in half so there are 6 individual strands hanging down.
#2 Knot the top where you folded the embroidery thread, leaving a little loop.
Secure the loop somehow to keep it in place. We clipped it to the top of a clipboard, but I’ve seen people tape theirs or even safety pin it to their jeans to keep it from moving around while working.
#3 Spread out all 6 threads on your surface.
#4 Take your left most thread and pass it over the thread to the right of it to make a ‘4’ shape.
#5 Loop it around and behind that thread, and pull the end through the hole toward you, to make a knot.
#6 Tighten the knot.
Repeat steps 2 and 3 so you have made 2 knots using the same threads.
Now the thread that used to be the left-most thread (the yellow one) has moved over to the right one place.
#7 Take the yellow thread and make a ‘4’ shape over the new thread to its right.
#8 Loop it around that thread and knot it. Repeat this process again to make 2 knots on this thread.
Repeat this process moving from right to left withe the thread that is on the very right.
#9 Take the thread to the very right (yellow) and make a backwards ‘4’ over the thread to its left.
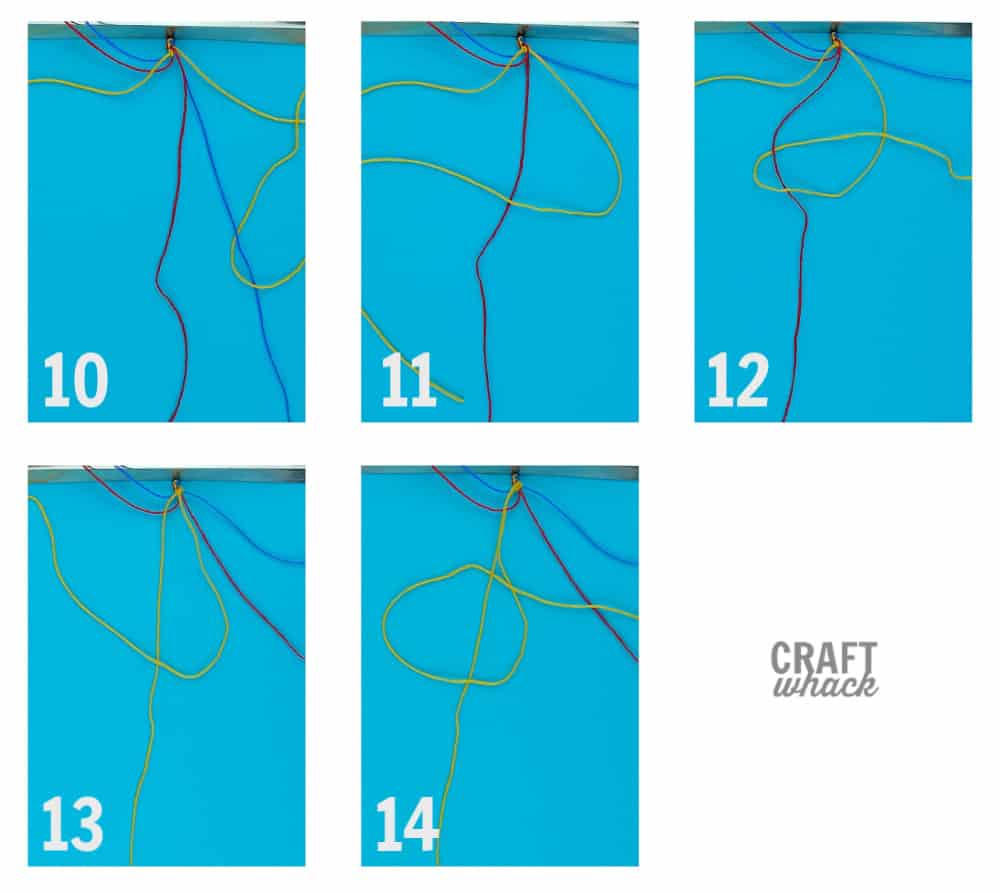
#10 Tie a knot around that thread with the yellow thread. Repeat to make 2 knots.
#11 Make the backwards ‘4’ over the thread to the left (red)
#12 Knot it around the red thread. Repeat to make 2 knots.
#13 Make a ‘4’ with the center yellow threads.
#14 Tie them together twice!
Now repeat all the steps until your bracelet is the right size to fit around your wrist comfortably.
Want to see the technique live? Watch this video:
[adthrive-in-post-video-player video-id=”c4OVVesj” upload-date=”2020-05-27T18:13:00.000Z” name=”Friendship Bracelets” description=”The classic teen summer camp craft – friendship bracelets” player-type=”default” override-embed=”default”]
Finishing Your Friendship Bracelet
To tie off the bracelet and finish it, you can simply tie the ends together around your wrist, or you can finish them more neatly.
For this bracelet, you could:
- Braid each of the 3 floss strands together
- Place the bracelet around your wrist
- Tie the 2 braids around the loop
See this post for more ideas on tying off your friendship bracelet.
More About Friendship Bracelets
You can make any width friendship bracelet you’d like, just add more strands of embroidery thread. You’ll still work each thread across each of the other threads and tie them together in the center.
When you are first starting to make friendship bracelets with embroidery thread, use different colors of thread together so you can easily keep track of where you are in the tying process.
If you need to put your bracelet down at any point in the middle of working on it, jot down the last step you did to help you quickly pick up where you left off.
Pin it For Later
Comments
0 comments