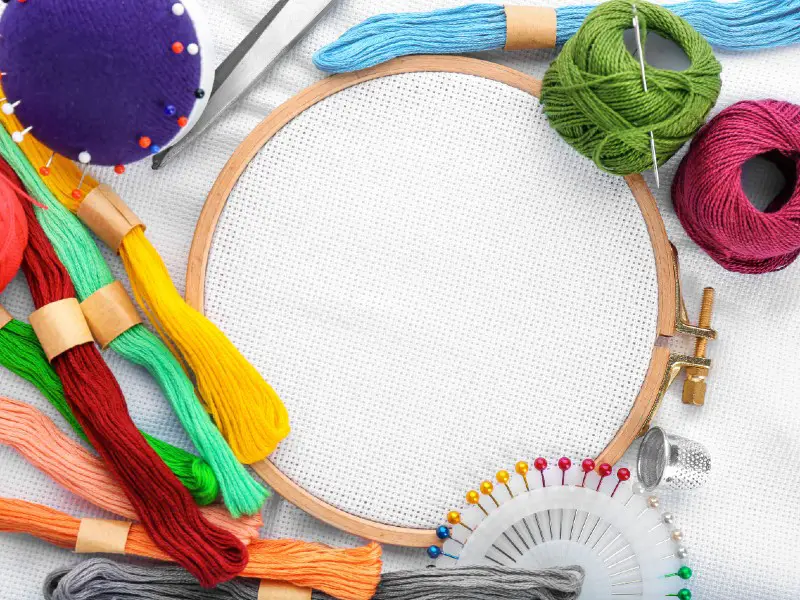
Being able to embroider fabric is a great skill for both boys and girls; it opens up a whole range of crafty options, and will help with their motor skills and coordination. It will also teach them a lot about sewing, much of which may prove useful in later life.You can teach them a lot of different stitches for embroidery, or keep things totally simple. If you aren’t very familiar with embroidery yourself, take a bit of time to learn the techniques before you start so you can help when your child gets stuck.With all that in mind, let’s look at some embroidery for kids.
Basic Stitches
 Source: https://www.thesprucecrafts.com/teaching-kids-to-embroider-1177385You should cover some of the basics of embroidery with your children before launching them into more difficult projects. This will help them to get a good foundation and ensure they know what they’re doing.It’s also a good opportunity to practice the different kinds of stitch, such as cross-stitch, stem stitch, back stitch, and running stitch.
Materials
You will need:
- A piece of burlap (or another plain fabric with a reasonably loose weave)
- A black marker pen
- Embroidery thread
- An embroidery needle
- Scissors
- A ruler
Step 1: Cut A Square And Draw On It
Cut a square of burlap (or other fabric) and add some lines to it.You are going to draw dotted lines, the same width as you want the child’s stitches to be. Use the ruler and make both the lines and the gaps as even as possible to encourage them to keep their stitches even.It helps to do big lines for early projects, so your child can get a feeling of the movements and the look of it before moving on to more fiddly stitches.Lines you can try include:Straight lineStraight-line with big lines for the stitches and smaller gaps for the lower stitchZigzag patternSpiralCircleSquareThese will all teach your child different aspects of stitching. They will learn how to sew in curves and how to sew around corners, as well as how to vary the size of the stitch.
Step 2: Help Your Child Sew
If your child is just starting out, you need to take quite a hands-on approach and help them with each step so they don’t get bored or stuck too fast. Knot the thread for them and show them how to start on the underside of the fabric to hide the knot.With your help, they should be able to start sewing along the straight line first. They may want to practice several of these before moving onto the more difficult shapes.
Step 3: Teach Them How To End The Line
Once they reach the end of one of your guidelines, you need to show them how to finish off. If they are still unsure, you can use a knot again, but it’s better to teach children how to over-sew their previous stitch to hold the thread in place. This is neater and often more secure than a knot.Don’t force the first embroidery lesson. If your child is not showing much interest, accept that and let them go and do something else. They need to be in a willing state before you start, and you shouldn’t be concerned if they get bored very quickly. Embroidery is a tricky skill that requires a lot of patience ““ and patience will come with time.
Sew A Smiley Face
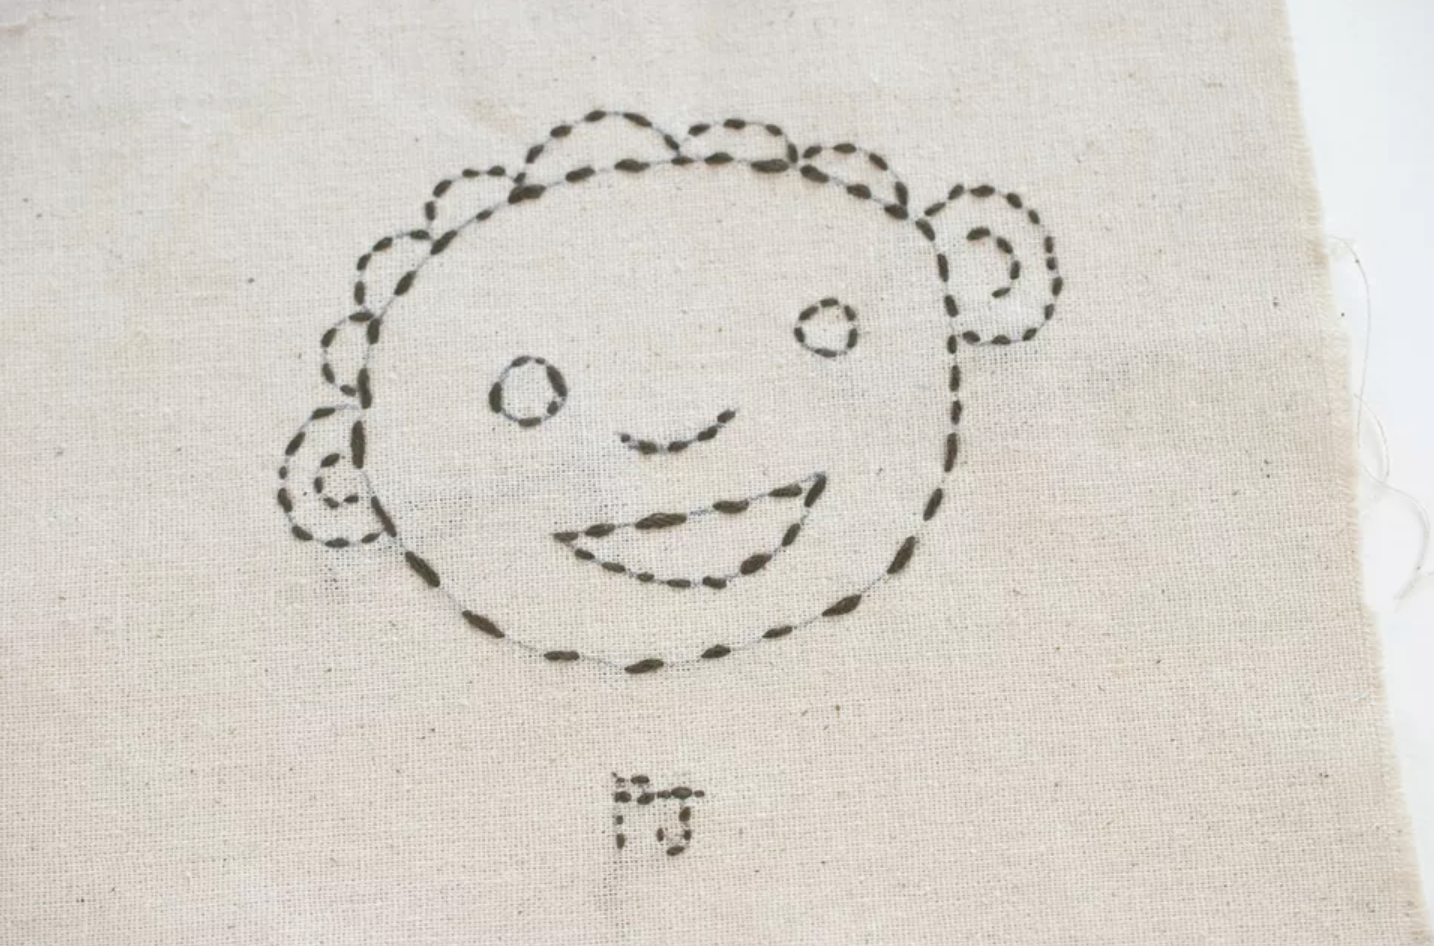
Source: https://www.thesprucecrafts.com/teaching-kids-to-embroider-1177385Kids love smiley faces, and this is a great, simple pattern to start with. Use something to draw around to make a nice, neat circle, and remember to keep the stitch guides fairly big to make the project quick and easy.
Materials
You’re going to need:
- Plain fabric
- Black marker pen
- Embroidery needle
- Embroidery thread in the color(s) of your child’s choice
- Scissors
Step 1: Draw The Face
Draw a nice, large face with a clear, dotted outline for your child to follow. Add eyes, a mouth, a nose, and hair. You can also include ears if you want to make it more challenging.Keep the shapes very simple, especially the hair. You may want to just do some semi-circles to represent short curls around the top of the head. If you want to do long hair, consider just making one long line on each side of the face, with a straight bottom. This will keep it simple.
Step 2: Attach The Thread
Help your child over-sew their first stitch a few times to secure the thread, and then let them get started on sewing around the outer circle. They may want to use a skin color for the face, or just find a color that they think is pretty.When they get to the end of the face’s circle, help them end off and cut the thread.
Step 3: Sew The Eyes
Next, get them to sew the eyes, encouraging them to do as much as they are capable of doing independently (but not making the project a struggle for them). The eyes will involve smaller, tighter stitches and could be done in any color that contrasts with the face’s color.
Step 4: Sew The Mouth And Nose
Next, help your child to sew the face’s mouth, perhaps using red thread. If your child wants to take a break or stop at any point, let them; this project will probably take quite a while. When they’ve finished the mouth, they can sew a simple curve for the nose, again using the flesh-colored embroidery thread (or another color of their choice).
Step 5: Sew The Hair
They should make a start on the hair next. This could be the same color as their hair, or a weird and wonderful color like purple or green to make the project brighter. If your child is having fun and wants to do more, help them add a few extra lines of color to indicate the hair is filled in.
Step 6: Add Their Name
If your child is still enjoying the project, consider adding their name under the face using your black marker, and then get them to sew this. Depending on what their name is, this could be quite complicated, so you may wish to just use their initials.Make sure you don’t write it too small; they should still be able to follow the dots easily to get neat stitches. Once they’ve finished, the face embroidery is complete and they can proudly display it on their bedroom wall!
Freeform Embroidery
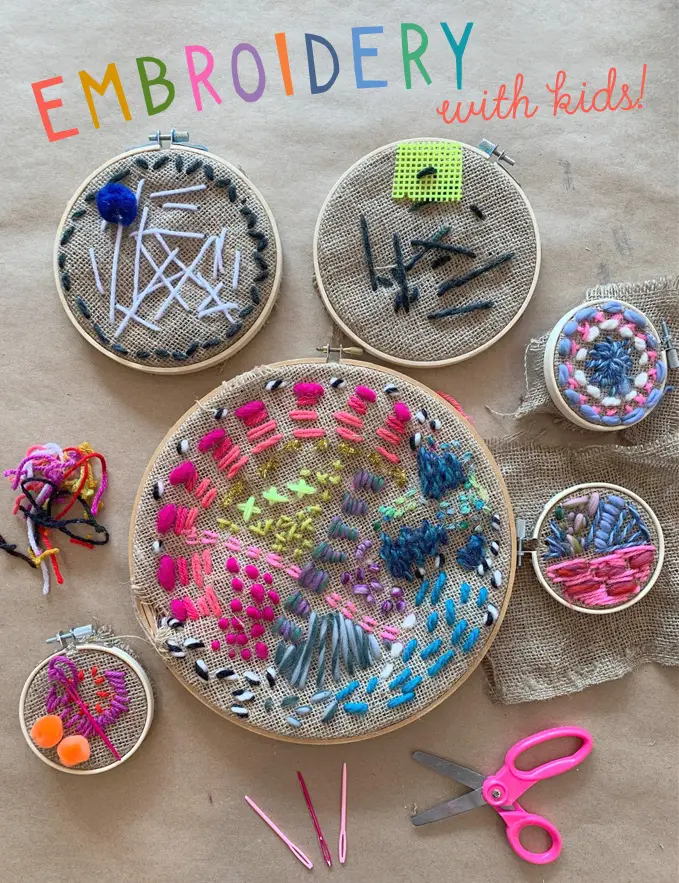 Source: https://www.artbarblog.com/embroidery-and-stitching-with-kids/Now that your child has got the basics down, they can spend a bit of time experimenting and having fun. Basically, you let them do whatever they like for this, but we’ll provide some guidelines and ideas.
Materials
You’re going to need:
- Piece of burlap fabric
- Embroidery hoop
- Embroidery threads in 3-5 different colors
- Beads that will fit over an embroidery needle
- Some thin yarn in 3-5 different colors
- Pom poms
- Pipe cleaners
- Glittery thread
- Scissors
Step 1: Cut Out The Fabric
Cut around the burlap fabric and put a piece into the embroidery hoop to make it easy for your child to work on this project. Next, ask them what sorts of things they want to include in their picture.Encourage them to think of this project a bit like drawing, but with different materials. They might like to put sunshine in a corner or embroider some stick people or animals around. Think about where they might like to sew the beads and the different yarns and threads.Remind them about the different kinds of stitches and ask how they might be useful for making different shapes. For example, they could do cross-stitch to make grass. What about running stitches for a tree?
Step 2: Cut Some Lengths Of Thread
Cut some threads in advance for them; this will help them to use good amounts, rather than cutting more than they can handle and getting into knots. You can always cut more if they need a bit extra of one color or another. If they are going to cut the thread themselves, remind them of scissor safety.Lay these threads to one side of the project so the child can look at them and decide which they want to use. Show them how to thread beads onto the needle, and give them a little glue so they can attach the pom-poms or pieces of pipe cleaner if they want to.
Step 3: Let Them Sew Independently
Make sure you are available to help and keep an eye on the project so you can intervene if they start to get frustrated, but let them have a bit of time to try this alone. Remind them to ask if they’re starting to struggle, and check in every so often, but otherwise, leave them to get on with it.This will encourage them to treat embroidery like another craft activity and may make them feel relaxed about it. If they lose interest, just put the work aside for another day and ask them if they’d like to try again later.When the project is finished, show them how proud you are of their work and display it somewhere prominent. Freeform embroidery is a great way to get them to experiment with the different stitch types without any goa” in mind, so it’s good for building up their skills.
T-Shirt Embroidery
Once your child is getting more comfortable embroidering surfaces, they may want to try it on something “real,” such as a bag or a garment that they can wear.
Materials
You’re going to need:
- A plain white t-shirt in your child’s size
- An embroidery hoop
- Embroidery threads in 3-5 different colors
- A piece of paper and a pencil
- Scissors
- A large piece of scrap card
Step 1: Draw A Design
Before you make a start on the project, get your child to sit down and think about what they would like to embroider on the shirt. They can draw out the design in full, to scale, if it helps. This will let them erase any parts that aren’t working well.Make sure you talk about colors and think about anything they want to add, such as beads, before you proceed.
Step 2: Draw On The Shirt
Your child will probably want some guidance with the shirt too, so get a soft pencil and copy their design onto the shirt for them. They can do this themselves if they prefer, but the end result will probably be better if you do it.Slip the scrap cardboard into the shirt to stop your child from accidentally stitching through both sides of the fabric at any point. This will help them to keep the two sides separate.
Step 3: Embroider The Shirt
Get your child set up with the colors they want and the design ready, and then make sure you’re available to offer any help they need. This is their first “real” embroidery project, so they may want you to give them a hand.Don’t feel the project all needs to be completed in one go, either; it’s perfectly fine for them to set it aside for another day. Tell them to just do as much as they want, and come back to it later. They are more likely to do a good job and feel proud of their efforts if they have worked on it willingly.
Conclusion
Embroidery is a skill that takes patience and effort, and it may take quite a while for your child to get engaged with it. Start out with simple designs and just a few colors so they don’t get overwhelmed, and let them expand a little at a time.Once your child is comfortable with the embroidery needle and thread, encourage them to branch out into more complex projects. Get some clothes that you don’t mind them experimenting with, and let them try out different designs and stitch styles to see the effect. Soon, you’ll have a little embroidery prodigy!
Comments
0 comments