


Crazy hat day is a school spirit day where kids wear the silliest, boldest hat they can find or make. Most of these hats come together from paper, tape and a few craft supplies in under an hour.
Here are 14 crazy hat day ideas, from a 10-minute newspaper hat to a shark or minion hat, with materials, age range, difficulty and quick steps for each. Pick one from the table, grab the supplies and you can have a finished hat the same evening.
Quick Picks: Which Crazy Hat Should You Make?
| Hat | Best for | Time | Main materials |
|---|---|---|---|
| Newspaper party hat | Ages 4+, very easy | 10 min | Newspaper, tape |
| Dr. Seuss top hat headband | Ages 5+, easy | 15 min | Red and white paper, headband, glue |
| Dinosaur crown | Ages 4+, easy | 20 min | Green paper, scissors, stapler or tape |
| Snowflake hat | Ages 4+, easy | 20 min | Paper, pipe cleaners, tape |
| Paper feather headband | Ages 4+, easy | 20 min | Construction paper, glue |
| Foam crown | Ages 5+, easy | 25 min | Craft foam, glue, stick-on gems |
| Princess of hearts hat | Ages 5+, easy | 30 min | Paper hat or cone, paint, glitter glue |
| Mermaid hat | Ages 5+, easy | 30 min | Foam or felt, glue, sequins |
| Shark attack hat | Ages 7+, medium | 40 min | Construction paper, markers, glue |
| Butterfly pipe cleaner hat | Ages 6+, medium | 45 min | Pipe cleaners, craft butterflies, glue |
Before You Start: Safety and Sizing
- Under age 3: skip beads, sequins, buttons and small gems. They are choking hazards. Use big paper shapes and stickers instead.
- Hot glue guns are for adults only. Kids can use white school glue, glue sticks or tape. Allow extra drying time for school glue.
- Pipe cleaner ends are sharp. Fold them back on themselves and keep them away from eyes.
- Size the hat first: wrap a paper strip around your child’s head, mark where it overlaps, add a half inch, then cut and tape it into a band.
- Check your school’s rules. Some schools ban costume masks, face coverings or hats with sharp parts.
1. Newspaper Party Hat
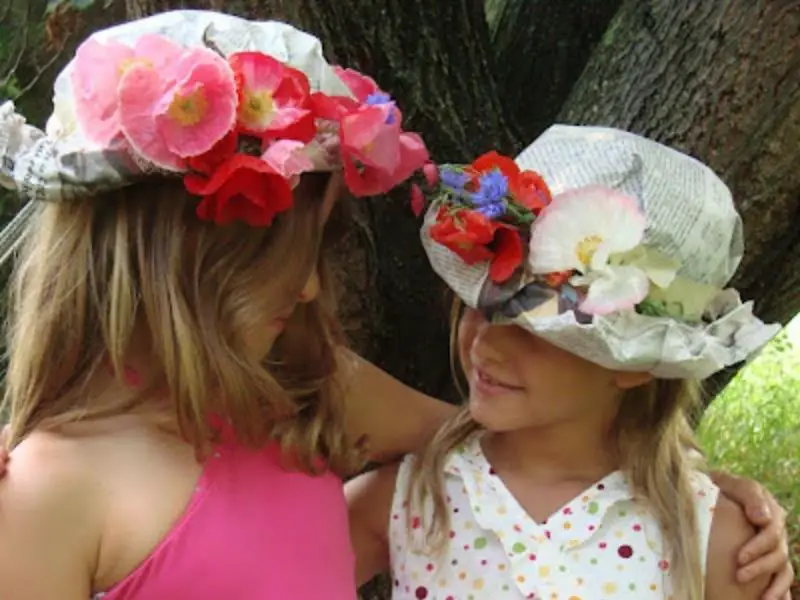
Ages 4+. Very easy. About 10 minutes. You need: a double sheet of newspaper and tape. Optional: craft butterflies, flowers or stickers.
- Lay the sheet flat, folded in half, with the fold at the top.
- Fold the top two corners down to the middle so they meet and make a point.
- Fold the bottom edge up on each side to make a brim, and tape the corners in place.
- Decorate with flowers or butterflies for a garden-party look. Fold the sides and brim differently for a sailor or pirate hat.
Newspaper Party Hats from Artsy Craftsy Mom
2. Butterfly and Pipe Cleaner Hat
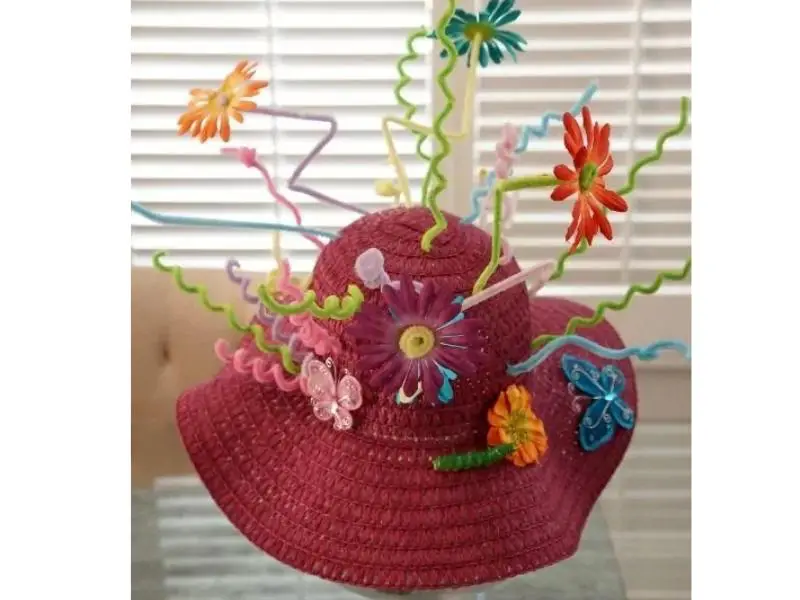
Ages 6+. Medium. About 45 minutes. You need: a plain hat or sturdy paper hat base, pipe cleaners, craft butterflies, artificial flowers, scissors, glue and duct tape.
- Size the hat base to your child’s head first.
- Twist pipe cleaners into spirals or loops and tape the ends inside the hat.
- Glue butterflies and flowers on the ends and around the brim.
- Let the glue dry fully before wearing. Fold back any sharp pipe cleaner ends.
Butterfly and Pipe Cleaner Crazy Hat from diy inspired
3. Upcycled Butterfly Hat Headband
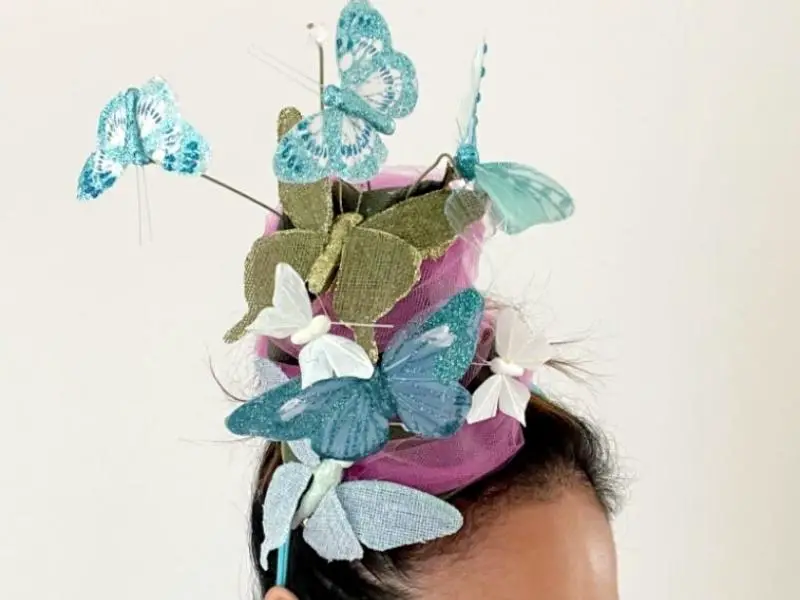
Ages 6+. Medium. About 30 minutes. You need: a plain headband, craft butterflies, floral wire, mesh ribbon or tulle, and glue (an adult should handle any hot glue).
- Wrap the headband in ribbon or tulle and secure the ends with glue.
- Attach butterflies of different sizes to floral wire stems.
- Wrap the stems around the headband so the butterflies bob above the head.
- Tuck the wire ends under the ribbon so nothing scratches.
Uncycled Butterfly Headband Crazy Hat from diy inspired
4. DIY Dr. Seuss Hat Headband
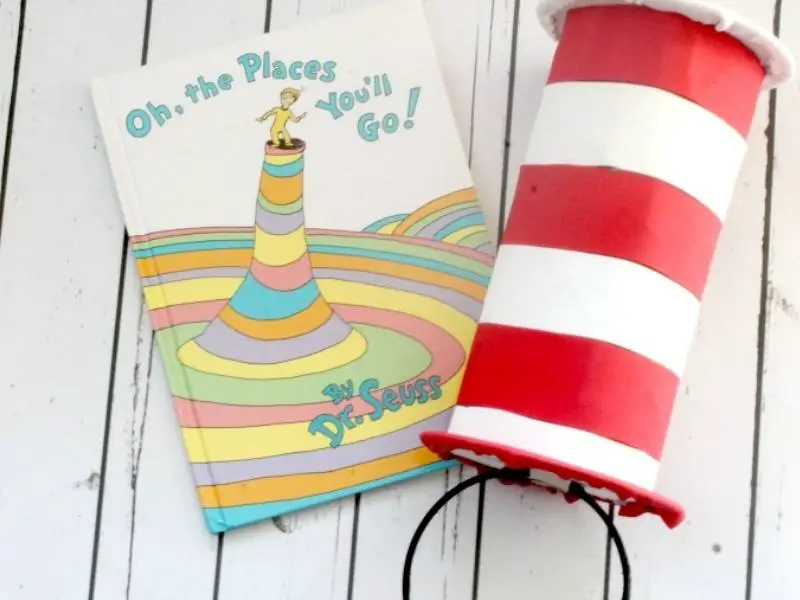
Ages 5+. Easy. About 15 minutes. You need: red and white paper or card stock, a plain headband, scissors and glue. This is a great pick for Read Across America week.
- Cut a tall rectangle of red paper and a few white stripes.
- Glue the white stripes across the red rectangle, then curl it into a loose cylinder and glue or tape the seam.
- Cut a circle for the top and a slightly larger ring for the brim, and attach them.
- Glue the finished hat to the headband.
DIY Dr. Seuss Hat Craft from Mom Luck
5. Mermaid Hat
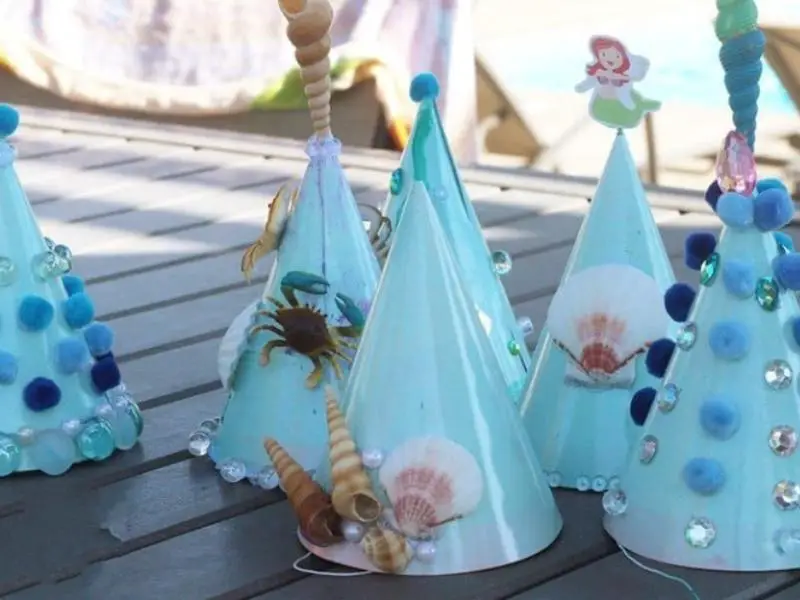
Ages 5+. Easy. About 30 minutes. You need: craft foam or felt in sea colors, scissors, glue, a headband or paper band, and large stick-on gems or stickers. Skip small sequins for under-3s.
- Cut a fan or scale shape from foam or felt, with a flat bottom edge.
- Cut rows of small scallops, or glue on scale shapes, to build a scaly pattern.
- Decorate with shell shapes and gems.
- Glue the piece to a headband or band sized to your child.
Mermaid Hats from Mom Junction
6. Paper Feather Headband
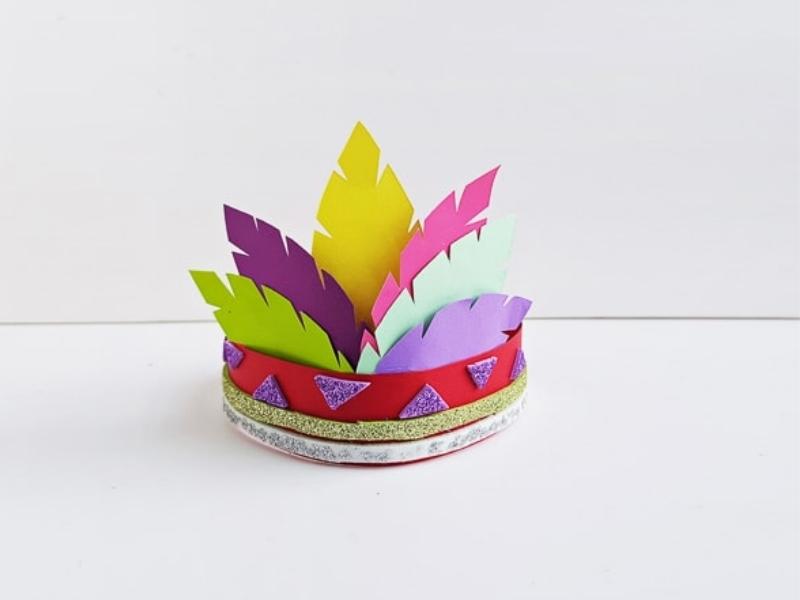
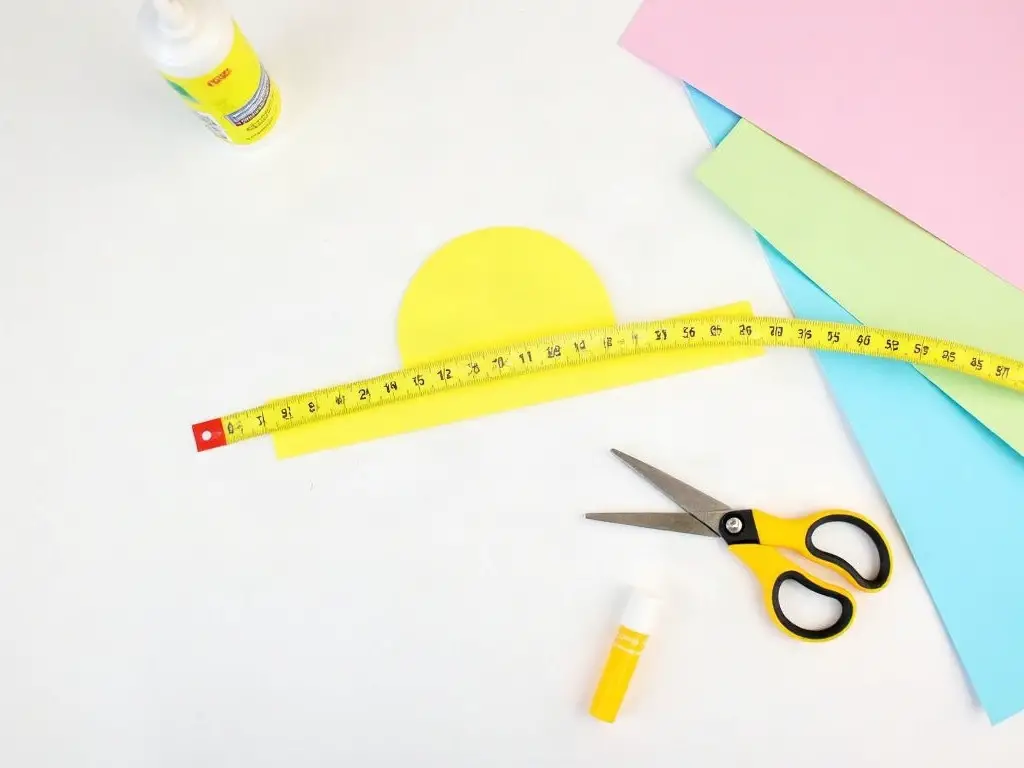
Ages 4+. Easy. About 20 minutes. You need: construction paper in bright colors, scissors, glue and a paper band sized to your child’s head.
- Cut 8 to 12 feather shapes in different colors and lengths, and snip small slits along the edges.
- Make a paper band from a long strip and tape it to size.
- Glue the feathers inside the band, tallest in the middle.
- Decorate the band with stripes, dots or stickers.
A note on costumes: a war bonnet or “chief” headdress is sacred regalia in many Native nations, earned by individuals, and it is not a costume. Make a colorful feather headband like this one instead, and skip the headdress shape and the “Indian” costume label.
Chief Headdress from Busy Bee Kids Crafts
7. Dinosaur Crown
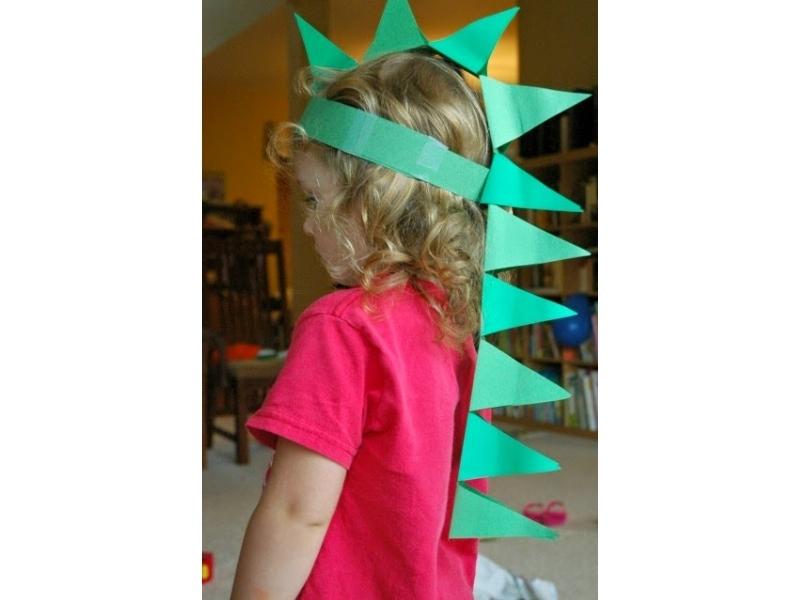
Ages 4+. Easy. About 20 minutes. You need: green construction paper, scissors, markers, and tape or a stapler.
- Cut a long strip of green paper, long enough to wrap your child’s head with an inch to spare.
- Cut triangle spikes along the top edge, or glue on separate triangles.
- Add spots or stripes with markers.
- Wrap it around the head, tape or staple the ends, and fold any staple ends down so they do not touch skin. Adults should do the stapling.
DIY Paper Dinosaur Hat from Paper and Glue
8. Snowflake Hat
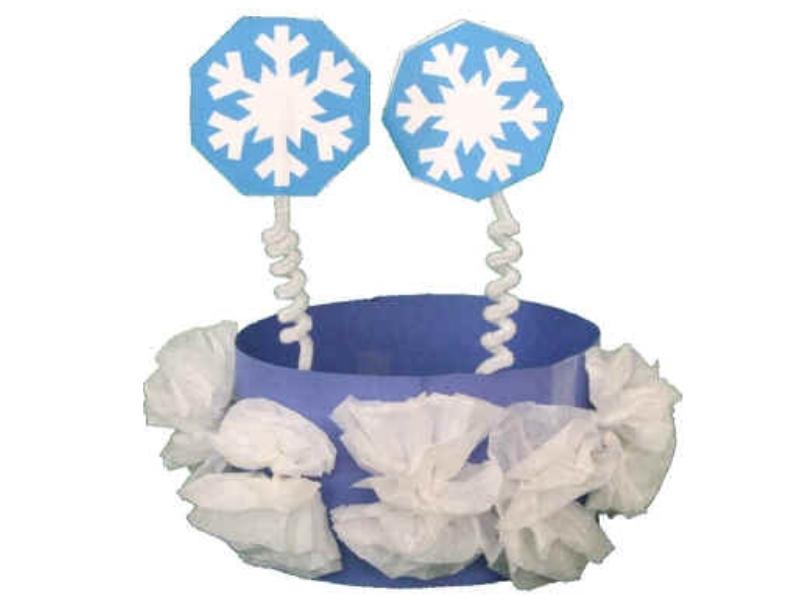
Ages 4+. Easy. About 20 minutes. You need: a paper band, white and blue paper, pipe cleaners, tape and glue. Optional: glitter glue or gel pens.
- Make a paper band sized to your child.
- Cut a few paper snowflakes by folding a circle in sixths or eighths and snipping the edges.
- Twist 3 pipe cleaners into a star shape for a standing snowflake and fold back the ends.
- Glue or tape everything to the band and let it dry before wearing it.
Winter Crown or Hat from DLTK’s Sites for Kids
9. Shark Attack Hat
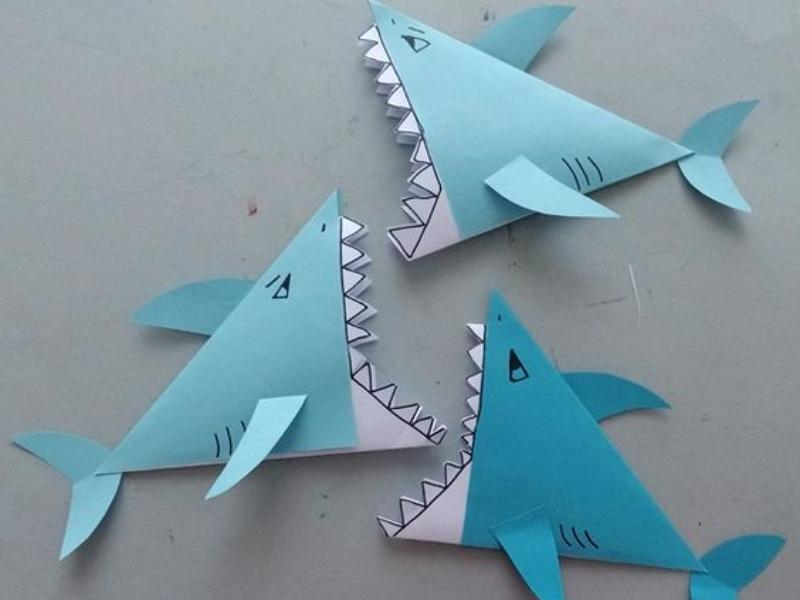
Ages 7+. Medium. About 40 minutes. You need: gray and white construction paper, markers, scissors and glue. Younger kids can help color and glue while an adult cuts.
- Draw a large shark shape on gray paper and cut it out, including the fin and mouth.
- Cut a row of white triangle teeth and glue them along the mouth edge.
- Draw the eye and gills with markers.
- Attach the shark to a paper band so it looks as if it is biting the top of the head.
Shark Craft from Tippytoe Crafts
10. Princess of Hearts
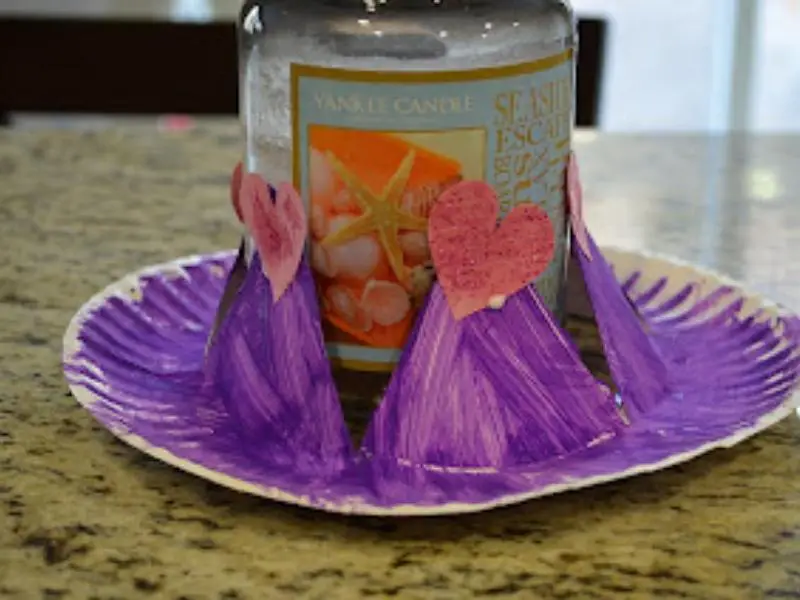
Ages 5+. Easy. About 30 minutes. You need: a paper or card stock cone or crown, red and pink paint or markers, and glitter glue. Use washable paint for kids.
- Cut a crown shape or roll a card stock cone and tape it.
- Paint it red or pink and let it dry, about 20 minutes.
- Add hearts with markers or a sponge dipped in paint.
- Finish with glitter glue, or draw patterns if you do not have glitter.
Princess of Hearts from Tot Treasures
11. Foam Crown
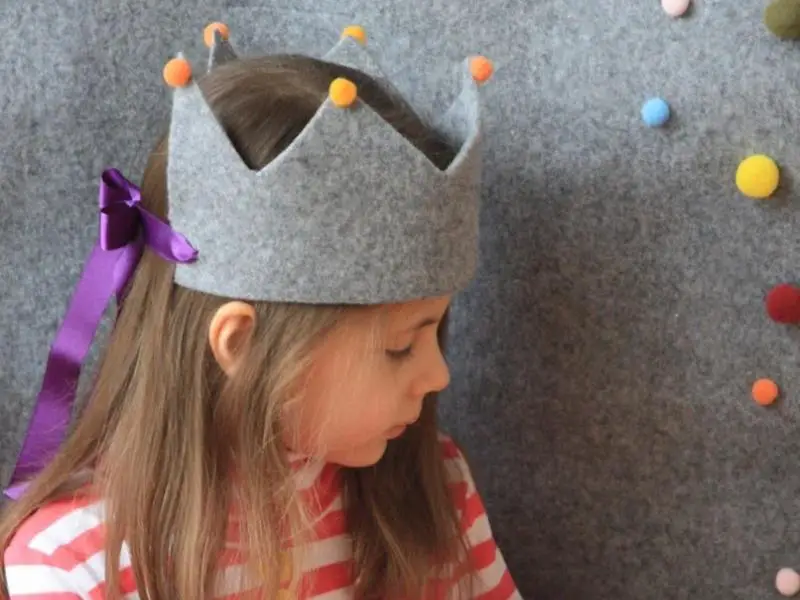
Ages 5+. Easy. About 25 minutes. You need: craft foam sheets, scissors, glue, tape, and stick-on gems. Use big gems only for kids under 3 or skip them entirely.
- Draw a long band on foam, about 3 inches tall and long enough to wrap the head.
- Cut points or curves along the top edge.
- Decorate it with gems, stickers, glitter glue or marker patterns.
- Join the ends with tape or glue, and use a paper clip to hold it while it dries.
Foam Crown from Mom Junction
12. Minion Hat
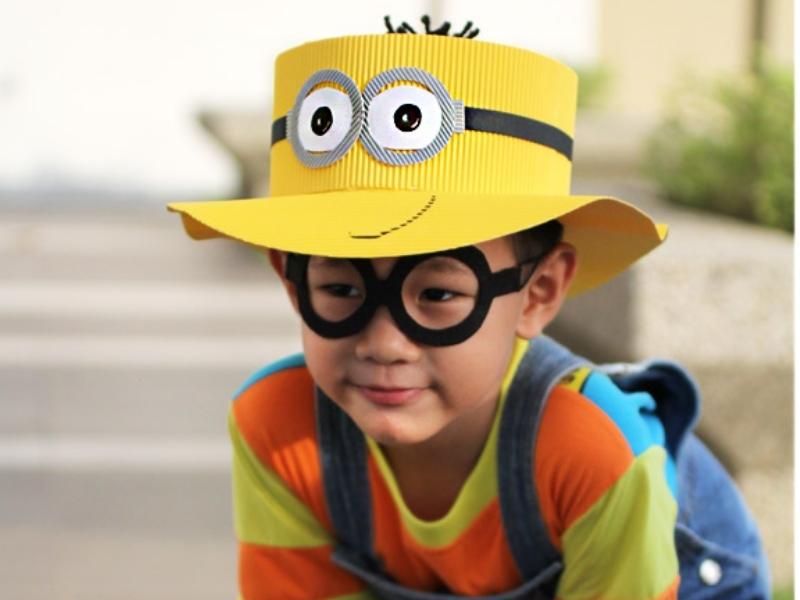
Ages 8+, or younger kids with help. Harder. About 60 minutes. You need: yellow and blue craft paper or felt, black paper, a white circle, scissors and glue. Follow the source tutorial for the template.
- Cut a yellow paper dome or tube that fits the head.
- Glue on a black goggle strap and a gray or silver ring with a white circle for the eye.
- Add a few strips of black paper hair on top.
- Cut out blue overalls to wrap the band if you want a full look.
DIY Minions Hat from CraftsPassion
13. Cowboy Hat
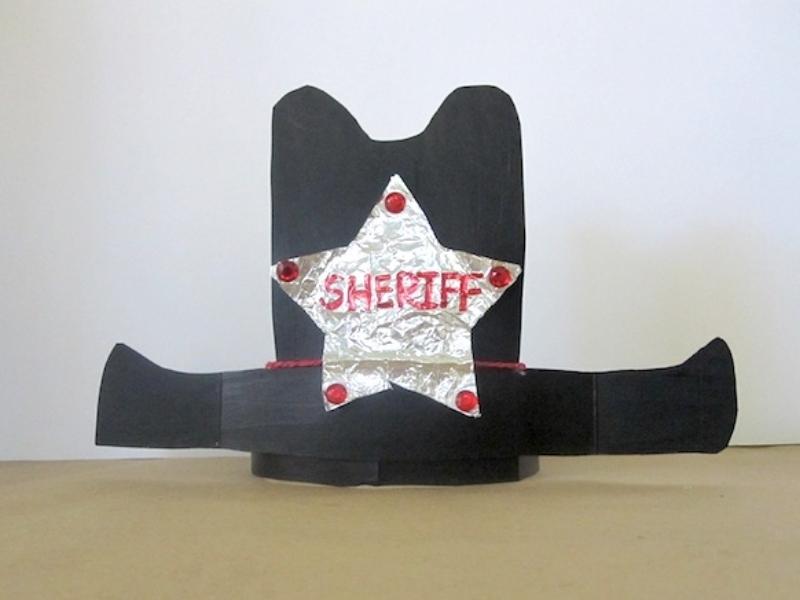
Ages 7+. Medium. About 45 minutes. You need: brown poster board or craft foam, scissors, a stapler or tape, paint or markers, and a string or ribbon for a hat band. Great for kids who love Woody from Toy Story.
- Cut a wide oval for the brim and a band for the crown.
- Shape the crown into a cylinder and tape it, then fold tabs at the bottom edge.
- Glue the tabs to the center of the brim, and curl the brim edges up with your hands.
- Add a ribbon hat band and paint or draw stitching.
Cowboy Hat from tinybeans
14. Turkey Hat
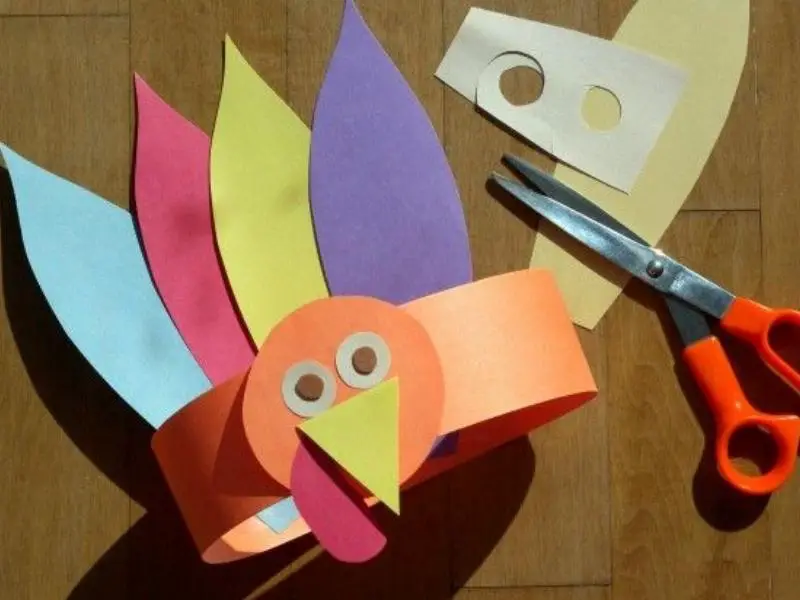
Ages 4+. Easy. About 25 minutes. You need: brown construction paper, orange, yellow and red paper, scissors and glue. A good Thanksgiving week choice.
- Make a brown paper band sized to the head.
- Cut 6 to 8 feather shapes in orange, yellow and red, or use ready-cut paper feathers.
- Glue the feathers to the back of the band in a fan shape.
- Add a paper beak and a red wattle at the front.
Turkey Hat with Wings from Mom Junction
Bottom Line
Crafting a hat for crazy hat day should be fun, not a test. Choose one that matches your child’s age and your supplies, and let them add the final silly details.
Frequently Asked Questions
What does crazy hat day mean?
Crazy hat day is a school spirit day where students wear unusual, funny or homemade hats, often as part of a themed week. It is a low-cost way to join in, since most hats can be made from paper and tape.
What is funny hat day at school?
Funny hat day is another name for crazy hat day. Kids wear a silly hat to school, and teachers often hold a parade or vote on categories like silliest, tallest or most creative.
Why is hat day celebrated?
National Hat Day is observed on January 15 each year and celebrates hats of all kinds. Schools use it, and the school spirit day version, as an easy dress-up day.
What is the easiest crazy hat to make?
The newspaper party hat is the easiest. It needs only newspaper and tape and takes about 10 minutes.
What materials are safe for toddlers?
Use big paper shapes, stickers, washable markers and tape, and skip beads, sequins, buttons and small gems for children under 3. An adult should handle scissors, staplers and any glue gun.
Comments
0 comments