Beautiful butterflies! Adults and kids alike love to see these brightly colored insects fluttering around through spring and summer. Butterflies are important pollinators and are often found where flowers are. One of Nature’s works of art, butterflies are a great inspiration for some art of your own. Keep reading for five butterfly arts and crafts projects, a great activity for a rainy spring day. We’ll also share some fun butterfly facts that may be new to you.
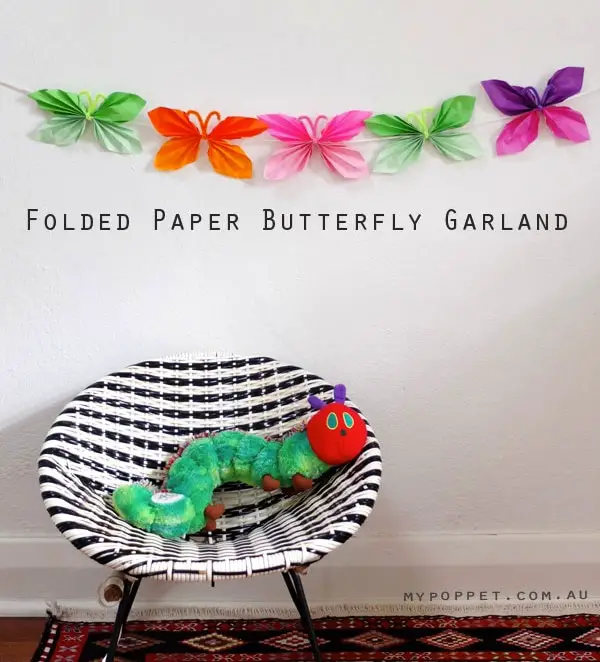
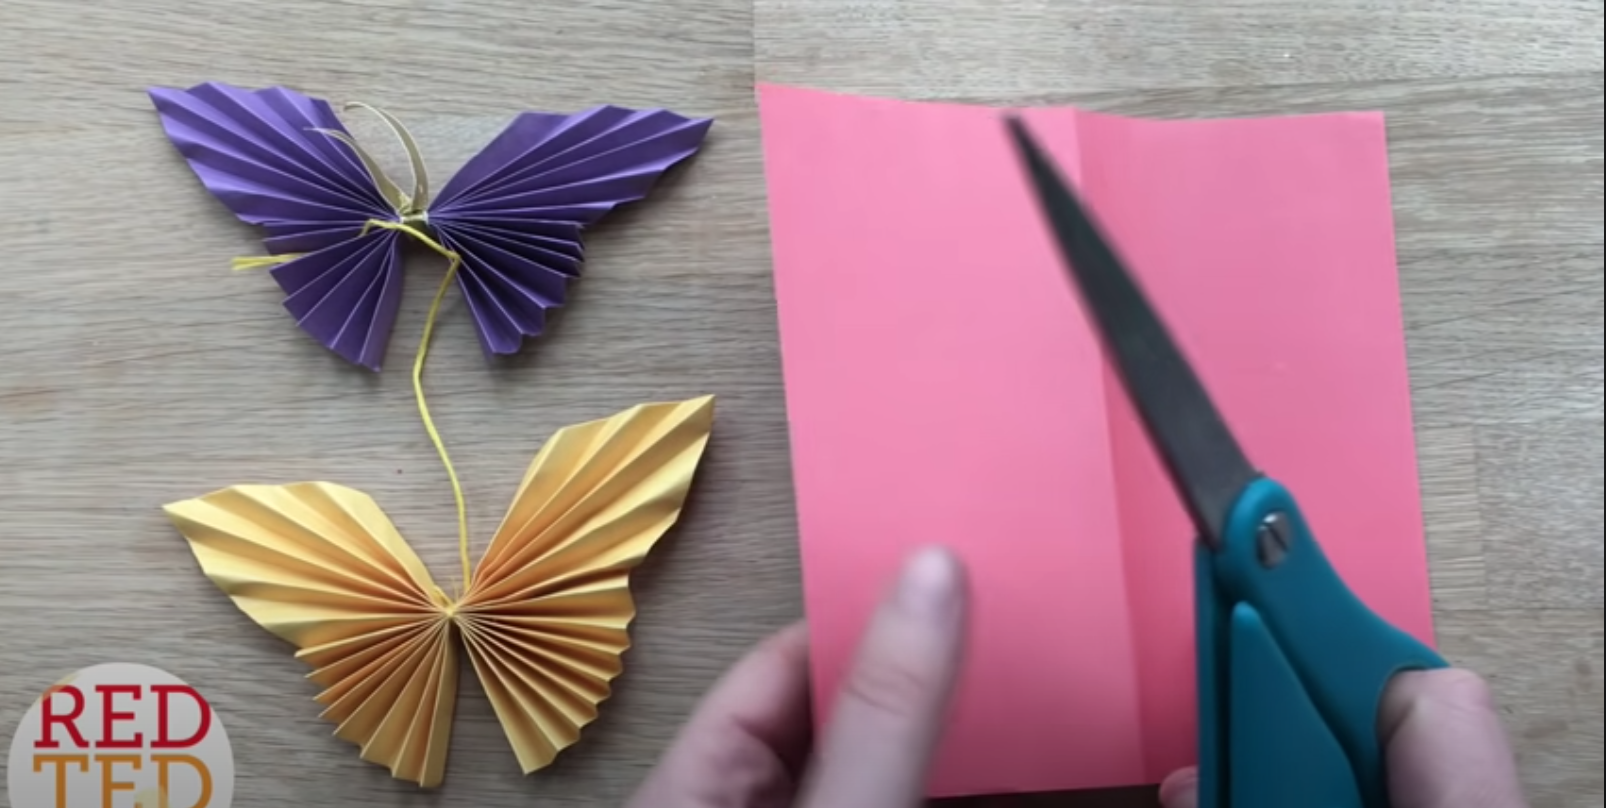
Colorful Butterfly Garland
 Source: By Cintia @ My Poppet, “How To: Paper Butterfly Garland” (https://mypoppet.com.au/makes/how-to-paper-butterfly-garland/)Supplies:
- 6″x6″ colorful paper squares, 2 for each butterfly. Double-sided origami paper is a good choice, or use pretty colored wrapping paper.
- Matching color chenille stems, cut to 6″ lengths
- Yarn, thin ribbon, or twine long enough for your finished garland, plus some extra for hanging.
Steps:
- Fold each square of paper in half diagonally to make a triangle.
- Starting ½ inch down from the fold, make ½ inch fold back and forth on one half of your square until you reach the corner. Repeat with the second half. Now you have a diamond-shaped, zig-zag folded piece of paper. Repeat with the second square.
- Lay your zig-zag diamonds down, one positioned above the other, so that the folds are horizontal and with the bottom corner of one touching the top corner of the other.
- Pinch both pieces together, from top to bottom at the center, and wrap your length of chenille stem firmly around the middle. You should have four “˜wings’, two upper and two lower, with the chenille stem in the center where the body of the butterfly would be.
- Twist the chenille stem to secure it and form the ends into antennae shapes.
- Gently open the end of each wing and flatten the folds slightly to keep them open.
- Make as many butterflies as you would like to have in your garland. Use as many colors as you like.
- Take your yarn, ribbon, or twine and thread it through the chenille stem that is each butterfly’s body. Leave some room at each end of your yarn for hanging the garland.
All finished! Hang your garland and enjoy the bright colors of your butterflies.
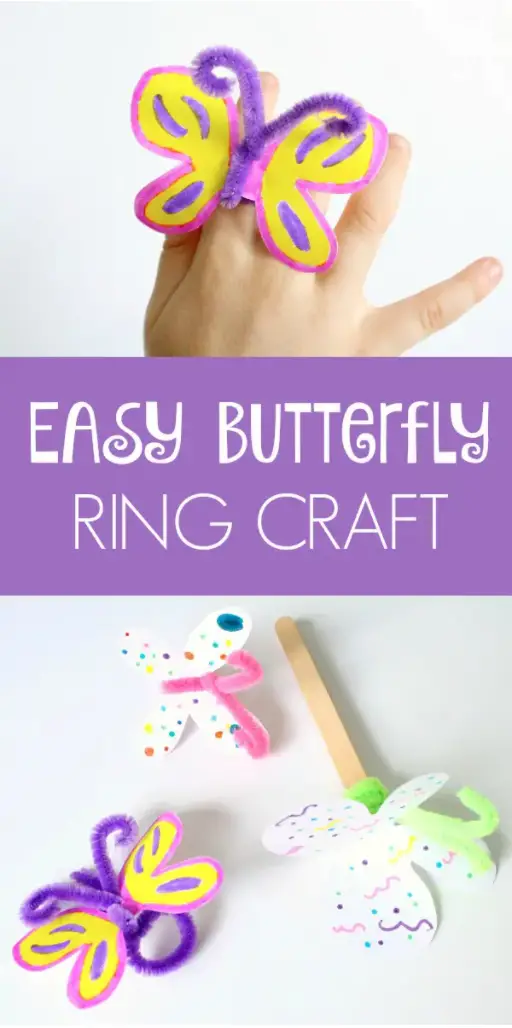
Butterfly Ring or Popsicle Stick Butterfly
 Source: By Shaunna Evans @ Fantastic Fun and Learning, “Easy Butterfly Craft Ring” (https://www.fantasticfunandlearning.com/easy-butterfly-craft-ring.html)Supplies:
- 3″x3″ squares of paper for the butterfly wings
- Pencil
- Markers or crayons for decorating
- Scissors
- Chenille stems (for rings)
- Popsicle sticks (if using instead of rings)
- Glue (if using popsicle sticks)
Steps
- Fold a square of paper in half.
- On the side with the fold draw two parallel lines, ½ inch to 1 inch apart, and about a quarter-inch long. This is the part that will rest on the child’s finger if you’re making a ring or will be pinched between the popsicle sticks if you’re using that method instead.
- Now draw one side of the butterfly wings, similar to an uppercase B in shape. Make sure the ends of your B/wings are connected to the lines you’ve already drawn.
- Keeping the paper folded, cut around your wings.
- Unfold the wings and decorate to your heart’s content.
For the rings:
- Take a chenille stem and make a loop in the middle that fits on your child’s finger.
- Twist the ends of the stem gently around the middle of the butterfly with the long ends sticking out at the top of the butterfly.
- Curl the ends of the chenille stem to create the butterfly’s antennae.
- All done! Your ring is ready to wear.
For the popsicle sticks:
- After decorating your butterfly, fold it in half again.
- Place glue on the outside of the center part of the butterfly.
- Pinch the glued part of the butterfly between two popsicle sticks. Hold for 10 seconds or so to give the glue a chance to set. Let it dry for several minutes.
- Fold the wings out so they sit horizontally.
- Wrap a chenille stem around the popsicle sticks just below the butterfly.
- Twist the ends of the chenille stem together below the front of the butterfly and pull the remaining ends up between the front butterfly wings.
- Curl the ends of the stem to make antennae.
- Done! These popsicle stick butterflies can be great puppets for sing-alongs or storytime or just great fun to fly around like the real things.
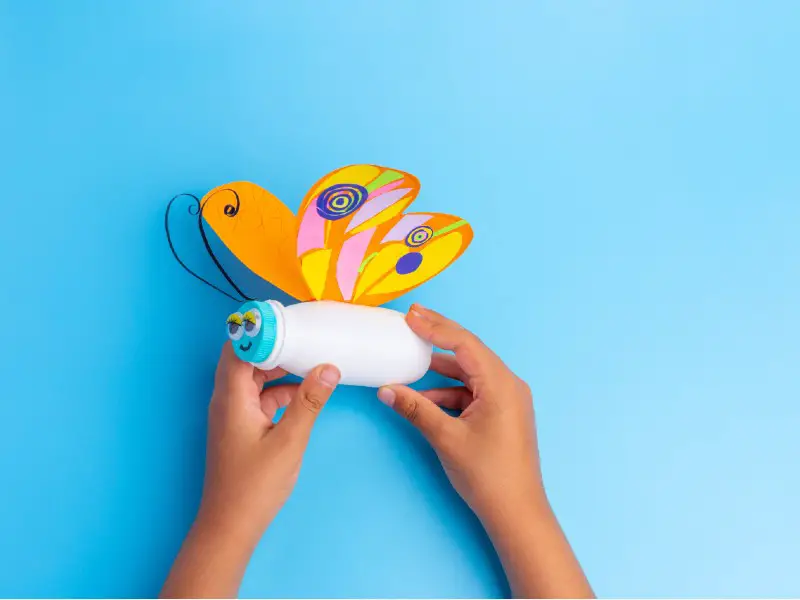
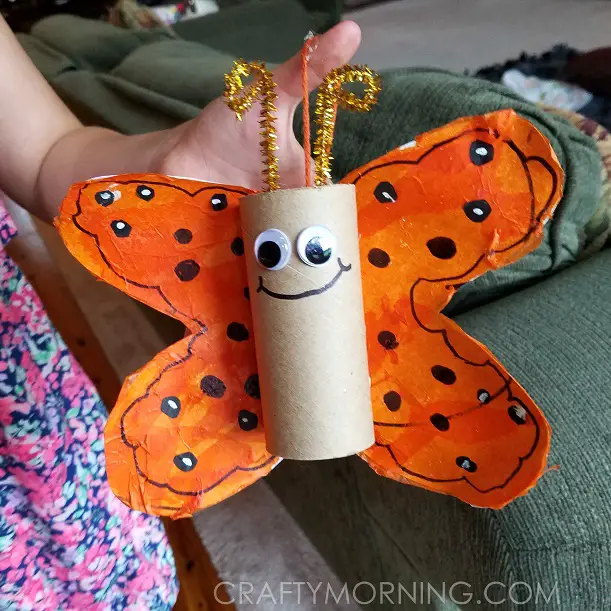
Cardboard Tube Butterfly
 Source: By Michelle @ Crafty Morning, “Cardboard Tube Butterfly Kids Craft” (https://www.craftymorning.com/cardboard-tube-butterfly-kids-craft/)Supplies:
- Cardboard tube (such as a toilet paper roll)
- Cardstock, white, or another light color
- Tissue paper, you can use one color or several
- Paint (optional)
- Pom poms or buttons
- Chenille stems
- Googly eyes
- Scissors
- Hot glue gun or craft glue
Steps:
- Fold your cardstock in half and draw half of your butterfly wings. Cut out your butterfly shape and unfold it.
- Cut or tear small pieces of tissue paper.
- The cardboard tube is the butterfly’s body. You can paint it whatever color you like, or glue pieces of tissue paper on it to decorate it. Let it dry.
- Glue the pieces of tissue paper to your butterfly wing shape, completely covering it. Set it aside to dry.
- When the cardboard tube is dry glue some googly eyes near the top of the tube. Draw a smile if you like.
- Cut pieces of chenille stem and curl one end to form antennae. Or glue a pom-pom or button to the top of each stem.
- Glue the straight/undecorated ends of the chenille stems to the inside of the top of the cardboard tube on either side of the eyes.
- Glue the butterfly body to the middle of the wings and let it dry.
Toilet Paper Roll Butterflies
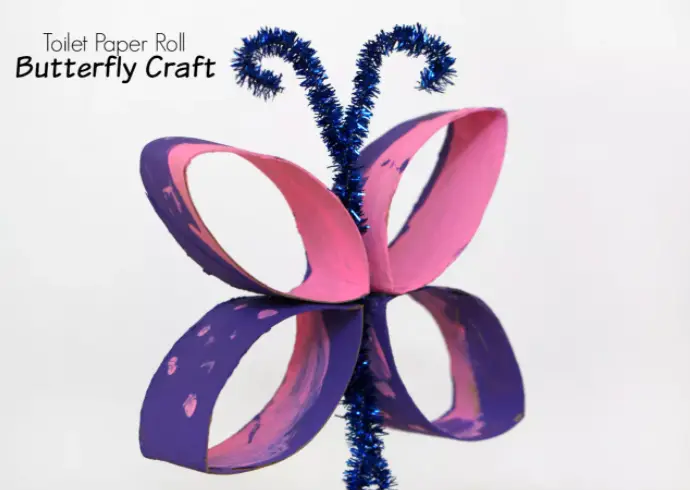 Source: Inspired by Where Imagination Grows @ The Spruce Crafts, “Toilet Paper Roll Butterfly Craft for Kids” (https://www.thesprucecrafts.com/butterfly-craft-for-kids-4129195)Supplies:
- Toilet paper tubes
- Scissors
- Paint and paintbrushes
- Twigs for the body and antennae, one fat twig, and two thin pieces for each butterfly
- Glue gun and glue sticks
Steps:
- Cut each toilet paper tube into four pieces. These cardboard rings are your wings.
- Bend each ring on two sides to make the wing shapes.
- Paint the outside of your cardboard rings with bright colors and patterns. Stripes, polka dots, whatever you like. Optionally paint the insides a dark color.
- Optional: Paint the twigs black or dark brown.
- Once all your paint is dry, glue the antennae twigs to either side of the top of the body twig.
- Glue the wings to the body with the points of the wings about two-thirds of the way up the twig.
- Enjoy your colorful butterfly art!
Fun Facts About Butterflies
- Male butterflies need nutrients, such as salts, minerals, and amino acids, that they cannot get from flower nectar. If you’ve ever seen butterflies along the edge of a mud puddle they are there for the minerals. They also get these nutrients from poop and from rotting corpses.
- Thanks to special photoreceptors in their compound eyes, butterflies can see ultraviolet light. Humans, and most other animals, cannot see UV light. Many flowers have ultraviolet patterns that attract butterflies and lead them right to the flower’s nectar. The butterfly gets a meal and the flower gets to spread its pollen.
- Butterflies emit ultraviolet light through the scales on their wings. This provides a means of silent communication for the butterflies. The shape of the scales and angle at which sunlight hits them change the amount of UV light that reflects off of them. Next time you see color changes in a butterfly’s wings as they fly about remember that there is an invisible (to you) ultraviolet light show happening at the same time.
- Butterflies taste with their feet. They have chemoreceptors on their feet that enable them to immediately taste whether or not something they’ve landed on is food. This ability enables them to identify foods that don’t have ultraviolet light patterns, such as rotting corpses or animal poop.
Comments
0 comments