As a teenager, I had a brief obsession with African masks. I’ve always loved faces in art, and I suppose the graphic beauty of African masks appealed to me as a stylization of regular faces. I couldn’t even believe my luck when my family visited the National Museum of African Art in D.C. I was in heaven as I saw all of these masks in real life that I had only previously pored over in books.
In fact, African masks have heavily influenced modern western and European artists. Take a look at cubism, fauvism and expressionism and you will see countless examples of African-influenced work.
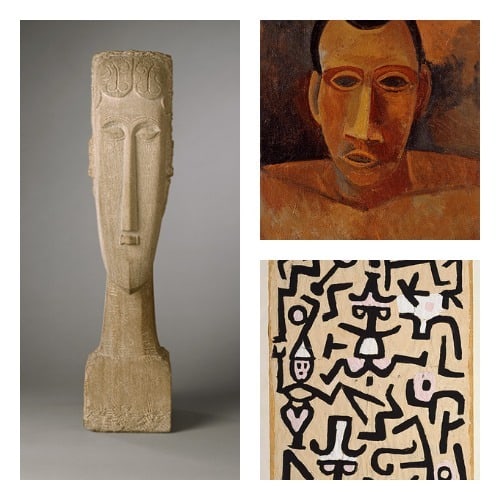 left to right, clockwise: Amedeo Modigliani – Woman’s Head, 1912, Pablo Picasso – Bust of a Man, 1908, Paul Klee – Comedians’ Handbill, 1938. Photo credit: Metropolitan Museum of Art
As a freshman in college, I carved an African-type mask out of plaster in my 3-D class, and it sort of sucked, but it was so much fun. I came up with an easier way for kids to make African-style masks. It all starts with a plastic craft store mask…..
Materials:
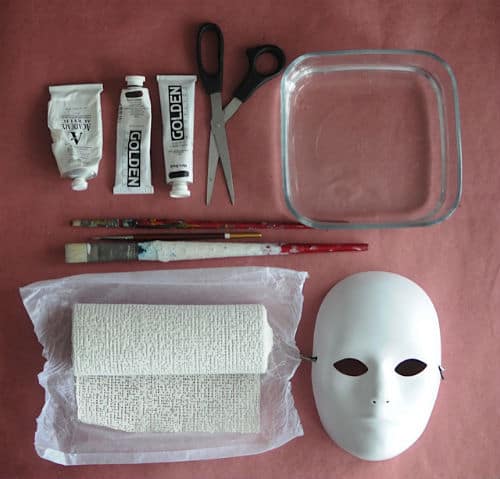
- plastic craft-store mask
- plaster strips
- gesso
- acrylic paints and brushes
- bowl of warm water
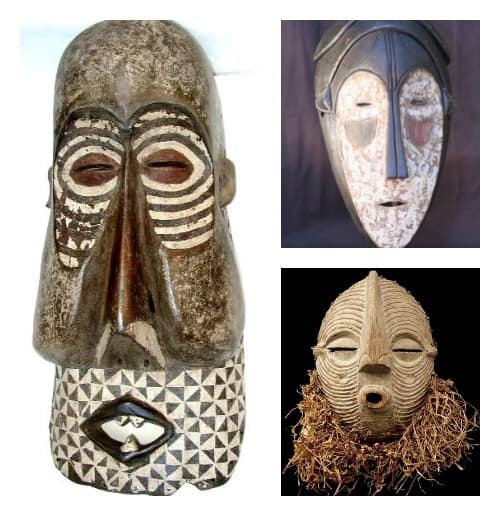
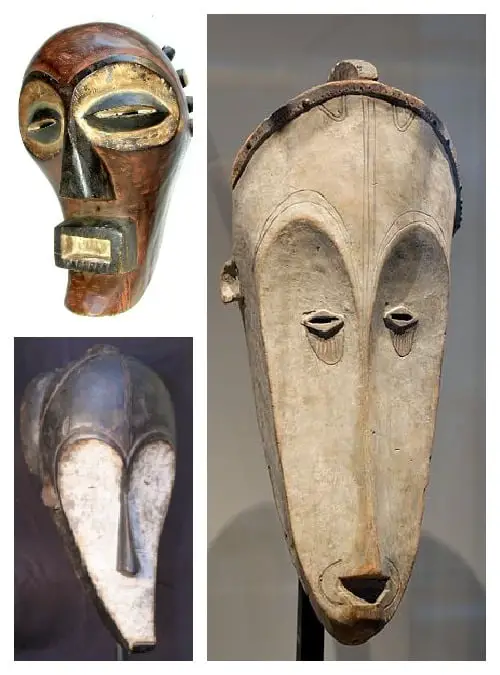
You can tell your kids that masks have been used in African tribal ceremonies and they represent the spirits of their ancestors. They have many symbolic meanings, and are made of many different types of materials, such as leather, wood, fabric, and metal. If you want to check out an excellent page on examples of masks from specific tribes, check out Arty Factory.
Directions:
1. Cut your plaster into strips and pieces. We found that if we cut them into strips about 2″ wide, then cut those in half width-wise, this was the size we used most. The long strips seem to just get unwieldy and frustrating for kids to manage. 2″x2″ squares are a good size, too. **Cut more pieces than you think you’ll need!**
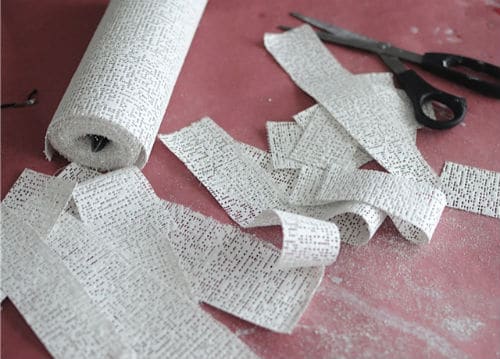
2. One at a time, dip the plaster strips into the water and ring them through your fingers to get rid of the excess water.
3. Lay them over the mask, overlapping them and covering the whole mask with about two layers. We covered the eyes and mouth and nose holes. As you lay down a new strip, gently rub the edges onto the strip you are overlapping it onto. The more you smooth out the plaster strips with your fingers, the fewer of the little air hole-bumps will remain after it is dry.
4. If you’d like, manipulate the plaster strips to form ridges over the eyes for stylized, 3-dimensional eyebrows, or square off the tip of the nose- see African mask examples.
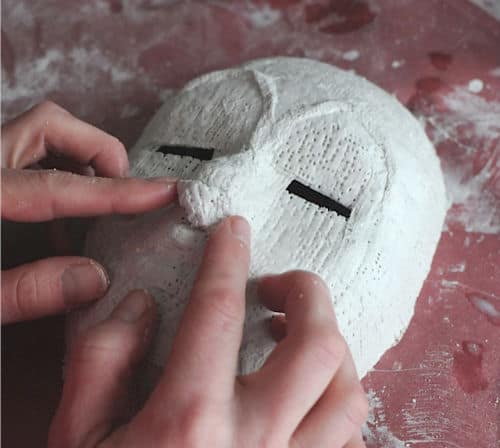
Okay. I made a super low-tech video tutorial on how to use plaster cloth. (Please pardon my heavy breathing from my cold, and the side of the basket in the corner…..)
5. Set it aside to dry- (Hint: pop it off of the plastic mask after it’s set up for a little while. In damp weather this will take longer- up to a day or so. We cheated and popped ours into the microwave for a minute at a time until it was dry. If the mask feels cold to the touch, this means it still has moisture in it. It must be fully dry to move on to the next step! If you wish, you can trim the edges of the mask with scissors to even it up.
Edited to add: Don’t pour your plastery water down the drain! Let it settle, pour excess water off the top, and then dump the plaster bits in the trash. Thanks to Rina for her comment below. I love you, art teachers with years of experience!
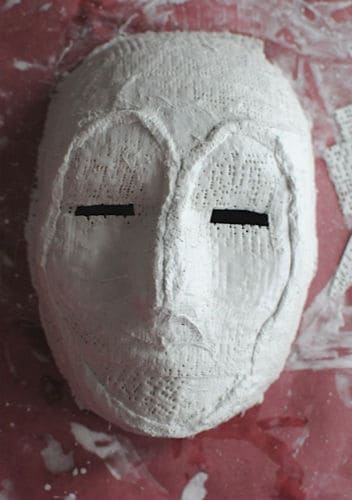
6. Paint two coats of gesso over the mask, letting it dry completely in between coats.
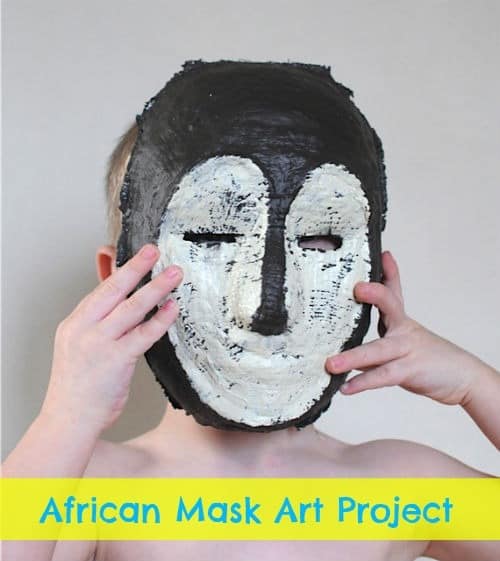
7. Paint a base brown color over the mask, (we used Burnt Umber mixed with the teeniest dab of Parchment color (off-white)), then when it’s completely dry, dry-paint a cream color (We used the Parchment color again, but you can mix white with a tiny dab of the brown) in the middle area of the mask. Dry-painting is my completely made-up term for when you don’t mix the paint with water, and you use a smaller brush to brush on the paint, so it doesn’t sink into the holes of the mask.
Option 2: Paint the whole mask brown; let it dry, then paint geometric designs over it with the white/cream paint.
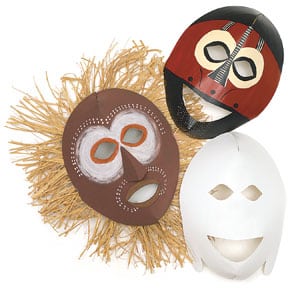
Don’t want to get all plastery? Try these pre-made masks from Dick Blick. You simply fold and staple them, then decorate them however you’d like.
Inspiration!
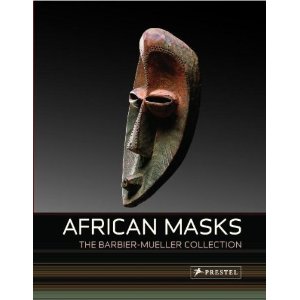
Click on either book to view on Amazon.
Check out my post on African children’s books here.
Comments
0 comments


Wow! What fabulous results! Thanks for posting the video and all your resources. I love your idea of using craft-store masks as reusable armatures (love the eye holes).
One small thing I’ve learned after teaching this lesson to 5th graders for the last 9 years – don’t pour the plaster water down the drain. Let it the particles settle, pour off the clear water, then throw away the white plastery sludge. Or use a disposable bowl.
Oh my gosh! Thank you so much for that- I’m going to go add that tidbit in right now, so I don’t get a lot of plumbing bills in the mail.
Wonderful idea. In yoga, we talk look at our different projections like teacher, parent, daughter, friend. Each one is like a mask we wear. Then there is our true self.
This activity would be a great fit with that lesson. Thanks.
You can actually do a lot with these masks- I want to try some more at some point with different finishes/adding things to the painted mask, etc. So many possibilities….
Wow, this is amazing! I didn’t know about plaster cloth and the results are good enough to display on a wall! You have the most amazing art projects for kids! I love African art too and the line up of masks are great as inspiration!
Well, that’s the cool thing about plaster cloth. You can work with it as floppy fabric, and then it sets up nice and hard, so you can hang it up easily- very fun stuff.
Great lesson!!! I love when the kids canget their hands dirty! Not enough of that is going around!! Great post, I hope lots of people do this in their classroom or on their kitchen table!
I agree! I try to keep a lot of my projects fairly simple, but every once in a while, I just have to throw in some messy, goopy, ambitious projects. They’re so fun for kids!
I love this idea!!! I’m an art teacher who is thinking of teaching this during my African pattern unit. However, I’m teaching it to 1st and 2nd graders. Do you have any recommendations for the 2nd graders, and would you do this with 1st grade or would you make a mask using another method? I found the craft store mask armatures in my storage closet the first year I started working at my school so I’m excited!
Hi Jess! I’m so excited you’re going to make these- please let me know how the project goes. I don’t want to steer you wrong by saying either way of I thought the 1st graders could handle this, since I’m not an art teacher. I think it would be fun to try, though! My kids are in 5th and preschool, so I don’t have an immediate sense of whether first graders will be successful with this. I’m thinking an alternative would be to let them glue/Mod Podge plain tissue paper over the masks and then paint them. Maybe if you have the 1st graders tackle this, you could get a parent helper or 2 in? In any event, I can’t wait to see them!
How much plaster does it take to make one mask? A common size roll seems to be 4″ x 5yds. How many masks do you think we can make with one roll?
Thanks so much!!
Oh boy! It’s been a little while since I made this project, but I would guess you could do 2 masks per roll.