Hay-ay! It’s time for you to try packing tape image transfer, because it’s stupid-easy and really kinda cool. You can use it in collages or art journals, or even in a Bullet Journal if you’ve become enmeshed in all things Bujo.
I love Flow magazines, and find myself accidentally buying them when I go to Barnes & Noble, and then I have no idea what to do with them. I grabbed one of my issues and tore it to shreds for this technique, and decided to make a mash-up of the text inside.
Directions For Packing Tape Image Transfer
Cut a piece of packing tape to the desired length and shape.
Press it on top of your image (pro tip: pet hair is not your friend during this stage, but seems to find its way under your tape as if by magic.)
Burnish the tape over the image with the back of a spoon or a burnisher of some sort. You will actually feel the spoon heating up when you’ve been burnishing hard enough for a while, but don’t give yourself Carpal Tunnel Syndrome over it. 🙂
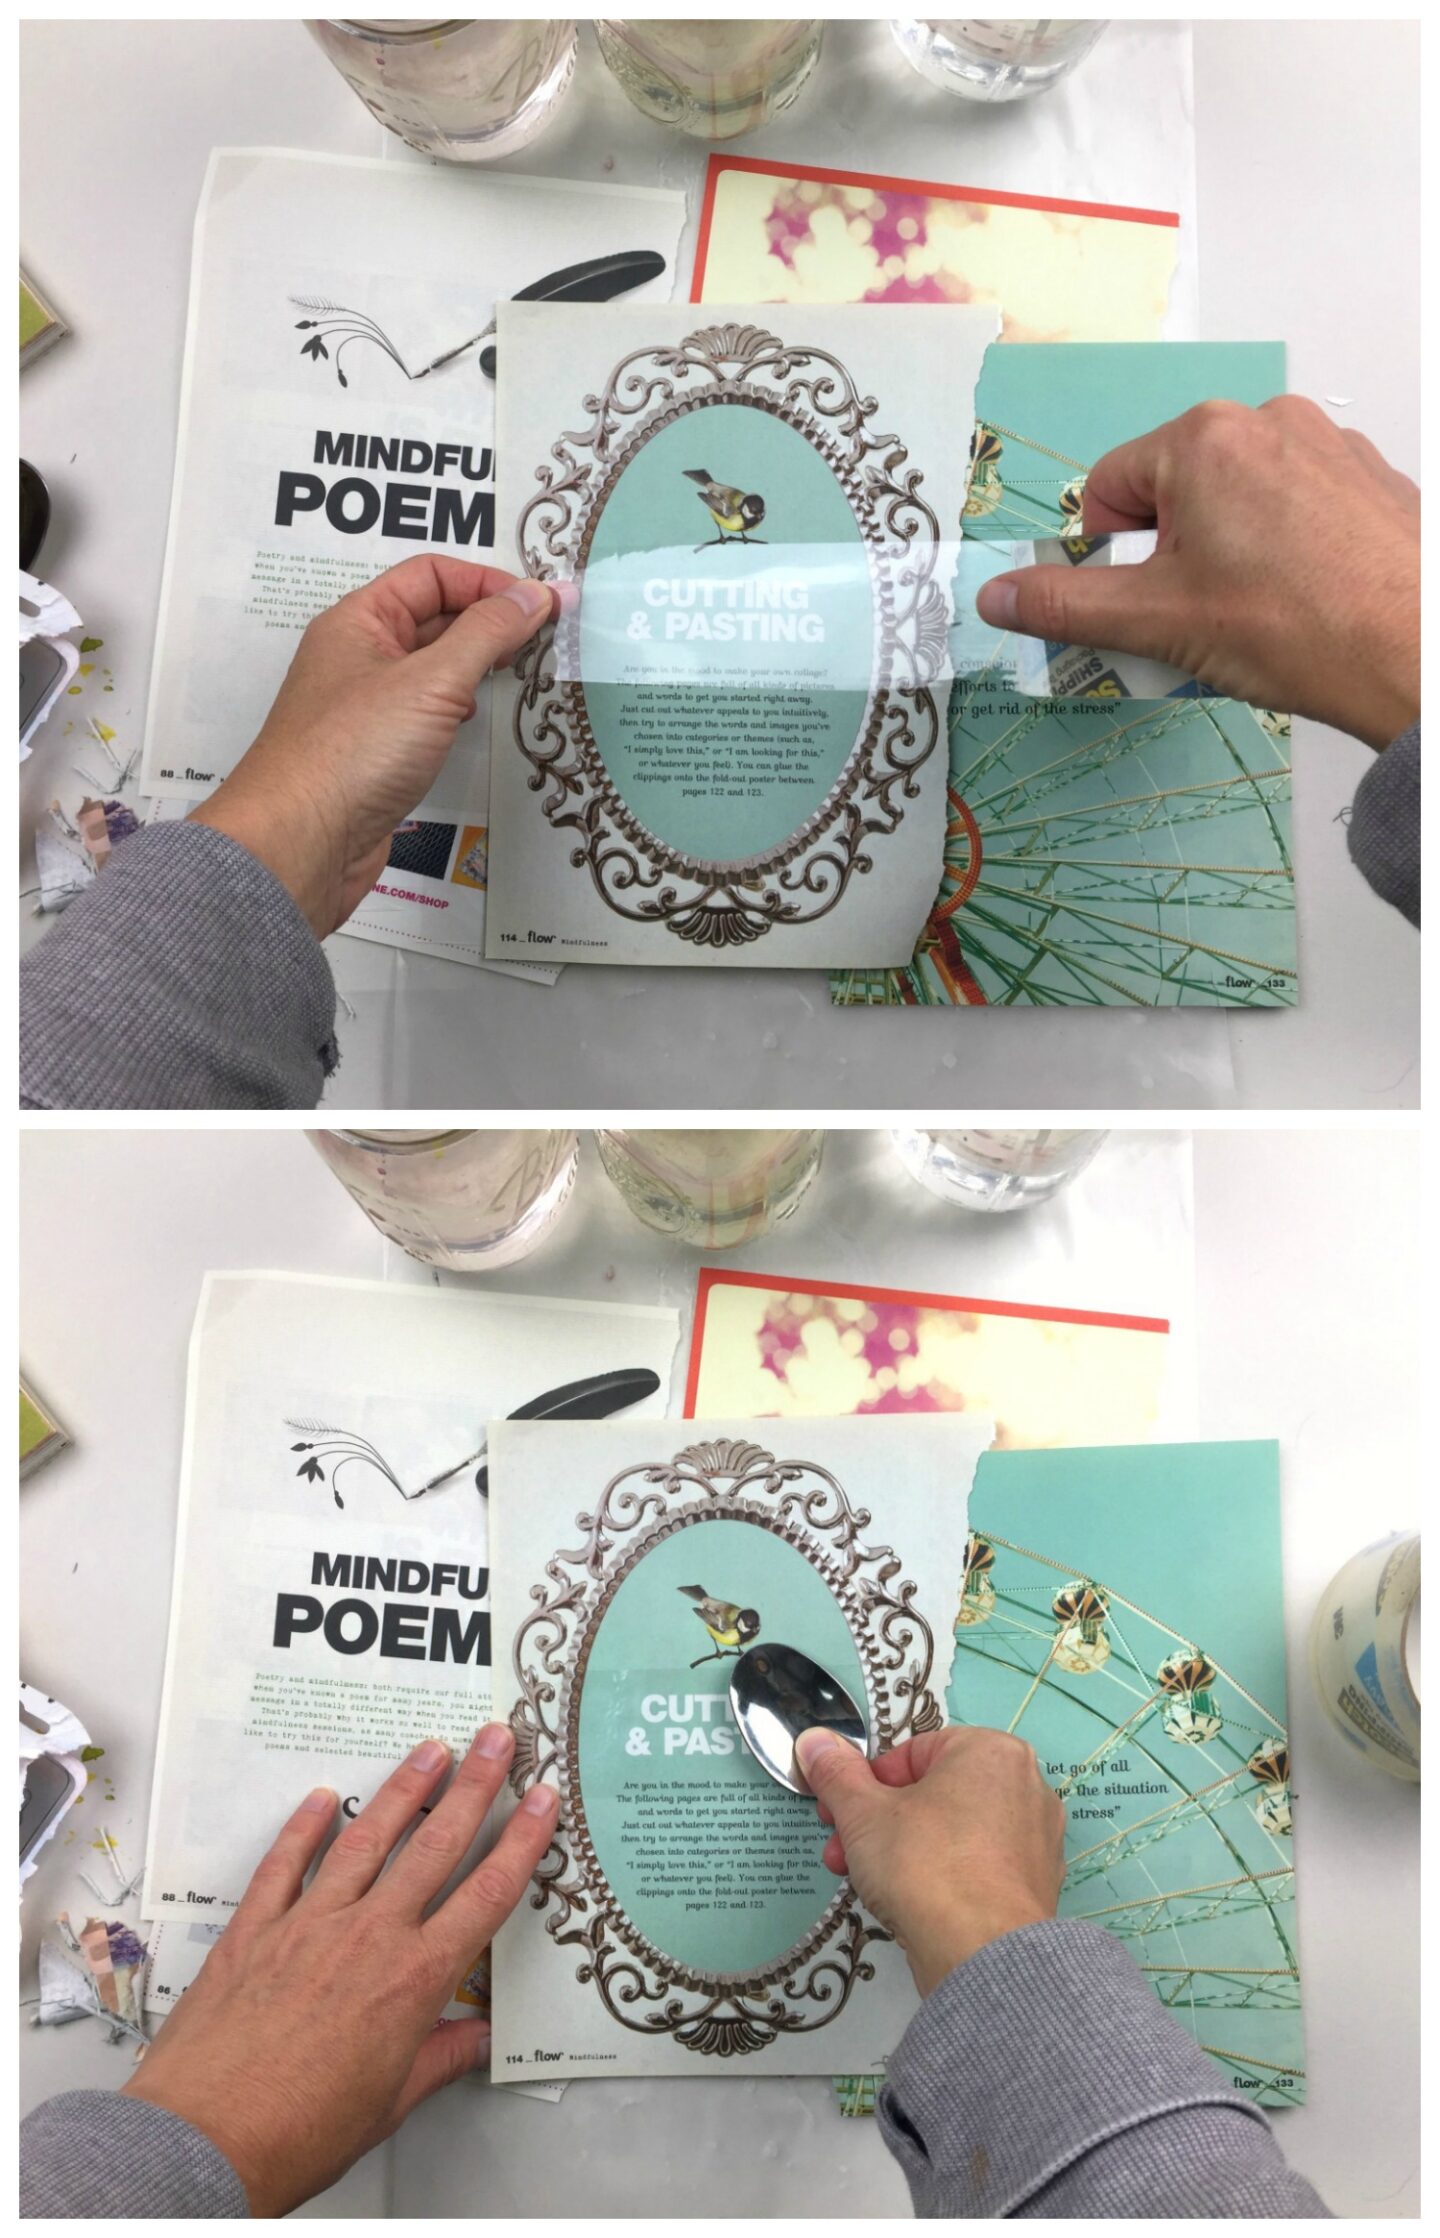
Cut away the excess tape and paper around the part of the image you want to use.
Grab a bowl of warm water and soak your cute little tape images in it for 20 minutes or longer. It’s important to make sure the paper is saturated with water so it actually comes off of the tape.
Rub and peel the paper off of the tape as much as you can. You will notice that the ink from your image should be staying on the tape if you burnished it hard enough.
Pro tip 2: Keep a garbage can close by because you’ll end up with lots of bits of paper from cutting and rubbing.
Usually I’m left with a white residue of leftover paper on the back of the tape, so I re-wet the paper and go back in. Don’t tell my husband, but I hold the tape under warm water in the bathroom sink and rub off the remaining white paper bits down. the. drain.
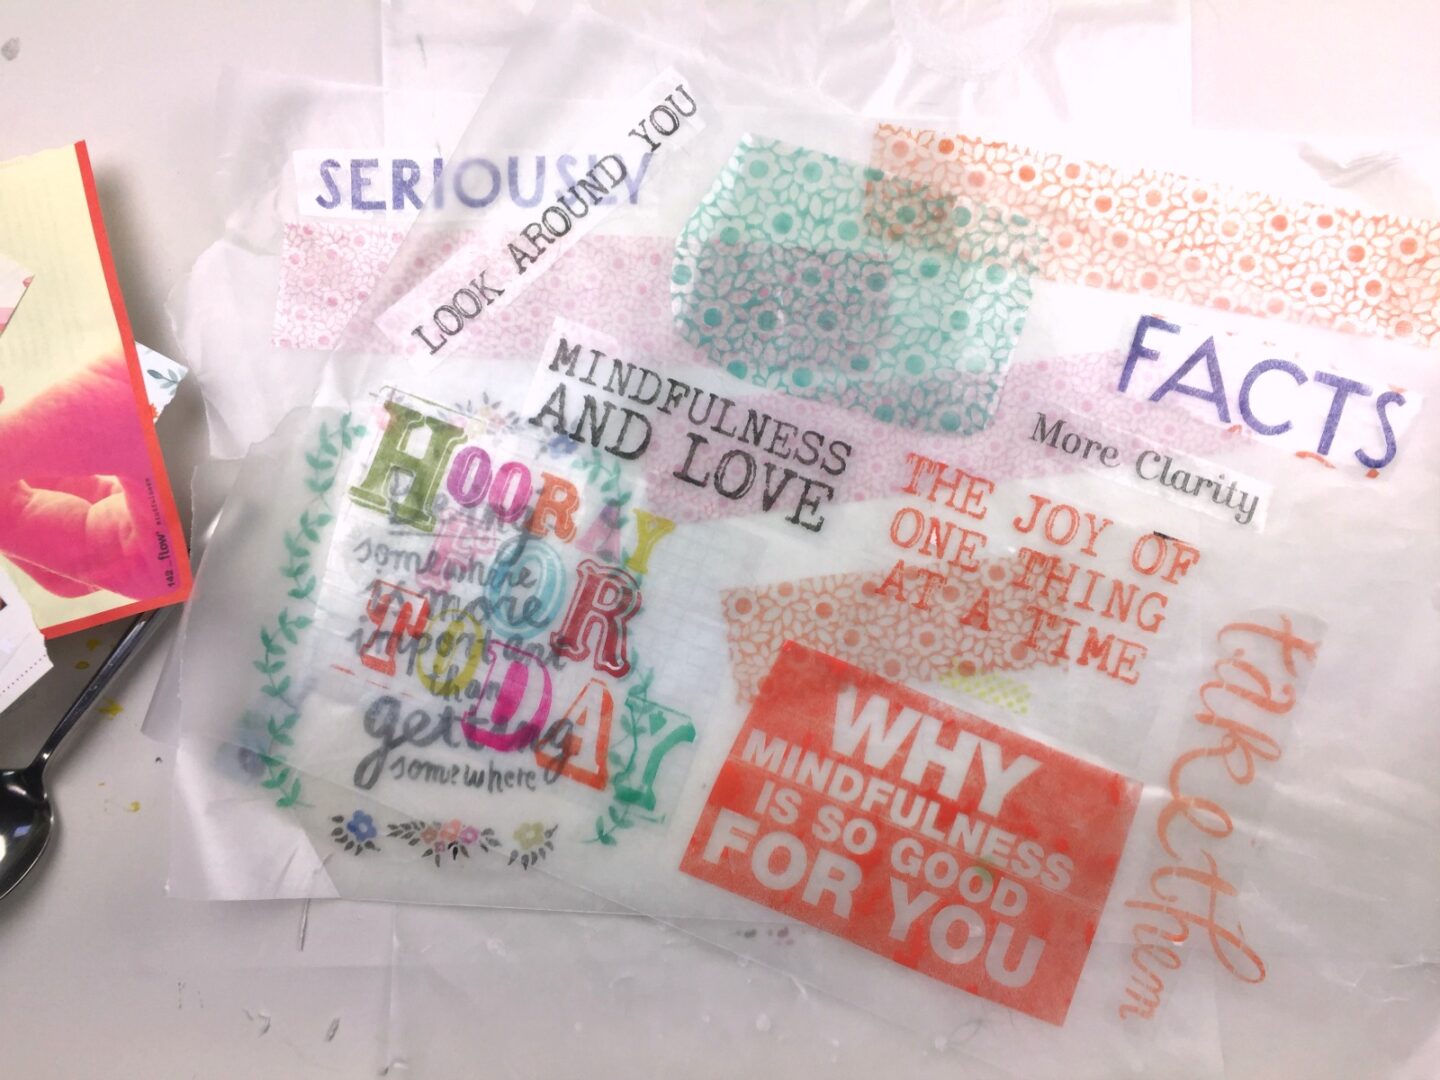
Lay them out sticky-side-up to dry.
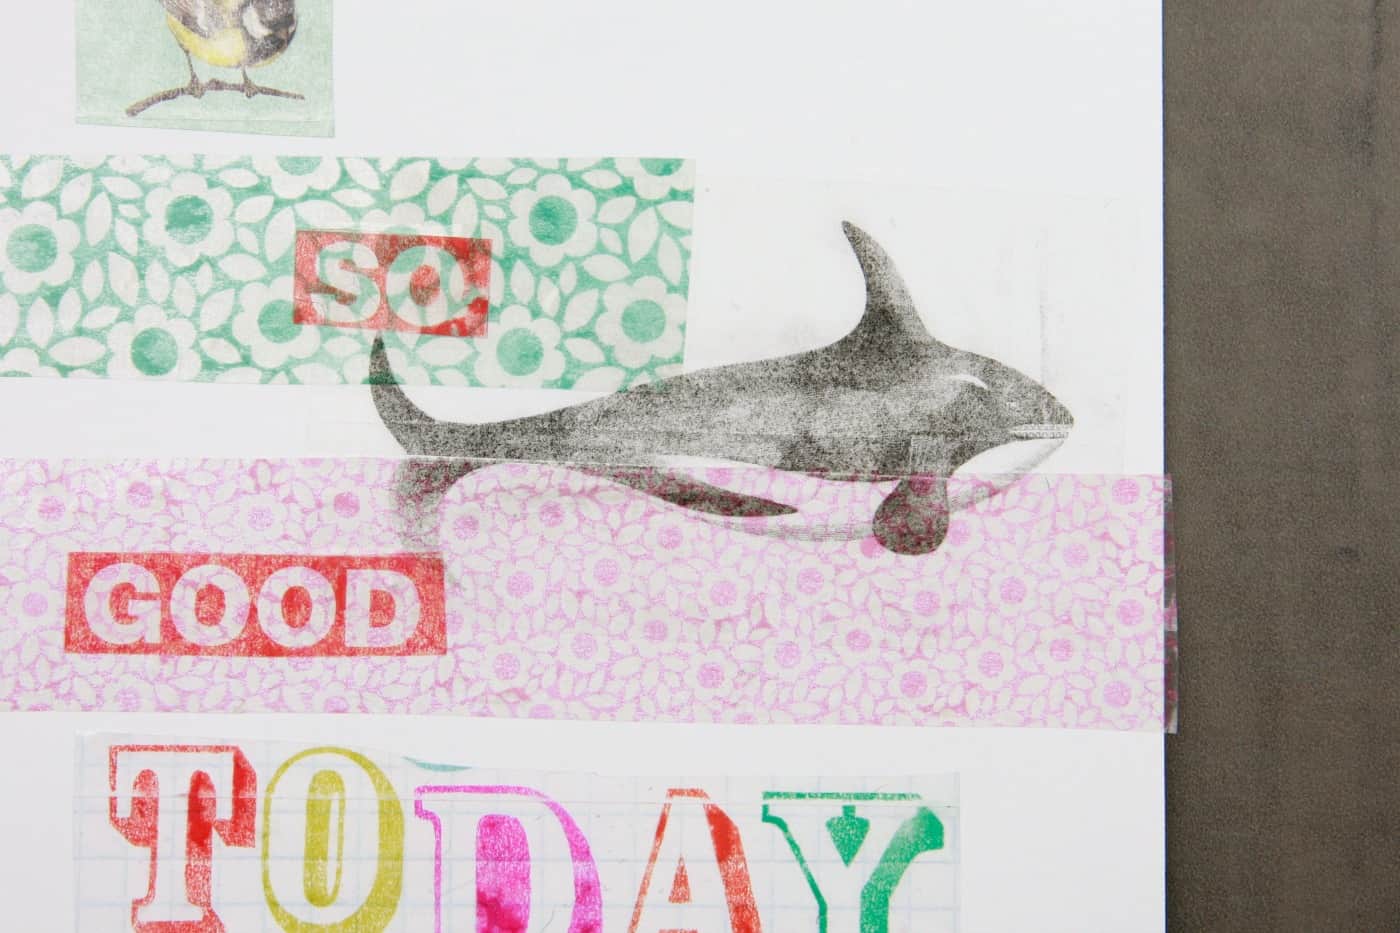
You can now use the tape as a sticker if it’s still sticky, or feel free to use a little Mod Podge or acrylic medium as a glue to stick your print to paper or wood or the front of a sketchbook, etc.
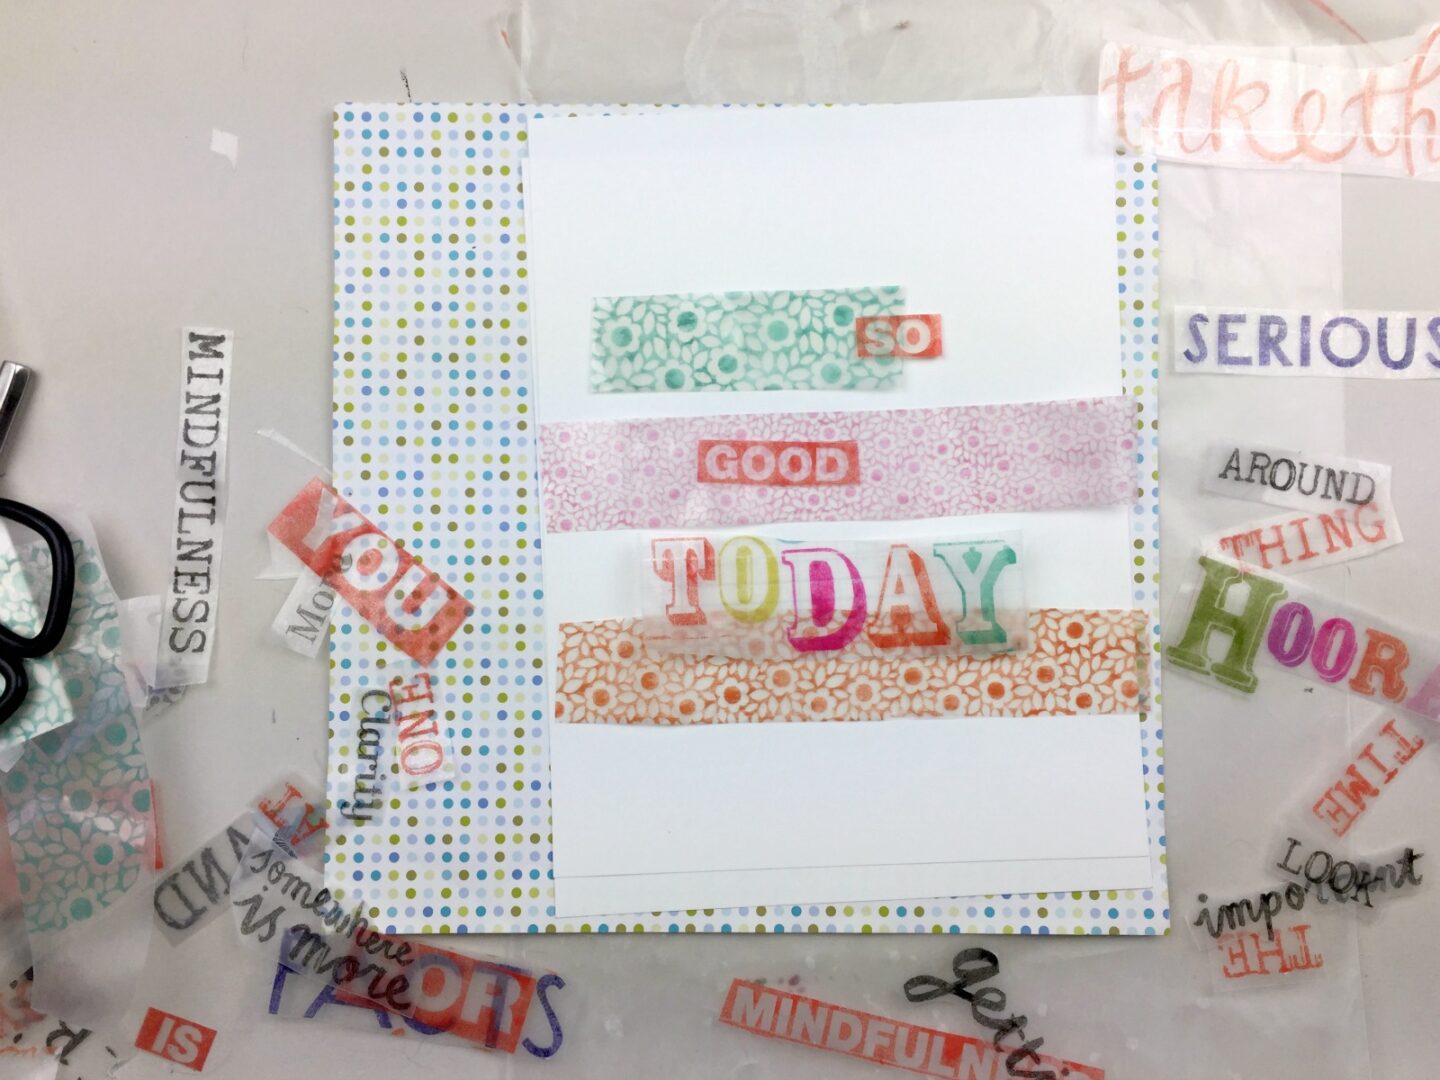
Pro tip 3: After your tape is dry, if it’s still sticky, place it on wax paper sheets. ACK! I found out the hard way to NOT store them on wax paper, because mine ended up sticking to the wax paper after they had been on there for a day. Boo. Use this as a temporary storage spot while you are working on your collage.
You can even cut out the shapes you want while it’s still on the wax paper and then peel the tape off, or keep the shapes backed by wax paper while you arrange them to see what you want to do with them.
Video time! Watch packing tape image transfer in action:
[adthrive-in-post-video-player video-id=”LjSIL3iH” upload-date=”2019-08-04T00:18:25.000Z” name=”Packing Tape Image Transfer” description=”Easy image transfer technique just using packing tape, images, scissors, and water!”]
Packing Tape Image Transfer With Prints
If you decide to print out your own images for tape image transfer, use laser prints, or photocopies. You need that toner-based printout to make this technique successful.
I decided to experiment with an inkjet print, but it doesn’t work that great for tape transfer, as the ink tends to smear on the tape when you are removing the paper.
Photo proof:
Comments
0 comments