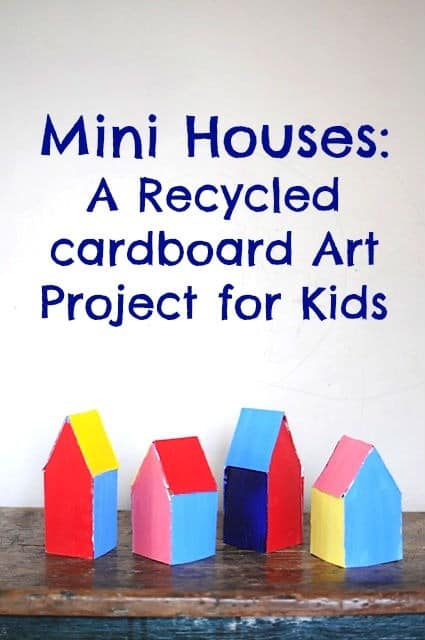
Raise your hands if you go through eight million cardboard boxes a week. We do. Between the cereal, Diet Coke and delicious coconut La Croix, we usually have an overflowing recycling bin by about the 3rd day after garbage pickup.
And there are only so many times you can cut off a side and present the box to your child as a Power Ranger house before his ennui sets in. This definitely calls for a recycled cardboard art project. So…. to the delight of my family, I collected a big pile of flattened boxes and went to work trying to figure out how to make them into little houses. I had seen some pin of little wooden houses somewhere, and thought that would make for a fun kid project.
Naturally, I asked Christian to make a template in Photoshop, and he was very accommodating, especially after the 10th or so change I made. I dedicate this post to you, Christian. Enjoy all the attention!
Materials:
Boxes I suppose you could try corrugated cardboard, but we stuck with cereal and cracker and Diet Coke boxes.
Scissors
Hot glue gun Please don’t use regular glue with cardboard, unless you want to sit for 20 minutes holding each seam shut, which you don’t. You will end up cursing me, and we can’t have that. Pull out your magical hot glue gun. If your kids are too young for hot glue, you can do the gluing for them.
Gesso
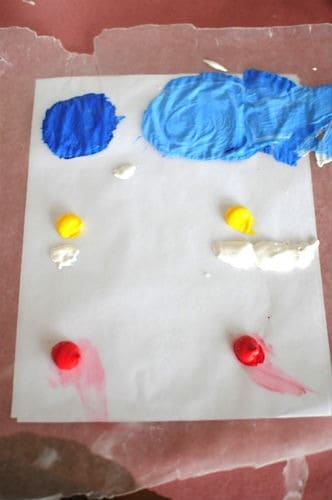
Acrylic paint in blue, red, yellow. We used Cadmium Red Medium, Cadmium Yellow Medium and Pthalo Blue.
******
Print out the templates and cut out the pieces. Trace two sides and one roof for each house on a piece of cardboard. Cut ’em out.
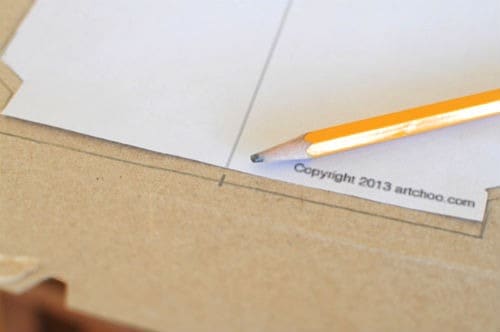
Tip: When you are tracing the paper house pieces onto the cardboard, mark on the cardboard, with a little dot, where the lines are on the paper pieces. This will help you see where you have to score later.
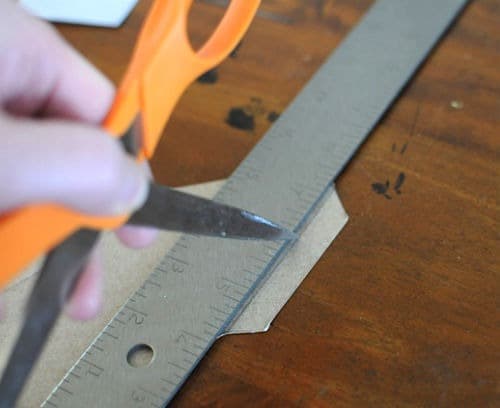
Now. You’ll notice the little sticky-outy tabs on the sides and tops of each house. We will be scoring these, and scoring one line on each roof and the vertical line on each house side. To score, all you have to do is hold a ruler along where you will be bending the cardboard, and run a scissors point or exacto knife along the cardboard. You’ll want to cut into the cardboard part way- not all the way through! (Just enough to allow you to bend the cardboard easily.)
Now comes the fun part!
After you bend back the tabs and bend the house walls at 90 degree angles, you can hot glue the walls together. Glue one tab at a time, and attach to the opposite wall piece. Glue the roof on last, one side at a time. You can hold the tabs against the walls on the inside of the house. Please be careful! Hot glue is HOT. And burny.
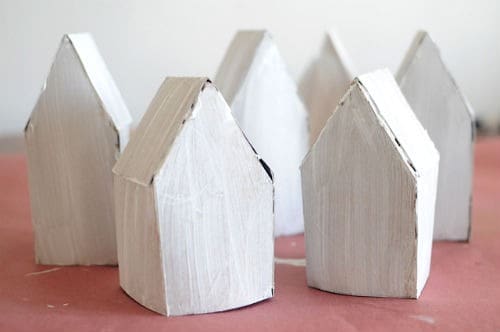
After your houses are glued up, it’s time to prime them with gesso. Priming them will help the paint not seep through the cardboard, and also provides a nice white background so the paint will be brighter. Don’t put the gesso away- we’ll be using it in the next step.
A tip about gesso: It should be sort of thick int the jar. I tend to keep gesso for a long time, and it gets thicker with age, but you can add a little water to it to help it spread. It really keeps for a long time, and we use it a lot around here.
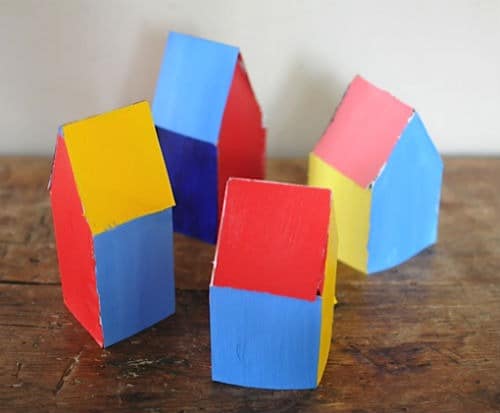
After the gesso has dried, (It dries pretty quickly) you can slap on another coat if you want, but we just used one coat. Otherwise, start your painting. You will be using the blue, red, and yellow at full strength for one plane of each house, and then mixing it with gesso to use on the three remaining sides of each house. Get it?
Tip: When mixing the lighter colors, start with a glob of gesso and mix a little color in at a time until you get your desired shade.
I like using gesso in place of white paint sometimes, because it gives the paint a matte finish. The planes that are painted straight up with paint will look a little more glossy.
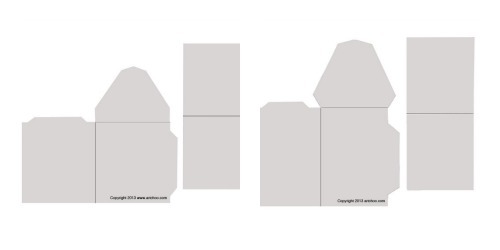
Click here to download the tall house template, and small house template.
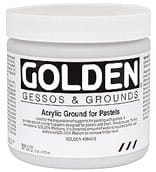
My favorite gesso can be found at Amazon!
This post is linked up here:
Comments
0 comments



Adorable! We can make a whole town! And then add toy cars and dolls! What fun!
Yes! Fen arranged them and made a duct tape path around the neighborhood. It was on the hardwood floor, but, you know, what’s so important about the finish on the floors?
pinning this now so I’ll remember to come back and do this later!
That’s the best thing I’ve ever heard.
I adore these. I know my daughters would not only have fun making them but would also enjoy playing with them a lot when they were finished. This week’s theme for the Discover and Explore Linky is Earth Day activities. If your interest in sharing it, your post would fit beautifully.
If “you’re interested”…too quick to hit enter, sorry!
Did it! Thanks for mentioning it, and I won’t even ridicule you for your misspelling…
🙂 Thanks! Glad to have your idea included.