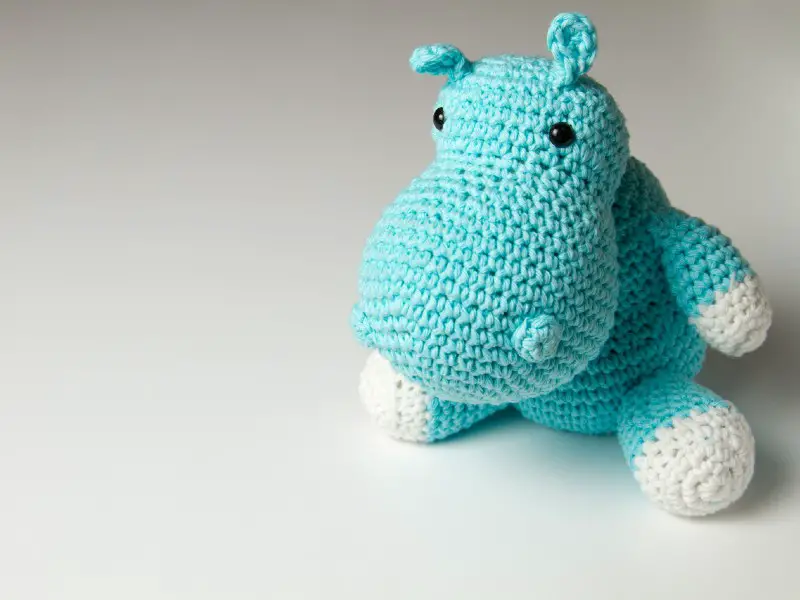
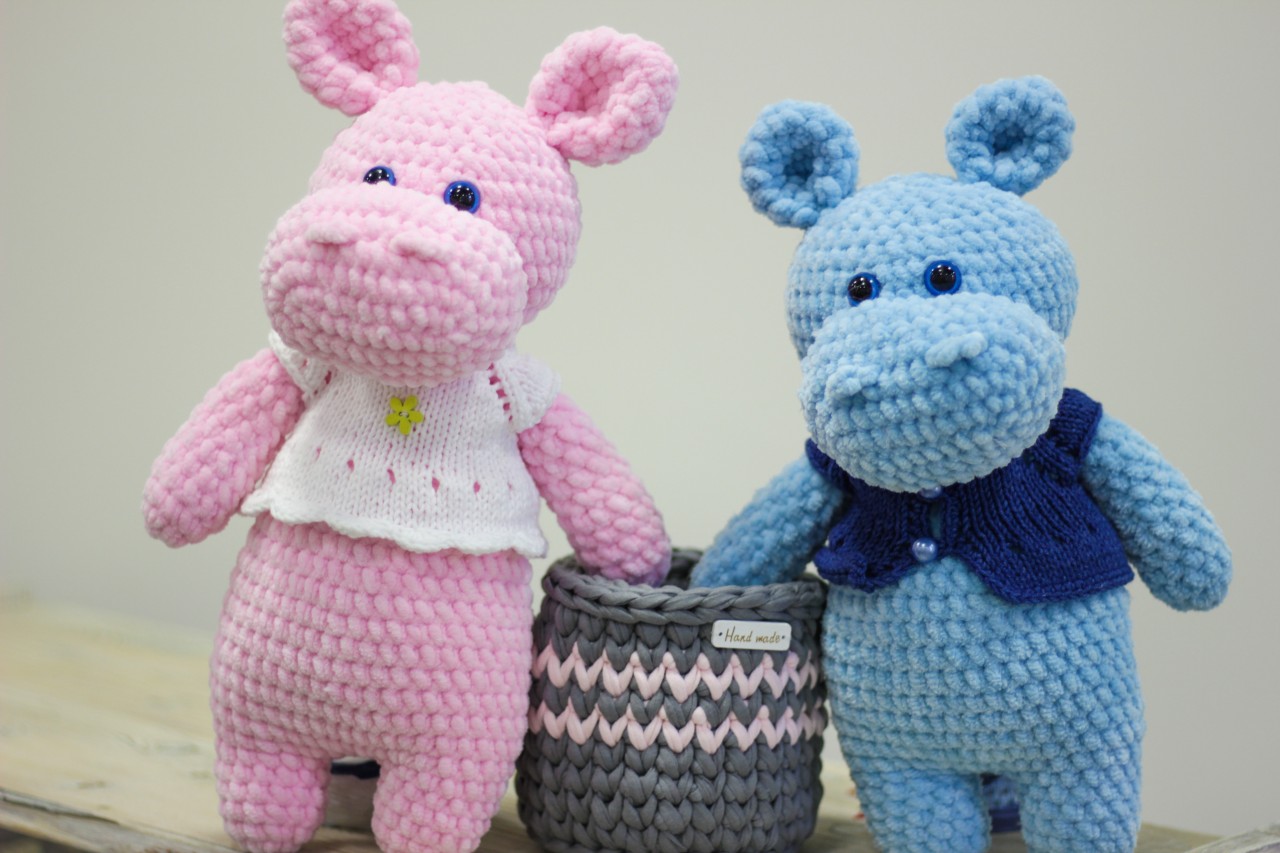
Hippopotamus crafts are amazing fun for children, who will love a hippo’s big, curvy shapes and huge mouths. Hippos are frequent characters in children’s books, too, so many children are familiar with these amazing animals.
Paper Plate Hippo
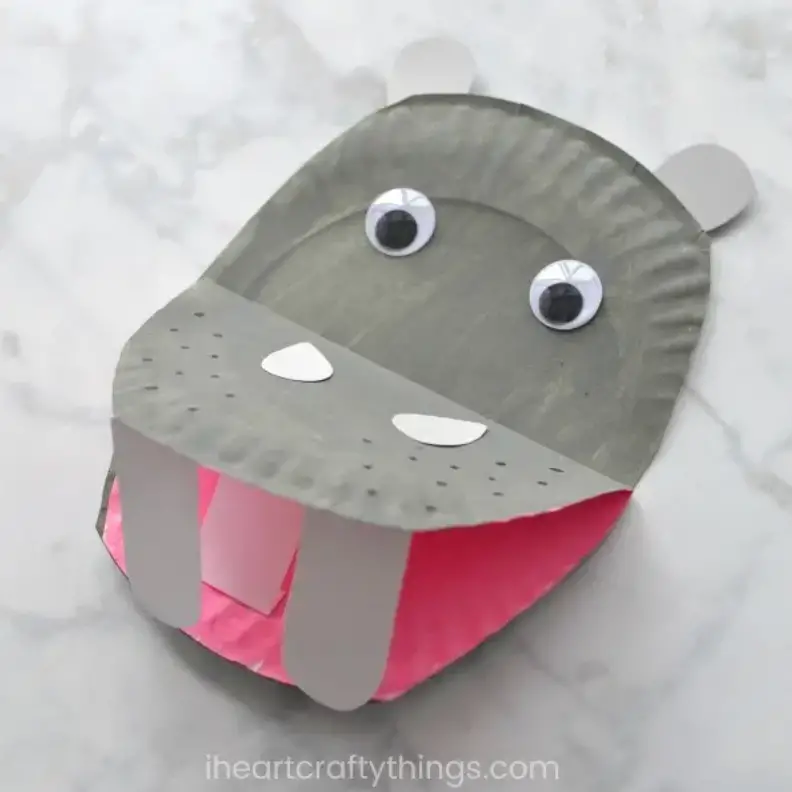 Source: https://iheartcraftythings.com/paper-plate-hippopotamus.htmlPart of the fun of hippos is those great, big, opening mouths that look so enormous to kids. If your child likes hippos, they will love this craft, which involves creating a hippo with its mouth open.
Materials
For a paper plate hippo, you’re going to need:
- 2 paper plates
- Gray paint
- Pink paint
- Paintbrush
- White card
- Gray card
- Googly eyes
- Gray pen
- Black pen
- Pink pen
- Scissors
- Glue gun
- Green tissue (optional)
Step 1: Paint The Plates
This craft starts with painting the paper plates so that they’re the right color for a hippo. First of all, you’re going to help your child paint the whole of one paper plate gray.Next, you are going to fold the second paper plate in half, and paint the outside of the folded gray (on one side; you can leave the other blank). Leave both parts to dry.Note: if you want your hippo to be more of an oval than a circle, all you need to do is trim down your paper plates a bit to remove some of the widths. This is optional, however, as hippos do tend to be quite round and your craft will look just as good whether it’s round or oval.When the gray paint has all dried, you are going to help your child paint the inside of the folded plate pink.
Step 2: Glue The Plates Together
Use the glue gun to glue the folded paper plate to the bottom half of the other one. This is going to create the hippo’s opening mouth. Glue it so that the gray side faces up, with the plain, unpainted half getting glued to the first paper plate.You should now have a gray nose with a pink inside to the mouth.
Step 3: Add The Face
Help your child to glue googly eyes to the hippo’s face above its nose. Next, cut some ears out of the gray cards, and glue these to the top of the hippo’s head. These can be just straight ovals, or you can put more detail into them if you like.Use the gray pen to put some dots on the hippo’s nose, and then use the black pen to draw on some nostrils. You’ve now got a great hippo face!
Step 4: Add The Teeth
You’re going to help your child cut some teeth out of a white card now. Hippos have flat, rounded teeth, so these should be easy to cut out. Hippos are mostly herbivores, so you don’t want pointed teeth here.You can do a whole row of teeth, or just a few. Fold the very ends over and help your child to glue them inside the mouth so that they stand up from the paper plate.Use the pink pen to add a curve for the back of the tongue, if you like, or leave the inside of the mouth as it is.
Step 5: Add Some Grass (Optional)
That great big mouth is much more fun if the hippo is eating something. Hippos mainly live on grass, so your child might like to tear up some strips of green tissue paper and glue these inside the hippo’s mouth for it to chew on.Your craft is now complete, and your child has a hippo to be proud of!
Hippo On A Stick
You can also make a very cute hippo on a stick, which is perfect for puppet theaters. Hippos are very fast creatures, and you might want to talk to your child about this as you make the craft. We’re going to make the legs move on this one, so your hippo can walk, but you could just make it with fixed legs if you prefer.
Materials
You’re going to need:
- Gray card (or pink if you would like to make a pink hippo instead)
- 2 googly eyes
- Black pen
- Pencil
- Scissors
- Glue
- 1 Popsicle stick
- 1 pin
- Small paper fasteners
- Green paint (optional)
Step 1: Draw A Hippo
You’ll need to start off this craft by drawing a hippo on a piece of the gray card. You can draw a simple circle for the head, and add little oval ears. Next, draw an oblong for the body. Remember, it doesn’t need to be perfect!If you’re feeling artistic, spend a bit more time on the hippo and shape its face to give it a distinctive snout. You can draw its mouth open or closed.When you’ve finished drawing your hippo, cut it out. Next, you are going to draw four legs. These can just be stubby oblongs if you like. Cut them out too.
Step 2: Pin The Legs On
Get your child to help you position the legs, and then use a sharp pin to make the first hole in the card (make sure little fingers are well out of the way). Push a paper fastener through, and fasten the first foreleg leg into place. Fold the paper fastener over at the back and check the leg moves well.Do the same with the second foreleg, but this time, put the leg behind the body. Punch through using the pin, and push the paper fastener through. Do the same with the hind legs.Your hippo should now have four independently moving legs. Your child can arrange them in whatever position they like.
Step 3: Glue The Stick On
Next, glue the Popsicle stick to the middle of the hippo’s stomach, making sure it is longer than the legs so your child can hold the stick without getting their hand tangled up. Leave it to dry.
Step 4: Add The Face
Help your child to draw a face on the hippo, sticking the googly eyes on the front, and drawing a pink nose on. Add some nostrils and outline the ears, and your hippo on a stick is pretty much ready!If you have drawn a hippo with an open mouth, use a red or pink pen to color in the mouth, and add some tiny white squares to represent the hippo’s teeth.
Step 5: Add Some Grass (Optional)
Use some flecks of green paint or pen to add grass to the stick and to the bottoms of the hippo’s feet. This will make it look as though he is wandering through the grass and grazing. As with the other crafts, you can add some green tissue to his mouth if you want to make him look as though he’s eating grass.
Conclusion
Hippo crafts are great fun, especially if you can make them move so your child can interact with them. It’s also good for them to have a chance to think about how the craft is working and why certain parts are able to move.Even young children should be able to manage the paper plate hippo, while older ones are more likely to enjoy the hippo on a stick. They can make him lots of other animal friends if they like, or just enjoy him as he is.
Comments
0 comments