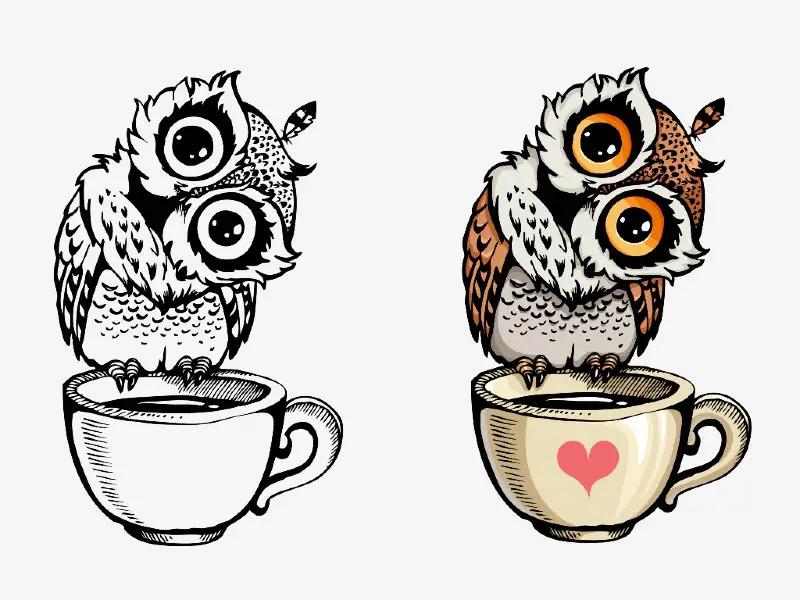
 Source: https://www.easylinedrawing.com/how-to-draw-an-owl-step-by-step/Owls are very popular birds and have an amazing level of beauty and elegance to them ““ but they are not a simple thing to draw! If you’re looking for easy-to-draw owl tips, we’ve gathered together some straightforward steps for you to follow.
Materials
To draw an owl, you’re going to need:
- A pencil
- Plain paper
- A black fineliner
- A flat surface to work on
- An eraser
- Coloring pencils
Step 1: Draw The Owl’s Body
Start by drawing the owl’s body, creating a “U” shape near the bottom of the page (but leaving room to add feet beneath). You can pull the upper sides of the “U” in a little bit to give your owl a shaped neck.Try to keep your pencil lines light so you can erase any mistakes or overlapping lines later.
Step 2: Draw The Head
Above the owl’s body, you are going to draw an oval with the lower half dipped in. To start with, simply draw an oval, approximately the same width as the owl’s body (the wider dimension should be the horizontal one, not the vertical one). Next, erase the middle part of the lower edge, and gently curve it inwards instead. This will be the owl’s chin.
Step 3: Add The Wings
On the right-hand side of the body, draw a curved wing. Curve in the same direction that the owl’s body already goes in, rather than in the opposite direction. Bring the tip of the owl’s wing just a little below the side of the owl’s body. The wing should widen the body a little, and overlap slightly toward the stomach. You will be going over the original line you drew for the owl’s body almost completely; this can be erased later.Do the same on the other side, drawing the wing down to the same level and sketching to approximately the same thickness. Check whether your wings match, and make any necessary adjustments. They don’t need to be perfect, but they should be similar in size and shape.
Step 4: Draw The Feet And A Branch
You can keep the feet very simple by just drawing three little ovals on either side of the bottom of the owl’s body, just inside the wings. Make the middle oval slightly longer than either of the outer ones so that the toes are of different lengths. Don’t worry about overlapping lines for the time being; the bottom line of the owl’s body will go through the toes, but you can erase this later.You don’t have to include a branch, but your owl will look better if it’s sitting on something. Sketch a light line along the bottom of the page, letting your pencil wiggle naturally. Draw the lower line to finish the branch, and then add some notches and lines for the bark.
Step 5: Sketch In The Ears
On either side of the owl’s head, add ears by creating soft little curves, with pointed tips. These should be almost horizontal, not pointed up like a dog’s ears. They should look more like horns than upside-down “V” shapes.Next, draw a curving line down from the tip of each ear to the center of the owl’s face, where you are going to put the beak. This will create a “hood” of feathers to shape the owl’s head. The owl’s eyes will be placed on either side of this hood, giving its face a very distinctive shape.Join the two ears up with a small, gentle curve to finish the top of the head.
Step 6: Add The Beak And Eyes
It’s time to start drawing the owl’s face. For the beak, draw a little oval that pulls into a point at the bottom. You can choose to add nostrils and further lines to create angles, or you can keep it simple.To add the eyes, you are going to be drawing large circles almost touching the “hood” you drew down to the beak. Owls are famed for having very round eyes, so make the most of this. Add a pupil in the center, and then another tiny circle in each eye to make them shine. Fill the pupil in using your fineliner.Finally, draw an inner circle on the owl’s head, marking out its face more distinctly. Follow your original line, and simply add a border.
Step 7: Fluff Up The Wings
You now want to make the wings a little fluffy. You can erase your previous line, or just add some feathery curves around the edges to soften the look of the wings.Draw a circle around the inside of the owl’s body to form a cute little tummy. You can also ruffle the bottom edge of this to indicate the feathers.
Step 8: Add A Tail
Draw some longer tail feathers down between the owl’s feet, fanning out from the owl’s body. Three or four feathers should be enough, with the longest ones in the middle and shorter ones at the edge to form a “V” shape.
Step 9: Erase Extra Lines And Fineline Your Owl
You are likely to have some overlapping lines at this point; erase them, and tidy up any other lines that you are unhappy with. When you feel the owl is perfect, fineline its edges, being careful not to smudge your pen as you go.
Step 10: Color
Your owl will look better in color. You could go for brown and beige if you want your owl to look natural, or you can choose some really bright colors for a very stylistic owl.A light color on the tummy, the inner circle of the owl’s face, and the owl’s beak and toes will look best, while darker colors can be used for the wings, body, outer line of the face, and “hood.”
Conclusion
Owls aren’t easy to draw, but you should now have a great shape to work from. You may want to experiment with different techniques for drawing feathers, but this simple sketch is a great starting point to work on more complicated designs from.
Comments
0 comments