Cotton candy is almost universally loved by kids all over the world, and if you’re looking to do some cotton candy-themed crafts with your kids, you’re in luck; there are lots of great options for incorporating these beautiful fluffy shapes into your art sessions.Let’s explore some cotton candy crafts.
Cotton Candy Drawing
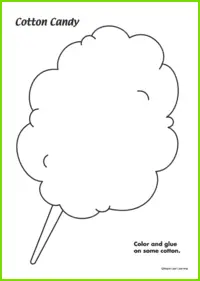 Source: https://mapleleaflearning.com/library/cotton-candy-craft/One of the simplest crafts to do with a little one, this cotton candy drawing is lots of fun and should be very quick. It also creates a little mess, which is always a plus when crafting with small people.
Materials
A cotton candy drawing will require:
- Pink or blue cotton wool
- White card
- A black marker pen
- A purple crayon
- White glue
- Scissors
Step 1: Draw An Outline
If you’re crafting with a young child, you may want to do this step yourself; if your child is a bit older, they can do it themselves.On a large sheet of white card, draw a long, thin rectangle to form the cotton candy’s stick. This is going to be colored in later so don’t fill it.Above that, draw a large, puffy oval. It’s best to draw your outline in pencil first and then use your marker once you’re satisfied with the shape. Using big, black lines will make the lines easy to see even once the cotton wool has been added.
Step 2: Glue The Cotton Wool
Help your little one fluff up the wool in their fingers. You can use blue or pink or a mix of both.To minimize the mess this craft will cause, spread the layer of glue directly onto the paper, rather than letting your child dip the cotton wool into the glue. Make sure you’ve covered all of your cotton candy shapes, but not the stick.Help your child glue the cotton wool balls into place on the card, working around the outline and then filling in the middle. Tease out any parts that look a bit clumpy, creating the iconic wisps that cotton candy is known for.Once you’ve layered up the cotton candy, set it aside to dry.
Step 3: Color In The Stick
Color the stick using the purple wax crayon (or any other color) and then cut out the cotton candy and put it on display! This is an ultra-simple craft any young child can enjoy, and it has a nice, quick clean-up.
Shaving Foam Cotton Candy
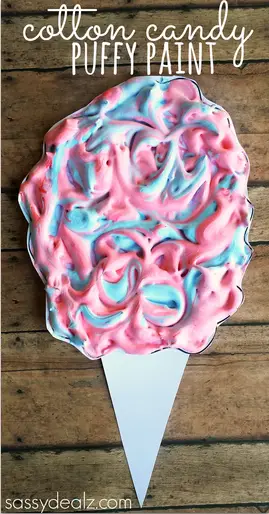 Source: https://www.craftymorning.com/puffy-paint-cotton-candy-craft-kids/Instead of cotton wool, you can use shaving foam to create those lovely puffs, but this is a craft best done with slightly older kids, as it is certainly not edible. It also won’t last indefinitely, but it can make for a fun afternoon of crafting and is enjoyable for a few days.
Materials
Shaving Foam Cotton Candy needs:
- A can of shaving foam
- White glue
- White card
- A black marker pen
- Red food coloring and blue food coloring
- A paintbrush
Step 1: Draw Your Outline
As with the previous craft, start off by drawing an outline for the cotton candy. Again, you can let your kids do this themselves if they’re old enough, and just offer a bit of guidance if they need it. Make sure they draw in pencil first and swap to a marker once they’re happy with the outline.
Step 2: Mix The Cotton Candy Foam
In a glass bowl, mix half glue and half shaving foam, along with a few drops of red food coloring. Do the same with blue food coloring in another bowl. Keep mixing them both until you have stiff peaks.
Step 3: Apply The Cotton Candy Foam
Let your kids paint the colors onto their cotton candy outline, swirling and mixing them to create a beautiful pink-and-blue puff. Over-mixing may spoil the colors, so encourage them to stop as soon as they are pleased with their creation.This should then be set aside overnight (or at least for several hours) so that the glue has time to dry. It will start to deflate after a while as the air leaves the shaving foam, but it’s still a fun craft, and a good experiment for older kids to try.
Giant Cotton Candy
If you’re decorating for a party, you might want to make some larger-than-life cotton candies that don’t involve kids eating their body weight in sugar. Although they don’t include sugar, most kids will really enjoy making these, and in spite of the name, you can make them as big or small as you want.
Materials
You’re going to need:
- Lots of cotton wool in pink or blue
- A stripy straw (or a larger tube with stripes drawn on if you are making a very large cotton candy)
- Glue
- A small pink or blue balloon
- Glue gun
Step 1: Blow Up Your Balloon
Blow up the balloon and tie off the knot tightly so that your cotton candy won’t deflate too fast.
Step 2: Glue The Cotton Wool On
Get your kids to fluff up and tease out the cotton wool into very soft, fluffy clouds. If you are making a large cotton candy, this will help it to support its own weight, so take your time on this and make sure it is as fluffy as it can be.When you are satisfied that it is very puffed up, begin gluing it to the balloon. The easiest way to do this is to add a layer of glue all over the balloon’s surface, and then start sticking the cotton wool to it, trying not to press down too hard (or you will compress all the wool again).
Step 3: Glue The Balloon To The Straw
Add some glue gun glue to the top of the straw, and give it a few seconds to cool to reduce the chance of the balloon popping. Before the glue has solidified, press the bottom of the balloon gently into the glue.Add a bit more cotton wool to hide the bottom of the balloon and join with the stick, and you’ve got a great cotton candy decoration!
Cotton Candy Garland
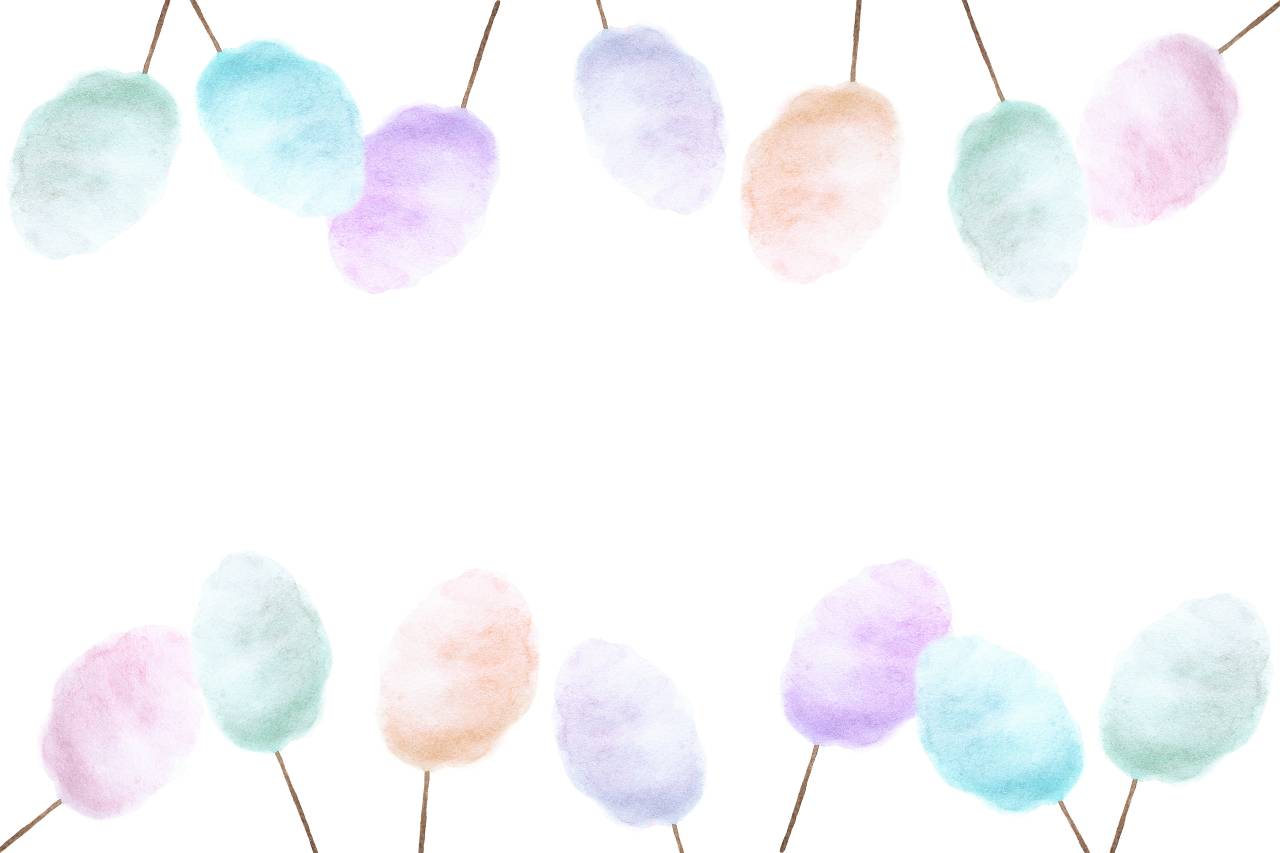
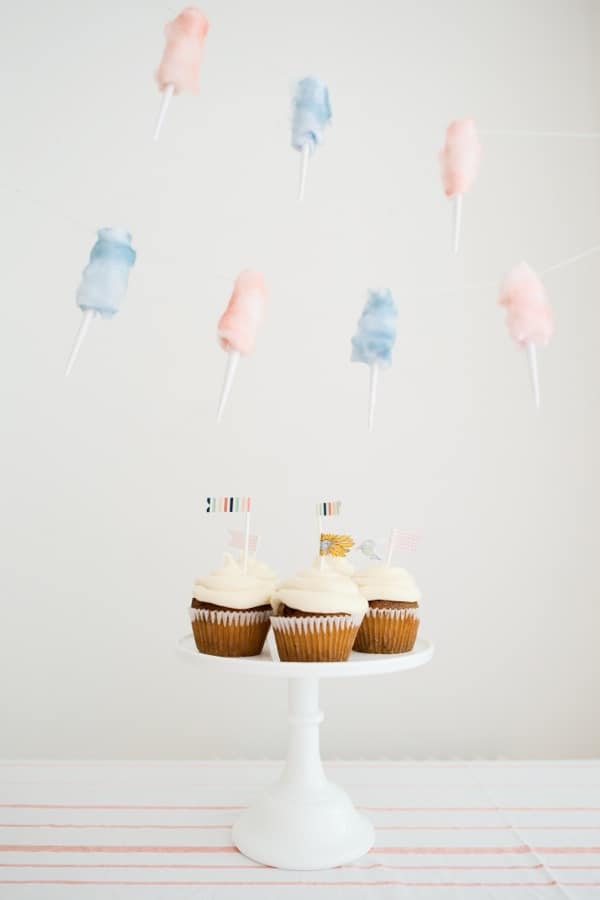 Source: https://www.diys.com/cotton-candy-inspired-crafts/cotton-candy-party-garland/Instead of giant cotton candy, how about mini cotton candy? You can have lots of fun here, and these would look lovely adorning the wall of a child’s bedroom.
Materials
This craft will require:
- A small quantity of pink or blue cotton wool (or both)
- White glue
- Some scrap white card
- A length of colorful thread or yarn
- Toothpicks
Step 1: Create Some Sticks
You (or your kids) should start by cutting some long strips of the white card and rolling these into sticks for your cotton candy. As with the previous craft, there isn’t really a “correct” size here; just do whatever feels right to you. You could even create a few different sizes.If you want to give your cotton candy sticks a bit more structure, wrap the paper around toothpicks (you can cut the toothpicks down if you want very small cotton candies). This will help the craft last better and is well worth doing if you can source some toothpicks.
Step 2: Add The Candy Tops
Get your kids to fluff up some little tufts of cotton wool. Again, the fluffier, the better. Once you’ve teased the wool out, put a dot of glue two-thirds of the way up your first stick, and glue the end of the cotton wool in it.Wind the cotton wool loosely round and round the stick until you’re pleased with the look, and then add another little bit of glue and tuck the end out of sight.Once you’ve done one, your kids will have a good idea of how to keep making these independently, with minimal supervision.
Step 3: Make The Garland
Cut a length of colorful yarn, and take your first cotton candy. Gently ease the wool aside at the back of it, so you can glue the yarn to the stick in the middle. Once the glue has set, fluff the wool back over it or add a little more to cover the join.Do this for each of your little cotton candies, gluing them further up or down the stick to create variety in their heights. Make sure you don’t glue below the halfway point, though, or the cotton candy might hang the wrong way up.Once you’ve finished, set the garland aside to dry, and then hang it up and enjoy the effect!
Smiley Face Cotton Candy
This happy little buddy is great fun for kids, and while it looks a little bit like an ice cream cone, it’s still cute and nobody’s going to care too much what sort of sugar-filled dessert it is!
Materials
For this craft, you’ll need:
- Cotton wool in blue or pink
- White paper
- White glue
- A black marker pen
- Googly eyes
- Scissors
- Newspaper
- Decorations for the cone (optional)
Step 1: Make A Cone
You are going to start this craft by rolling your white paper to make a cone shape, like the base of an ice cream cone. You can stick this with glue, or cheat and use a bit of tape.If your child wants to decorate the cone, they can draw on it, add sequins, or even paint it. You could also use a different color paper if you prefer.
Step 2: Glue In The Cotton Wool
Your kids can now start to build up several layers of cotton wool on the inside of the cone. To reduce the amount of wool this craft needs, you can scrunch up some newspaper inside the cone first to add shape and structure; the cotton wool can then be glued to this to cover it up. Make sure none shows through, though!Help your child to make a spherical shape, and then wisp up the top like a cute lock of hair. Your child may also want to experiment with puffing up the edges, but this craft will work a bit better if you let the cotton wool stay slightly denser, especially if you are using a newspaper core.
Step 3: Add The Face
Next, get your child to glue the googly eyes to the front of the cotton candy. They could also draw and cut out eyes if you don’t have any googly eyes, or if they want to create different expressions.Use some scrap white paper and get them to draw some eyelashes, a mouth, and even eyebrows if they want to. They can have fun with different expressions for the cotton candy.Cut these out and glue them to the front of the cotton candy, and you’ve got a friendly little face!
Conclusion
Cotton candy crafts can be great fun, and come in all shapes and sizes (well, mostly puffy shapes, but still). You can go big, small, or medium, and choose to personify the cotton candy with faces, or just create decorations for a party room.
Comments
0 comments