
I’ve been on a major blank book kick lately- sketchbooks, notebooks, journals- anything with blank pages and a cover or two is just about perfect.
I’ve been playing around with my decorated Moleskines, and am finding I love them. I’m tending to use them as sketch/idea books most of all. As wonderful as blank sketchbooks and art journals are, sometimes it’s intimidating to crack one open and have the blank page boring it’s eyes deep into your soul. Or something like that.
One way to get around this is to ‘dirty up’ the blank pages, thereby giving you an easy way to jump in and start making art. You can either get some color on there, or lines, or texture- so many starting points from which to jump off and get inspired.
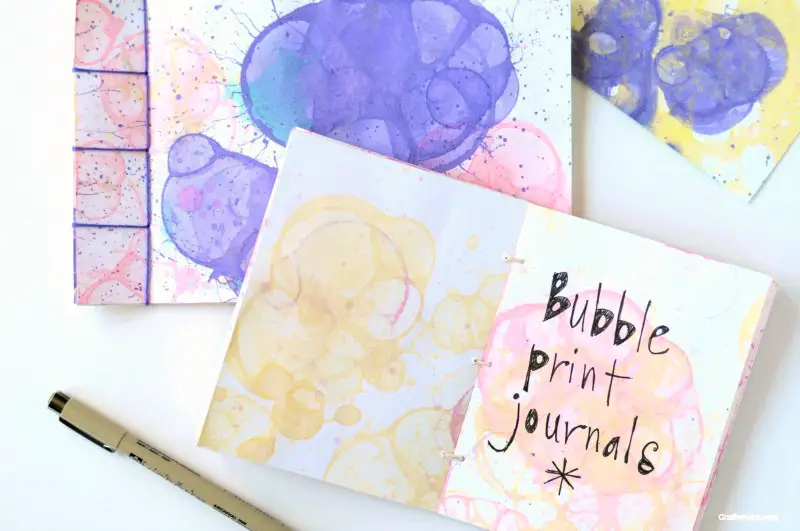
In this case, I decided to blow a whole bunch of inky bubbles all over a whole bunch of paper, cut up the pages, and make my own art journal.
Materials
- White card stock
- bubble solution
- Color: liquid watercolors or inks
- Straws and tape
- Embroidery needle
- Thread: I used plain string, but you can use embroidery thread for more color
- Card board (cereal box, back piece of pad of paper, etc.)
- Glue stick
- Bone Folder
- Awl
- 2 Binder clips
How to Make the Bubble Prints:
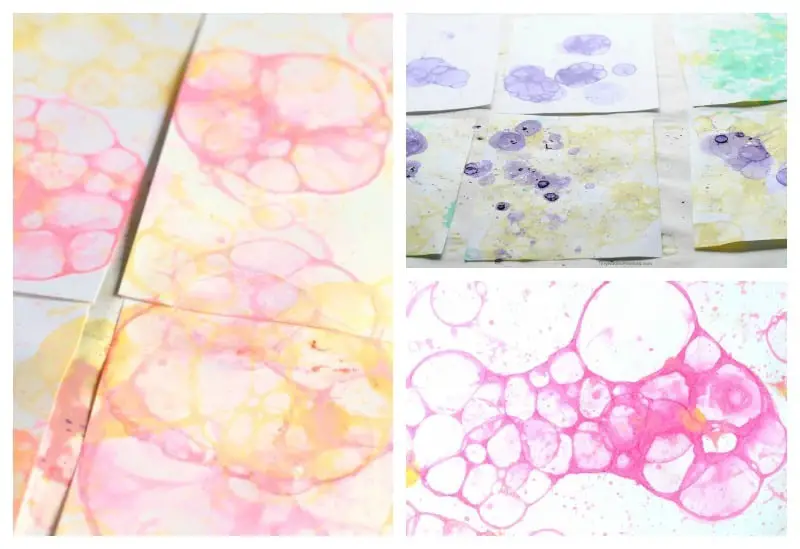
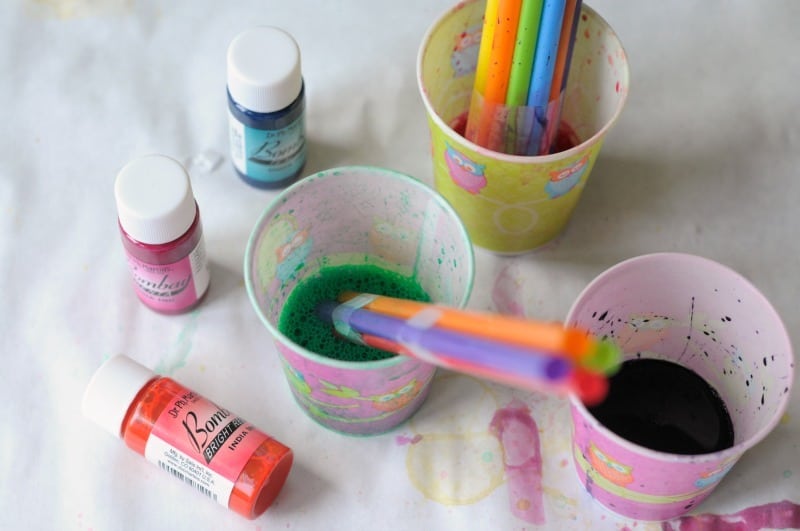
Mix up 3 or 4 colors of liquid watercolors or ink with bubble solution- more if you want to get all rainbowy, or limit to 3-4 colors if you want to have a more cohesive look to your pages. Start with about equal amounts color and bubble solution. After your first few trial bubbles, if you want a lighter color, you can water down your solution a little bit.
Take a bunch of straws, and tape them together at both ends so they all stay snug together. I used 14, so use a good amount, but make sure if you’re doing this with kids that they can fit them into their pie holes. (The set of 4 straws below didn’t work as well.)
Dip one end of the straws into the color solution, and then blow the bubbles out onto your page. It took me a few tries to figure this out, because sometimes (like when you’re blowing bubbles) the bubbles won’t blow out. Keep practicing! It’s so worth it.
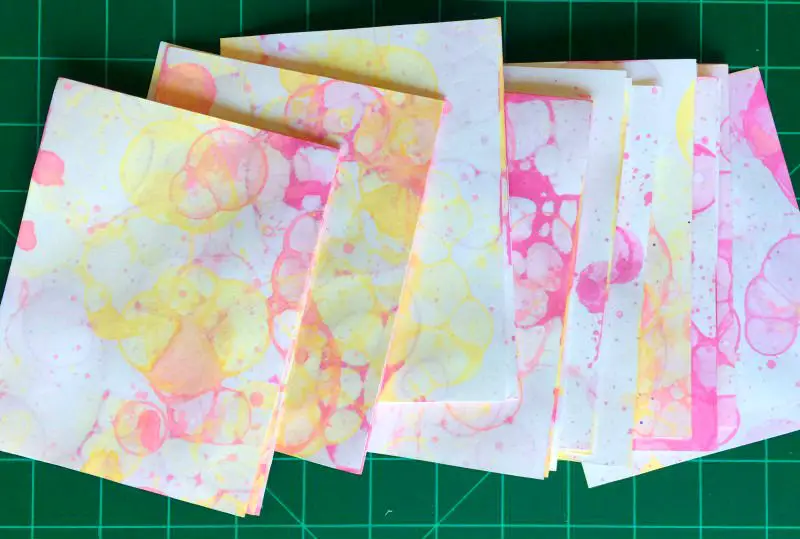
Bubble print both sides of the paper. You just need to make sure the color isn’t runny before you flip it to the other side.
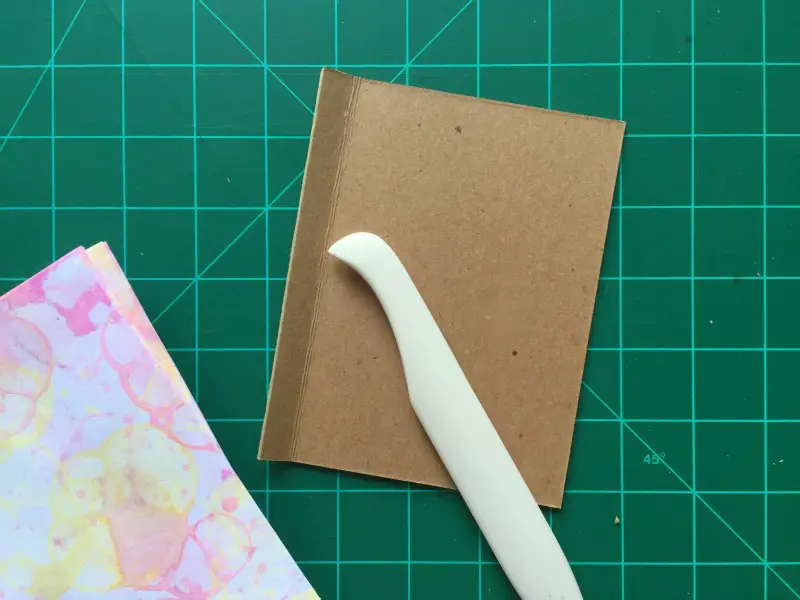
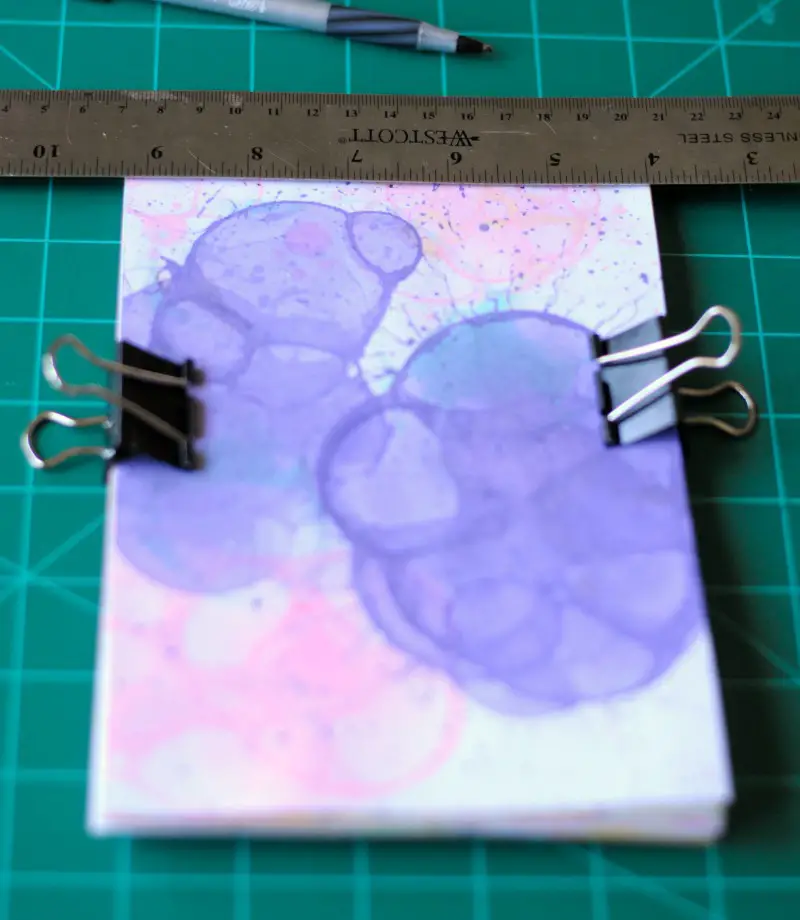
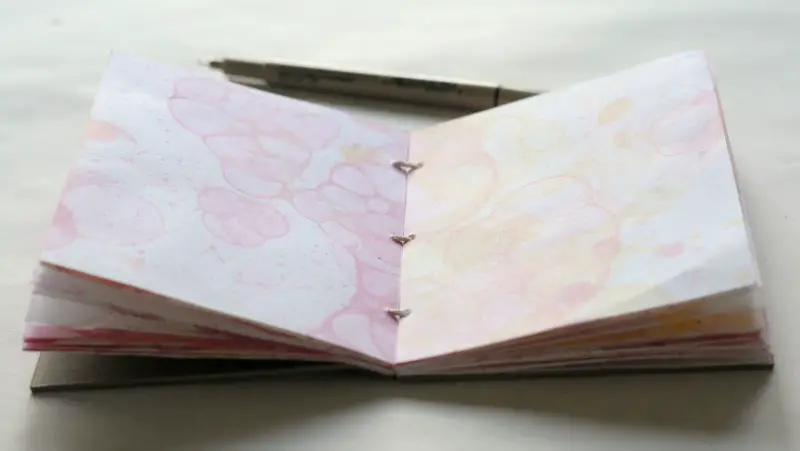
After they are completely dry, cut the papers into fourths, and cut out the cardboard covers to the same size.
How to Make the Art Journal:
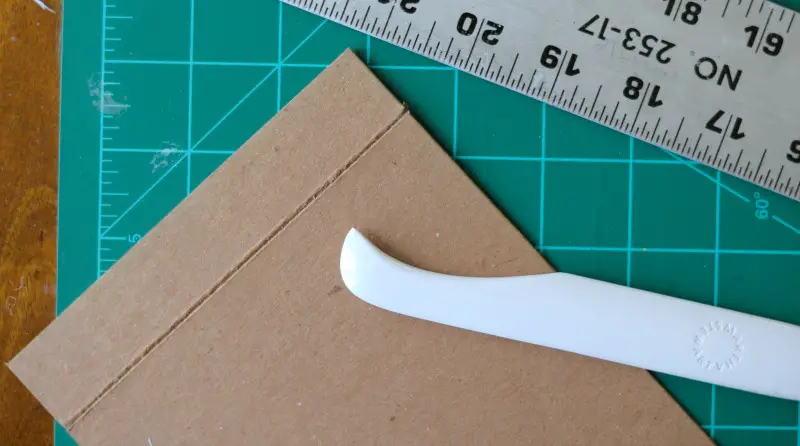
Take your handy bone folder and score down the length of a ruler, on the cardboard, where you want the crease of the cover. I made mine about 1/2 ” in from the edge. I just scored the front cover, and left the back cover alone.
(FYI, I think 1/2″ is too small to score in from the edge. My string ended up falling off the edges of the book when I opened it, so next time I make a cardboard cover, I will score in a full inch.)
Next, I used 2 binder clips to clip the whole book evenly together so I could pound holes in the edge of the book to sew through. Make 1 hole centered in from the top and bottom of the book, and the next 2 holes will be about an inch in from the top and bottom. Pound the awl in with a hammer and let out a loud roar.
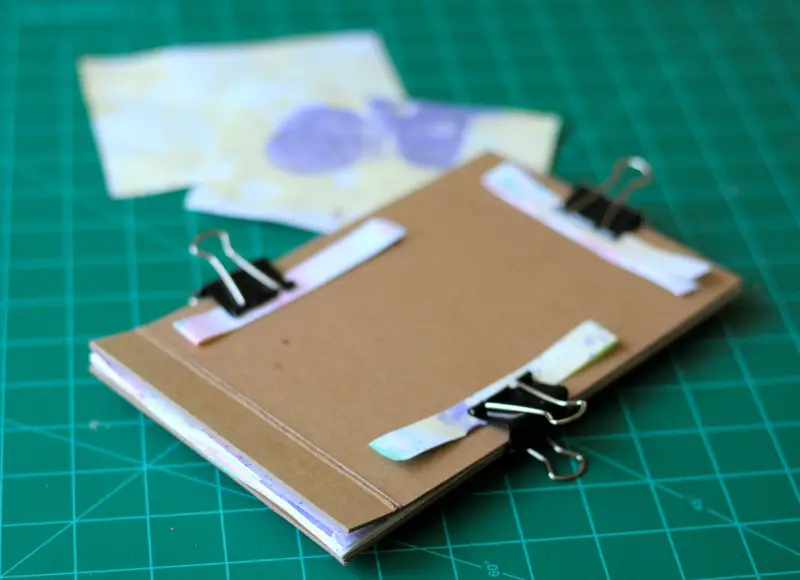
Here are pics for measuring the holes and the awl I used on the paper-covered art journal.

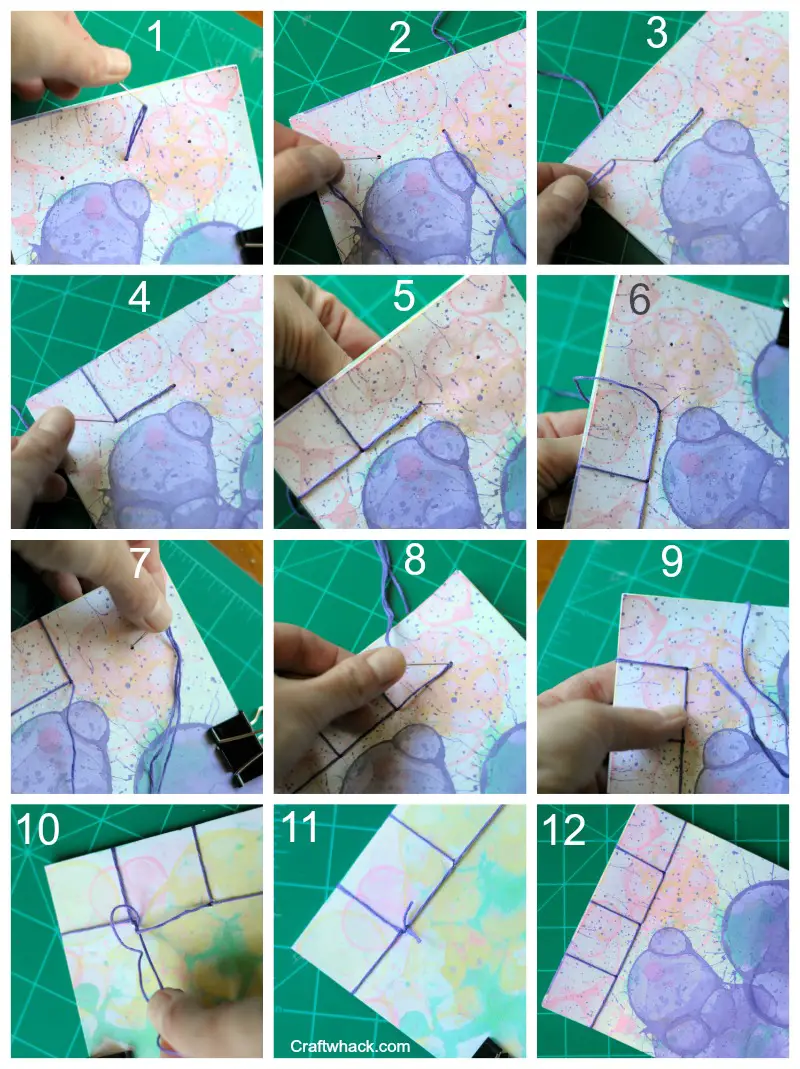
How to Sew the Book Together:
This was the fun part for me. There is a pattern to how you sew through the holes, and it’s really satisfying once you get through the process and see how perfect it looks.
Thread your needle with your thread, and pull it:
1. Up through middle hole
2. Down through bottom hole
3. Around the edge and back through the bottom hole.
4. Around the bottom edge and back through the bottom hole.
5. Up through the middle hole.
6. Around the edge and back up through the middle hole.
7. Down through the top hole.
8. Around the edge and back down through the top hole.
9. Around the top edge and back down through the top hole.
10. Tie the ends in the back.
11. Trim the ends.
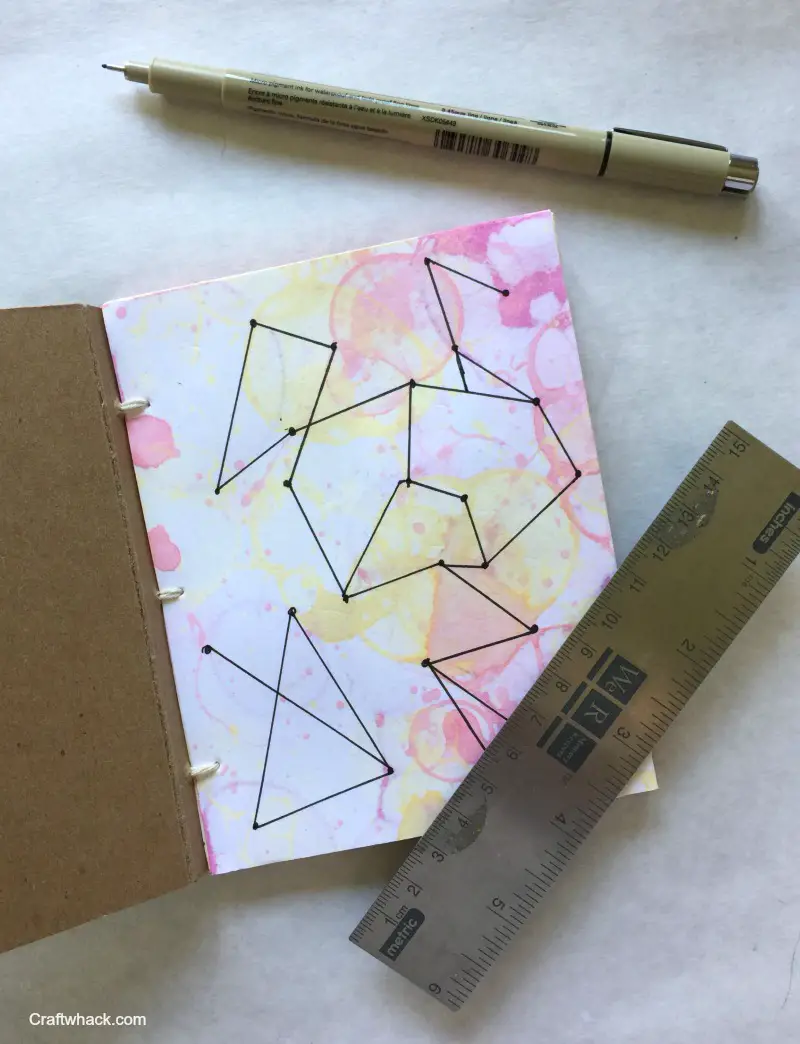
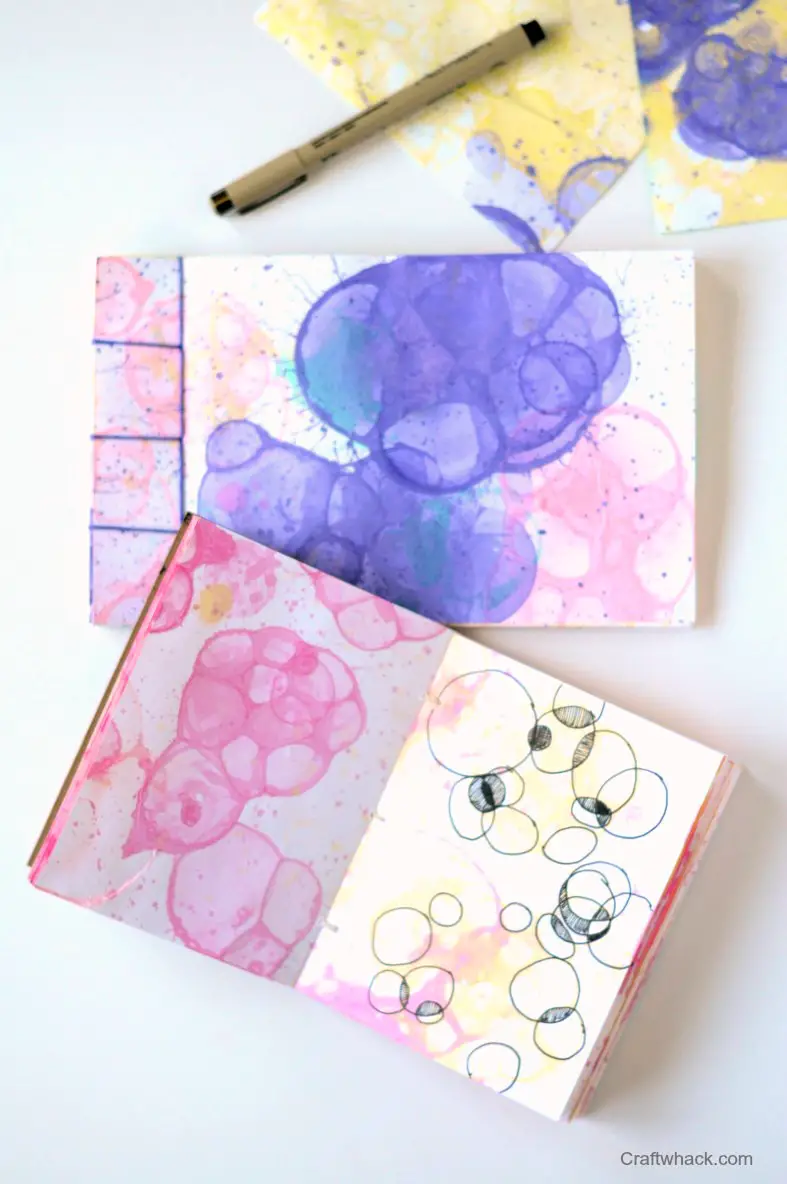
It’s Now Time to Draw in Your art journal!
Use the bubbles as starting points for making abstract drawings, turn the shapes into recognizable objects or creatures, stamp or print over the pages, paint on them, cover them completely with pencil or marker, glue little collage elements on. The point is- you have a great starting point for crazy amounts of creativity.
Comments
0 comments
How cool is this???? For adults too 🙂
Yeah! Yeah! Adults, too- bubble prints are great for anyone.
Yep, I would buy those. Please sell me one!
These are so pretty. LOVE.
Thank ya! I’m excited about your new book coming out!